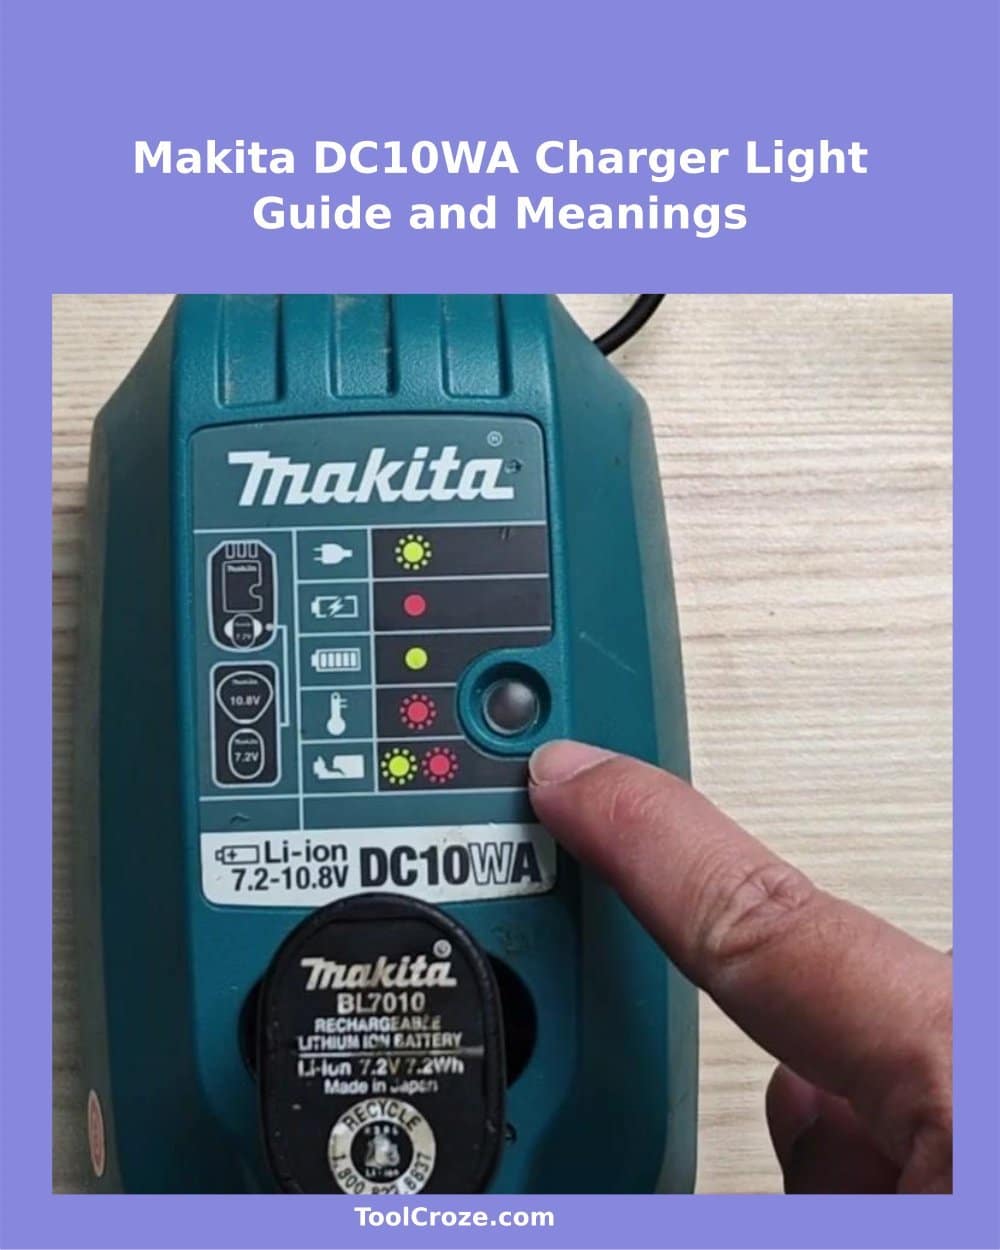
For the Makita DC10WA charger, I had to figure out what the blinking lights mean. It is a simple tiny device for lithium batteries of 7.2V to 10.8V. On the front side are a status display and round LED that helps you understand what happens with your battery.
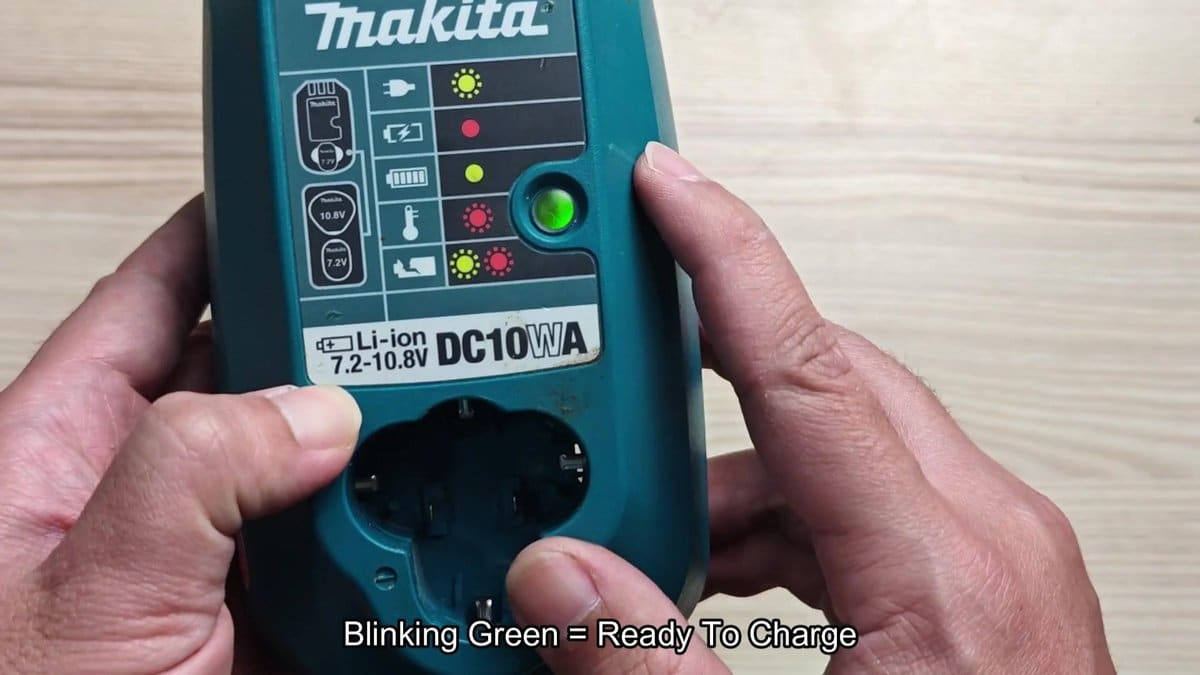
First I noticed the green blinking light when I connected the charger without a battery. It seems that it only shows that it works well and is ready to work. Later the light shines green until you lay a battery in the place.
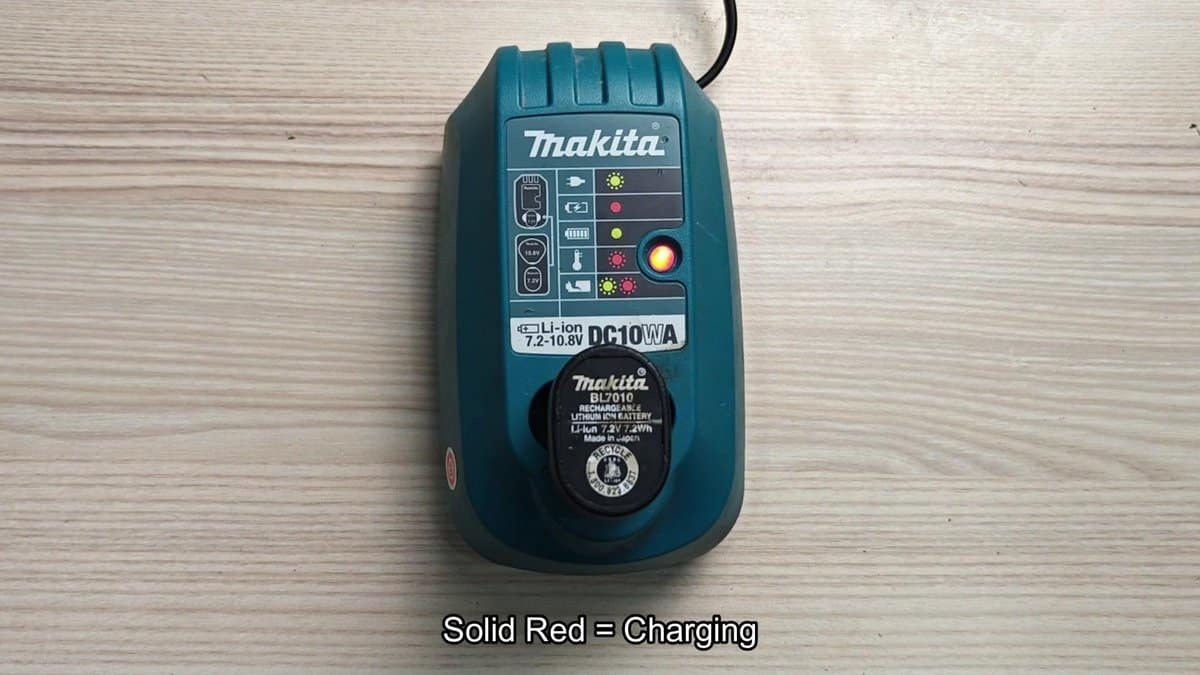
I put my reliable Makita battery in the charger and watched the light do its task.
Right after placing it, the blinking green changed to solid red, that told me that the charging started and the battery takes energy. I left it there and the solid red glow told me that the battery was charging well.
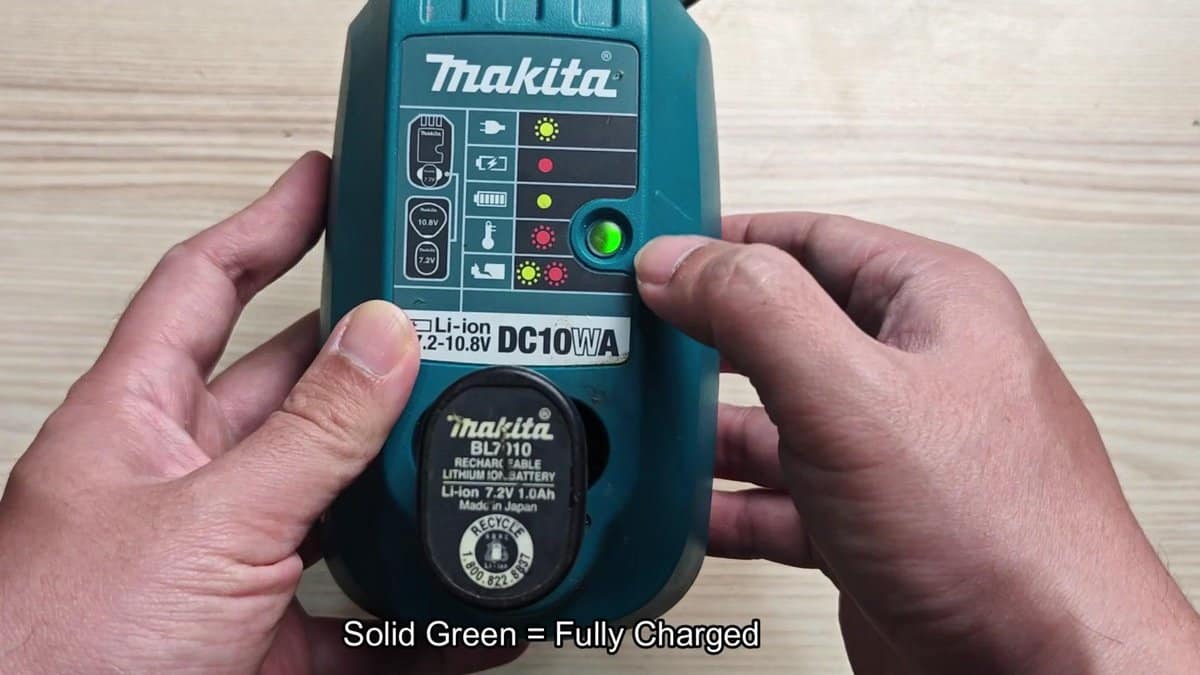
Makita DC10WA Charger Indicator Lights Explained
After a bit of time, the light passes from solid red to solid green, telling you that the battery finished chargign. When it is fully charged, the light stays green while the battery stays in the place. It is nice when things work this simply.
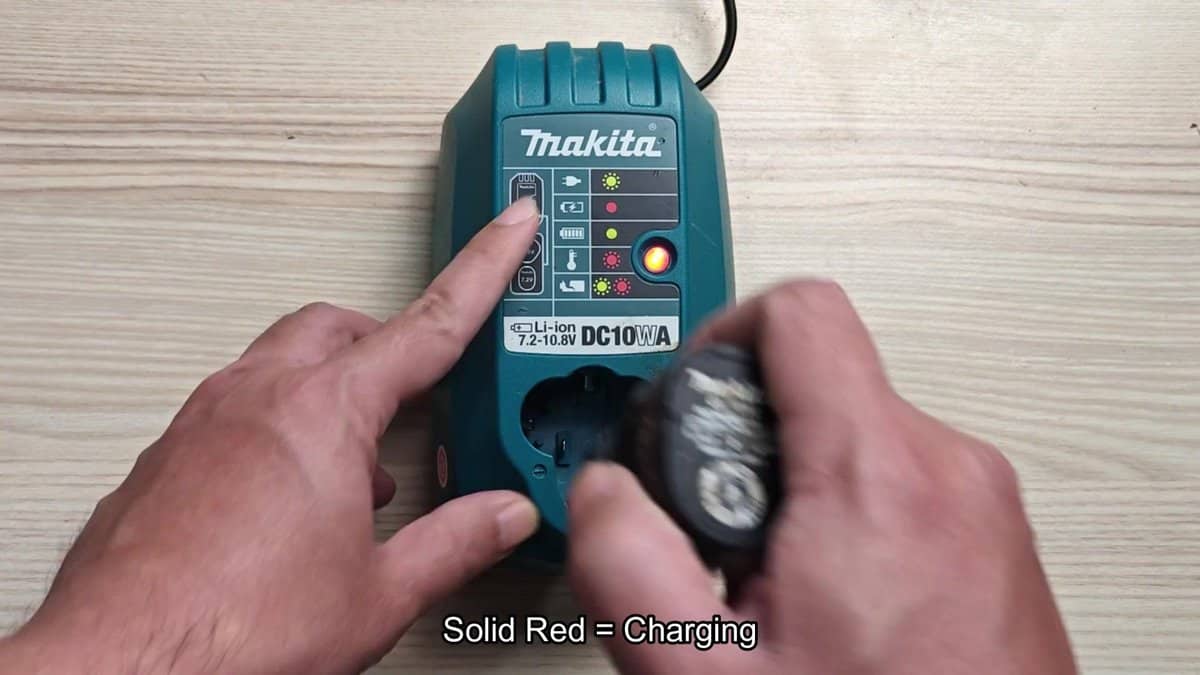
I put a BL0710 battery in the charger to see if the lights behave the same way.
For every battery, the process seems to work the same general weigh.
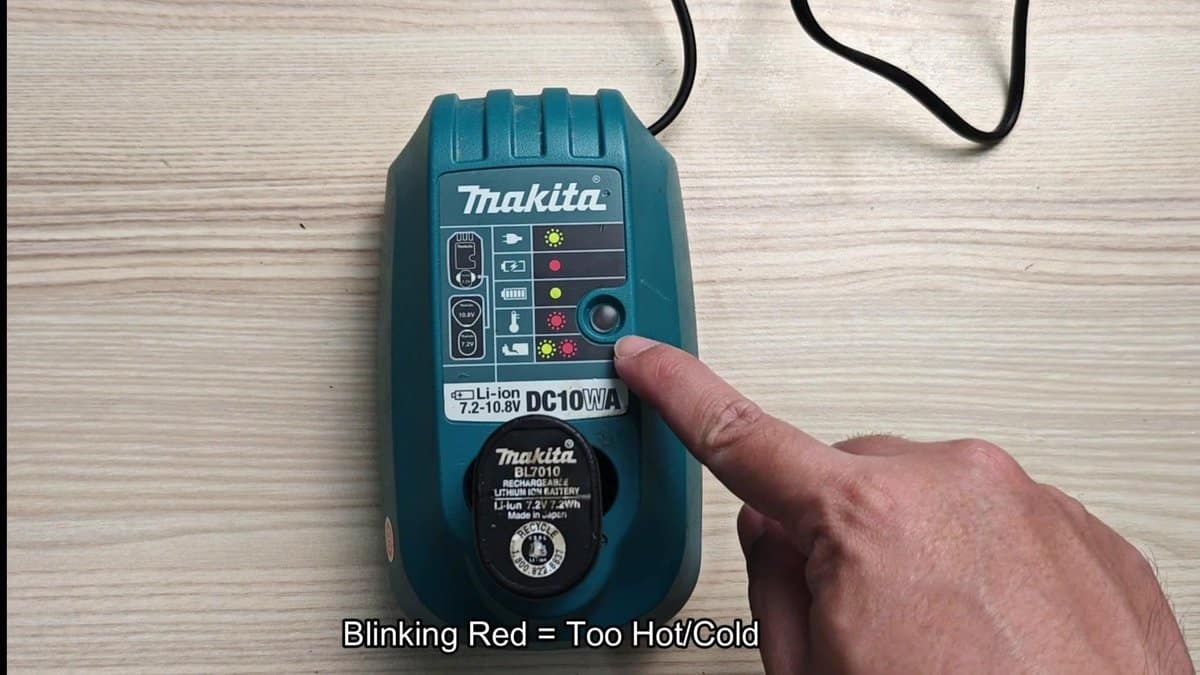
When the battery gets hot, the charger protects your battery. What is that blinking red light? It is basically the warning for the battery to pause, waiting to cool before the charging restarts.
When the battery gets too warm or cold, charging stops until the temperature is right again. Simply give it a minute, and it will start again, charged and readyto use.
When those two warning lights start blinking together, that is a real warning. The blinking together shows that the charger found a problem with the battery itself, not only with temperature. Maybe cell problems, damage or some other issue.
The charger does not want to risk charging the battery when it sees that dangerous light.
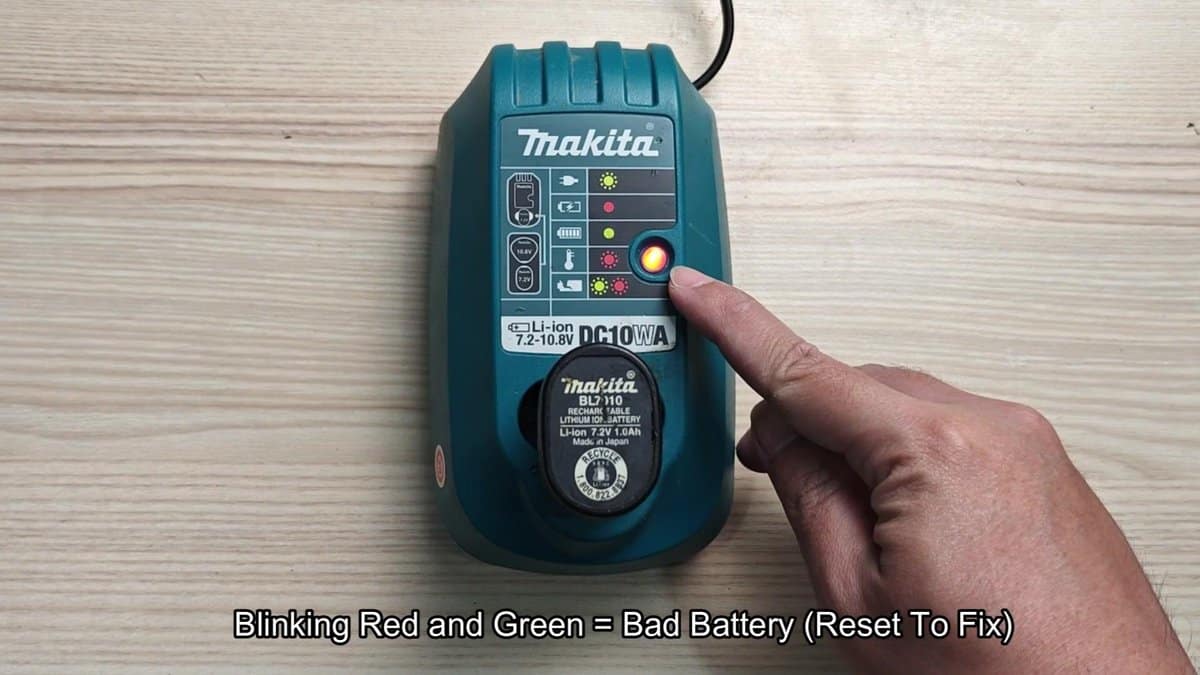
So it happens that there is a handy repair button in that charger. If you see those blinking red and green lights, simply press and keep the battery itself some seconds. Let it go and watch, do the lights change, sometimes pressing the battery for more intact can settle short problems and restart the charging.
It is worth a try before dumping the battery, in my opinion.
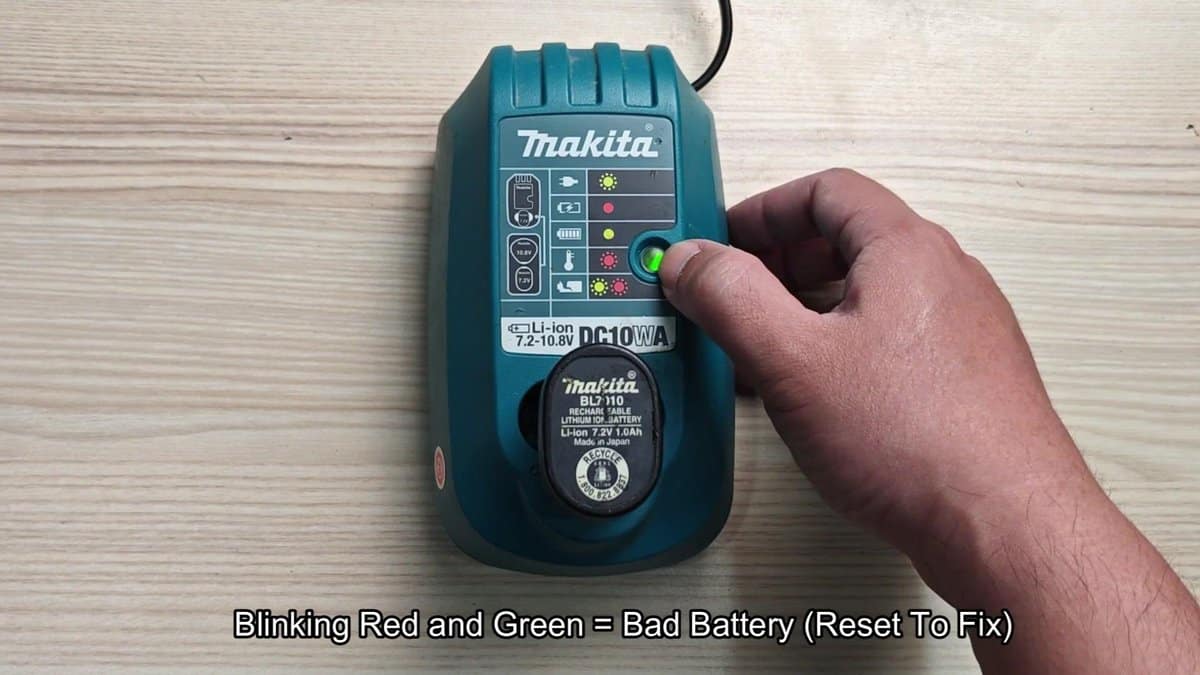
After the repair, the light could go back to solid green, if the battery truly is good, or to blinking red and green, if there is a real problem. Not all batteries can be fixed by repair, but it is a good fast test, it could help you avoid buying new. When you learn what each light means, fixing problems becomes much more easy.
