There are only two lights on a Makita charger. But, they make for a lot of different combinations. There’s a handful of light patterns to keep in mind, each of which signal a different thing.
While the charger says what the lights mean, the instructions can be confusing. So, if you want help to understand the meaning of different lights on your Makita battery charger, keep reading!
Related: How I Fixed My Makita 12V Charger Not Working
If you prefer to watch video, here’s my video explaining the meaning of each light on the makita charger.
What’s The Meaning of Different Makita Battery Charger Lights?
- Charger Blinking Green
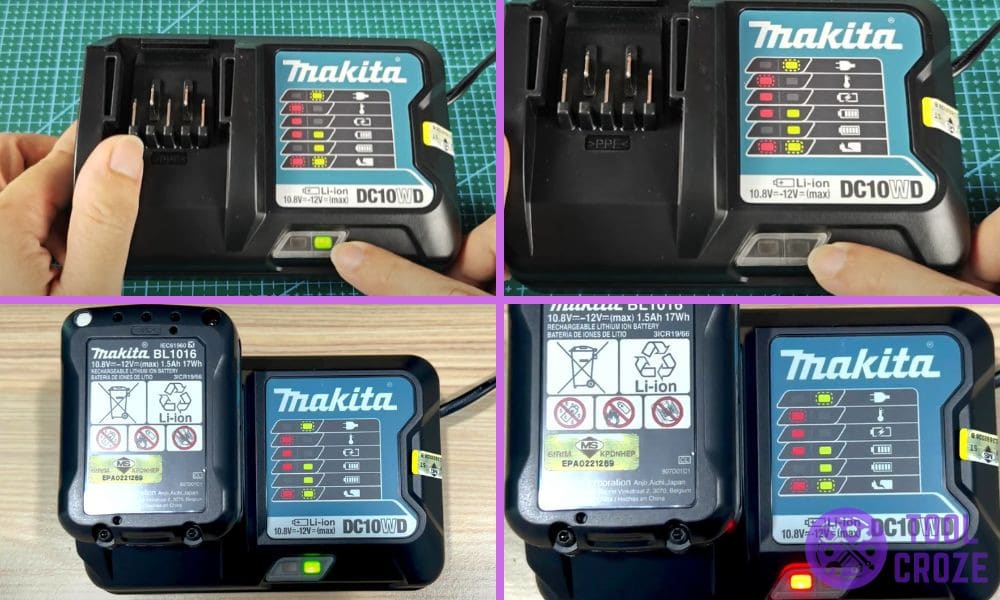
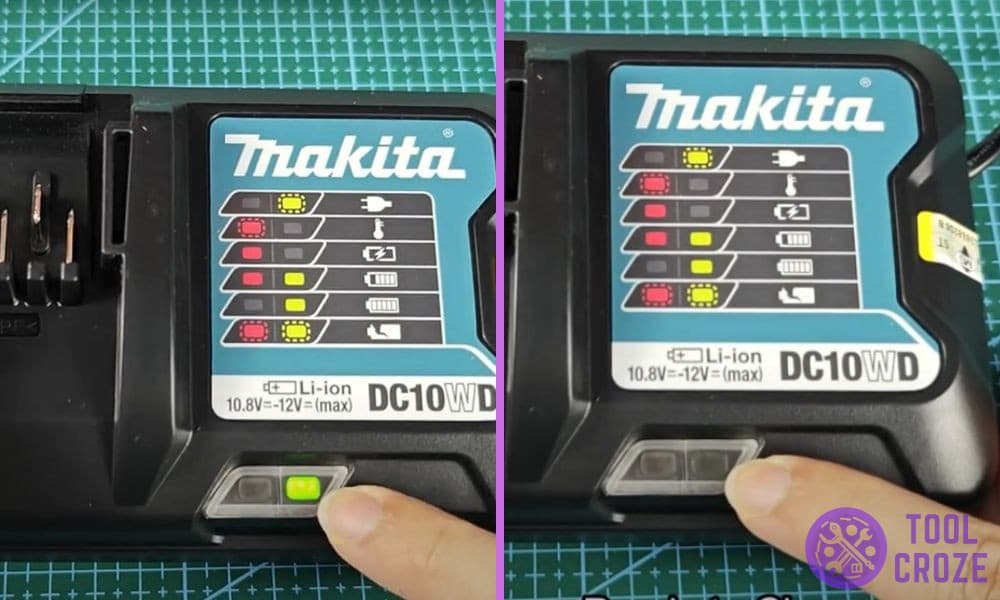
The first and one of the most common lights is the green blinking light. Whenever you see this light, it means that the Makita battery charger is ready to charge.
Whenever you see this blinking light (as seen in the photo below), it’s just the charger telling you it’s safe to insert the battery. It’s ready to provide power and shouldn’t have any trouble.
Don’t plug the battery into your Makita charger before seeing this light. The battery won’t charge, and in worst-case scenarios, it might get damaged.
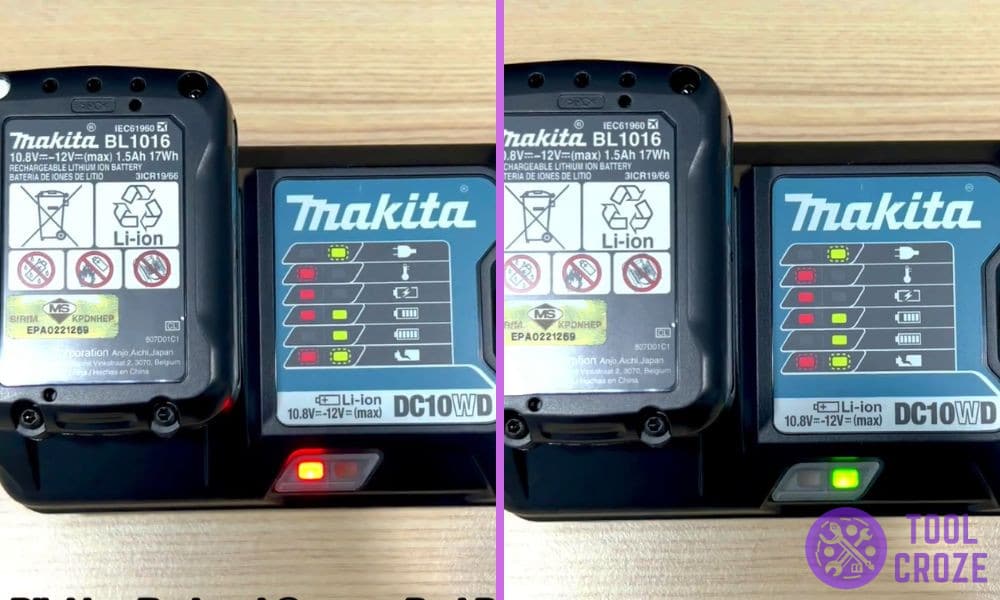
- Solid Red on Charger
After you plug the battery into your Makita charger, you should see a solid red light (as seen below). This indicates that the battery is charging as normal, but isn’t close to full charge yet.
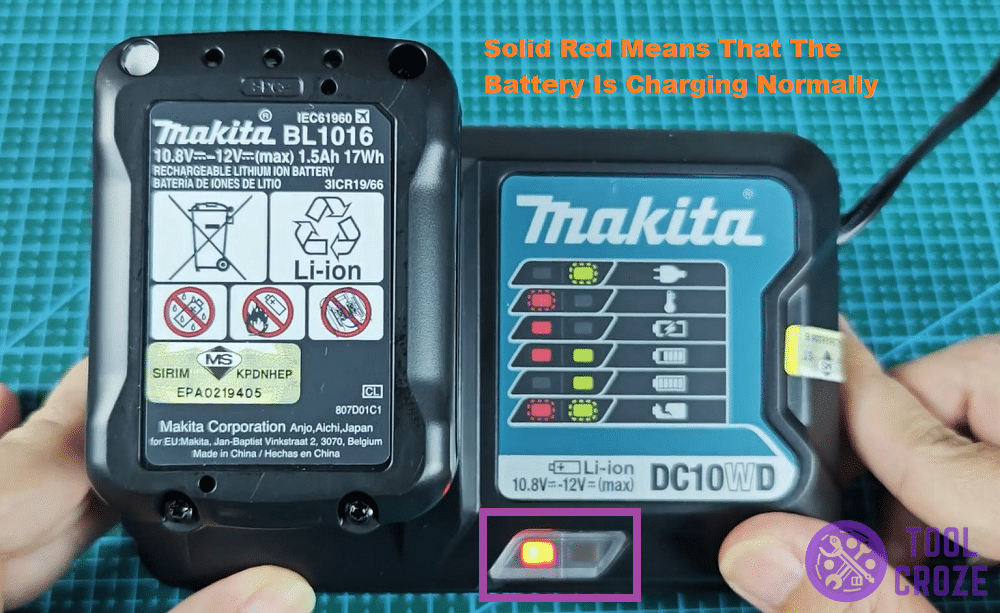
There’s not much else to say about this light other than that. It’s just a way for the charger to let you know that everything is going smoothly, and there’s still time before charging is complete.
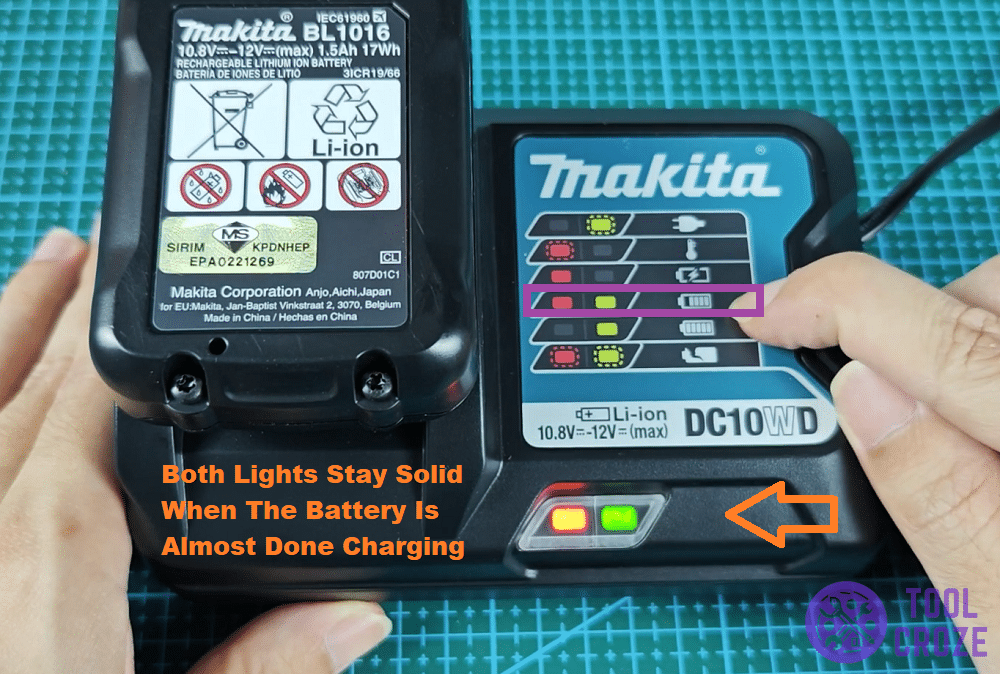
- Solid Red and Green on Charger
After a while of staying solid red, the charger will eventually turn solid red and green at the same time. When both lights stay on together, it means that the battery is almost done charging.
This indicator, which you can see in the image down here, acts as a progress point between solid green and solid red. It lets users know that there isn’t much more time until their Makita battery is at 100%.
- Solid Green on Charger
Out of the normal indicators, the solid green one comes last. It’s what lets users know when their battery is fully done charging.
Once you see this light (from the picture underneath), it’s safe to take the battery out of the Makita charger. Users can put it on their tools and not worry about the charge running out anytime soon.

I don’t recommend leaving the battery on for too long when the solid green light is there. It’s best to take it off ASAP to avoid overcharging and any potential problems.
- Charger Blinking Red
Take your battery off of the charger immediately if you ever notice it blinking red. This indicator is for overheating, meaning that it only pops up when temperatures on the battery are dangerously high.
In this state, the charger will quickly alternate between the two states from this photo. Don’t charge batteries when they’re overheating to avoid serious damage to internal components.

Dealing with overheating batteries is easy. Just set them aside until they return to a normal temperature before trying to plug them on charge again.
- Charger Blinking Red and Green
The worst of the indicators are red and green blinking together at the same time. It symbolizes a dead battery.
If you see the lights in the image below, take the battery off and try to plug it back in with a lot of force. If that doesn’t do anything either, it means the battery is dead.
This light will pop up whenever the charger can’t send power to the battery.
Before replacing your dead makita battery, let’s watch my video below to fix the Makita battery not charging issue.
I performed a “reset” on my Makita battery and it is charging fine now.
The battery isn’t accepting charge, so the indicators flash red and green to let users know it’s dead and likely needs replaced.
Also, my video below would show you how to identify the unhealthy makita battery cell.

The “manual” that came with my Impact river did not explain this, Good job with this video. Much appreciated.