
It’s super annoying when a charger gives out on you. There’s a fully functional device right there, but you can’t use it because the charger just won’t work no matter what.
That’s what happened to me when my Makita 12v charger was not working and charging my batteries. But, I was able to fix it, and I want to share the tips that helped me and other users out!
4 Reasons Why A Makita 12v Charger May Not Be Working
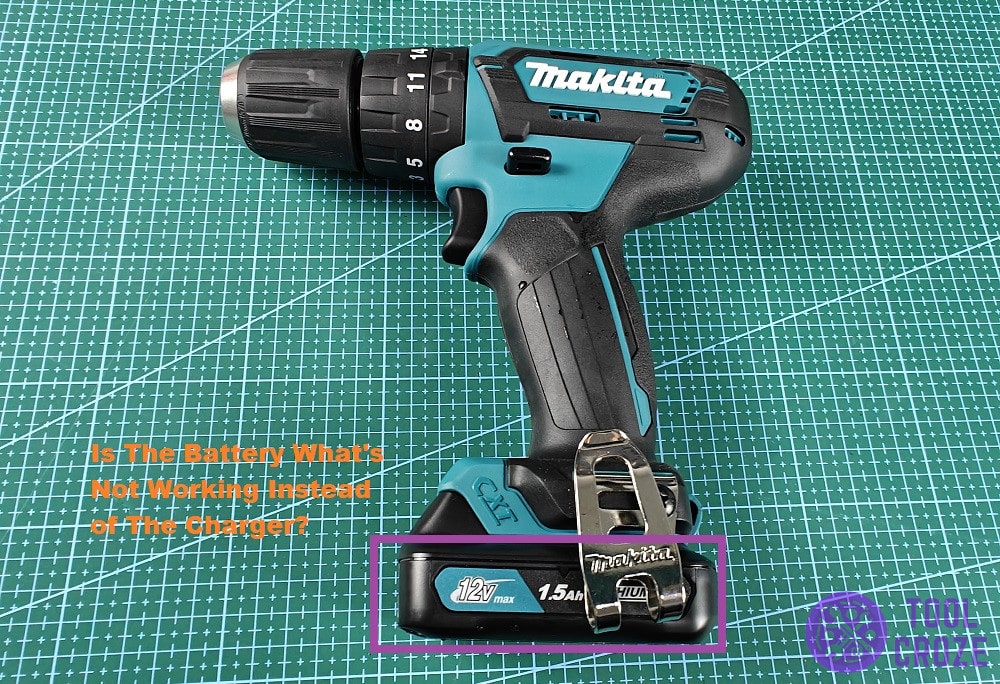
- The Battery Is The Real Issue
Chargers are a lot simpler than the batteries they’re charging. There’s a lot more room for batteries to develop issues compared to chargers. It’s also a lot more common.
That’s why I want you to ensure the battery isn’t the real culprit here. It’s always best to determine what’s really at fault when dealing with charger/battery issues.
All you need is an extra Makita charger or battery. You can borrow one from someone you know or check if a local mechanic can lend you one. Once you have either, plug the battery into the charger.
If the new charger works with your battery, that means the charger was to blame. If the new battery works with your old charger, that means the battery was to blame.
Either way, it’s easy to determine which of the two components holds the blame when you have a spare. Once you find out, if it ends up being the faulty charger, try these other troubleshooting steps.
Sometimes it easy to know if the issue is with the battery. It will blink both red and green light when you put it in the charger. My video down below shows how you can fix this issue.
You’ll need another healthy Makita battery with similar specs to fix this. Using a wire, connect the positive and negative terminals of the two batteries.
Disconnect the two batteries after 15 seconds. The battery should be charging normally now.
To help you more in knowing if it’s battery which has an issue or not, I also have a video which explains the meaning of each indicator lights on a Makita battery charger.
If you see a blinking green, it means it’s ready to charge a battery. A solid red means it’s charging the battery.
A blinking red indicates a temperature issue with the battery, either it’s too hot or too cold.
A solid green means the battery is already fully charged while a solid red and green means it’s almost full.
And as mentioned earlier, a blinking red and green indicates a bad battery.
- Dirty Pins Causing Bad Connection
Makita batteries slide into the charger and connect with it through pins. These pins offer a secure connection that keeps the battery in place.
There is one problem with them, and that’s how these pins can get dirty. Debris gets between the pins on the charger and its battery.
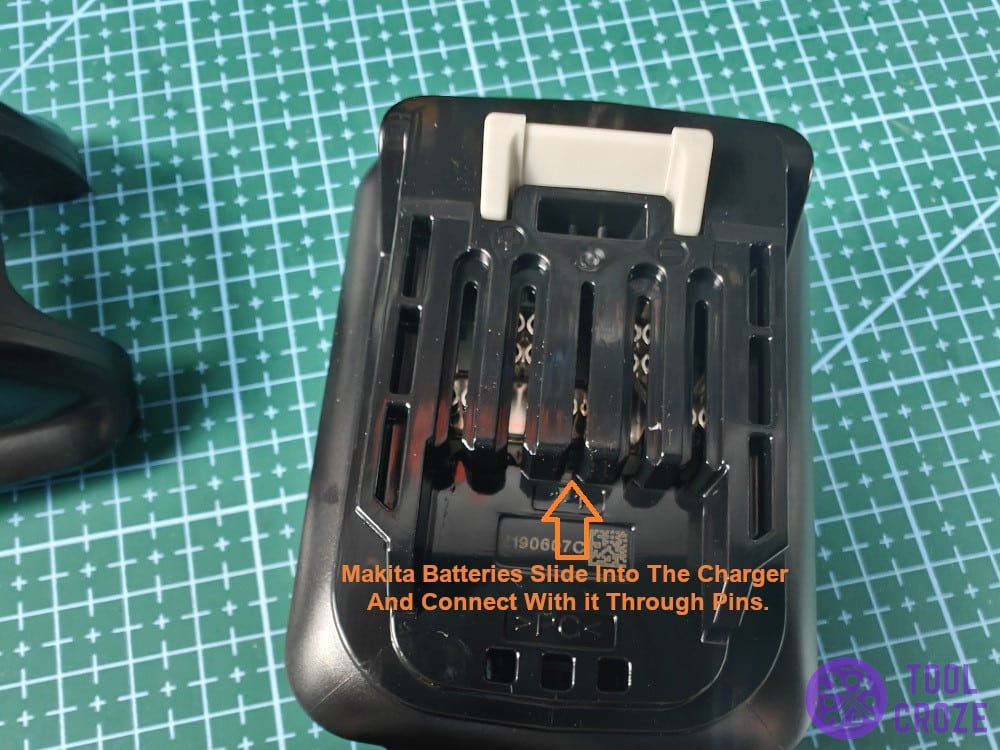
Even though the pieces are tiny, they’re still enough to stop charge from flowing to the battery. This may be why your Makita 12V charger is not working.
The pins in the photo down here show the connection point on a Makita charger. That’s the point you want to clean, and the similar point on the battery.
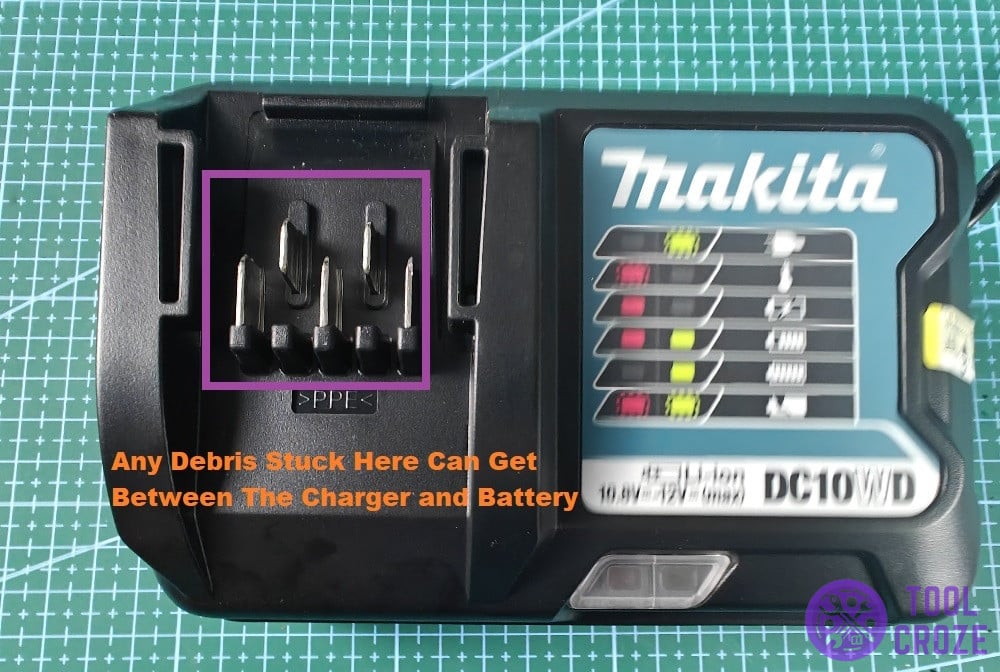
The best way to get debris out is with compressed air. It gets stuck pieces of dirt and debris out of the pins and doesn’t damage them.
Using force to clean the connection points with cloths or something else might cause damage, which ruins the flow of power on the charger permanently.
- Faulty VDR Inside Charger
A Voltage Dependent Resistor (VDR for short) is a small component inside Makita batteries that protects them from surges. It’s great for keeping batteries safe from harm.
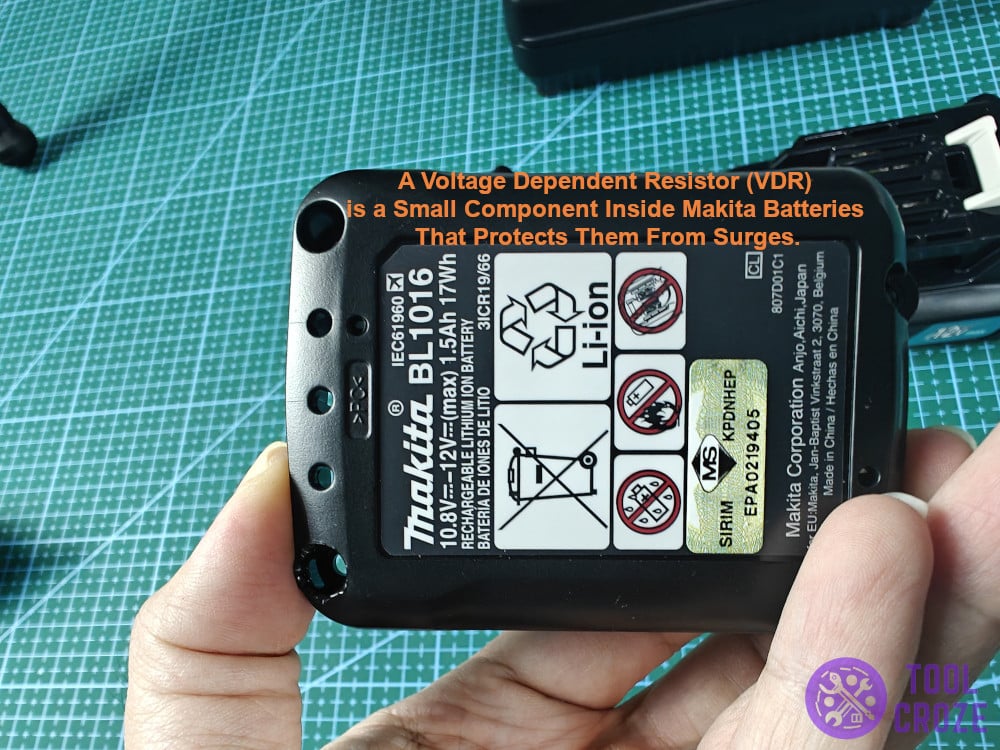
But, this may come at the cost of the charger itself at times. Whenever something happens to the VDR, like a short, it stops the entire Makita charger from functioning.
The resistor is responsible for protection from surges. So, the entire charger stops working once the component is faulty as a failsafe to prevent further damage to itself or the battery connected to it.
Luckily, it’s not that hard to replace. First things first, you have to get it out. If you’re not sure where to look, this image will let you know where the VDR is on your Makita charger.

Use something to remove the VDR from its position. Then, take the insulation covering off. Once you have a replacement resistor, put the covering on that, and then place it back.
You’ll want a multimeter to check if the new VDR is functioning as it should. If the voltage is right, you can put the covers back on and test how your Makita 12V charger is doing now.
- Charger Is Dead
While skipping over the obvious, I went over common things that make a Makita 12V charger stop working. Now, if nothing was helpful so far, I think it may be time to consider that the charger is dead.
It’s likely a blown fuse or a short on one of the diodes. There’s no more proper flow of current inside the charger, and as a result, it isn’t charging batteries like it should anymore.
Users can’t do much about things like shorted diodes. While repairs are certainly possible, I don’t think they’re worth the hassle because of the price of a Makita 12v charger.
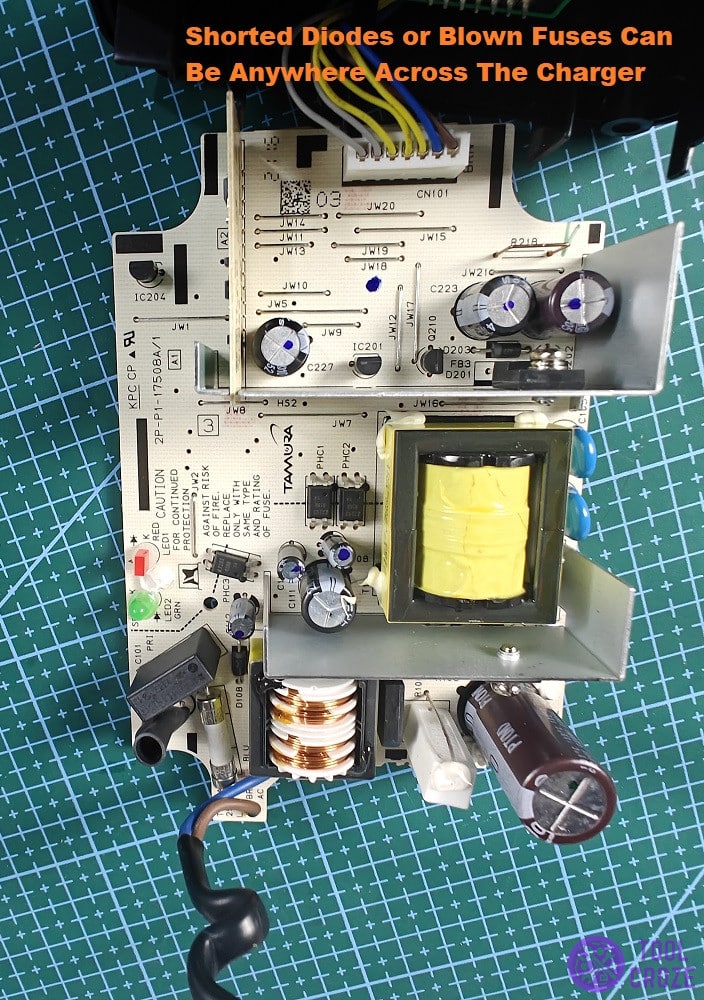
In the picture up there, you can see all kinds of components across the charger. The VDR I talked about earlier was only one of them.
There are so many other potential issues and ones that are a lot more difficult to handle. If you have been using the battery for a long while, I think getting a replacement is a much better choice.
The new charger won’t cost much and will save you a lot of hassle!
