
This article will surely help you fix some of the common Tineco Vacuum Mop problems. But before you continue reading it you can also watch first the short video I made about this topic. You can watch it below.
On the video, I showed the simple ways how can fix problems like not charging, or if it keeps shutting off, not suctioning, brush roller not spinning , not spraying water, keep saying please install dirty water tank error, etc.
How to Fix 13 Common Tineco Vacuum Mop Problems
1. Not Charging
One common problem with the Vacuum is that it does not charge when placed in the charging base or docked. I face this problem when the charging base does not connect properly with the mop.
To fix this try pushing the mop upwards and press the roller down to give the mop support and get the charging pins to touch properly. In some cases the pin itself may develop rust or dirt which prevents the charging to take place.

Clean the charging pins on both the base and the mop with alcohol wipes to continue charging. If neither of the fixes works it may be time to replace the battery as it can degrade over time and stop taking any charge.
I also made a short video about this topic and you can watch it below. On the video, I showed the different ways how you can solve this issue.
2. Automatic Shutdown
Sometimes my Tineco vacuum can shut itself off while cleaning without any reason and even when the battery is full. I noticed that it happened due to a bug or bad battery condition in my mop and caused it to shut itself off.
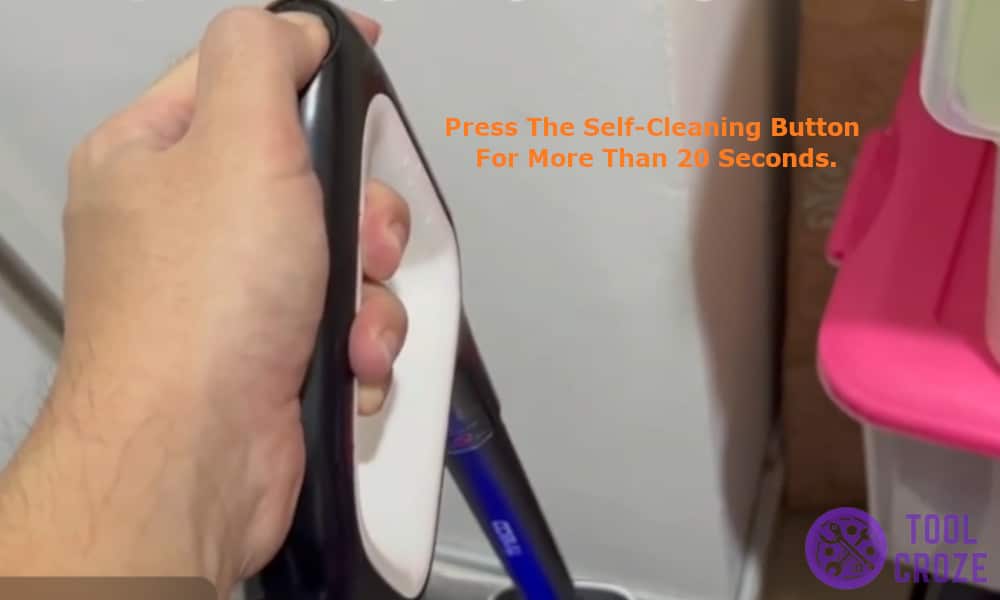
The quick solution to fix this problem is to put it on the charging base and press the self-cleaning button for more than 20 seconds and wait for the self-cleaning process to complete.
This hard reboots the mop and clears any underlying bugs and errors.
I also have a short video about this topic in which I showed how you can fix this problem and you can watch it below.
3. Not Suctioning – Dirty Water Tank Not Filling
If your Tineco vacuum is not suctioning and the dirty water tank is not filling up properly there might be several reasons that it might be happening.
I quickly removed debris, stuck hairs and dirt from the base and the roller area of the mop. Remove the roller and the dirty water tank and clean it using soapy water and dry it completely before attaching it again.
Next, make sure to check for any blockages in the main drain of the clean water tank, if debris is present in the main valve the mop might not dispense any water and the vacuum will not suction anything.
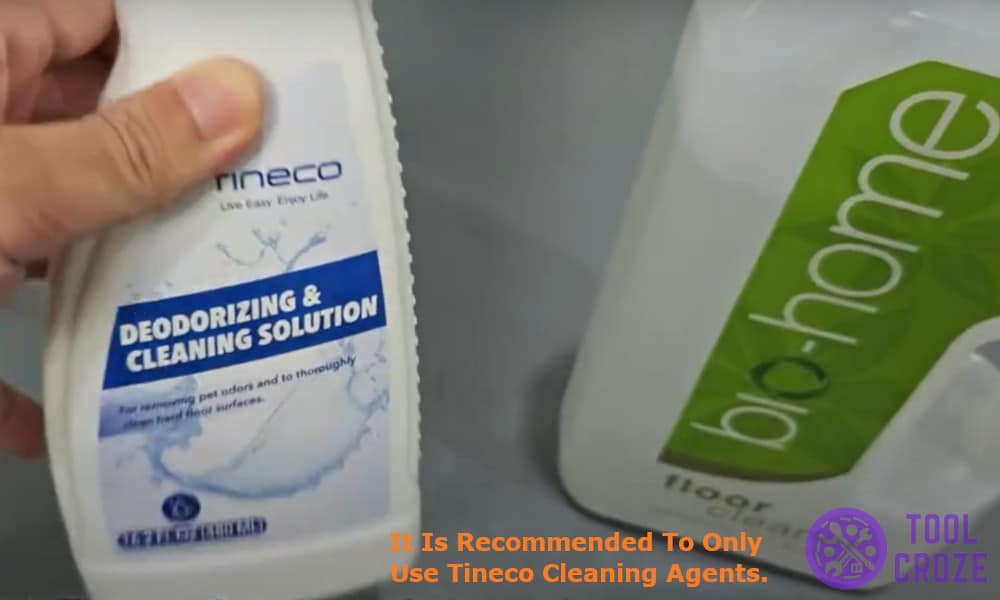
It is also recommended to use only Tineco certified cleaning solution for their mop, using other brands of cleaning solution might affect the suctioning function of the mop.
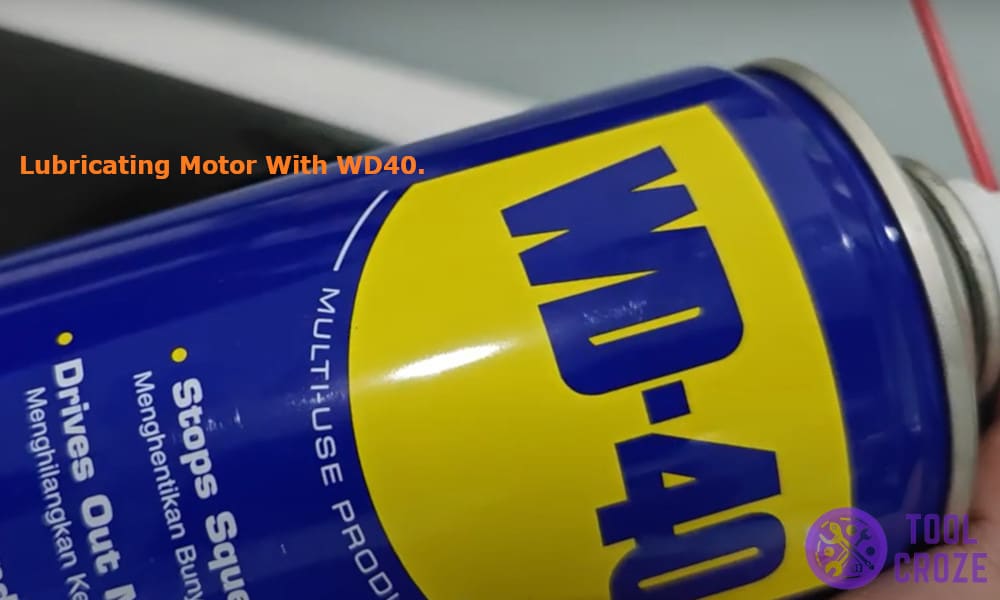
I also inspected if the motor is working or not by checking its suctioning power. If the motor is not working properly apply WD40 at the motor area to lubricate it.
Lastly check if the hose is broken, a broken hose can cause the not suctioning problem and replacing it with a new hose or a temporary plastic hose can help you fix the problem.
I also have a short video about this topic and you can watch it below. On the video, I demonstrated the solutions I discussed above.
4. Brush Roller Not Spinning
The brush roller on your Tineco mop may refuse to spin due to several reasons, it can happen due to a stuck roller, debris stuck in the roller, bad motor mechanism or loose wiring.
Start by removing the roller and giving it a good clean while removing all the stuck hairs caught in the roller, this will help remove any dirt and debris stuck in the roller and help it move again.

Then open the mop head and check for the drive mechanism of the roller, inspect to see if the wirings and the motor are properly connected.
You can also manually rotate the brush roller to see if it feels stuck or not, if it doesn’t feel stuck and everything looks perfect it may be the switch that controls the roller placed near the water pump in the head of the mop.
This switch cuts power to the roller when pressed and may be causing the problem for you, remove it to fix the problem.

And before you move on to the next item, you may first watch the short video I made about this topic. You can watch the video below. I showed there the things you need to check to fix this issue.
5. Not Spraying Water – Clean Water Tank Empty
My Tineco mop stopped spraying water suddenly and I had no clue what caused it. I started by first making sure that the clean water tank was installed properly and the lid was closed tightly.
After that I went to see if the pump was supplying the water or not by checking for any clogs between the clean water tank and the water pump tube.
I manually added water to the tube without the clean water tank and the water came out perfectly but when I placed the water tank back the water did not come out. This meant that my water tank was at fault and the culprit came out to be two loose screws.
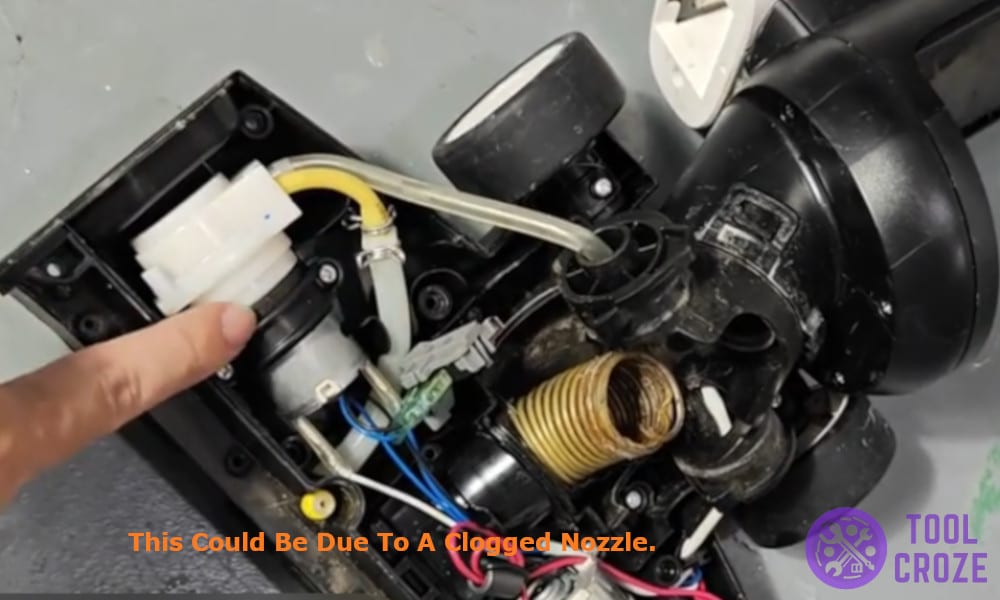
If you still cannot figure out why the water is not spraying it may be due to a bad pump motor or clogged nozzle, replace the motor or unclog the nozzle to fix the problem.
I also made a short video about this topic and you may want to watch it also to see what I did to fix this problem. You can watch the video below.
6. Keep Saying Please Install Dirty Water Tank Error
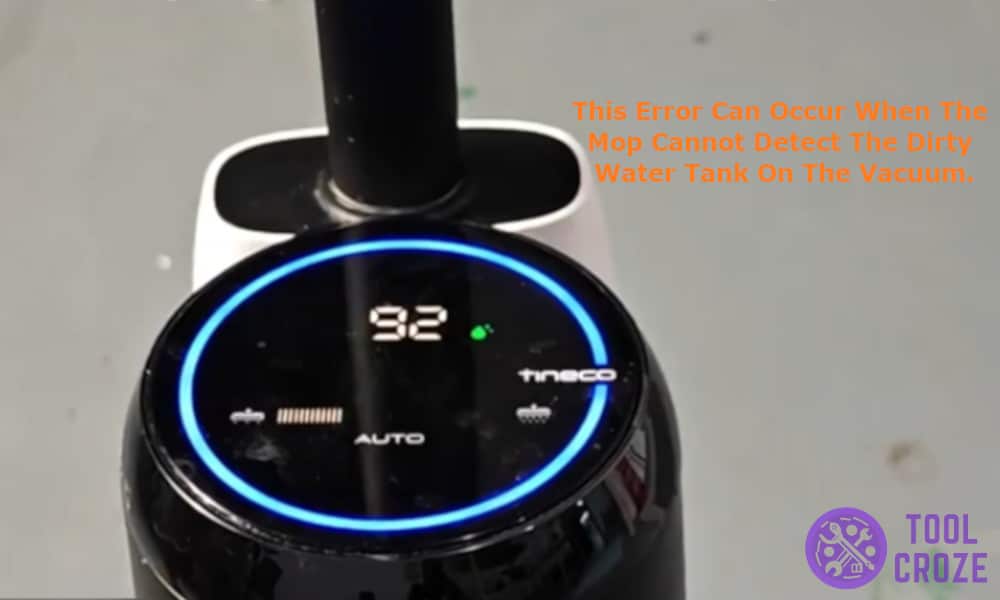
This can be an irritating error but can be fixed in no time, follow my steps to help you get rid of this error.
This error can occur when the mop cannot detect the dirty water tank on the vacuum, it detects it by sensing the metal pins on the tank.
On the first try I removed and placed the dirty water tank back in place ensuring I hear a click sound to see if it fixed anything, unfortunately it did not.
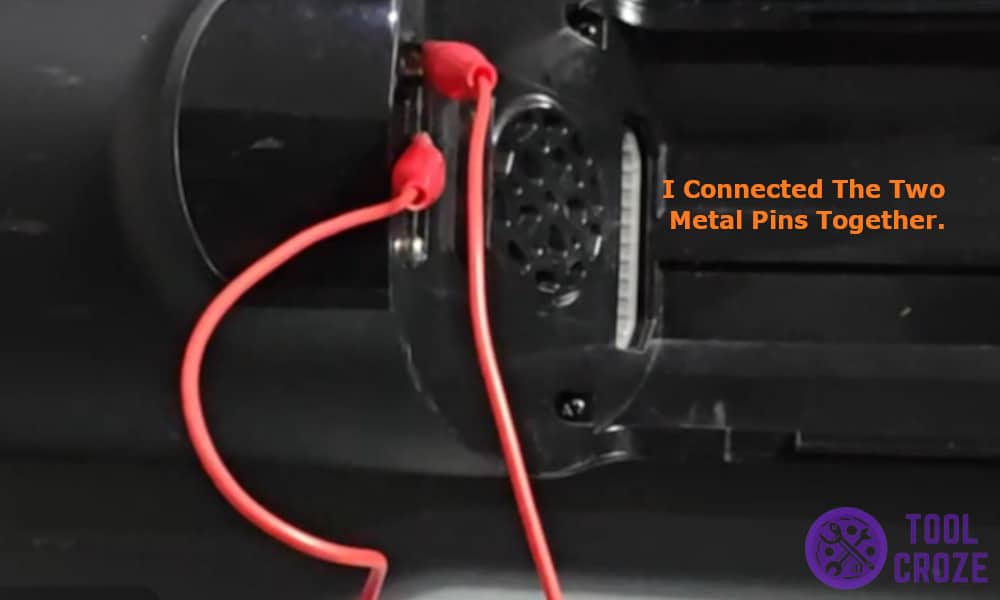
Then I tried bypassing it. I connected the two metal pins together using a small metal sheet to join the right most pins together. This removed the error for me and the mop worked perfectly.
I also have a short video about this topic and you can watch it below. On the video, I demonstrated how I fixed this issue using the solutions I just discussed above.
7. Dirty Water Tank Full Error
Ever received a dirty water tank full warning even when the tank is empty? Well that happened to me recently when the mop kept telling me to empty the dirty water tank even when it was already empty.
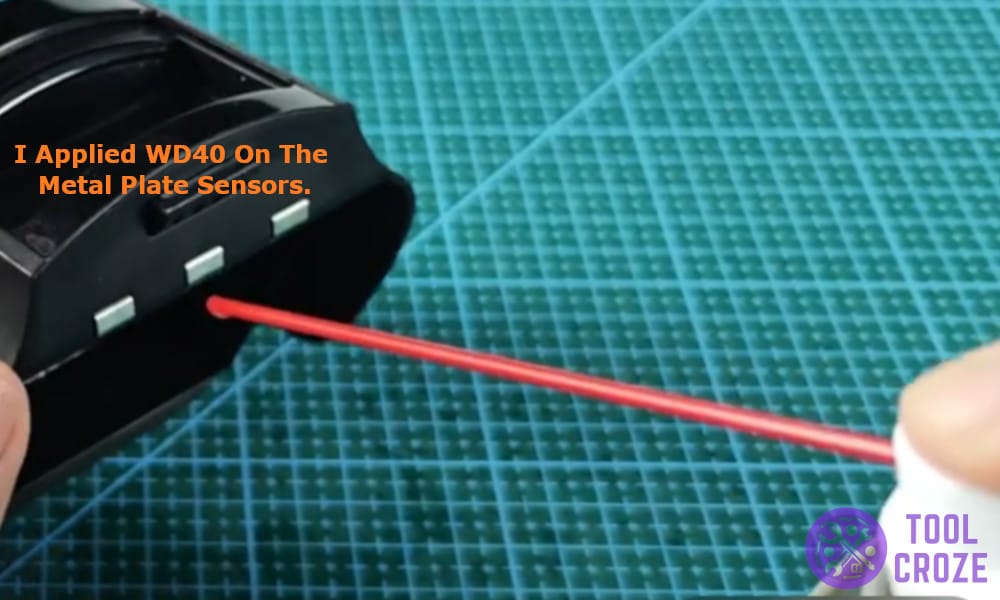
To fix this issue I applied WD40 on the metal plate sensors of both the connecting pins of the dirty water tank and on prongs that go into the water tank.
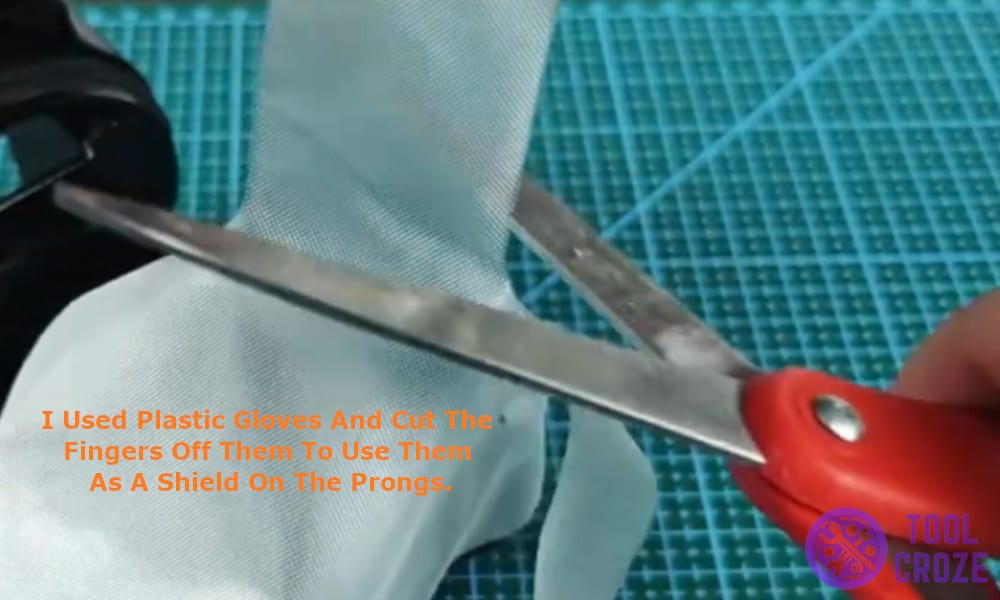
The issue still didn’t go away for me and I had to bypass the sensor to make my mop work again. I used plastic gloves and cut the fingers off them to use them as a shield on the prongs.
It turns out the prongs completes a circuit and indicates to the vacuum that the tank is full, using a shield to prevent the circuit from completing.
Make sure to use the correct cleaning solution as other solutions create too much form which can cause this error to come up.
Additionally make sure to fully clean the dirty water tank’s each component and the mop head itself including the roller head to ensure there is no dirt or debris in it.
8. Please Place Appliance on Charging Base Error
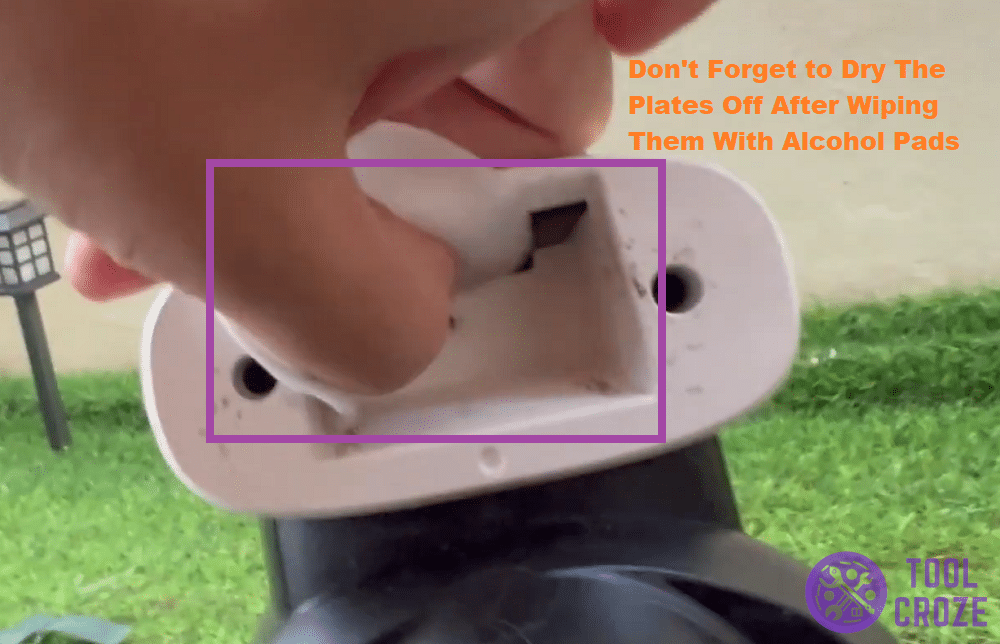
You might notice that your mop might only charge when pushed into the charging base, this can happen due to the charging pins on the mop not aligning with the pins on the base of the charger.
To fix this issue I tried pushing the mop upwards, and pushed the roller head down to give it proper support and make contact with the pins properly.
I also made sure to clean the charging pads on both the mop and the charging with alcohol wipes to remove any debris and dirt to ensure a proper charging process and remove the errors.
I also have a short video about this topic in which I demonstrated the different ways to solve this issue that I just talked about. You can watch the video below.
9. Please Restart or Contact Customer Service
After some online research I found out that the problem was likely because of the pump failure. I started by trying to get the motor to work again, so I applied WD-40 in the motor area.
Then I used a screwdriver to manually spin the blade to remove the seaform effect. Once I was done with the cleanup and lubrication of the motor, all that was left was the reset and restart of the motor.
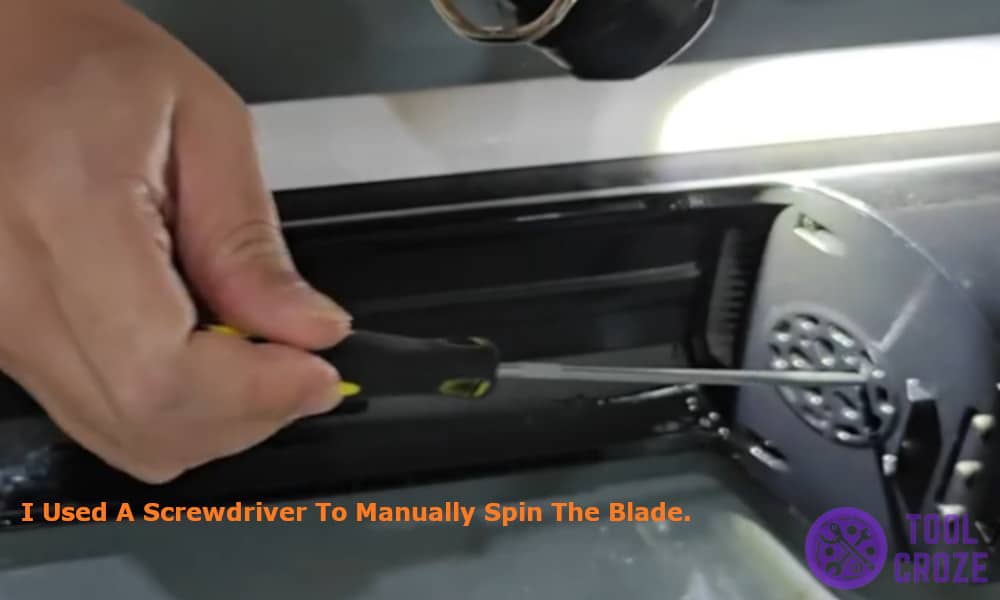
I long pressed the self cleaning button on the top of the handle while the vacuum was on the charging base, this can resolve all the errors and fix the issue.
If the error still continues, contact the customer support and apply for motor replacement through the Tineco Life App.
I also have a short video about this topic and you can watch it below to see how I fixed this issue.
10. Broken Tube, Leaking Water
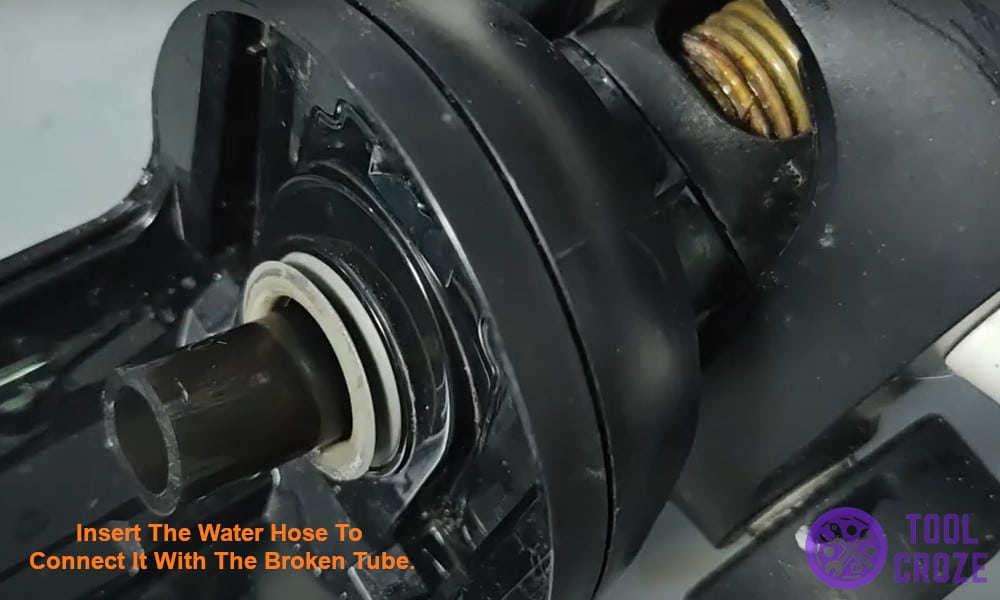
A broken tube or hose of the Tineco mop can cause the water to leak while cleaning and it can also lead to false clean water, no suction errors on the vacuum.
You can fix this problem by using an old piece of water hose and inserting it in the broken to use it as a secondary hose. I found an old piece of rubber hose and inserted it inside the hose by hammering it in gently until it went in completely.
Alternatively you can replace the entire hose which can be a little difficult but it is definitely possible, the entire kit can be found on amazon at cheap prices.
I also have a short video which shows how I did the solutions I just discussed above. You can watch the video below.
11. Keep Saying Clean Water Tank Empty Error
If your Tineco mop keeps telling you to fill your clean water tank despite it being full then this is what might be causing that problem in the first place.
I also faced this issue and I looked to see if the clean water tank was dispensing water or not.
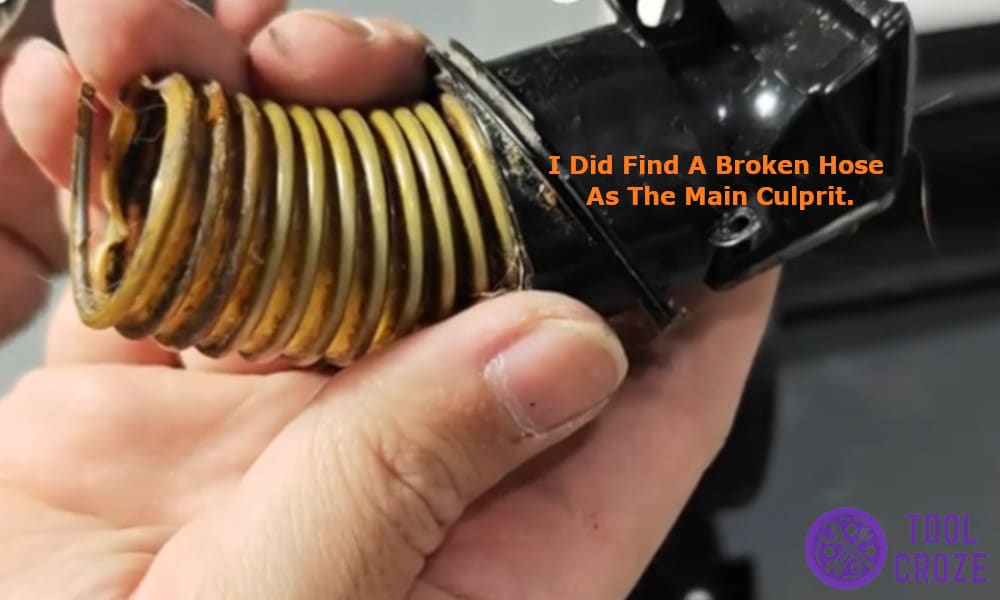
The output valve seemed to be working fine so I moved on to check if there was any debris stuck in the drain hole where the tank sits, while there was nothing there I did find a broken hose as the main culprit.
Replacing it with a new one helped me fix the issue. Also make sure to only use Tineco certified cleaning solution only, other solutions can cause foam buildup and cause the clean water tank empty error.
12. Clean Debris Channel Error
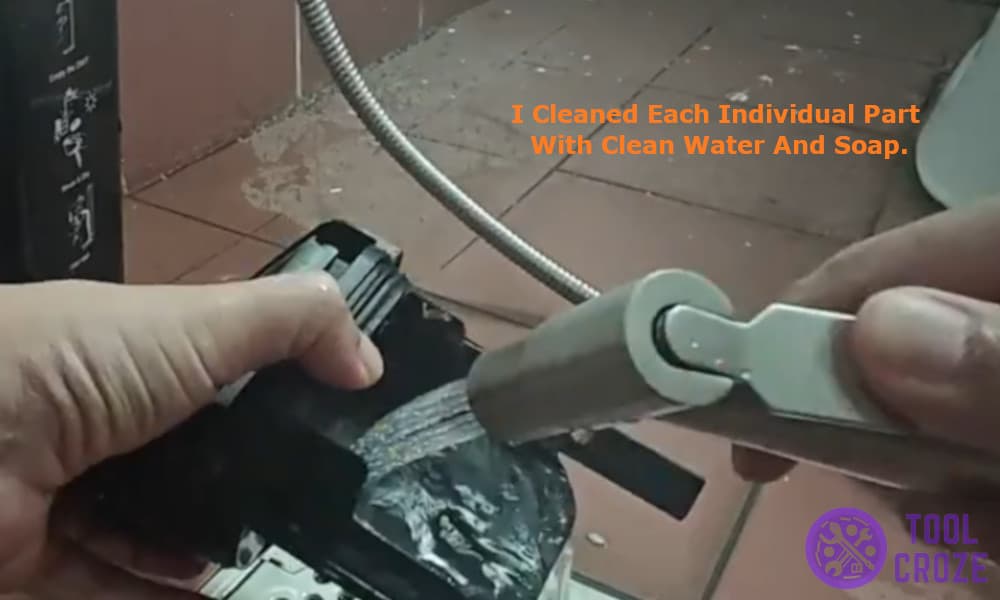
If your Tineco mop gives you the clean debris channel error, you might need to clean your dirty water tank. I disassembled it and cleaned each individual part including the filter with clean water and soap.
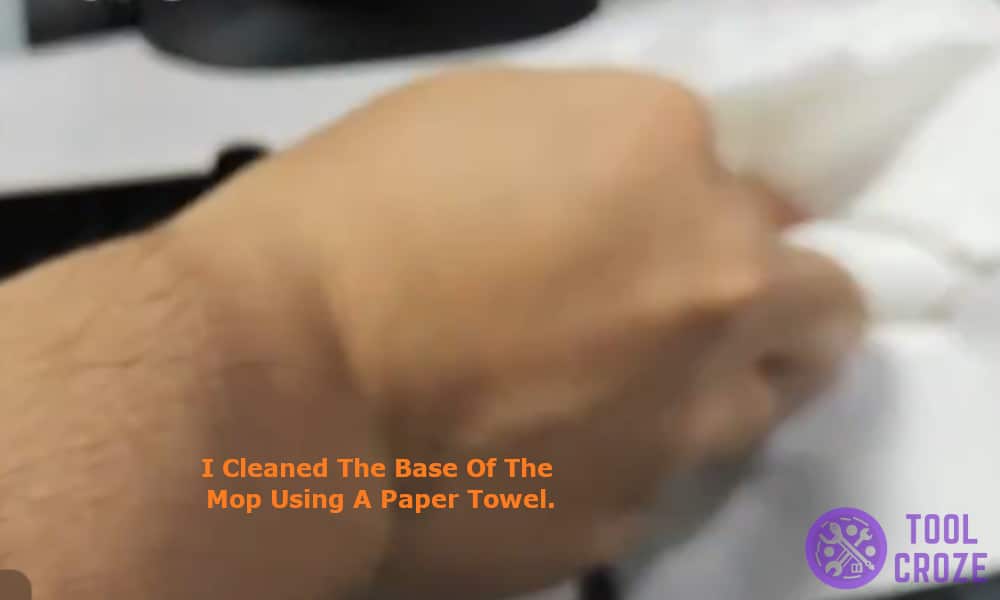
I also cleaned the base of the mop using a paper towel to remove any debris such as stuck hairs, dirt or other loose debris.
An sensitive and faulty dirt sensor can also cause this error, replacing it can fix the issue for you if cleaning the tank does not.
And like many of the previous items on this article I also made a short video about this topic in which I showed how I fixed this problem. You can watch the video below.
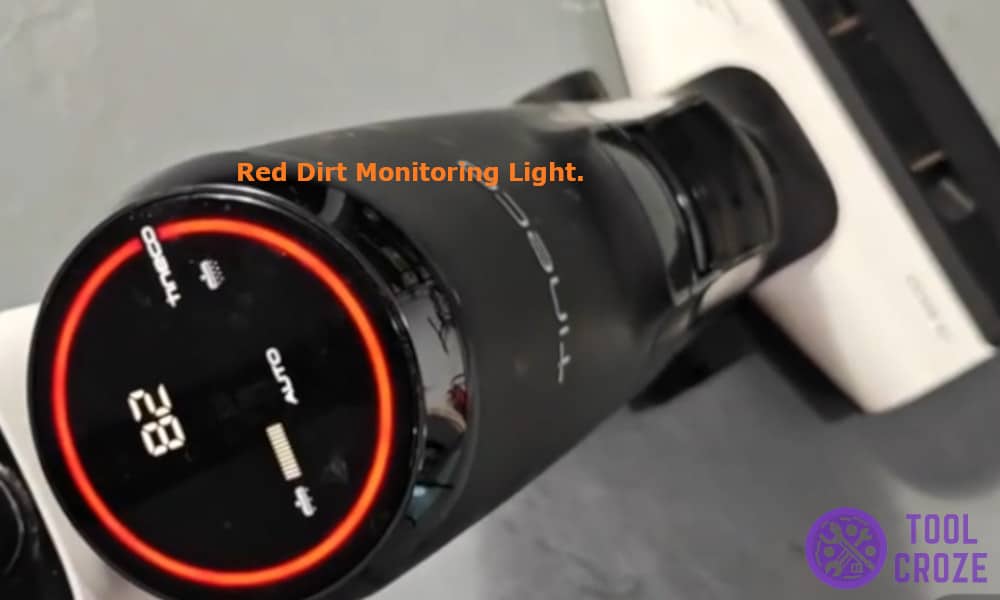
13. Red Dirt Monitoring Light
If you see the red monitoring light all the time on your Tineco vacuum it might be caused due to faulty sensor or debris and dirt in the base of the roller.
I quickly cleaned the mop head and the roller with clean water and soap to remove and stuck debris and dirt.
Also check for any blockages in the clean water tank main drain hole to ensure water is being fed to the spray properly, and clean the dirty water tank properly with its each component cleaned individually.
Using the wrong type of cleaning agent and dirt buildup near the dirt sensor can also cause this error.
And lastly, I also have a short video about this topic in which I demonstrated how I solved this issue. You can watch it below.
