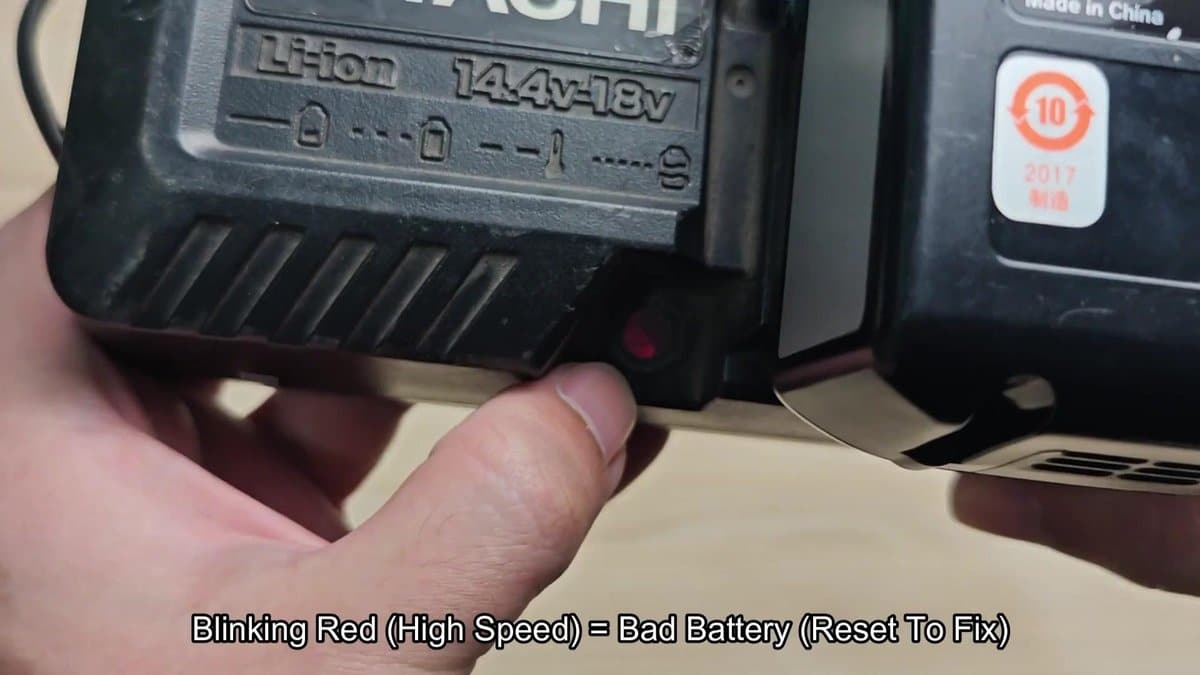
Hitachi 18V lithium battery that shows flashing red light on the charger is commonly considered dead by most users. Actually, you can revive such batteries using three different methods and push them to work again without spending money for new. All three methods were tested on a battery that did not want to charge, and each one succeeded.
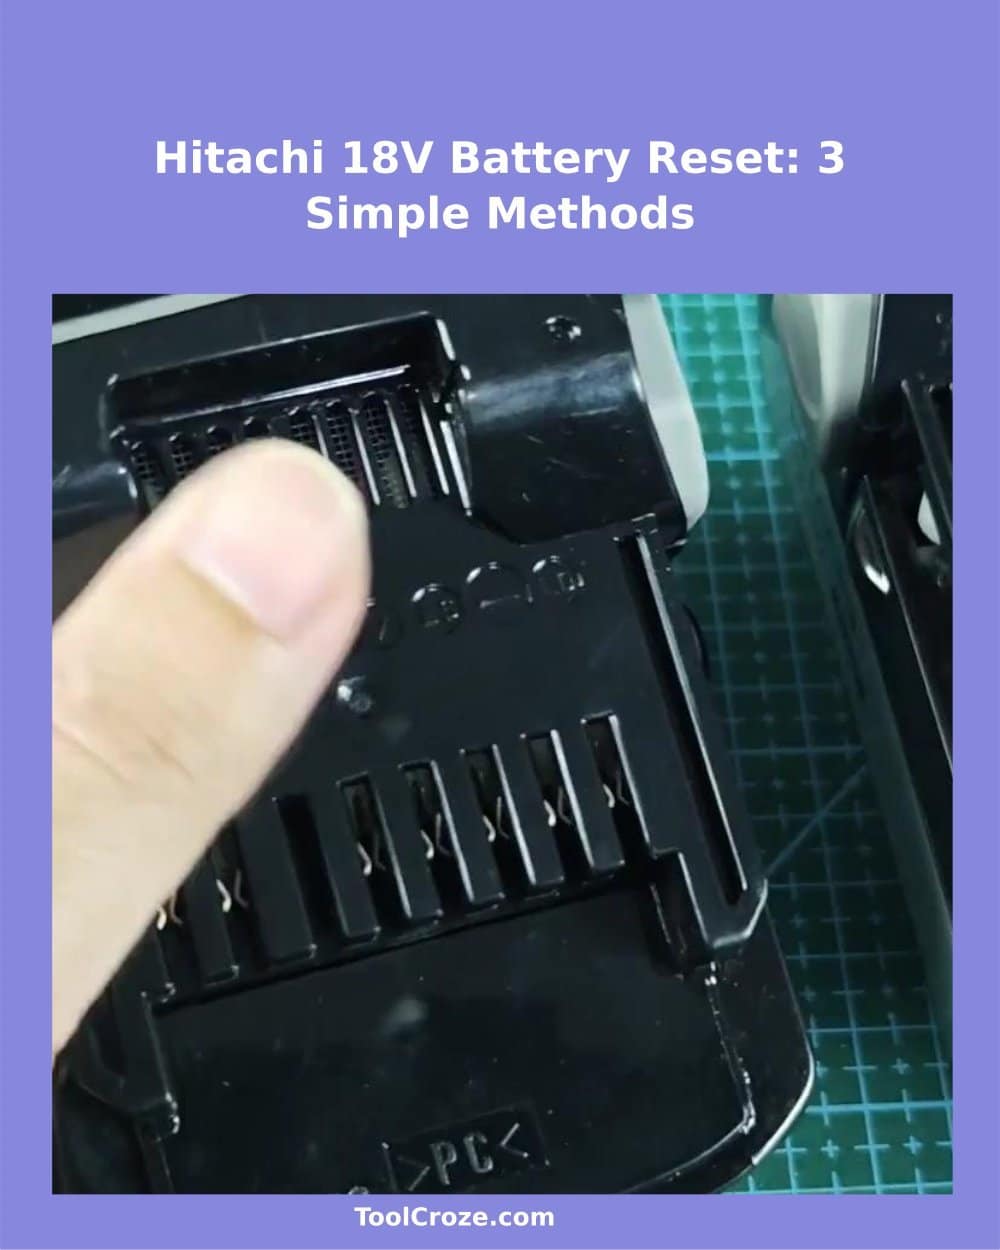
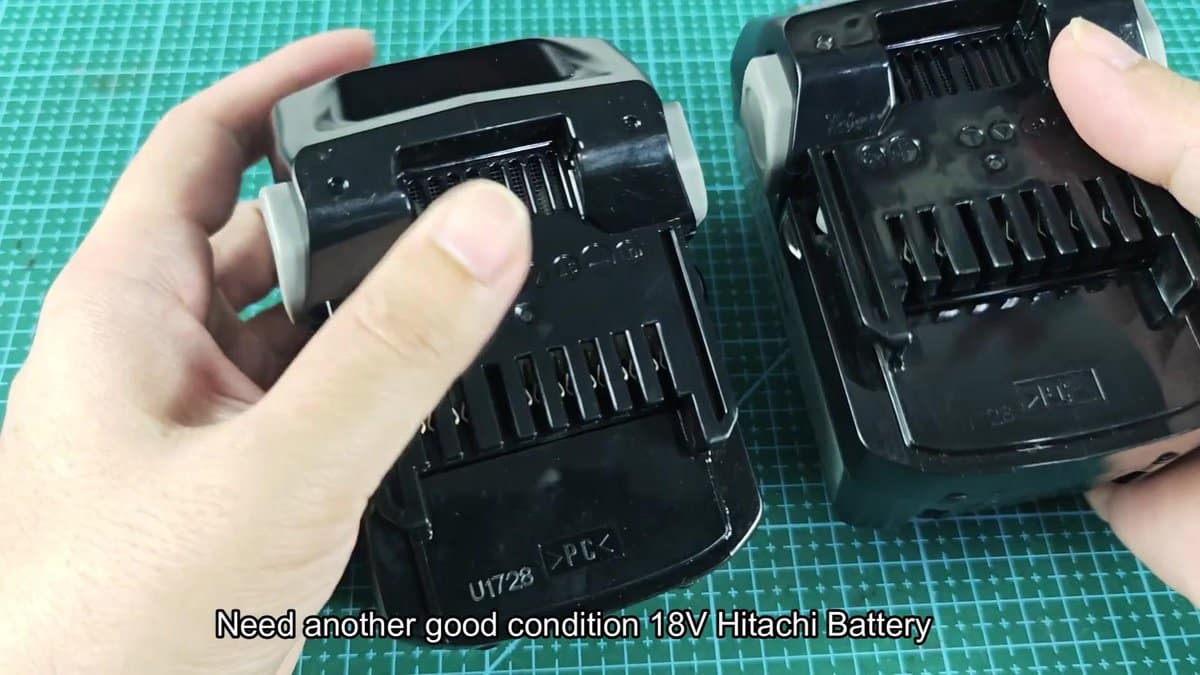
Using another good Hitachi 18V battery to jump-start the dead is the first approach. This method works, if you have a back-up working battery block of same type beside you, what quite commonly happens, when you own several Hitachi tools. Turn both batteries over to strip the hidden contacts below.
Each of them has clear marks printed in the plastic that points that terminals are positive and negative. Between them are C+ for the positive and C- for the negative, together with other letters as T, V, LS and D for the other spots.
3 Ways to Revive a Dead Hitachi 18V Lithium Battery
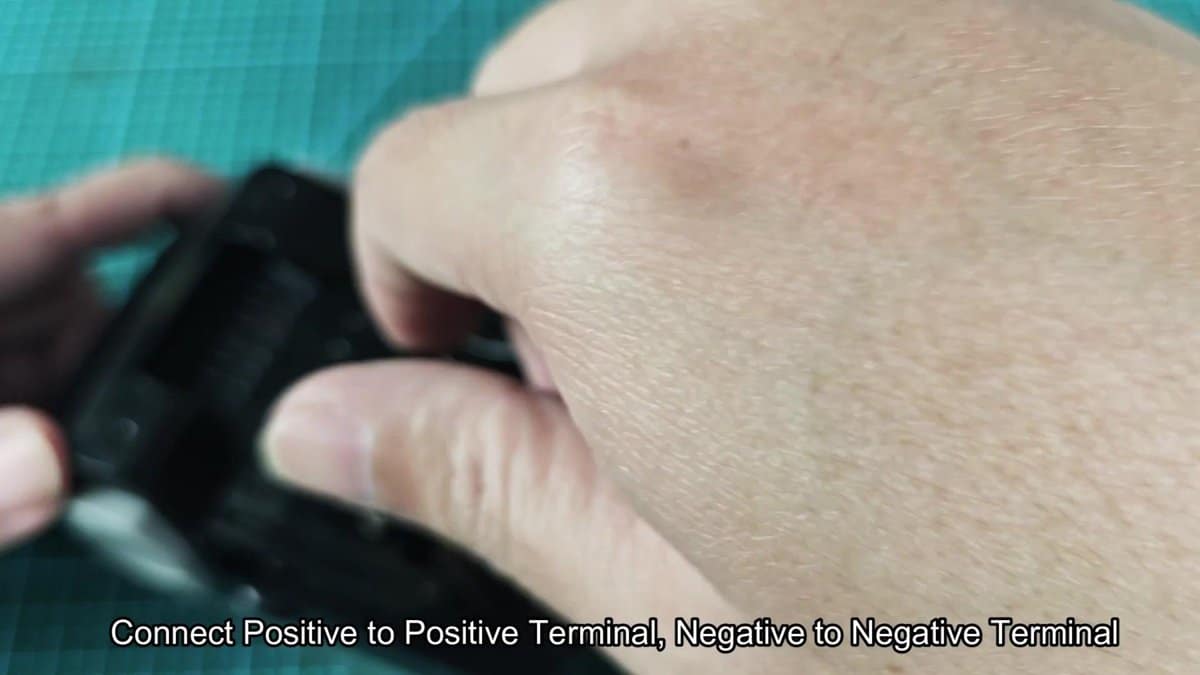
When you identified the two batteries, take a set of wires with ring ends. Those rings have metal hooks that ensures good touch with the terminals of the batteries. Connect positive with positive and negative with negative between the two blocks.
First attach the black negative wire, carefully laying its ring on the negative contact of one of them.
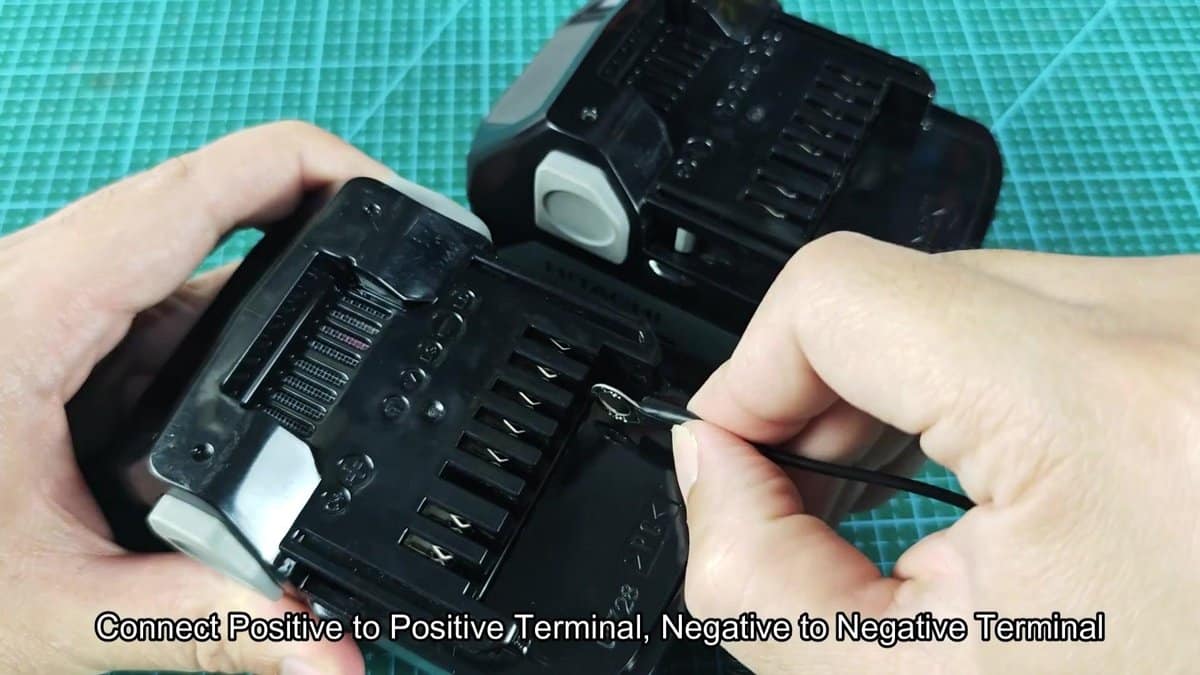
When the black wire already is set to both negative spots, comes the turn of the red positive wire. Lay the ring on the positive contact of the weak battery and press it flat. If the unit is not strong, the revival will not succeed like it should.
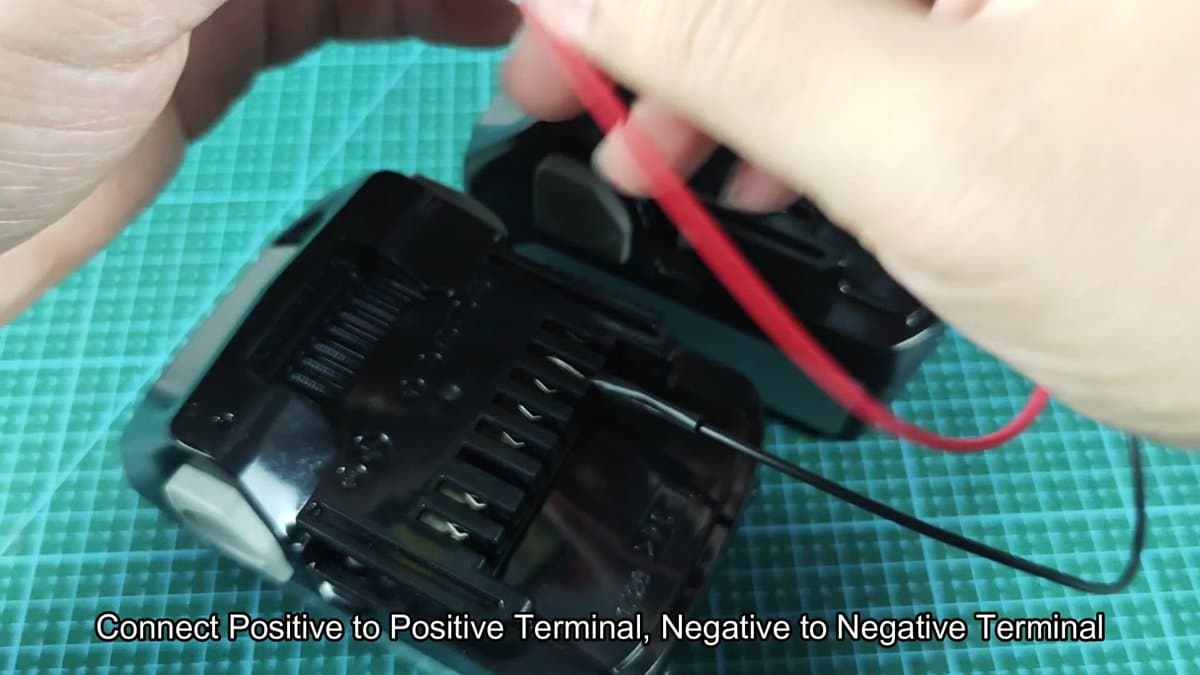
When both wires bind positive with positive and negative with negative, leave everything clipped together for around fifteen seconds. The film warns to quickly disconnect everything immediately if the wires start to smoke, and stress, to seriously avoid short circuit. Watch closely the whole time to check that nothing warms too much.
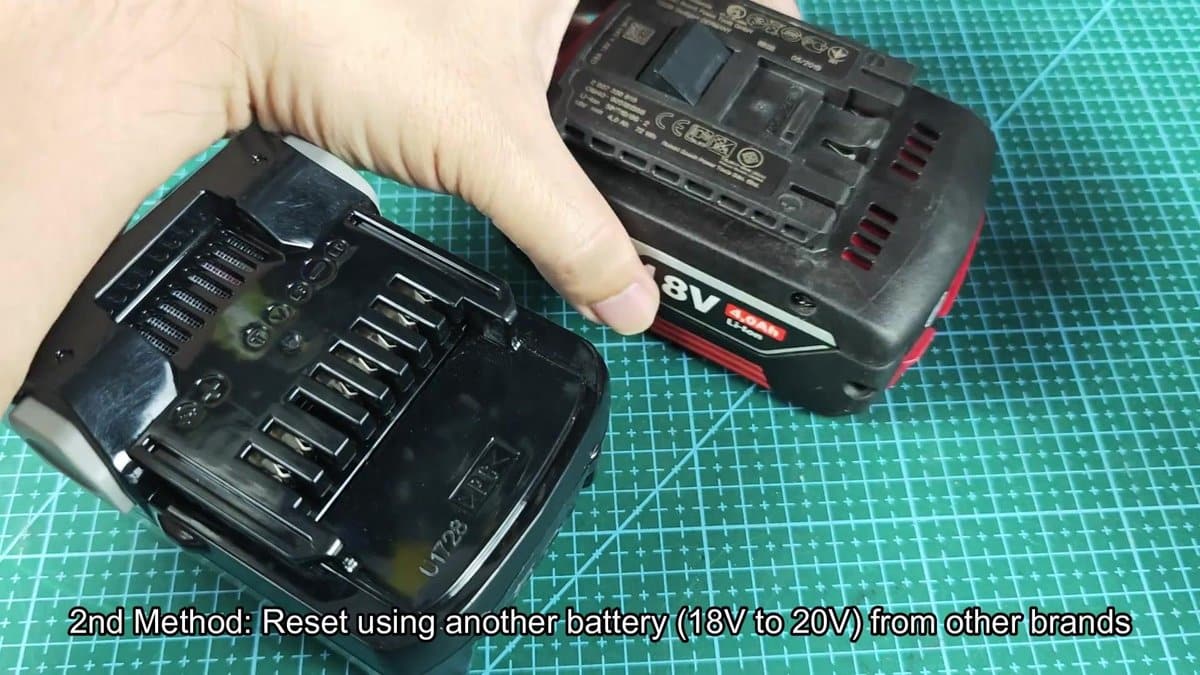
Nothing happened. After that the wires stayed cold, so disconnect both and then the dead battery already can be tested on the charger. Instead of another Hitachi block, you can use an 18V to 20V battery of other brand.
It gives more freedom, because many folks with cordless tools usually have batteries of companies as Bosch, DeWalt or Milwaukee in their workshop. For the sample one took Bosch 18V 4.0Ah lithium battery as the giving unit.
Turn the Bosch battery over to find the positive and negative terminals below. Different marks sort the contacts differently, but the polarity marks always are pressed in the plastic body. The date mark on this Bosch block pointed 05/2019 together with various signs that shows what terminals to use.
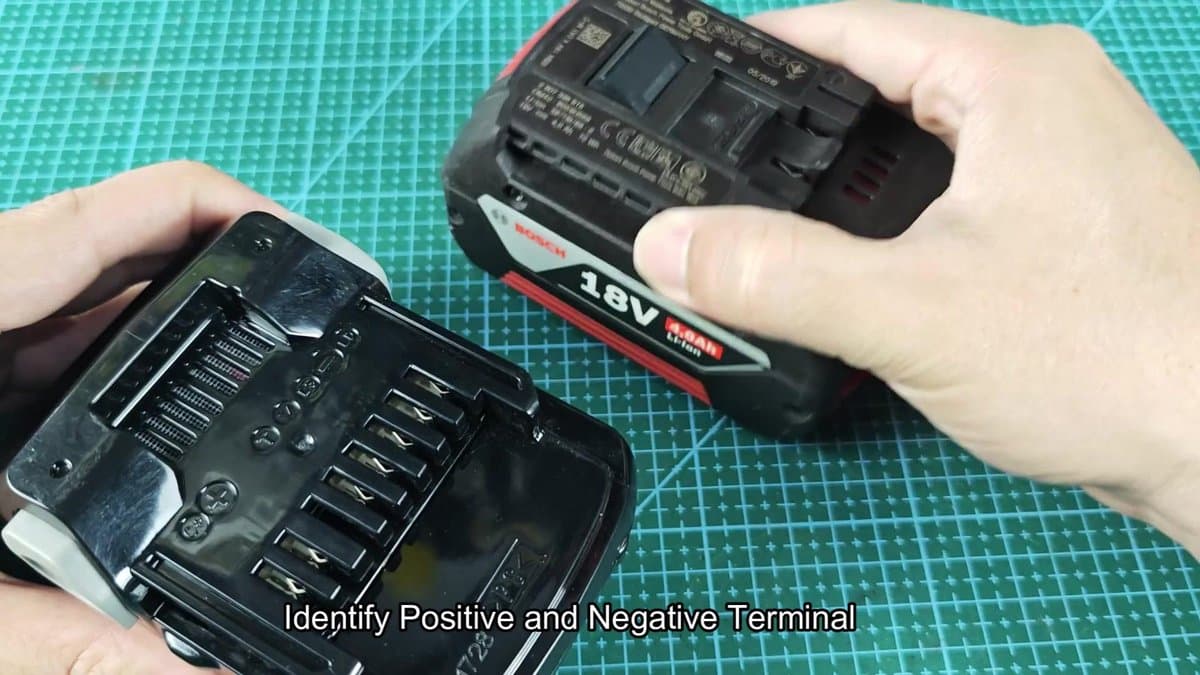
When the terminals of the Bosch battery are found, lay the dying Hitachi block near on the work table. In this case the Hitachi unit seated in a battery holder or handle that opened the hidden contacts for simpler link. Use the same red and black wires with ring ends from the first method.
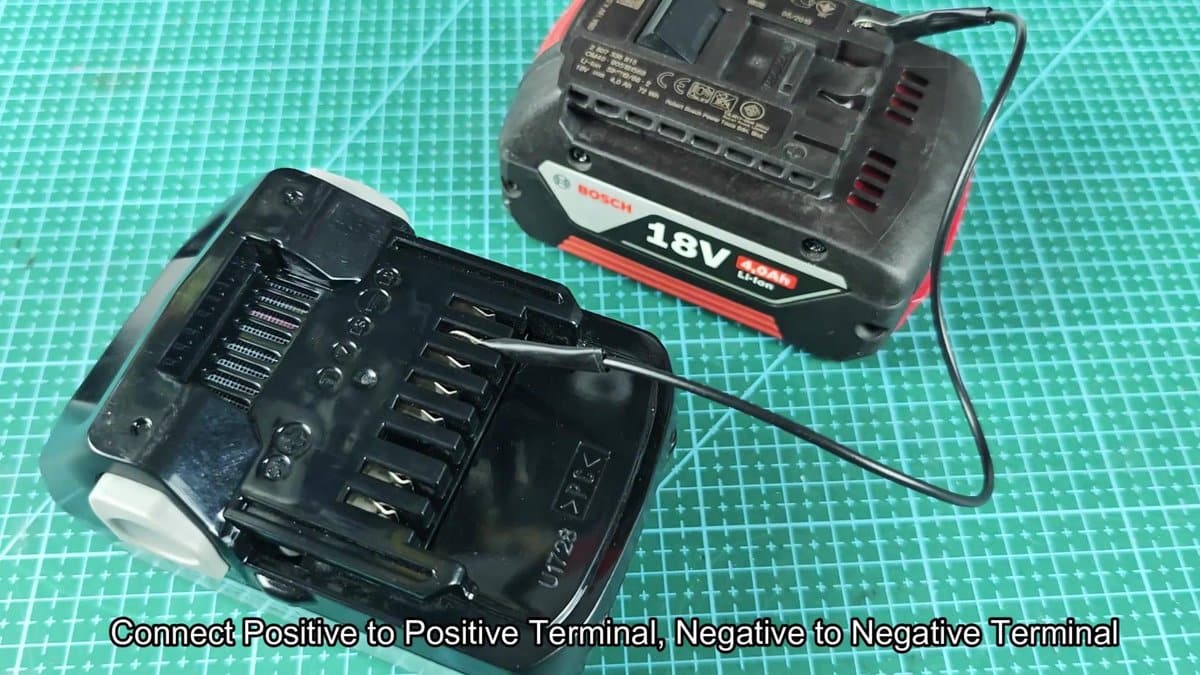
Bind the wires at the same time, making sure that positive goes to positive and negative to negative between the Bosch giving battery and the Hitachi block. The red wire combined both positive terminals, and the black bound the negative contacts. Press the rings strongly against the battery spots, so that the electrical tie be good.
Keep the batteries tied together for the same duration as before. Disconnect immediately if smoking or warming shows up. The tie between different brands went well, without any problem.
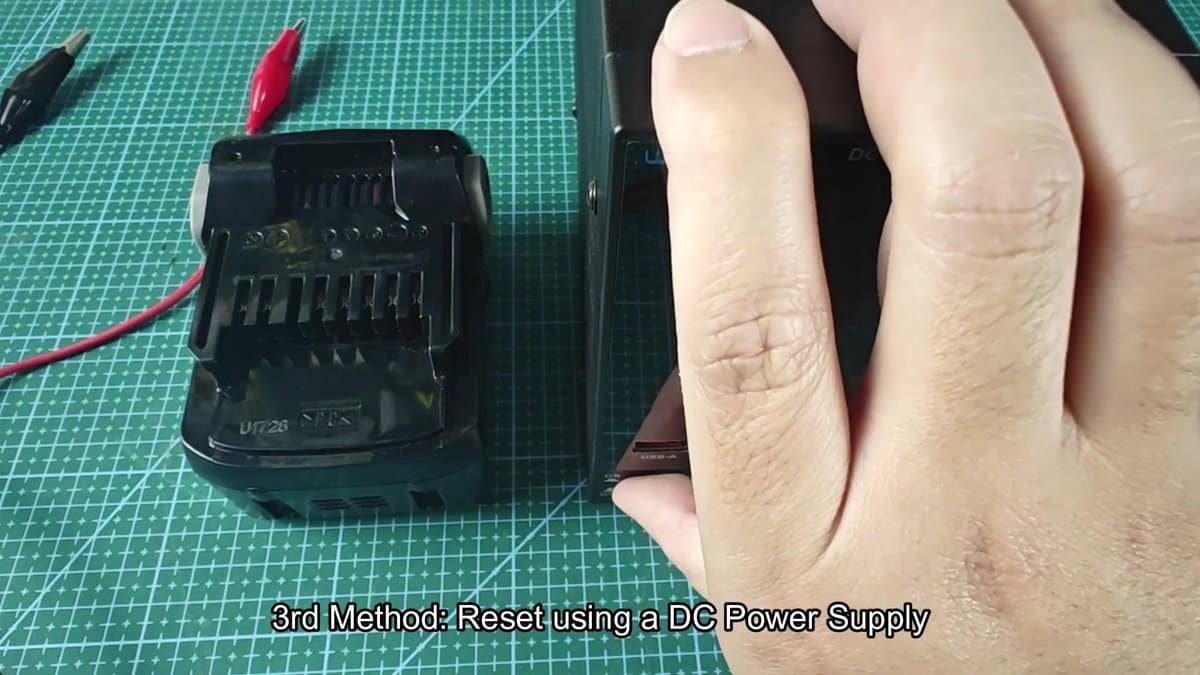
When the time ended, remove the wires, and the Hitachi battery revived and can be put on the charger. You can also use an adjustable DC bench power source instead of another battery. This method works well, if you already own such a source in your workshop for electronic works or repairs.
For this test the Wanptek DPS3010U adjustable DC power source was used, which can give up to 30 volts and 10 amps.
Switch the bench source on and set the values for the battery revival. Set the voltage to 18V, so that it match the rated voltage of the dead battery block. Using the control knob to the right of the device, bring the upper reading of about 12 volts up to exactly 18.00 volts.
Then limit the current to 1 amp using the same knob.
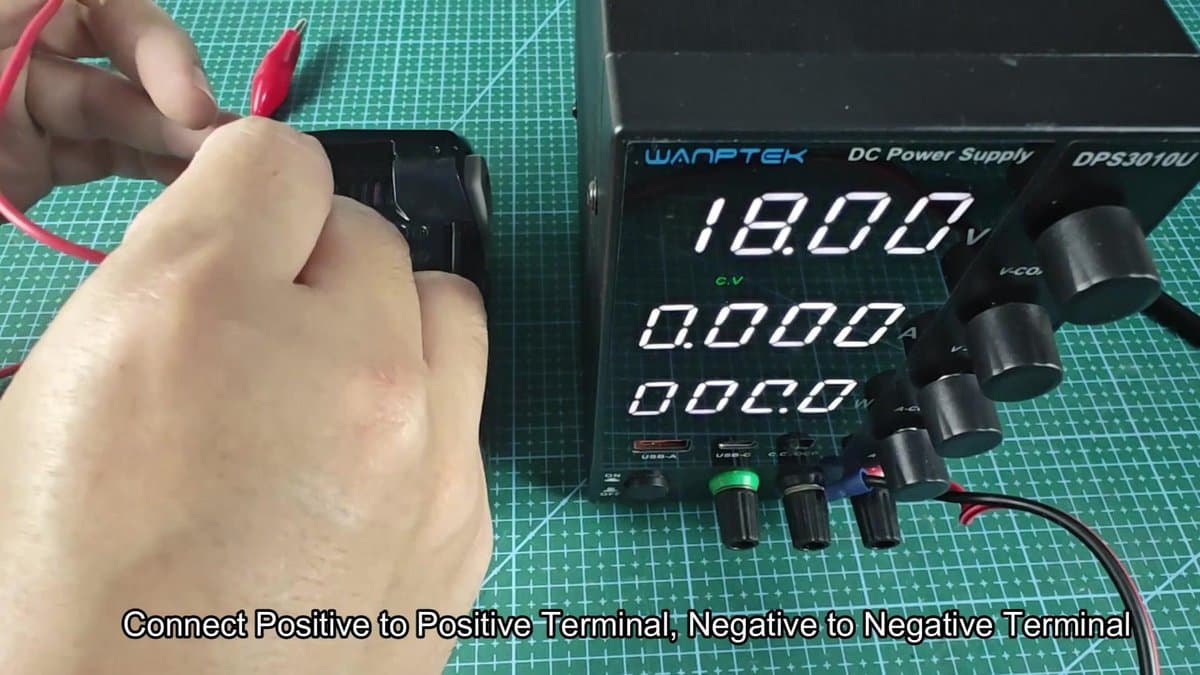
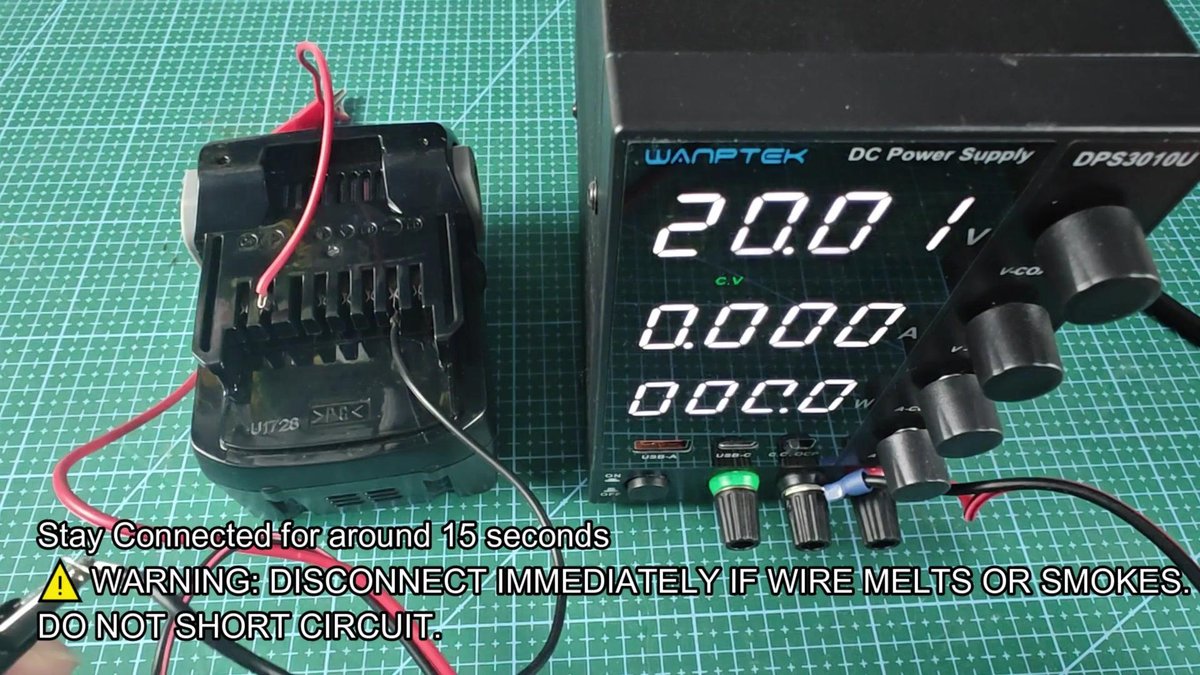
The Hitachi battery block seated in the same holder as in the second method, what helped to access the terminals easily. Take the red and black cables with crocodile clips that came with the bench power source. They lead to the matching poles on the front panel of the Wanptek unit.
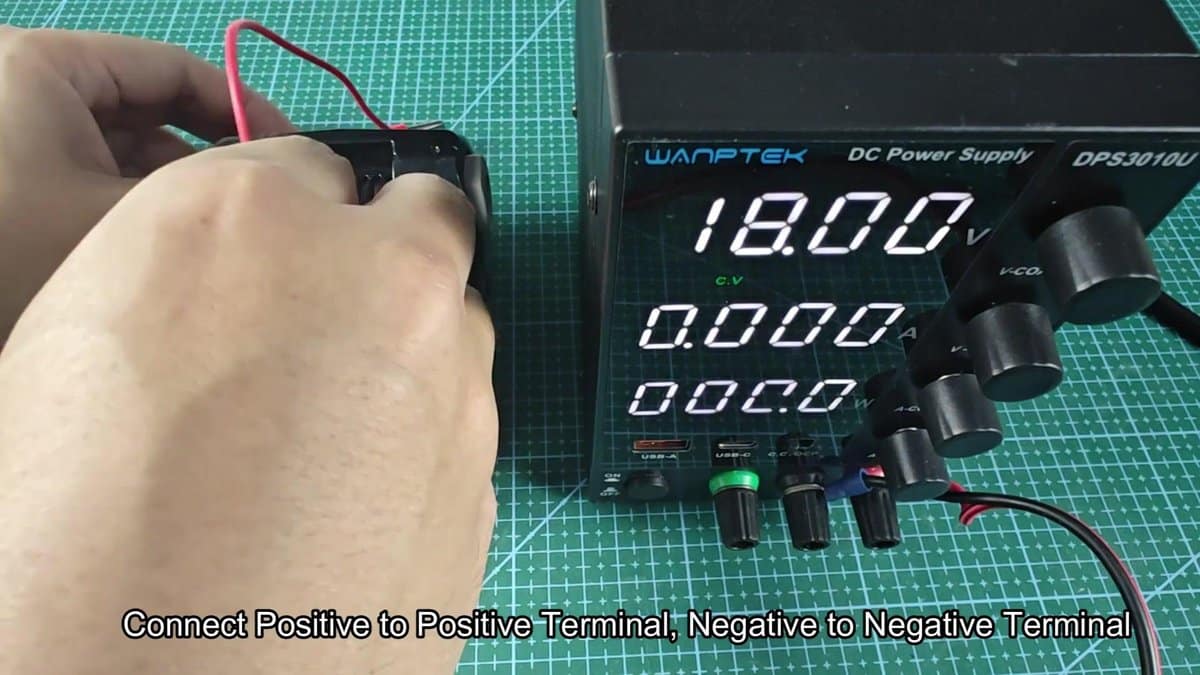
The red positive cable of the power source went to the positive terminal on the holder, and the black negative to the negative. Watch the polarity correctly, otherwise the revival will fail and maybe will damage the battery. Make sure that both crocodile clips touch well the terminals, before switching the power.
The reading of the power source yet show 18.00V and no current, because the battery does not load yet. After checking that everything is correct, look again at the reading of the power source. When the battery starts to react, the volt reading a bit rose to 19.83V, before settling at 20.0V.
Initially, after the tie, the current reading stayed at 0.000.
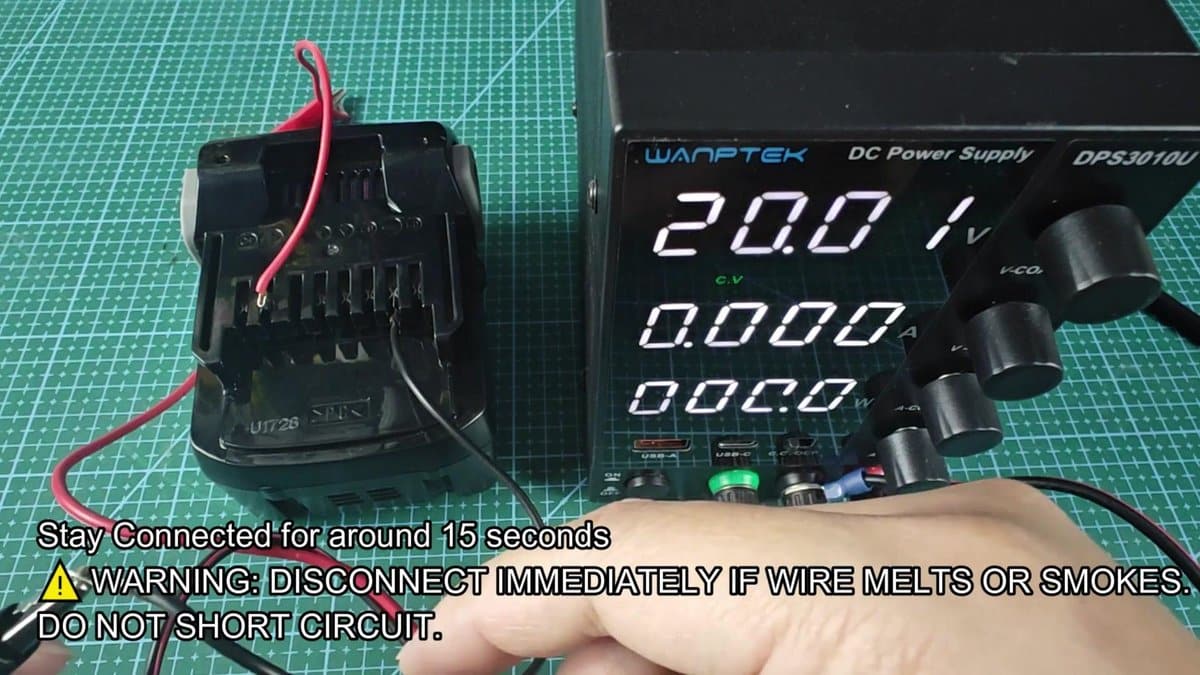
Keep the battery tied to the bench source for the same duration, following the same method as before. Disconnect immediately if warming or smoking shows up, and avoid short circuits. Watch the reading of the power source during the time, to see what happens.
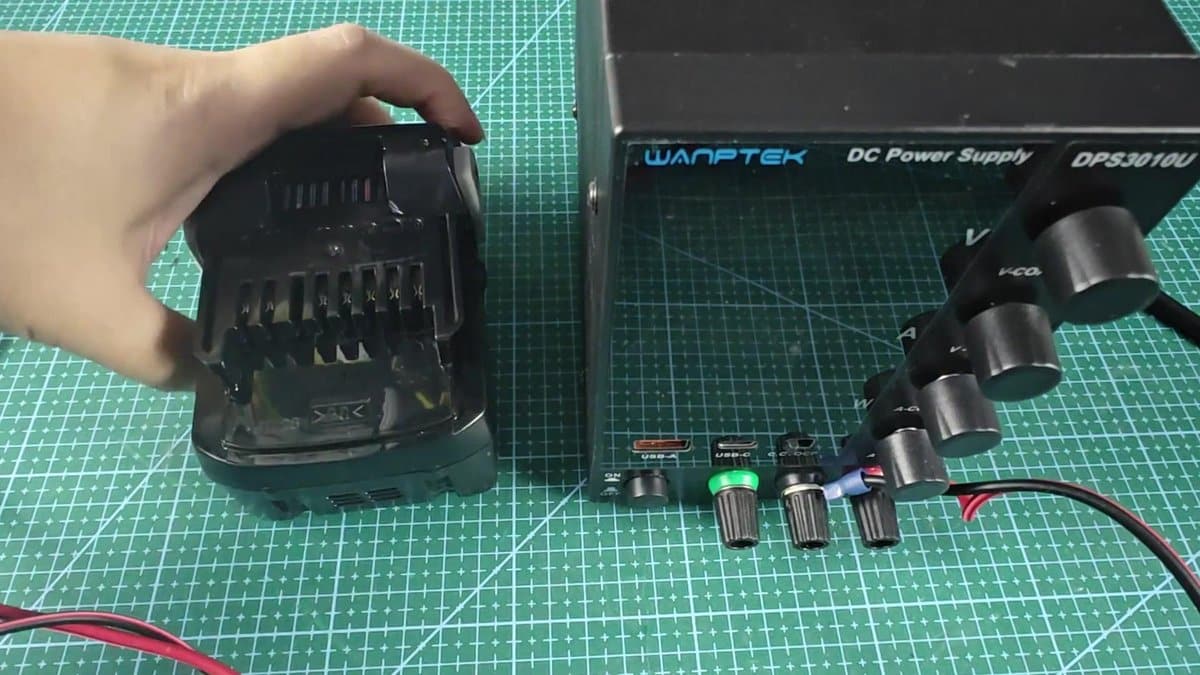
When the revival ended, disconnect the cables from the holder. Using a pair of handles, carefully remove one of the ties, while keeping a little bit that seems part of the circuit in the holder. The revival of the battery ended when both cables went.

After ending the revival, keep the Hitachi 18V lithium battery block up beside the Wanptek bench power source in the last image.
Every method has its pros and cons based on the tools and devices that you already have.
