Resetting your current battery is a great way to avoid buying a new one. It can save you money on having to buy new batteries, and if you know how, it’s not all that hard to do either.
The hardest part about resetting a battery is finding out what method works best for yours. With that in mind, I’ll be focusing on how to reset a Ryobi 18v battery specifically.
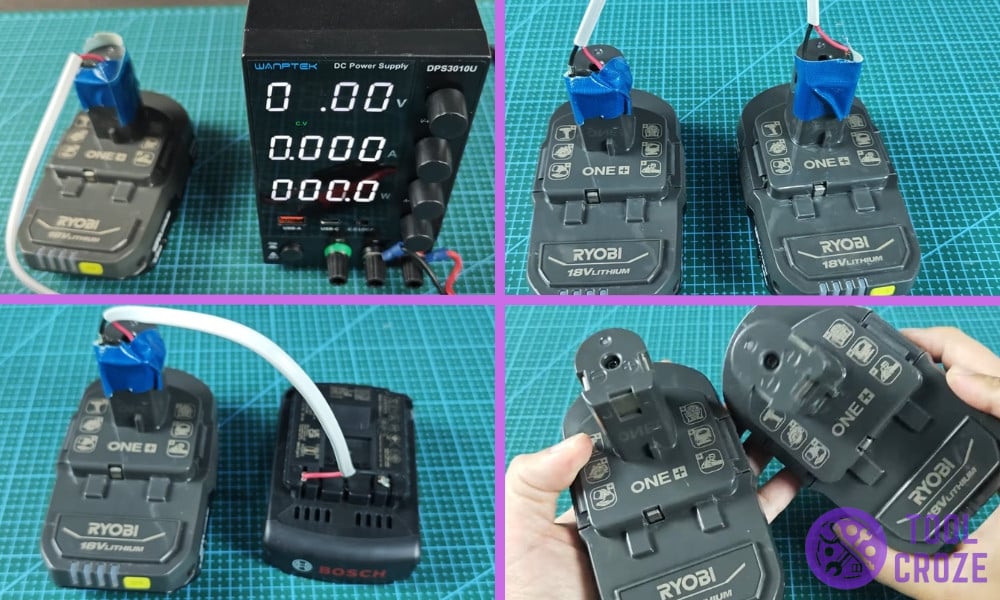
Before you continue reading this article, you may want to watch first the short video I made about the same topic. On the video below, I showed three ways how you can reset your Ryobi 18V battery.
The first method is by using another Ryobi 18V battery. The second method is by using a 18V/20V battery from other brands. And the last method is by using a DC power supply.
How to Reset A Ryobi 18v Battery – 3 Methods
- Use Another 18v Ryobi Battery
A lot of people buy batteries in pairs; myself included! That’s why this first method is the most reliable one, and the easiest one too. That’s because it involves another 18v Ryobi battery.
It’s possible to reset a Ryobi battery with the help of another identical Ryobi battery. Along with the spare battery, all you need are two cables to connect both of them together.
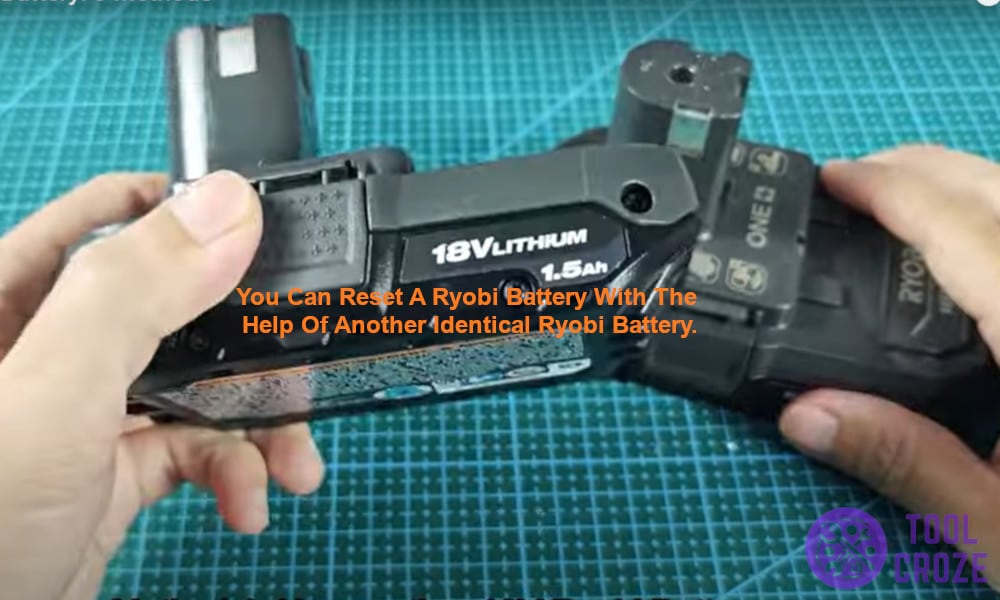
With the cables, you can connect a healthy Ryobi 18v battery to a problematic and jumpstart it so it starts working like normal again! I’ve done this with my batteries too and can confirm it works.
Related: Ryobi Battery Flashing Red Light Hot Cold Delay
Put the two batteries together on a table after fully charging the functional one. Then, connect them to each other using the cables, like I have in the photo below.
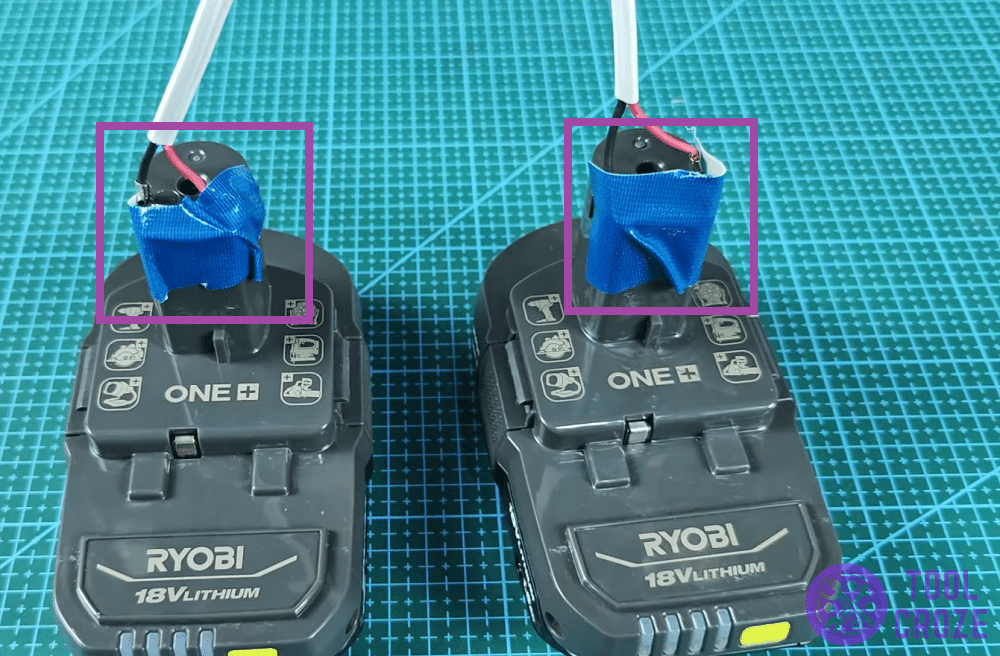
Connect the two batteries by putting one cable in each of their main terminals. For example, one of the cables should go in each of the positive terminals of both Ryobi 18v batteries.
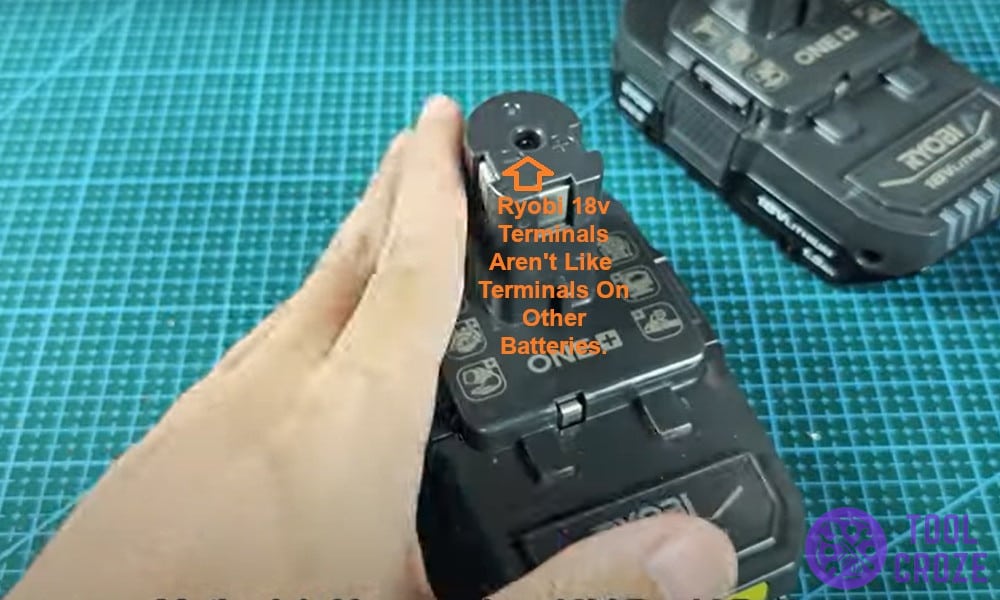
The other cable will do the same thing, but with the negative terminal. You can find these terminals on the top of the Ryobi 18v battery. Look at my picture from earlier to get a better idea.
Ryobi 18v terminals aren’t like terminals on other batteries, like the ones from Milwaukee or DeWALT. They’re designed in a unique way, so it’s harder to get the wires to stay in place.
That’s why I used insulation tape to keep the wires in place after getting them into position. Anyway, enough about connecting the wires since I’m sure you know how to do that by now.
Keep the two batteries connected for at least 15 seconds. After that, start taking the insulation tape off and remove the wires from both batteries, and your problematic Ryobi 18v will work again!
- Use Another Brand’s Battery
That last method is something you can do with other brand batteries too. It doesn’t necessarily have to be one identical to your Ryobi 18v.
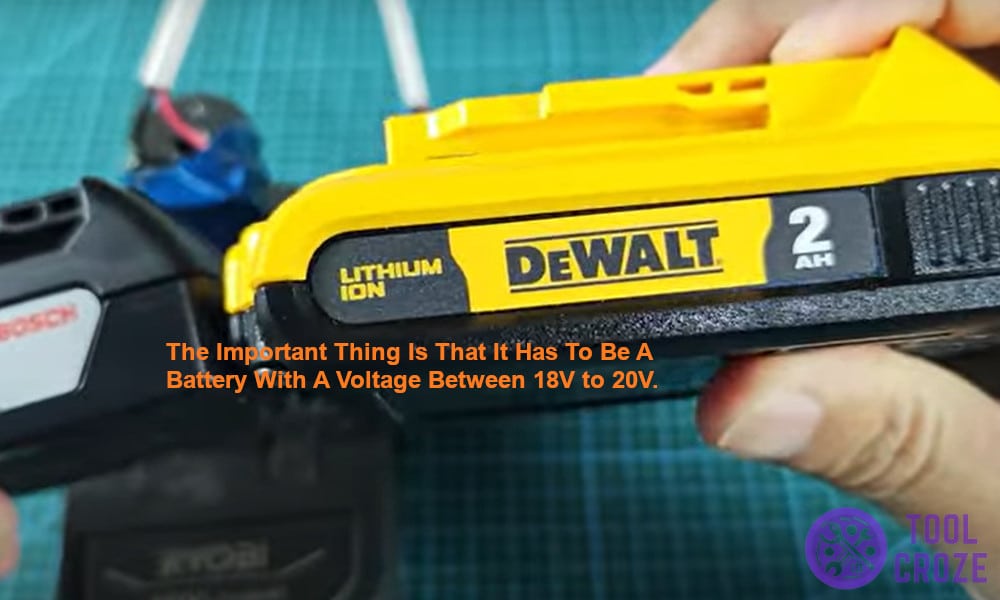
If you have lots of power tools and other brands’ batteries, those can do the job too. The only important thing is that it has to be a battery with a voltage between 18V to 20V.
Anything less than that won’t be enough to reset and revive the Ryobi 18v battery. On the other hand, anything more than that will be too much, and completely overload your battery.
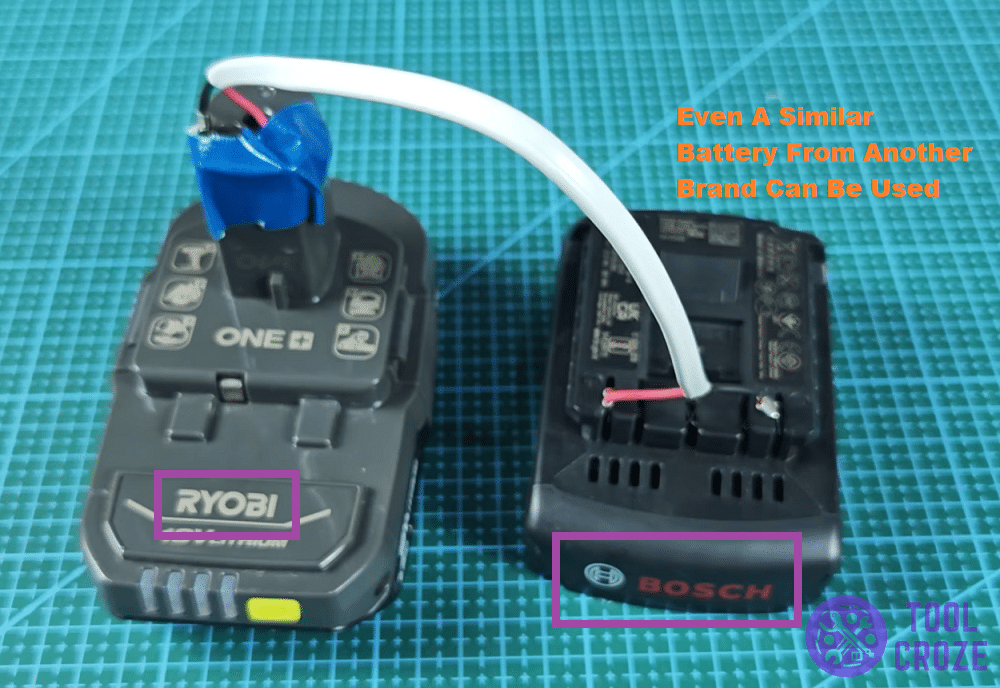
When I tried this out for myself, I used a Bosch 18v battery. It worked perfectly and was able to revive the faulty Ryobi battery I was testing out. You can see me doing the test in this photo:
Other than changing the brand of your functional battery, everything else in this second method is entirely the same as the first one.
You’ll still need two cables, and those two cables need to connect to the positive and negative terminals of both batteries. Just like last time, the connection should also last 15 seconds.
After 15 seconds, as long as you use a battery of the right voltage, your faulty Ryobi 18v battery will be reset. It should now charge and start working with your tools again.

- Use A DC Power Supply
When it comes to jumpstarting, DC power supplies are a great alternative for other batteries. That’s because you can use these power supplies to draw out the exact amount of power you need.
Instead of having to find a battery that matches the exact voltage you require, DC power supplies can adjust. You can have them provide a wide range of voltage, amp, and current.
They’re great for resetting and reviving faulty batteries because of that, and are what you’ll need for this last method. You’ll also need two connector cables for this one too.
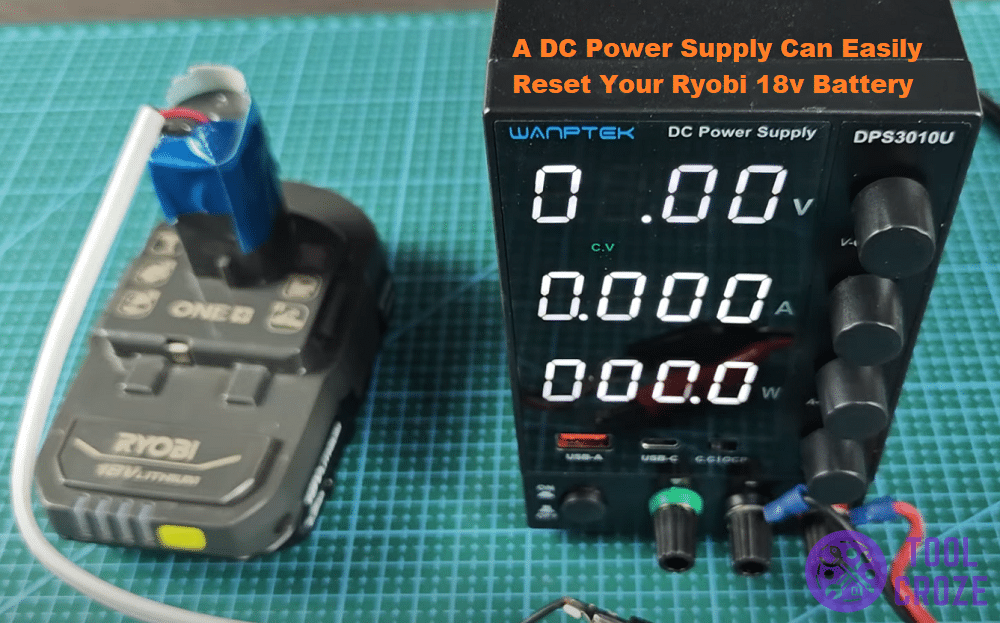
There are positive and negative nodes on the DC power supply. Connect your Ryobi 18v’s positive and negative terminals to the corresponding ones on the power supply.
Then, start adjusting the power supply to provide 18v. Then, SLOWLY increase the amp to 1.0. Don’t do this too fast to avoid damage to any equipment involved.
After 15 seconds once you set the amp to 1.0, you can turn the DC power supply off. Everything you did up until now should’ve been enough to reset the Ryobi 18v battery and make it functional!
