Here are the three different ways you can reset your Ridgid 18V battery. But before you read this article, you can first watch the short video I made about this topic. You can watch it below.
On the video, I showed how to reset a Ridgid 18V battery by using another healthy similar Ridgid battery, a similar battery from another brand, and a DC power supply.
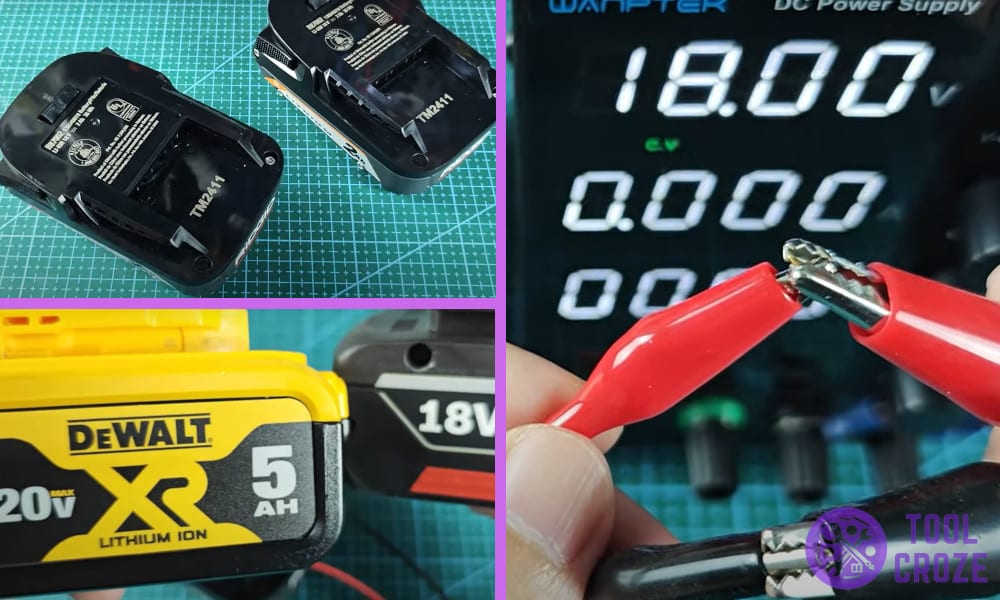
3 Ways to Reset a Ridgid 18V Battery
Method 1 – Reset using a Similar Ridgid 18V Battery
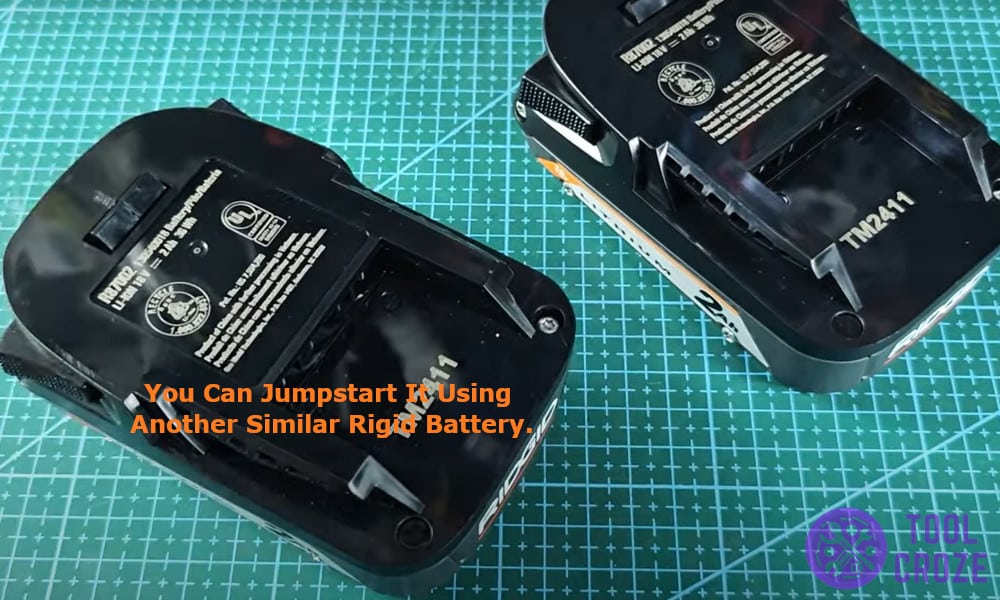
1. The very first method I tried to reset my Ridgid 18V battery was to jumpstart it using another similar Rigid battery. I started by identifying the + and – terminals on the battery which were marked by the company.
You can find them near the pins that go into the charger.
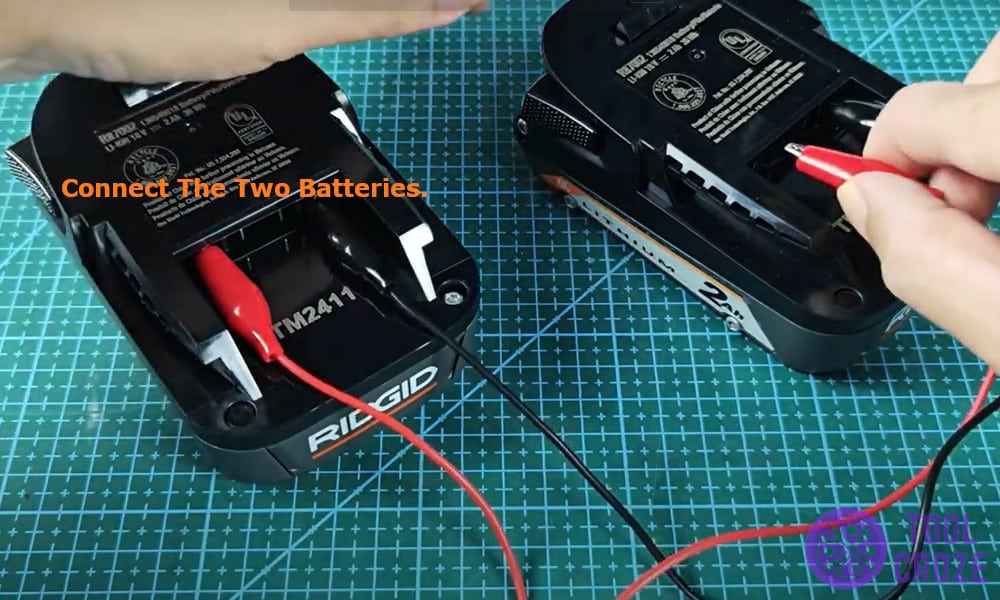
2. Then, I grabbed a pair of male to male jumper cables and connected both the batteries together, positive terminal of healthy battery to positive of dead one, and negative to negative.
I then left both the batteries connected for 15 seconds before disconnecting them.
3. This restarted my battery and fixed the not charging issues for me too, you can also follow the same method to quickly reset your Ridgid 18V battery and give it a new life.
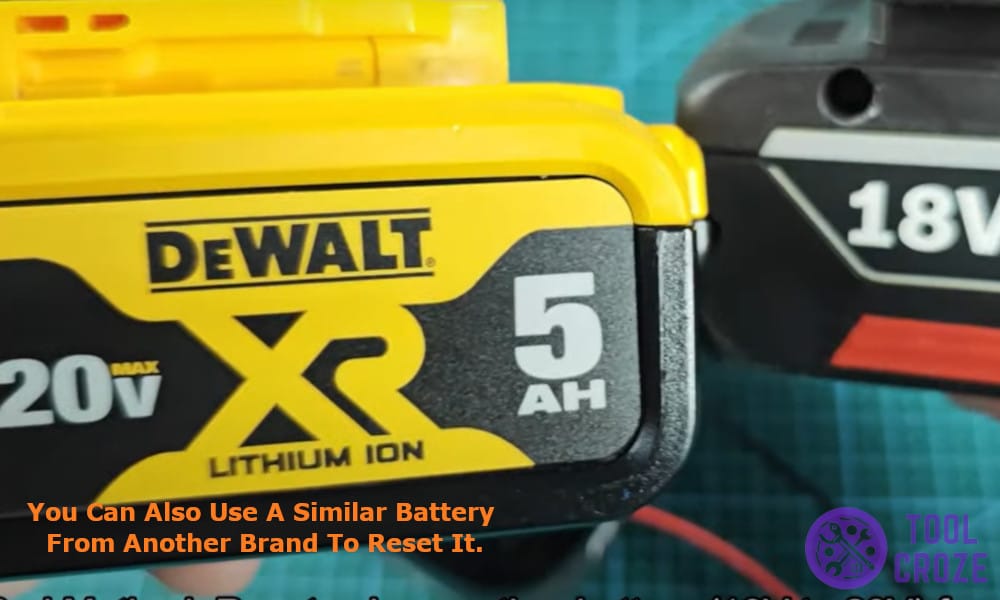
Method 2 – Reset using Another Brand of Battery
1. If you don’t have the same Ridgid battery laying around don’t worry, just take a 18V battery of another brand or powertool to reset. Start by identifying the positive and negative terminals on both the batteries, they look like the + and – signs.
2. Then take a pair of jumper cables, male to male and connect both the batteries together. Start by connecting the positive terminal of dead battery to positive of healthy and then same for the negative terminal.
3. Leave both the batteries connected for at least 15 seconds, this way you will generate enough jolt in the dead battery to reset it.
This is a great method to reset a battery as most of the time I don’t have the same brand of battery laying around.
Method 3 – Reset Using DC Power Supply
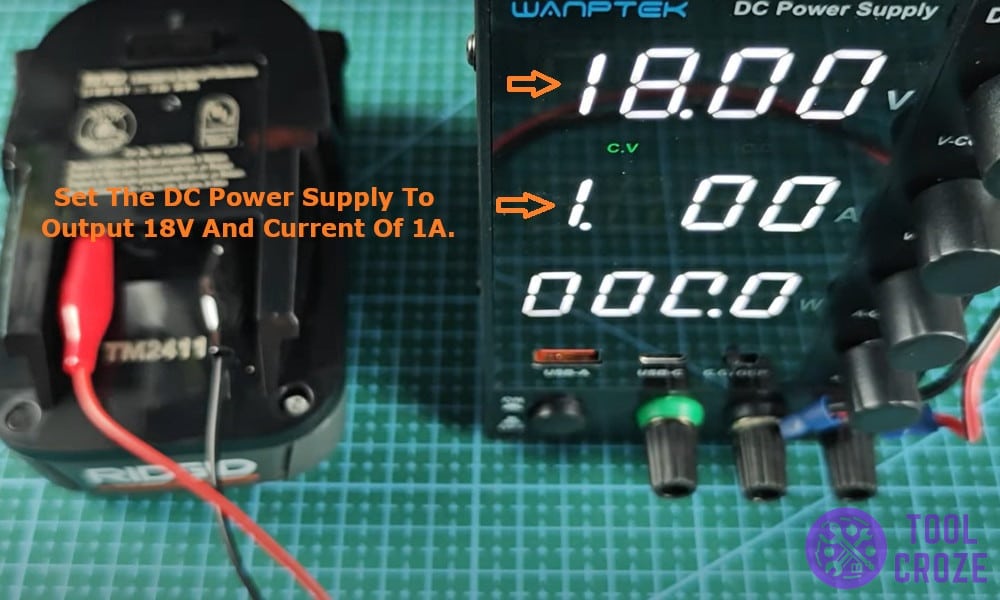
1. The last method is very simple and requires very little work, for this I took out my power supply which was collecting dust for a very long time, but finally it was time to shine.
2. I started by setting my DC power supply to output 18V and current of 1A, this was the power rating of my Ridgid battery. Make sure to match the power output of your battery otherwise you will fry the battery up.
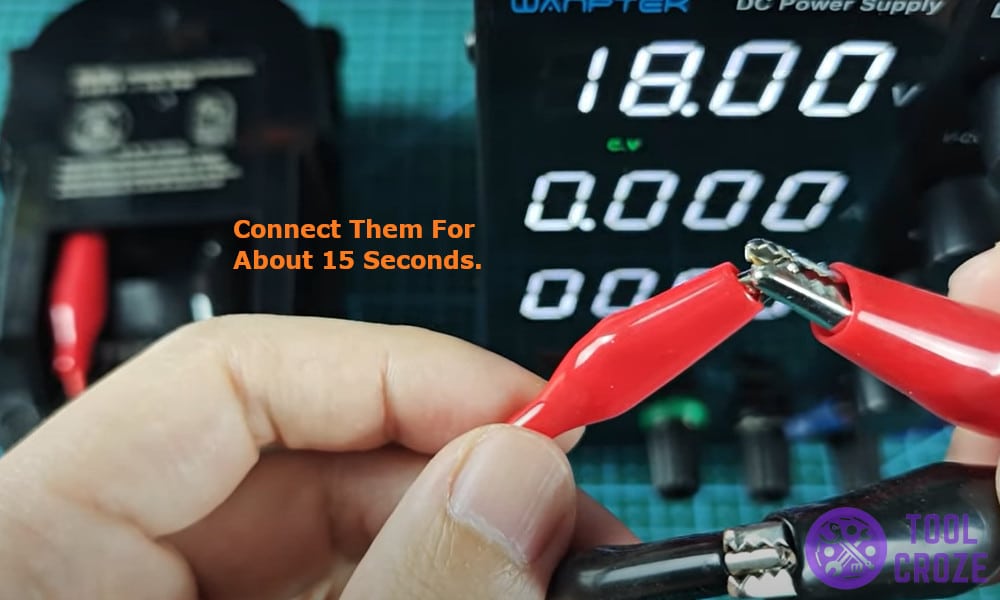
3. Then I connected the positive of the power supply which is the red probe to the positive of the Ridgid battery and the black probe which is the negative to the negative of the battery.
4. After 15 seconds of them connected together I removed the connection and just like that my Ridgid battery was reset.
And before I end this article, I would like to share another video I made which talks about the different meanings of the indicator lights on a Ridgid battery charger. You can watch it below.
A blinking green means it’s charging the battery normally. This will become a solid green when the battery becomes fully charged. A solid orange light means a hot or cold delay and lastly, a solid red means the battery may have an issue, or probably has gone bad.
