Philips trimmers are neat. They come with nice features and aren’t too expensive. They’re durable too, but not completely free of issues. So, it’s helpful to know about Philips trimmer troubleshooting.
If you have one of these trimmers or are planning to get one, I want to tell you about issues most users end up facing. I’ll also tell you how to troubleshoot each one, so you can do that when they come up!
4 Philips Trimmer Troubleshooting Tips
- Trimmer Not Charging
I want to get the most common problem out of the way first. By this, I’m referring to when some users’ Philips trimmer stops charging. No matter what they try, they just can’t get the device to charge.
If this is happening to you, I want you to check a couple of things out. First of all, I want you to make sure that there’s nothing wrong with the charger. In most cases, that’s the reason for this happening.
People that use the trimmer while it’s plugged in or treat the charger badly usually end up twisting it in a way that ruins the charger. Because of this, the Philips trimmer no longer charges when plugged in.
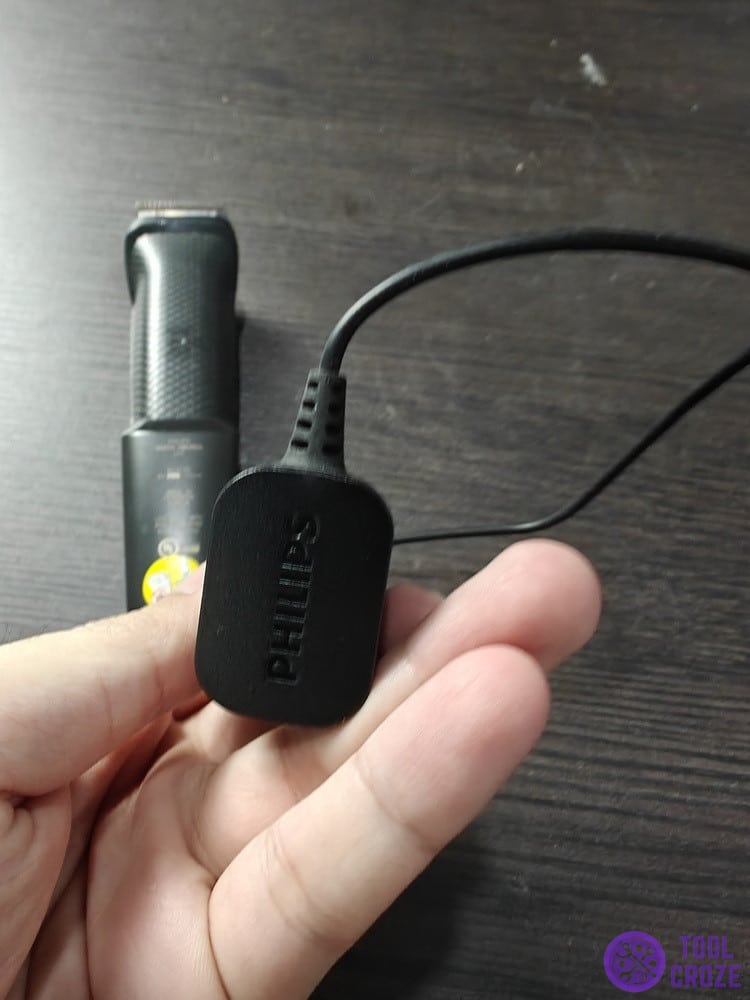
Inspect its wire for any twists or visible damages. Even if you can’t find anything, be mindful of internal wiring faults that can also ruin a charger. Try to see if a different charger works for you instead.
Alternatively, it could be that the charging port on your device is to blame. A build up of hair inside the port can stop the charger from seating properly inside of it.
Power can’t flow to the battery because of this. Inspect the port and clean it using a tiny brush to get rid of hair and other build ups inside. That should do the trick if there’s nothing wrong with your charger.
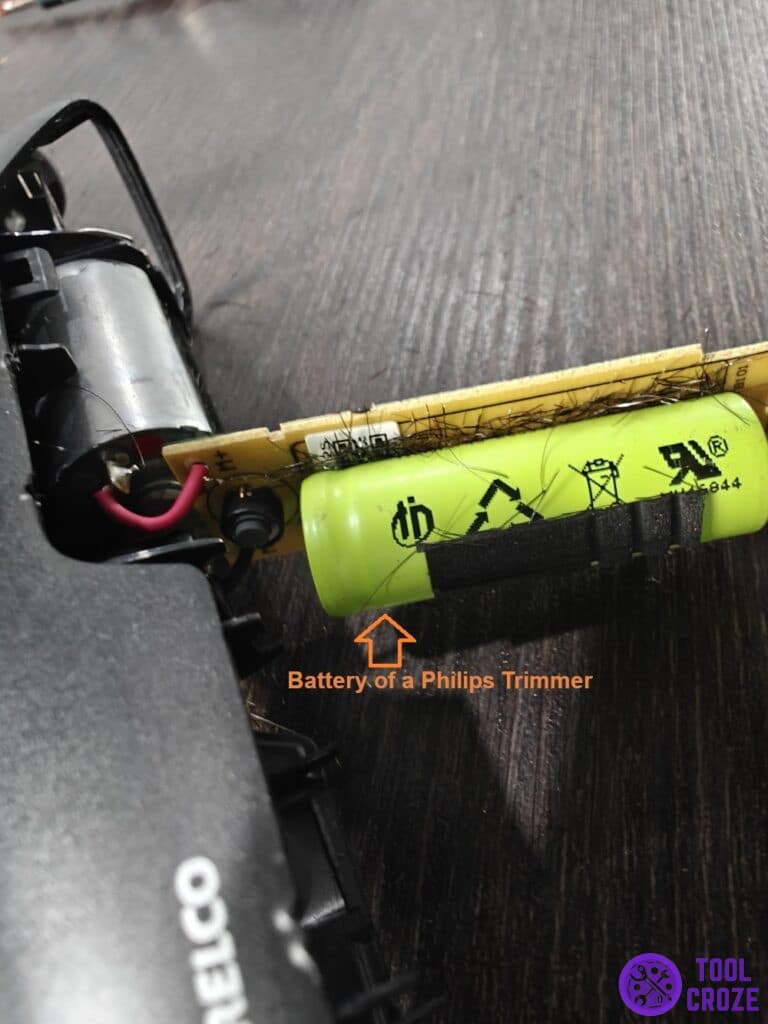
Lastly, a dead battery is the most severe reason for this issue. When all else fails, you might need a replacement battery to get your trimmer to charge and work again, because the current one can’t hold power anymore.
You can watch below the video I made about how I troubleshoot Philips trimmer not charging issue.
The battery on my Philips trimmer suddenly won’t charge up to full charge like before. I removed the cover of the trimmer to check the condition of the battery.
I used a multimeter to measure the voltage output of the battery, and it gave a reading 3.8V which is the same as the designed voltage. This means the battery is still healthy.
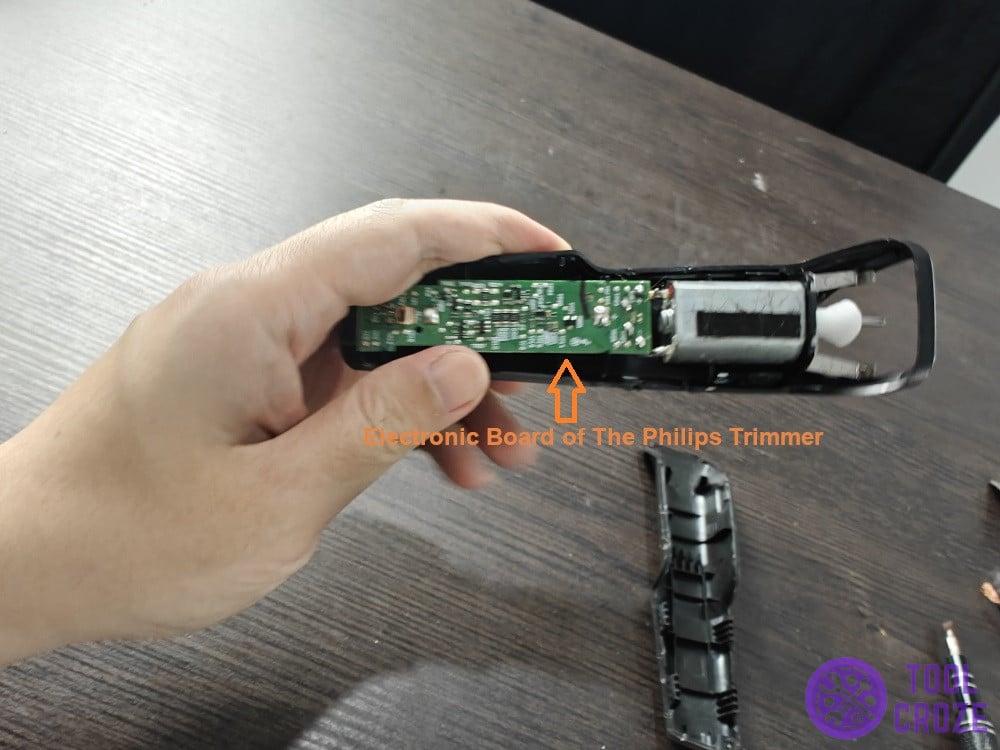
I also looked for any debris or hair trapped inside the electronic board of my trimmer.
- Not Turning Off
A strange issue I learned about was that some people’s Philips trimmer refused to turn off, no matter what they did. It just kept running until the battery turned off.
It’s definitely one of the weirder issues you can encounter with the Philips trimmer. But, I still have an idea of how you might fix it. The logical explanation that comes to mind for this is a power button failure.

The switch I’m pressing with my thumb is the on and off switch for my Philips trimmer. For some people, this switch can develop problems. This has to do with the board behind the switch.
I’m talking about the circuit board that registers the inputs from power switch. It recognises when you press the button to turn the device on and off.
Take the panel with this switch off of your Philips trimmer, and inspect the board behind it. If it’s dirty, clean it. If it’s burnt or visibly damaged, replace it. Then, your power switch will function!
- Blade Maintenance
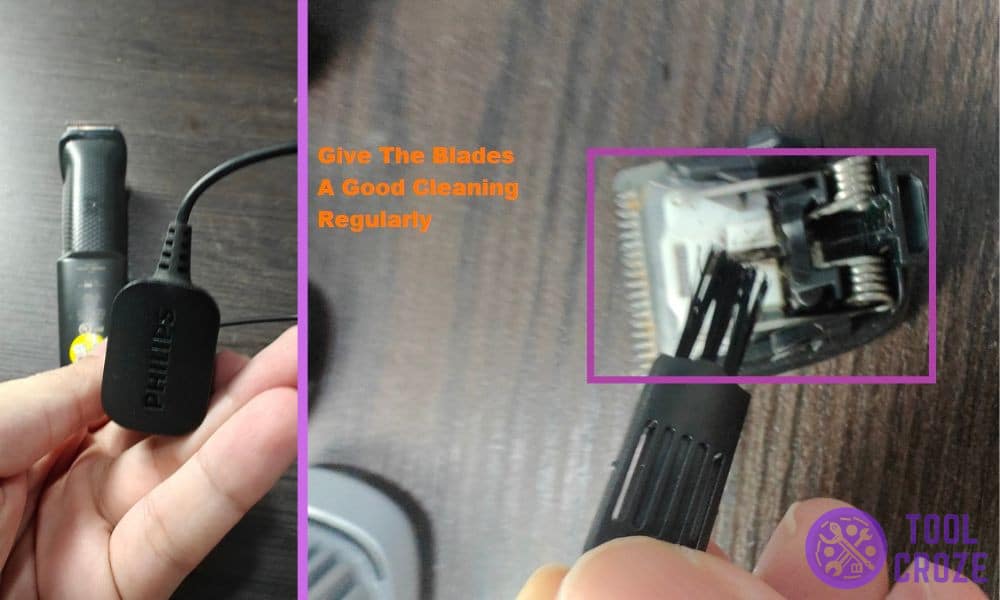
A more general problem I want everyone to know about is blade maintenance. Like all trimmers, Philips trimmer blades need to be taken care of. If not, they’ll get bad really quick.
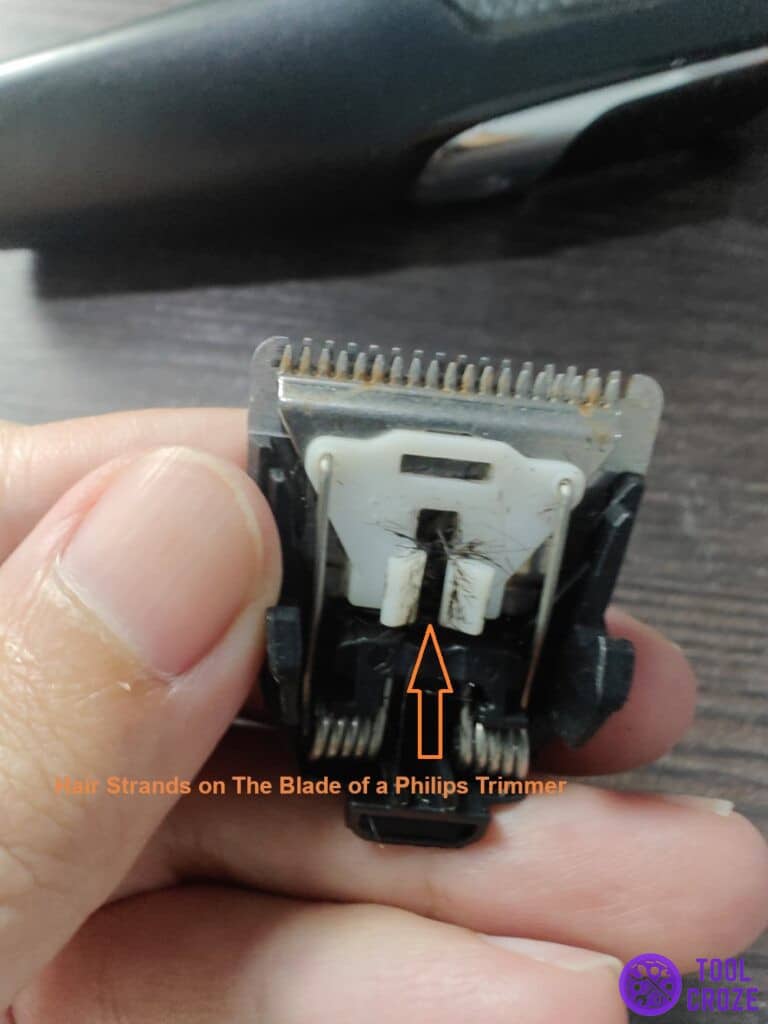
The main thing everyone should do is cleaning the them after each use. So much of the hair you trim off gets stuck inside the blade attachment. You need to remove it every time.
People that don’t do this will eventually end up with a jammed (or even worse, broken) blade attachment. So, just do as little as rinsing and wiping them after each use so that the hair around them comes off.
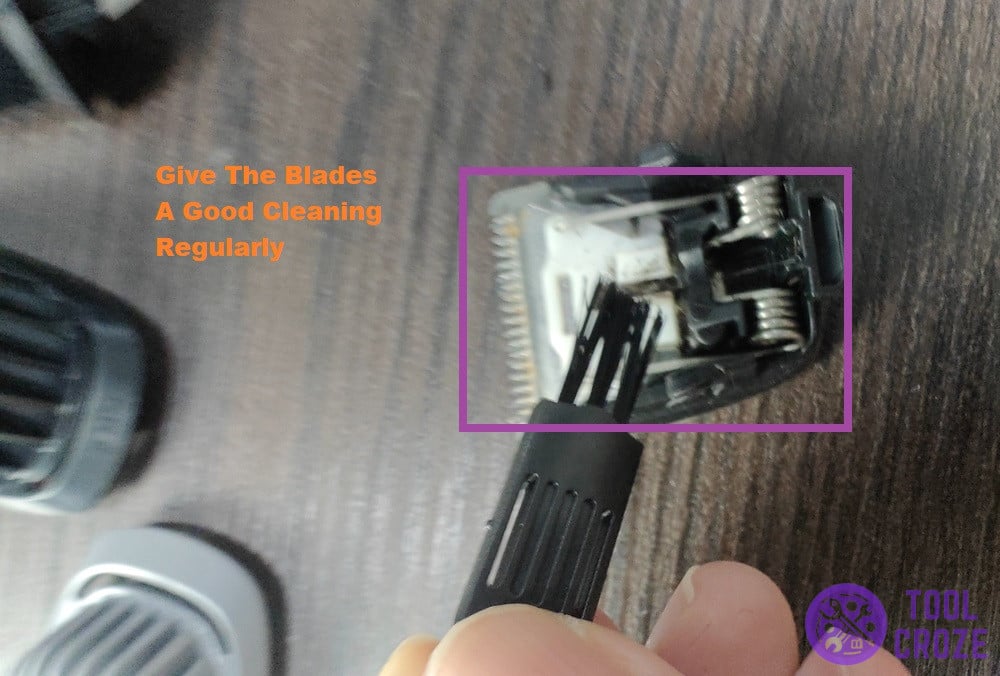
If there’s too much hair on your blade, do what I’m doing in the picture above. Take the head off your trimmer and use a small brush to clean it. Get hair out of the back as well, since it could be jamming something.
Related: How to Fix a Philips Trimmer Not Turning On Not Working: Tips
I recommend using a suitable oil to lubricate the blades you use most often too. This will keep them smooth while ensuring you get a nice, even trim each time.
It’s not just the blade that you should take care of. You can also encounter problems with the hair clippers on your trimmer once in a while.
I have a video which shows how you can repair and change the electronic hair clippers spring attachment by yourself. You can watch it below.
First, remove the spring. Then, use a plier to adjust the shape of the spring so that it fit into its original position.
I used a thin wire to pull the spring back to its original position. Lastly, make sure both ends of the spring fit into the hole of clipper head.
- Water Issues
A lot of modern Philips trimmers are waterproof. But, even then, they’re only waterproof to an extent. If exposed to too much water, they might eventually get damaged.
I’ve seen this happen with people that use their trimmer in the shower especially. It’s usually safe as long as the trimmer is waterproof. But, if you accidentally dip it in too much water, there’ll be problems.
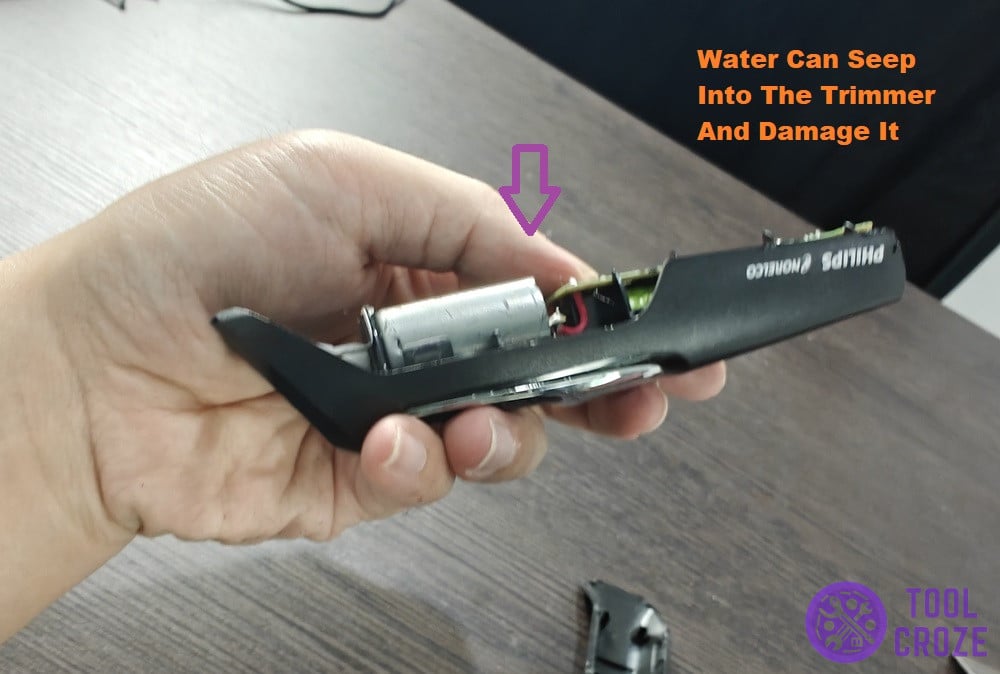
In the worst cases, the water seeps into a circuit board or other sensitive areas. This can move pins around, or cause failure in one of the circuit boards.
If your trimmer gets water damage, try leaving it to dry for some time. Storing it in rice so that the moisture gets asborbed is a good idea too. But, if that doesn’t work, you might have to get a replacement trimmer.
