Is your Kress 20V battery not charging properly? When you lay it on the charger and see only solid red light instead of the normal charging blinking light, probably the internal protective circuit of the battery has been activated. Same problem happened to me with 2.0 Ah unit that refuse to charge.
I tried it on the charger again to make sure it really can’t take the charge.

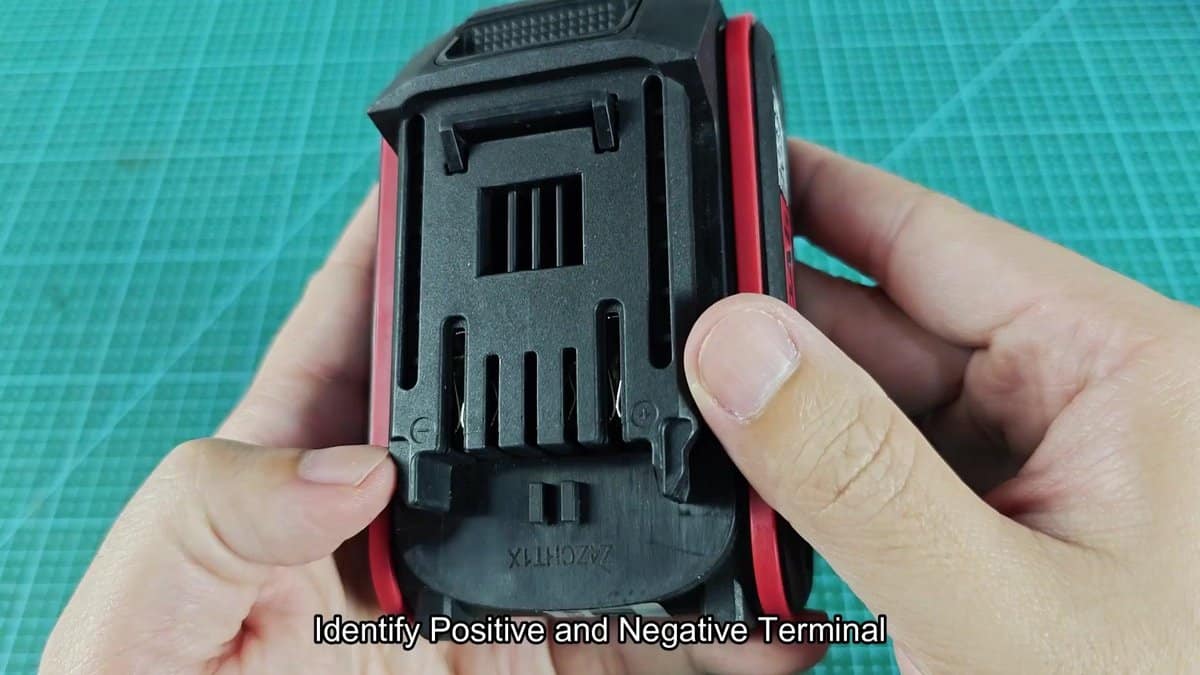
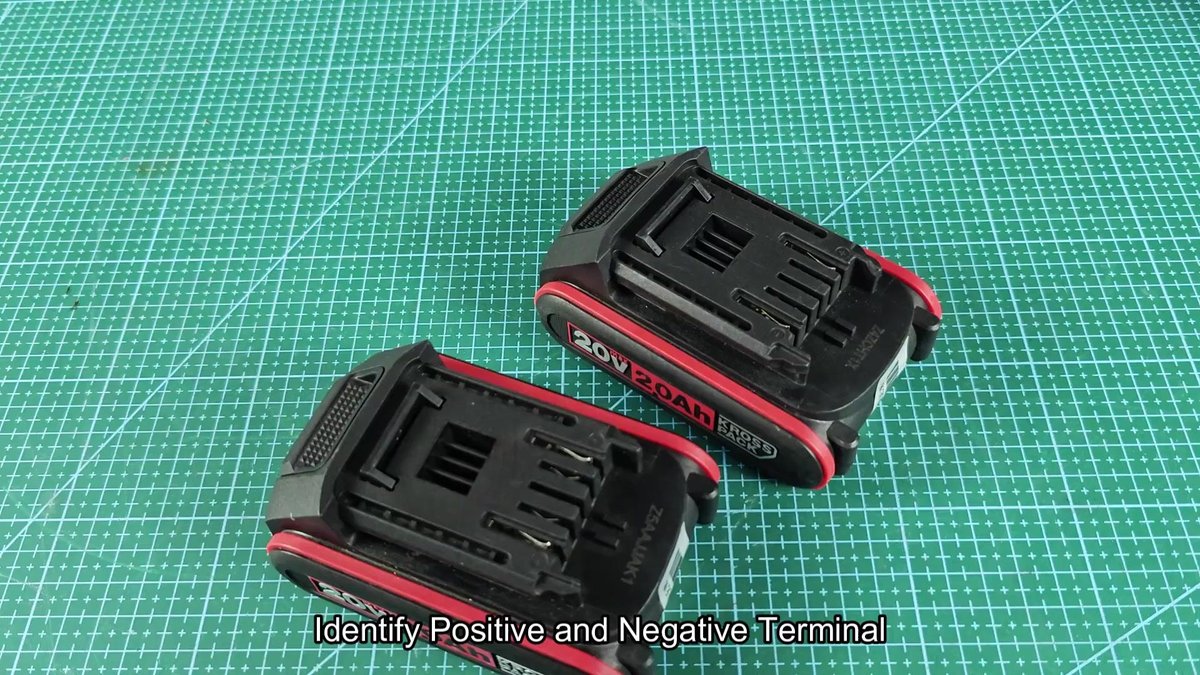
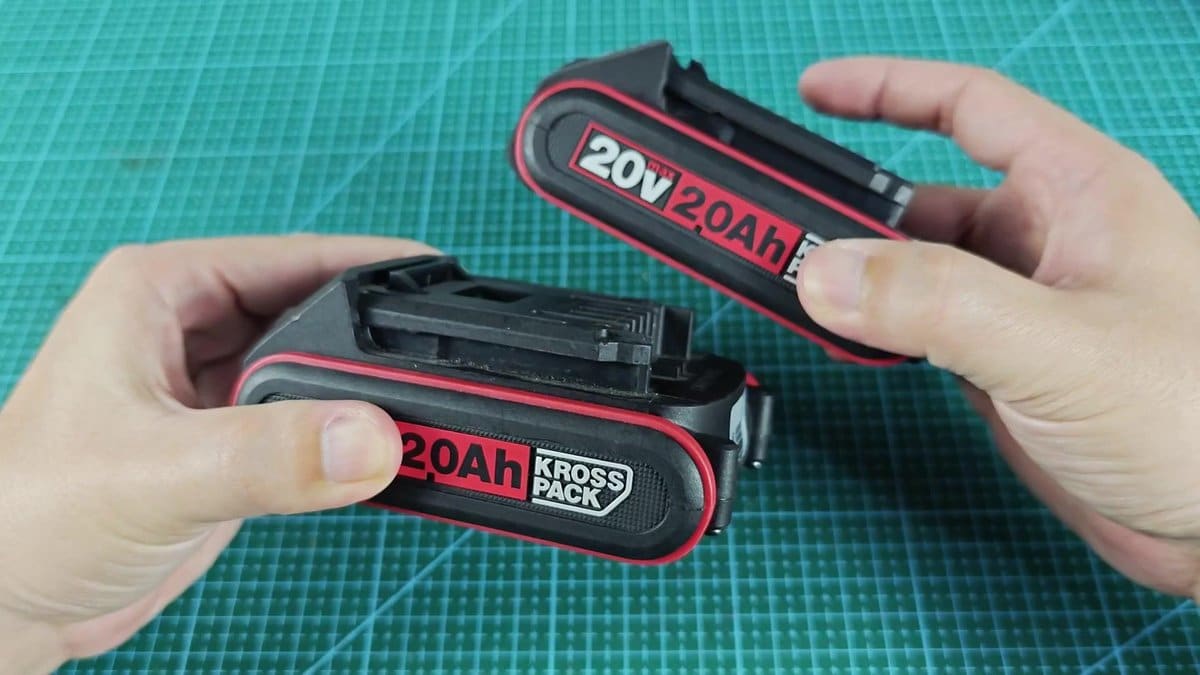
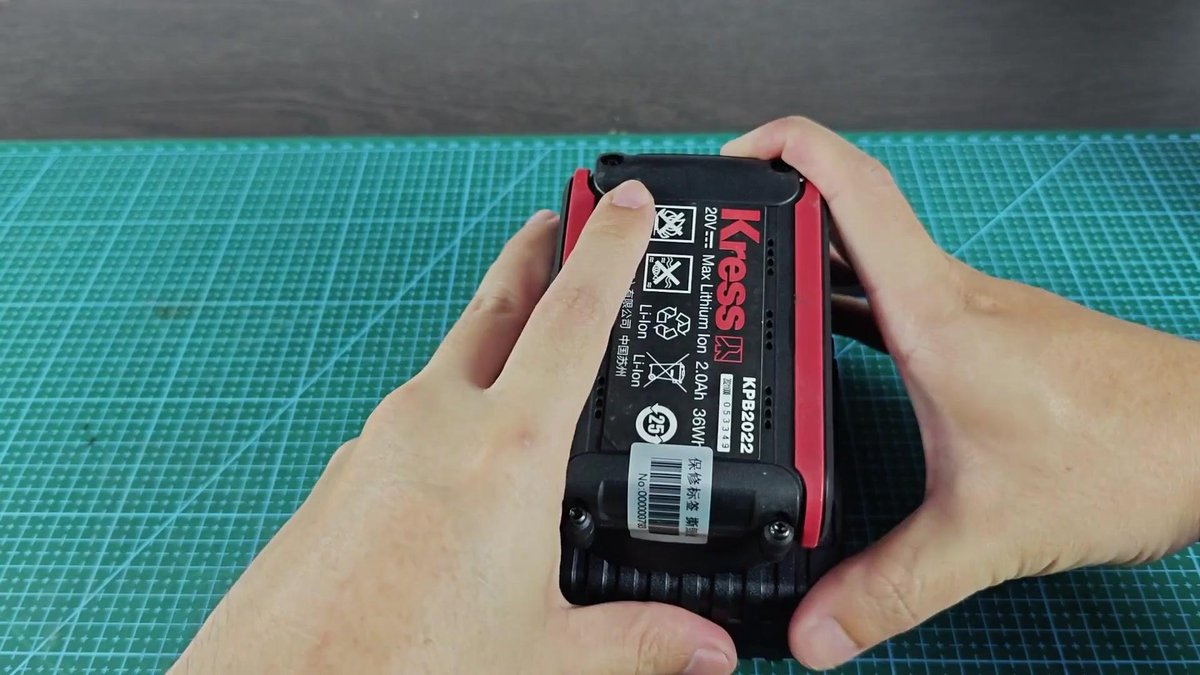
There are three ways to reset such batteries and restore their ability to charge. One of them is using another working Kress 20V battery to give it a jump start. The positive and negative terminal are on the battery.
They are well marked with plus and minus symbols, printed in the plastic shell.
How to Reset a Kress 20V Battery (3 Methods)
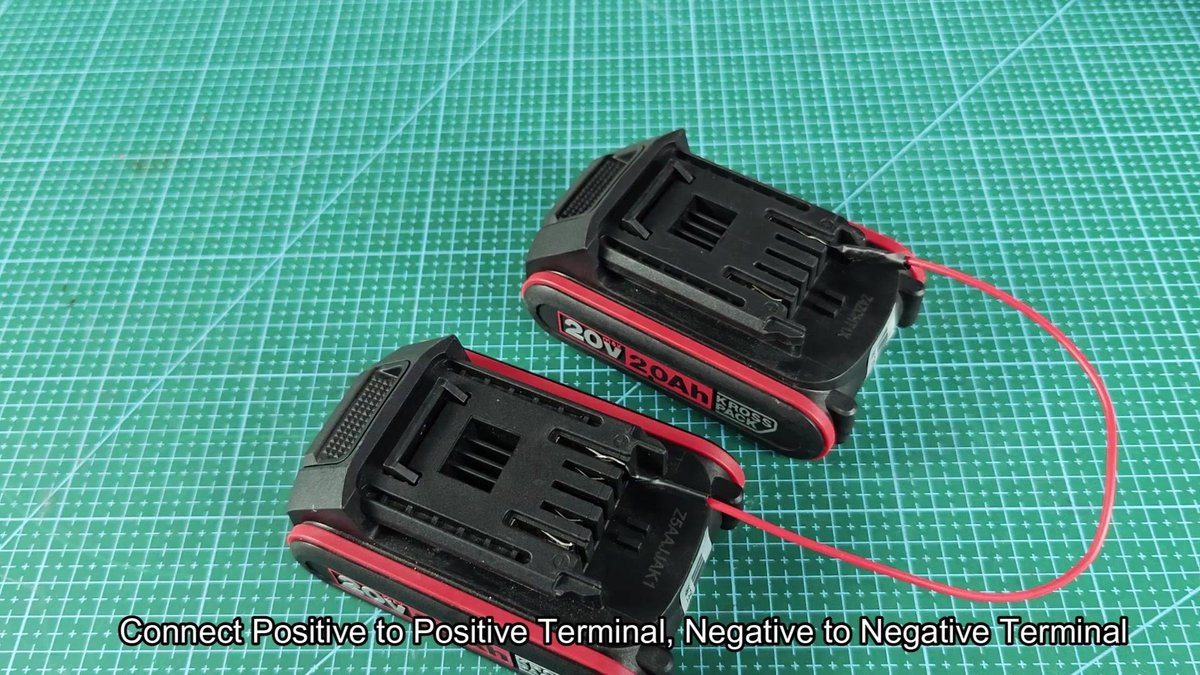
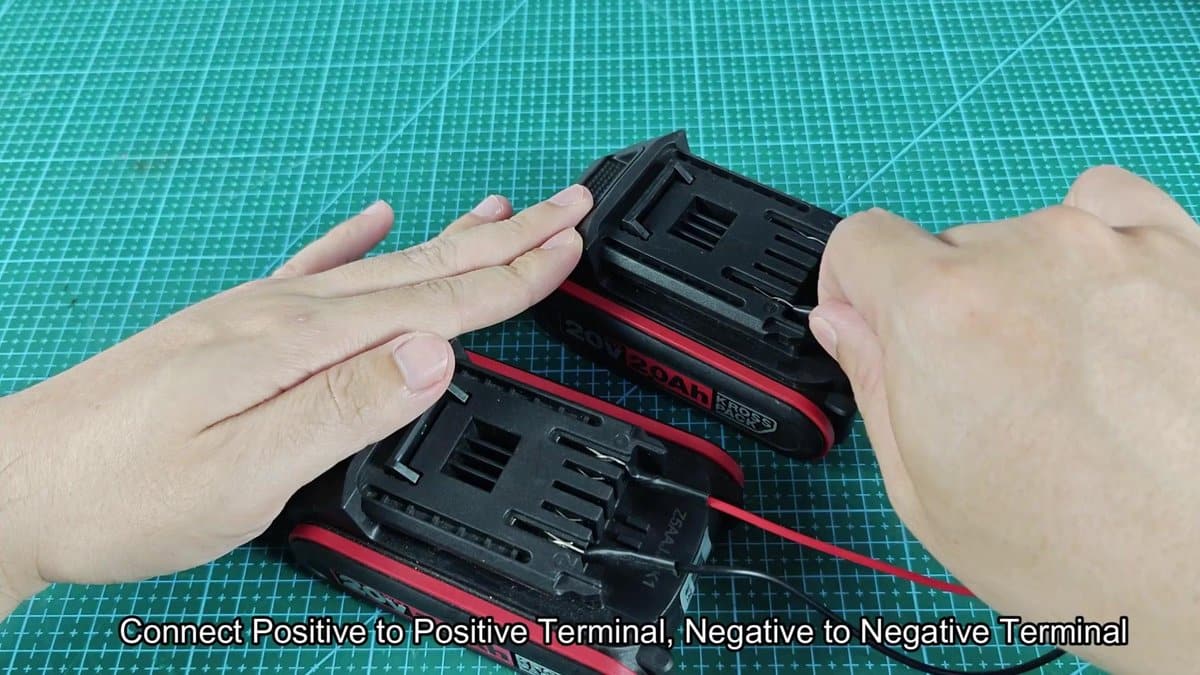
We take a fully charged 2.0 Ah Kress battery as the donor unit. To do that, we connect same terminal between the two batteries with short cables with ring connections at the end. Both units sit on the workbench, with the red cable attached to the positive terminal of each.
We check that the connections are firm before moving to the negative part.
When the red cable is secured to both positive terminal, we connect the black cable between the two negative terminal similarly. Those cables form a direct bridge between the dead battery and the alive one. We verify that positive goes to positive and negative to negative, before leaving them connected.
The batteries must stay connected for around fifteen seconds, so that enough voltage transfers and wakes the protection in the dead unit. You do not need to fully charge it, but only give a brief push to restart the internal circuit. At this stage, we carefully watch the connections to make sure that nothing warms or smokes.
Once that time passed, we disconnect the bridge cables and lay the previously dead battery aside. A second option is to use batteries of other brands. DeWalt 20V battery and Craftsman V20 unit could be a good choice for this purpose.
Other brands have different safety systems, so you need to find the main positive and negative terminal on the new donor battery. DeWalt marks them as B-plus and B-minus on their units. The other pins serve for talking with the tool or charger, but for our reset only the main power terminals are important.

For this example, the DeWalt 20V battery acted as donor. The B-plus terminal of the DeWalt unit connected to the positive terminal of the dead Kress battery with a red cable.
Then black cable goes from the B-minus of DeWalt to the negative pole of the Kress unit.
It is basically the same process as the first, only with another brand for the power.
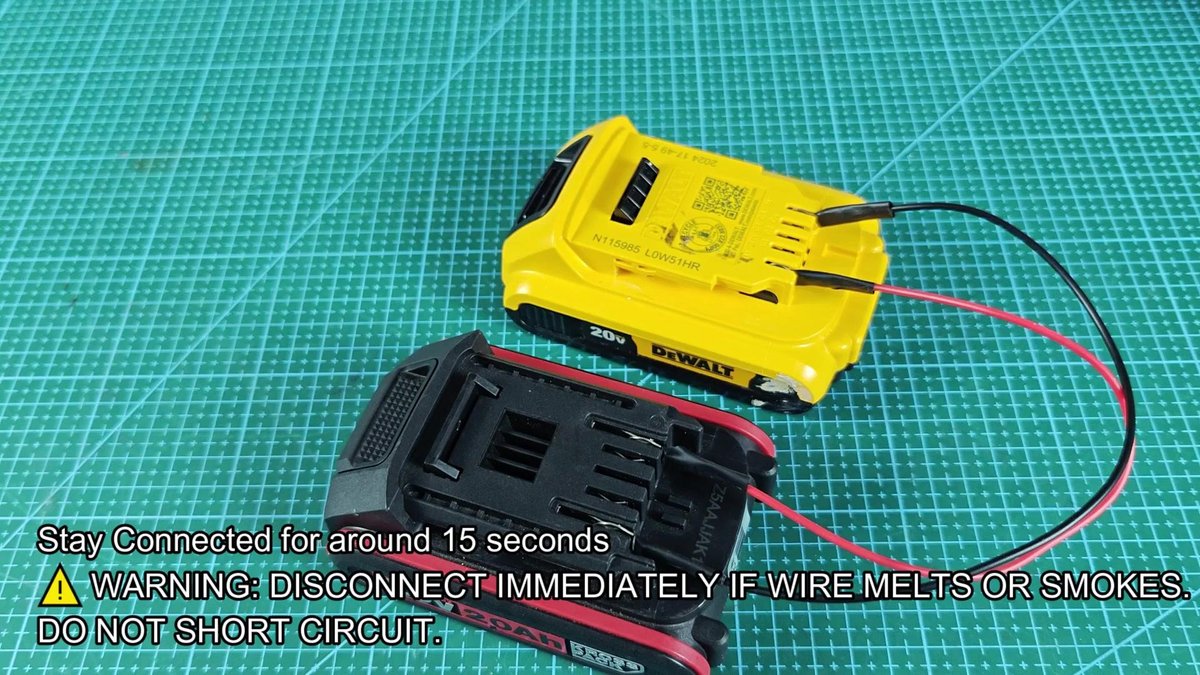
The cross-brand connection stays in position for the same duration. The voltage from the DeWalt unit flows into the Kress and wakes the protection. When the time ends, we disconnect the cables and move to the third way of restarting.
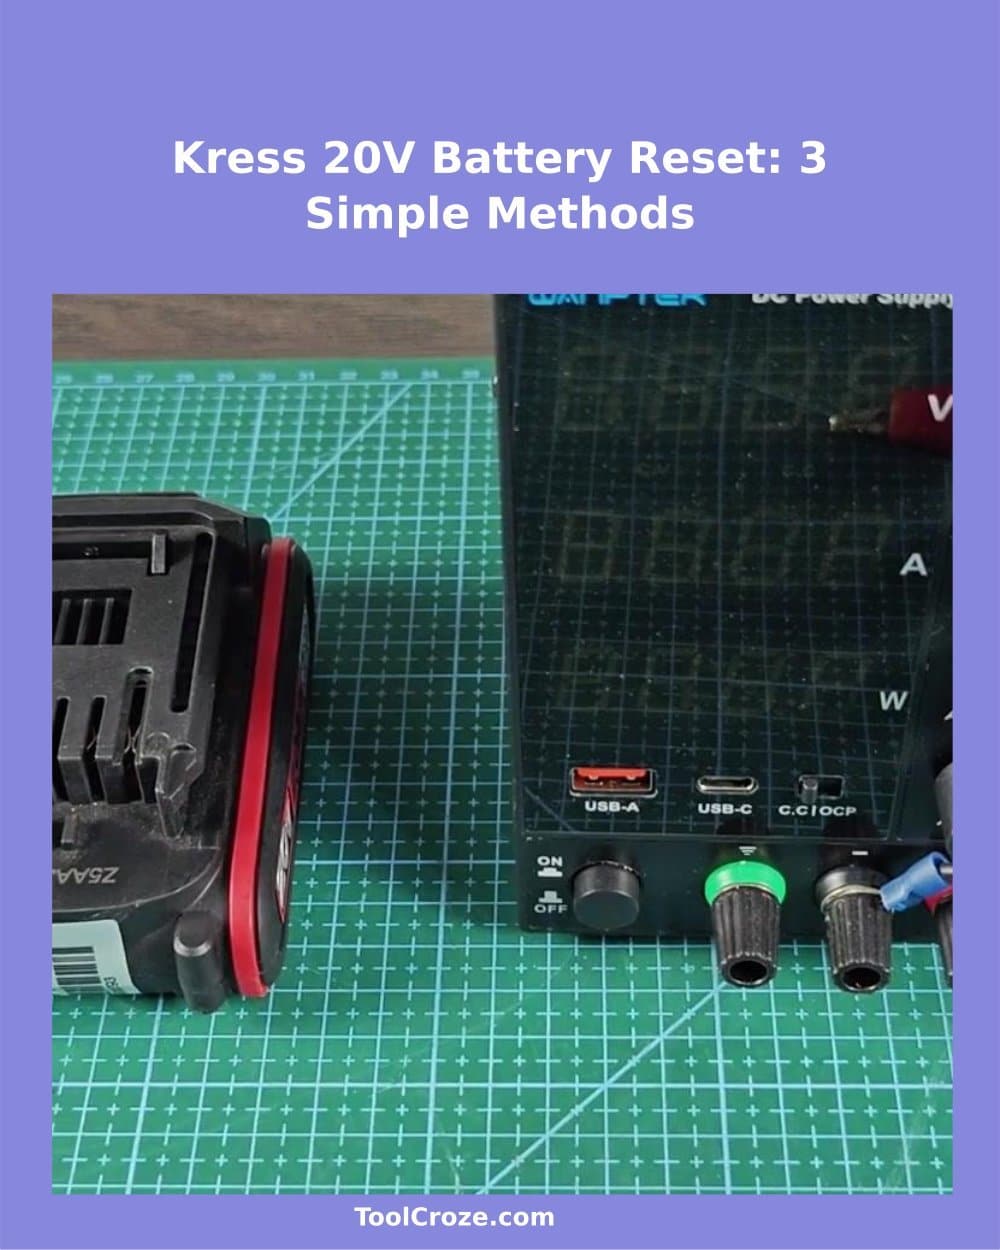
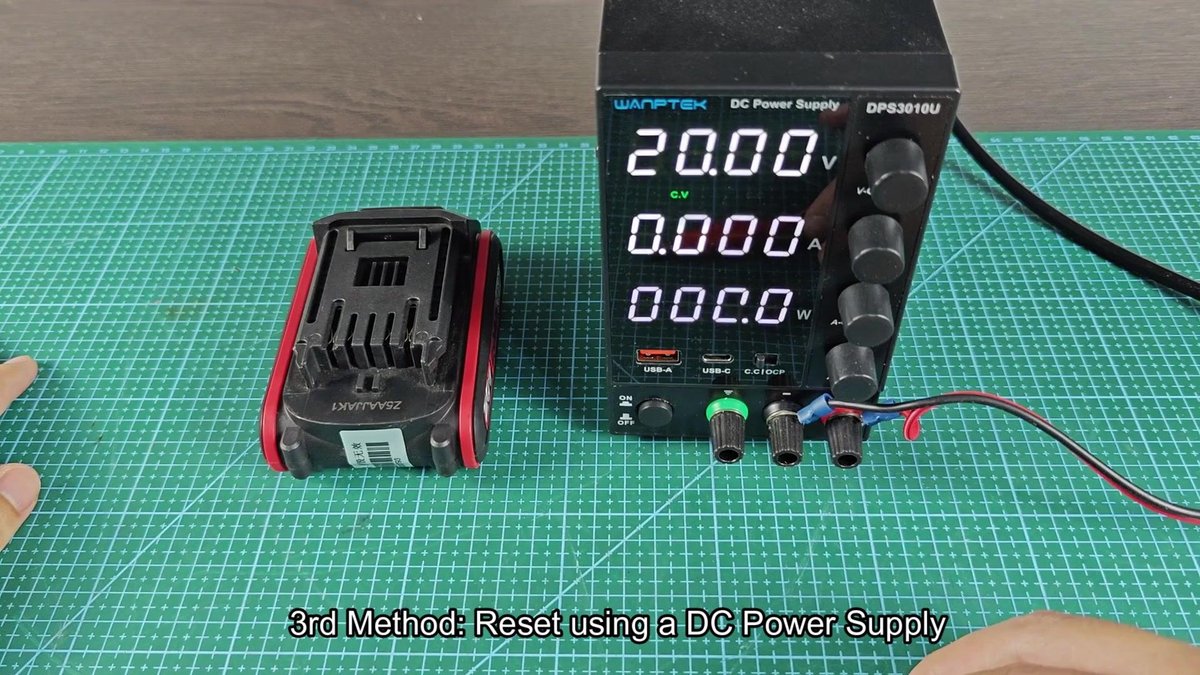
For the third we use a DC power supply instead of another battery. The adjustable DC power supply Wanptek DPS3010U sits beside the dead Kress unit on the workbench. That method allows you to fully control the voltage and current that enters the battery during the process.
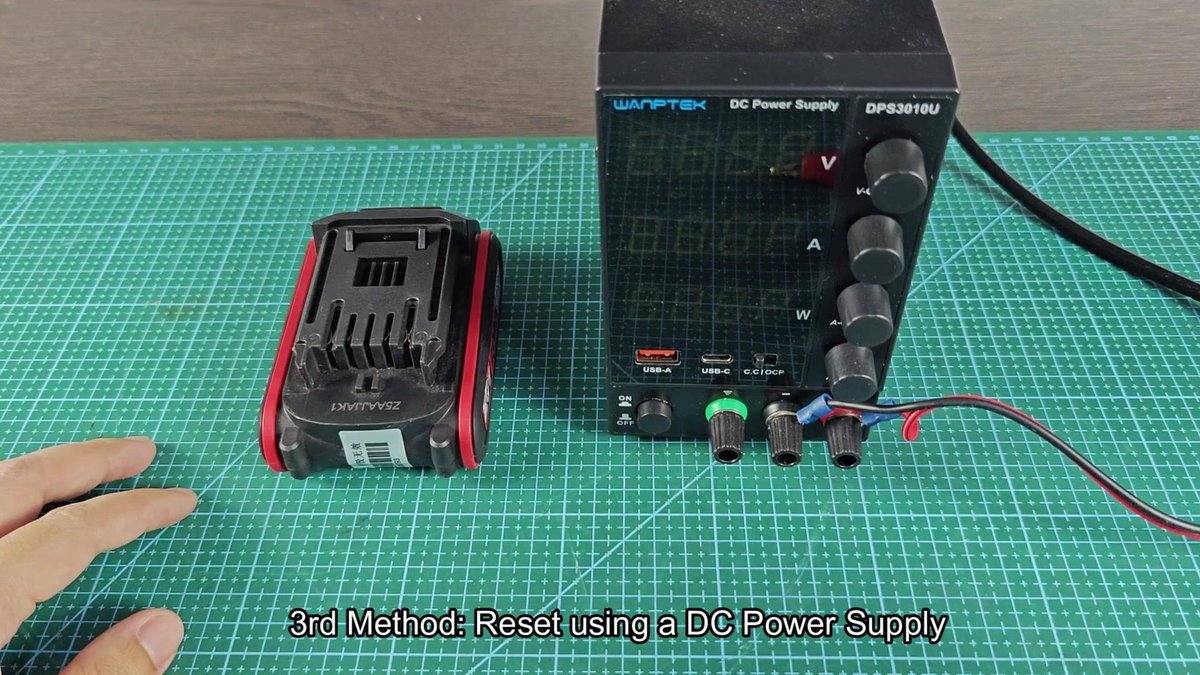
To start with the power supply method, we need set the right values. We turned the voltage knob to 20.00 volts, which matches the standard voltage of the Kress battery. With the supply turned on, the current pointed at zero amps.
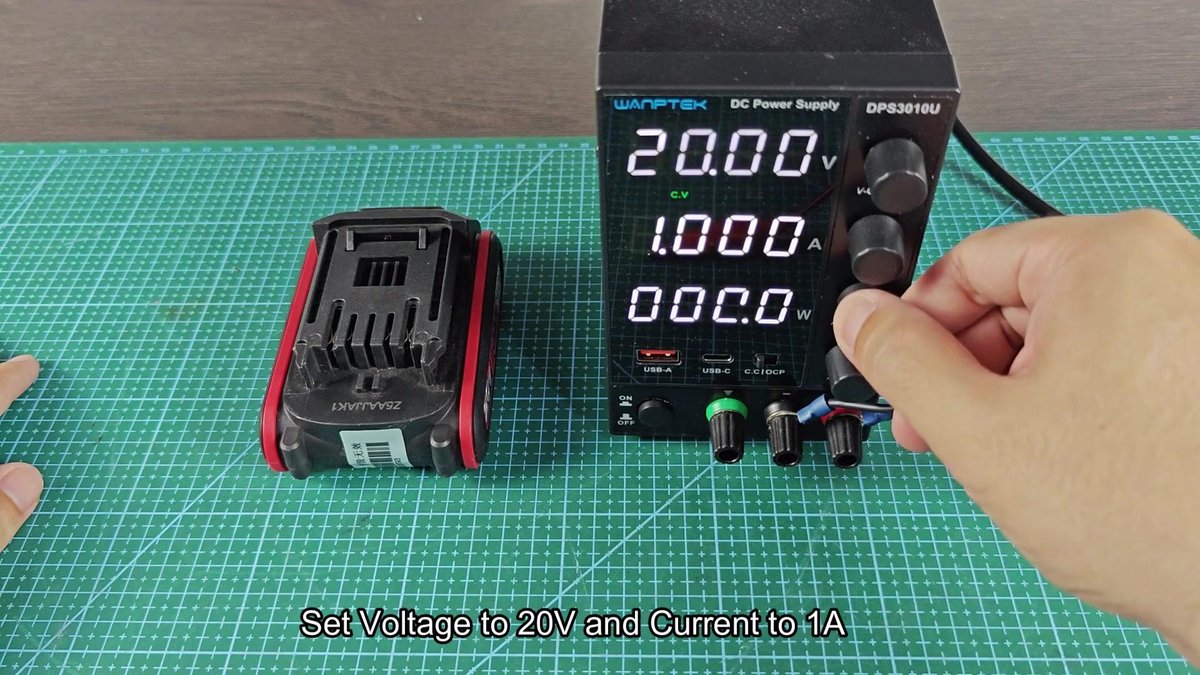
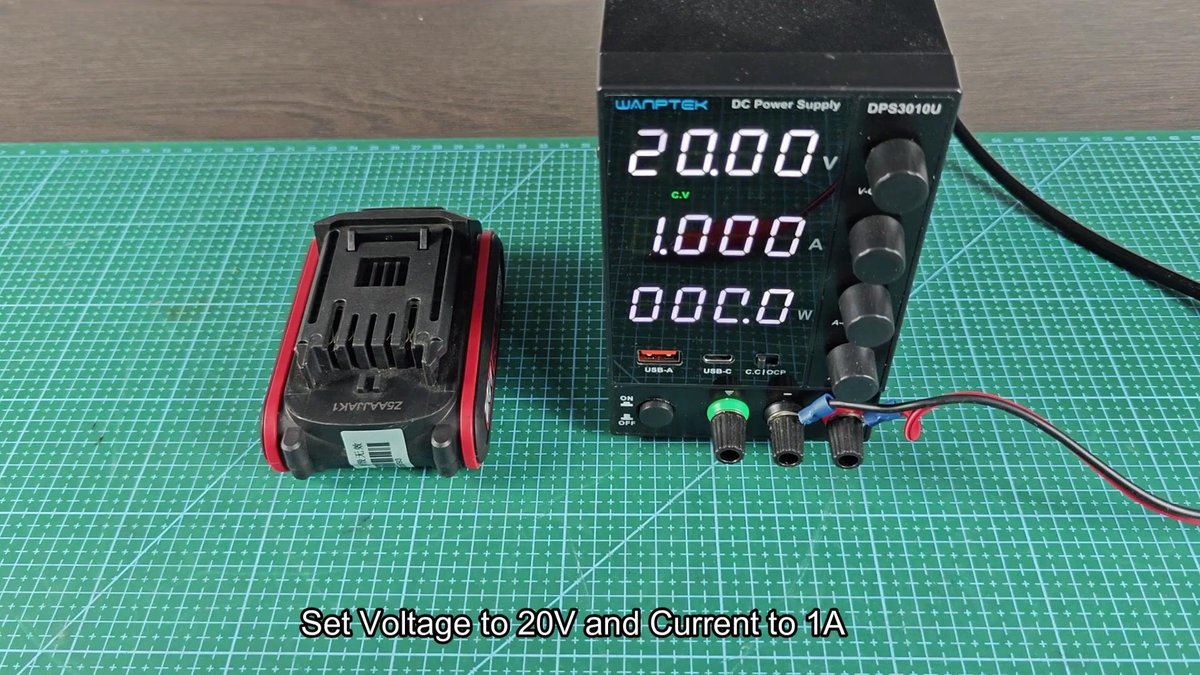
Then we use the second button to limit the current to 1.00 amps. That limit stops too much current going into the battery too quickly. The display confirmed 20.00 volts and 1.00 amps, with zero watts, because the connection was not ready yet.
The power supply is now ready, so we prepare to connect it to the dead battery. It comes with red and black output cables that have alligator clips. The Kress unit sits close beside the supply, ready to connect the terminals.
We use a small ring adapter to connect the red cable of the supply to the positive terminal of the Kress battery. The black cable we set to the negative terminal likewise. We make sure that both connections are tight, before turning on the power of the supply.
Voltage and current start to enter the battery pack immediately.
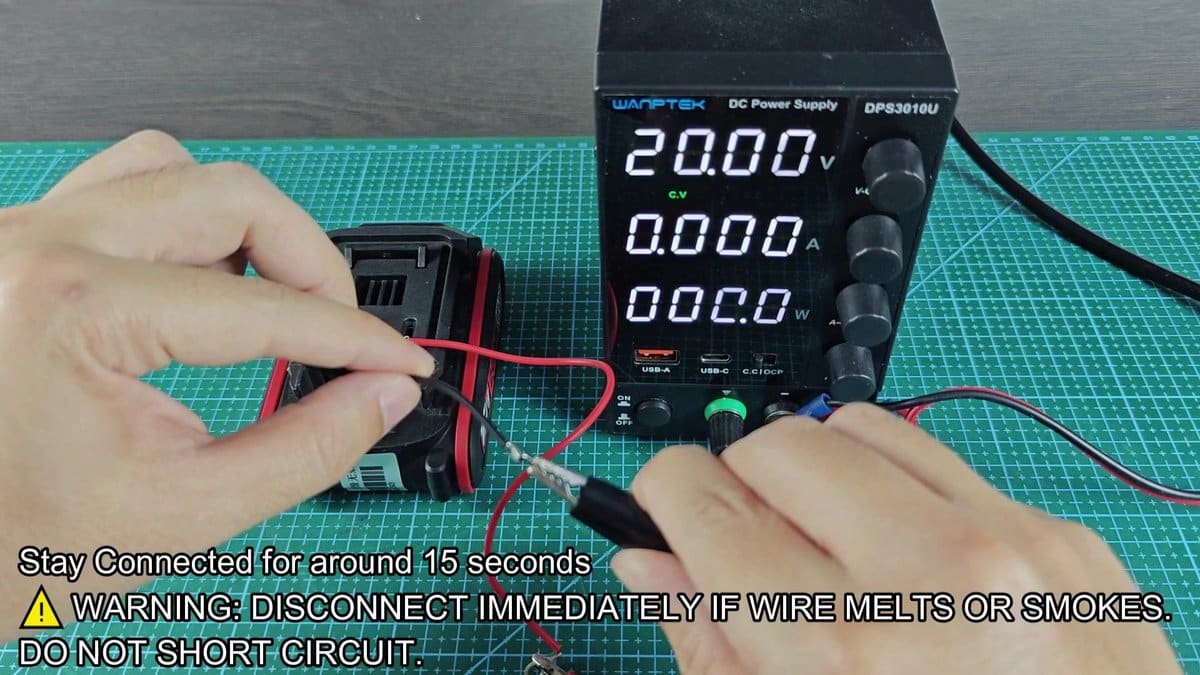
We keep the connection for the same duration, following the same step as before. At this moment, the display on the supply shows that the battery draws current. Once done, we disconnect the cables and turn off the DC unit.
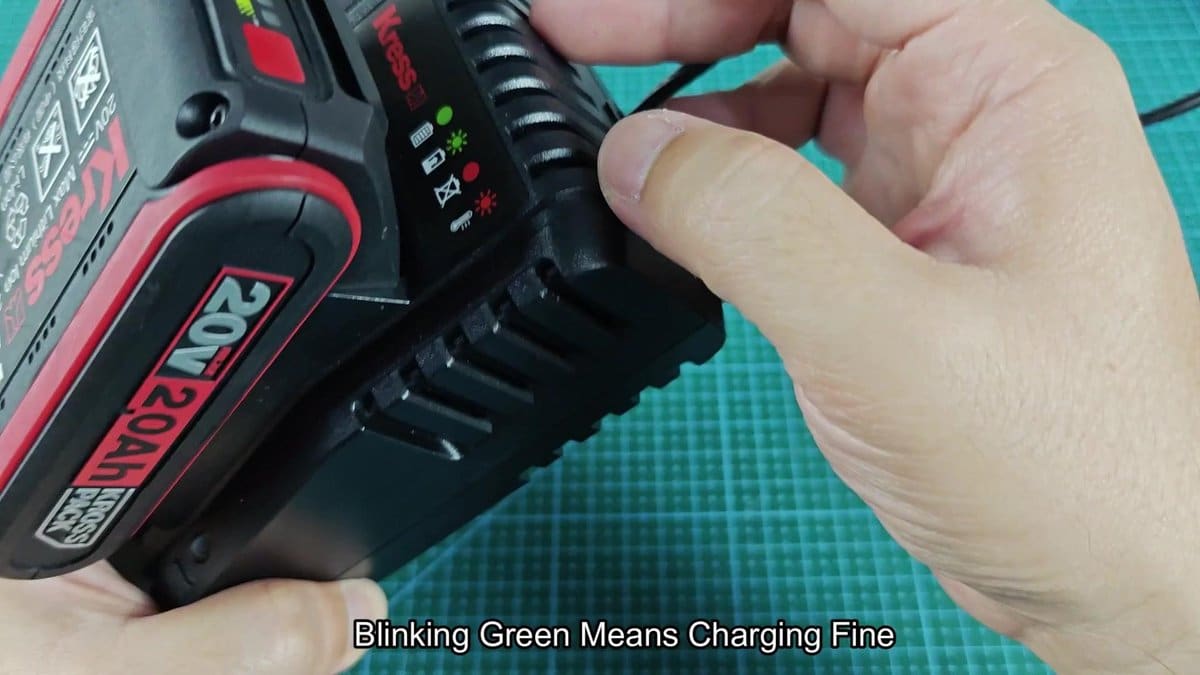
Now it is time to check whether some of the reset methods succeeded. The Kress battery that we just restarted with the power supply, sit on the original charger that before had solid red light. The light changed to green this time without staying red.
The green light blinked, just like during normal charging on the Kress charger. The reset process worked and the battery again accepts energy. It sat on the charger for some minutes, and turn green to indicates that it has been fully charged..
That reset effect helps a lot when you use many such batteries for various tasks, and saves several units that would otherwise go to waste.
