
It’s best to keep a close eye on the lights of your Craftsman charger, since they might be telling you about problems. However, if the lights don’t work, they can’t tell users anything at all.
Usually when the lights don’t work, neither does the rest of the charger. In case that’s happening to you and your Craftsman battery charger is not working or showing lights, I have some tips you should look at.
Craftsman Battery Charger Not Working and No Lights – 4 Possibilities
- Contact Points Have Too Much Covering Them
Chargers don’t develop problems as easily as other devices too. That’s especially the case if the charger is relatively new, and was only in use for a year or two. They’re made to last.
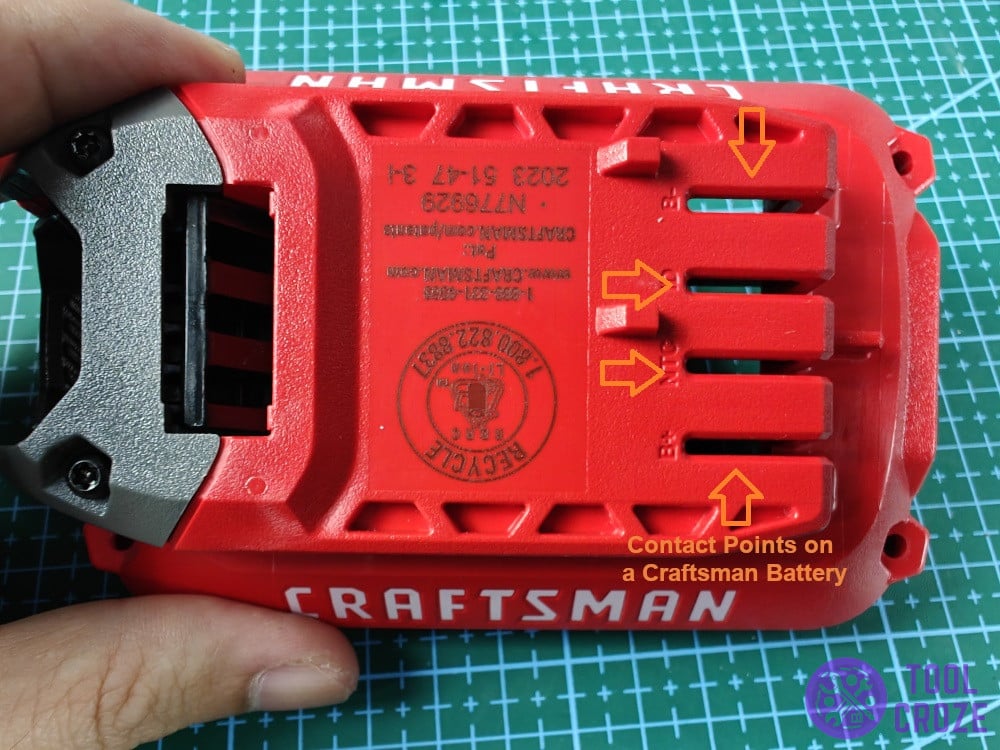
One thing that chargers like the one from Craftsman ARE prone to, however, is getting dirty contact points. These points are where the battery and charger join each other.
Dirt on their surface will stop the connection points from meeting properly. Without proper contact, the flow of power won’t stay constant and the charger won’t work.
All this sounds complicated, but it really isn’t. Cleaning the contact points is all you have to do is resolve this. Here’s a photo of what they look like on a Craftsman battery:
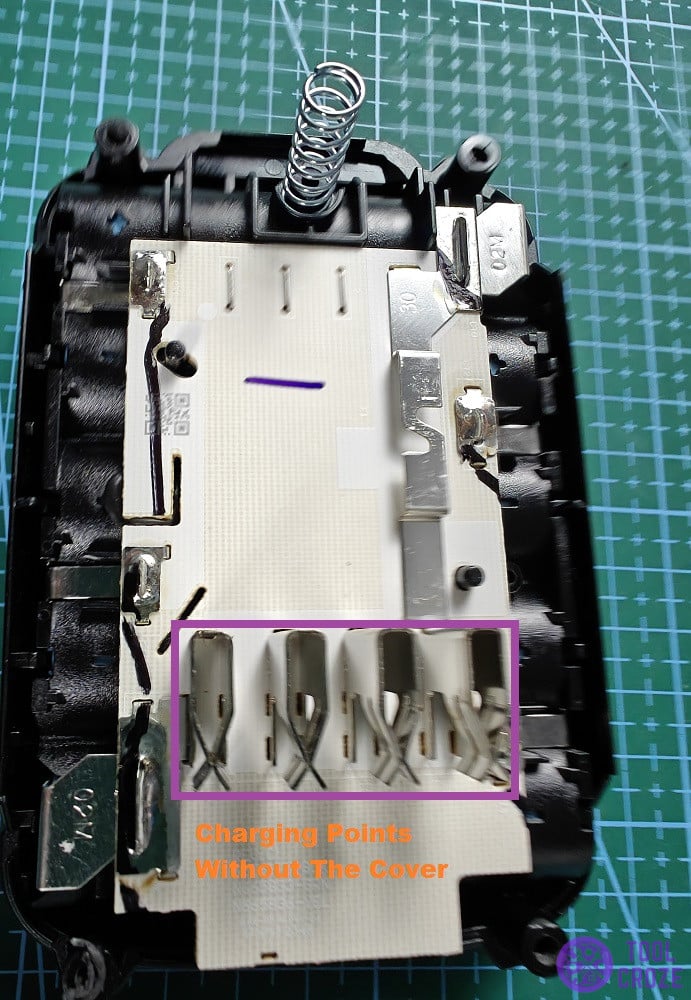
I took the covers off to show a closer look at them. It’s best you take them off too to clean these, because that way it’s a lot easier. But, there is one really important thing to keep in mind.
No amount of stressing is enough when I say “don’t clean the points with anything wet”. Don’t even use a damp cloth or anything. The slightest bit of water might brick the charger or battery.
Just a cloth carefully wiping the surface of the contact points should be enough to clean them. At most, you can try using compressed air to blow away any clingy pieces of debris.
- Faulty Contact Points
The contact points I was just talking about act as the charging port for Craftsman batteries and chargers. Like any other charging port, these ones can go bad too.
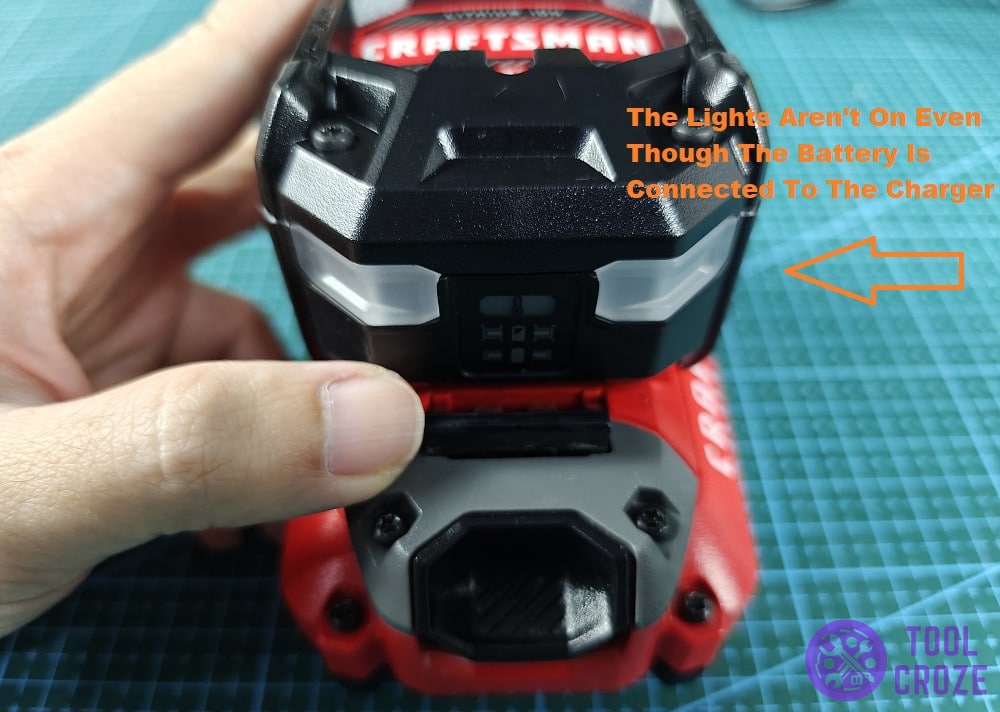
When a charging port goes bad, power will stop flowing through it. Once that happens, the charger won’t recognize when there’s a battery connected to it.
If it can’t tell about the connection, the Craftsman charger won’t turn its lights on. They’ll stay off until, just like the lights of my Craftsman charger in the image below.
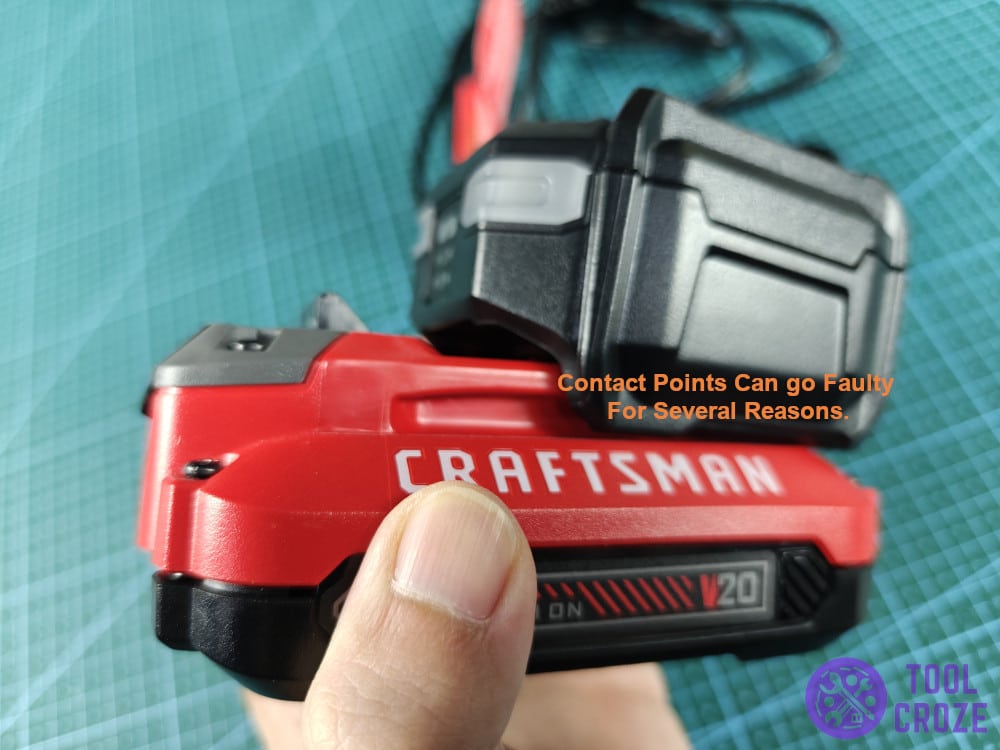
Contact points can go faulty for several reasons. One of the main things is bending around the surface of one of the points. Once these things lose their shape, they tend to stop charging.
This type of thing only happens with really rough use, though. Some other common reasons are shortages. Water getting on the board that the prongs are attached to can ruin their connectivity.
Depending on whether it’s physical damage to the surface of the charging port or something wrong with its board, you’ll need different kinds of repairs.
- Charging Prevented By The BMS
By now, you know that the lights don’t turn on when the charger thinks it’s not connected to a suitable battery. After all, the entire purpose of the lights is to indicate charging and charging issues.
If the charging points look normal, one other thing that can prevent charging is the BMS. This is the main board on a Craftsman battery, and what’s responsible for keeping its operations in check.
Without a functioning BMS, batteries like this would easily short-circuit, or cause overcharging. As a protective measure, when the BMS stops working, the entire battery does as well.

Part of this involves the battery no longer accepting charge. That leads to the charger not turning working on the battery, and no lights turning on either.
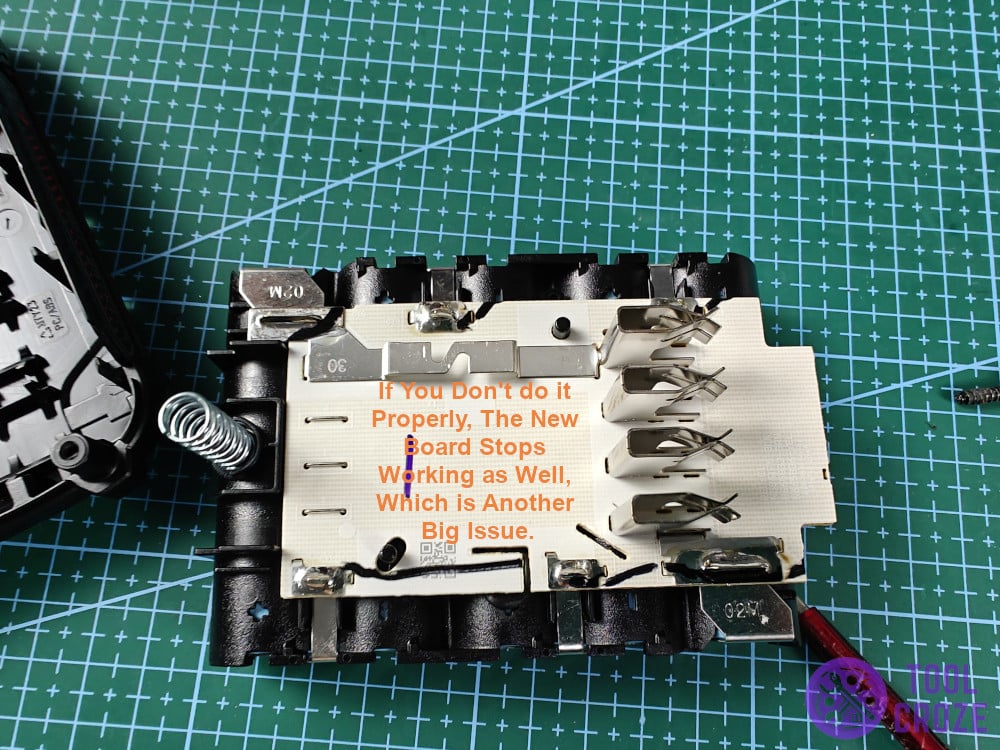
Solving this mess requires a BMS swap. That’s no easy thing to do, as you need to find a suitable battery for your exact Craftsman charger first, and then put it on properly.
It’s also a completely different procedure depending on the model in question. If you don’t do it properly, the new board stops working as well, which is another big issue.
Many get a new battery when this board stops working as a result. Normally, I wouldn’t always recommend that. Because of how cheap Craftsman batteries are though, I think that’s what you should do.
Purchasing a new BMS and then putting it on will cost you nearly the same and kill a lot of your time. It’s a lot better to just buy a new battery instead, as they won’t set you back much.
But before you buy a new battery, you can try the solution I did to fix my Craftsman battery which wouldn’t charge anymore. I showed how you can do it on the video I made which you can watch below.
To solve this issue, you need another Craftsman battery with similar specs. Connect the B+ to B+ terminal, and B- to B- terminal of the two batteries.
Let the two batteries stay connected for around 15 seconds and then disconnect them. Try to recharge the problematic battery again and it should be charging fine now.
In order to know if it’s battery that has a problem and not the charger, you should know the different meanings of the indicator lights on a Craftsman battery charger. I also have a video about this and you can watch it below.
If you see a blinking green light on the Craftsman battery charger, it means it’s charging the battery. This will turn into a solid green once the battery is fully charged.
If you see a red light, it means a hot/cold delay. If there’s no light at all, it indicates a bad battery. A solid green light but the battery indicator is not full also indicates a bad battery.
- Dead Charger
There’s no point in looking at things wrong with the battery if the charger itself is dead. Chargers that blow a fuse, have a damaged board or other faults end up dying.
Power no longer flows through them. With that lack of power, they also don’t have any juice in them to turn the lights on. If nothing else works, this would explain the issue you’re having.
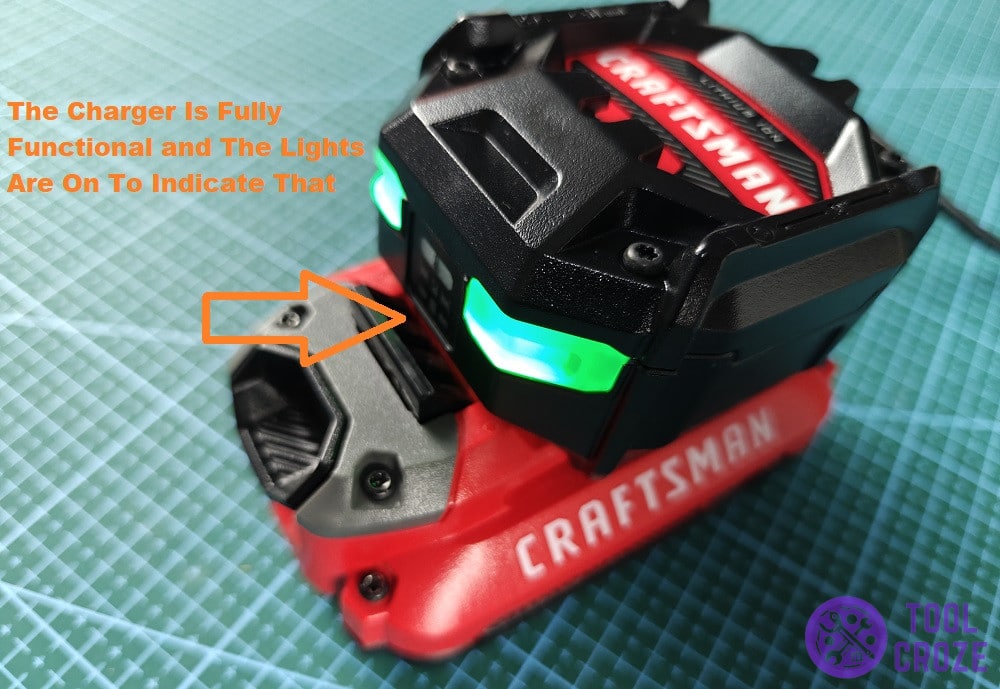
Now, if you find the exact fault, it may be possible to fix the charger and get it working like mine is in the picture down here. Replacing the fuse, board, varistors, and other faulty things is an option.
The thing with that, though, is the same as what I mentioned in the last solution; is that repair worth it? Just like the batteries, the Craftsman chargers aren’t that expensive.
After finding the specific repair parts needed for your particular charger, and the effort needed to properly swap them, a new charger will cost you about the same, with nowhere near as much effort.
Use a multimeter to confirm that the charger is dead and not providing any voltage on its connection prongs. If that ends up being the case, get a replacement charger instead of doing repairs.
I know that it isn’t exactly “troubleshooting”. However, it’s the much smarter option, all things considered, and the one I would choose personally.
