There is something about Craftsman batteries that keep me curious, maybe it is the way they keep evolving across new models and keep adding new technological features.
This was enough of a reason for me to open one up and understand each pin that comes inside the battery to create a pinout diagram of it.
I wanted to figure out what was going inside the battery and what the four pin layout of this battery did, so without any further thoughts I was on it already and here is what I found.
By the way, I also made a short YouTube video about this topic and you can watch it below.
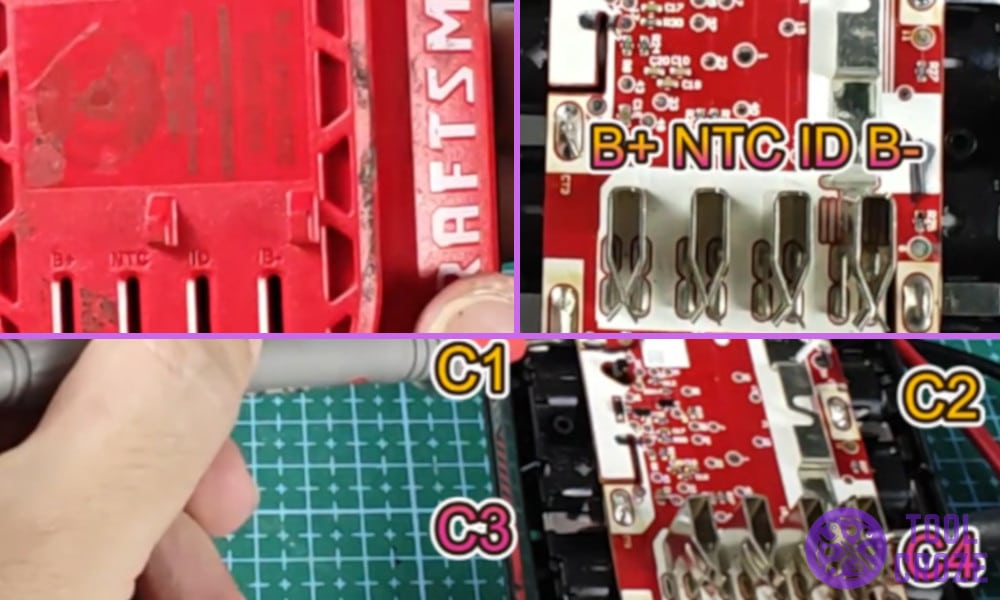
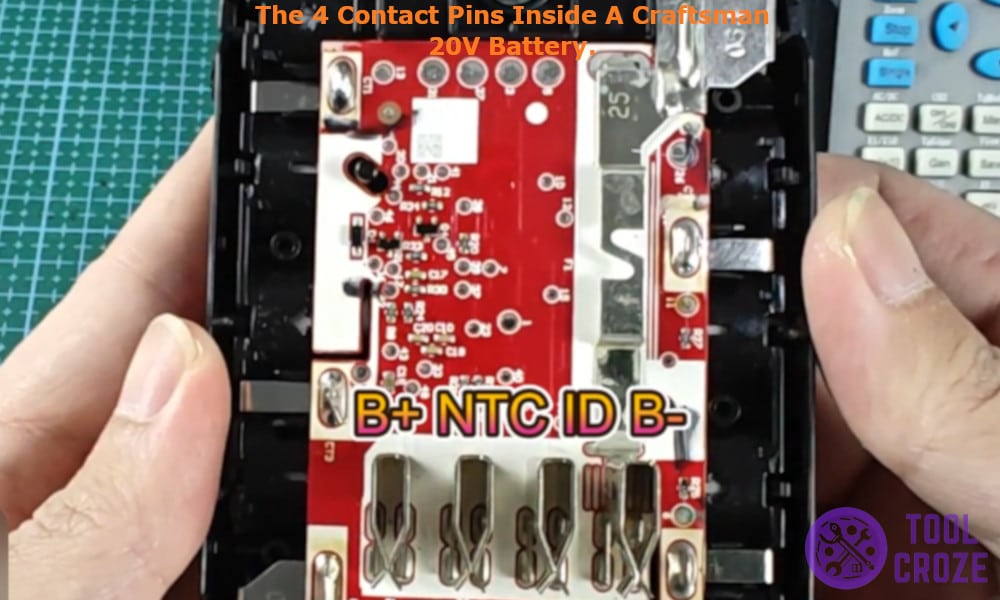
In the video, I showed the 4 pins inside a Craftsman 20V battery: Positive – B+, NTC – for temperature monitor, ID and Negative – B-. I also marked the other contact points for the battery in the video as C1, C2, C3, and C5.
Pinout Wiring Diagram of a Craftsman 20v Battery
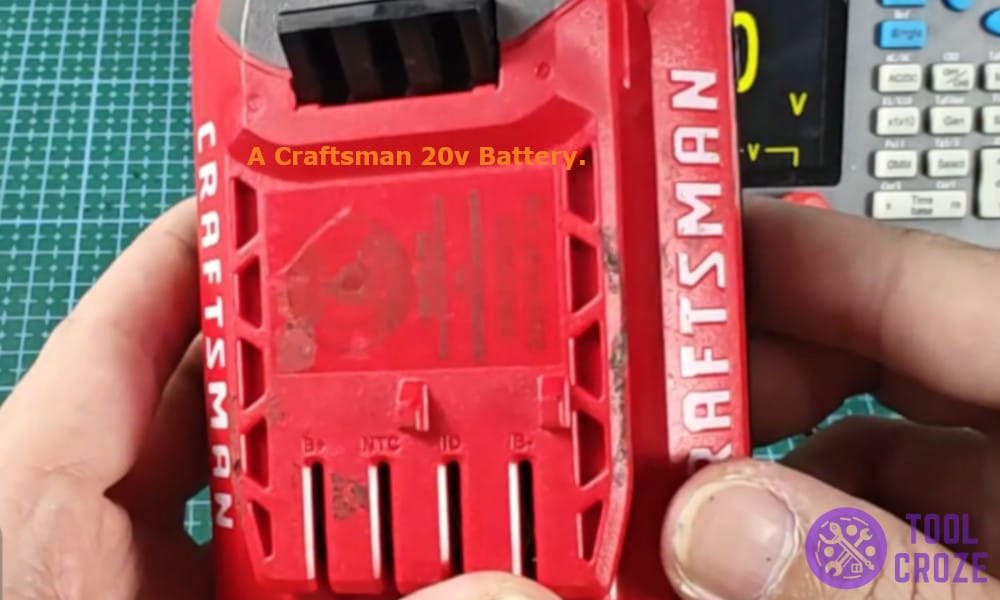
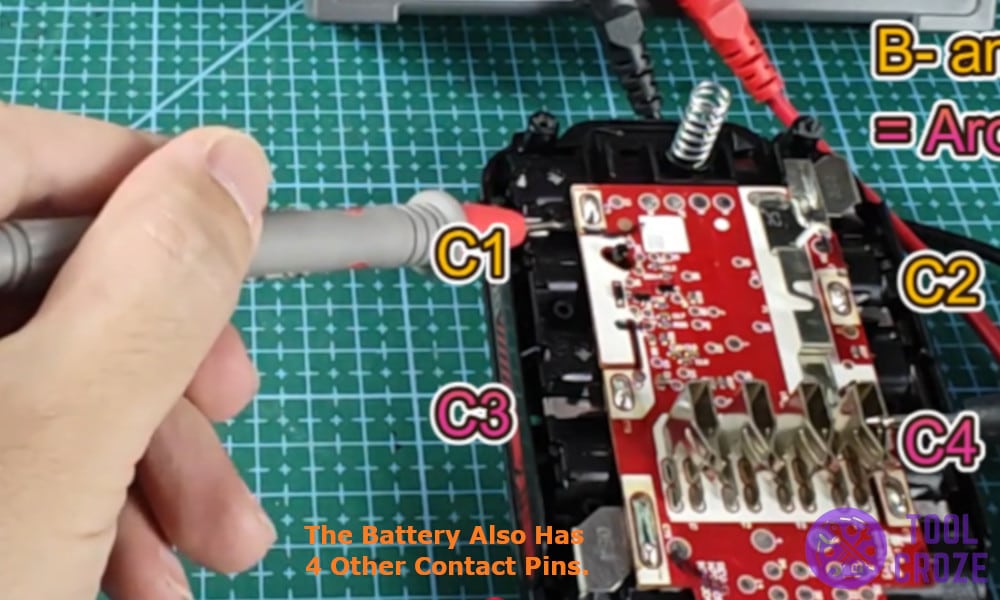
The Craftsman 20V battery comes with a not very simple yet not very complex setup, once I opened the battery and removed it out of its plastic shielding I discovered four pins instead of the five that I was expecting.
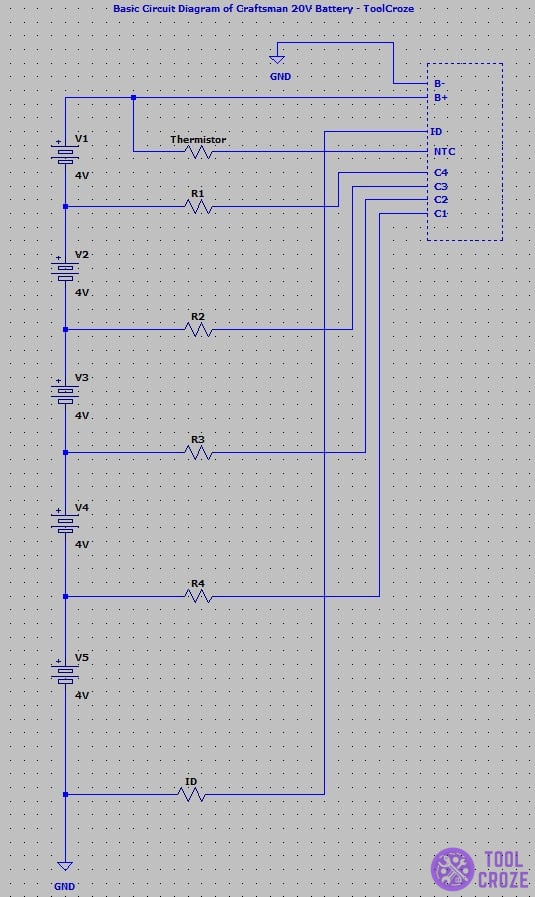
Aside from the normal pins the battery also has various contact pins labeled as C1, C2, C3 and C4 in the diagram. These are used by smart chargers for balanced charging and to make sure the battery cells are not overcharged.
The battery consisted of five 18650 cells connected in series to generate 20V of output with each cell generating around 4V.
This information was crucial as it can help me understand how to repair the battery in the future if it ever gives up on me.
First I started looking for the positive pin marked as B+ on the diagram, it worked as the main pin and sent the whole 20V to the power tools when connected with the negative pin marked as B- which acts as the main ground pin.
Then there was the NTC pin or the thermistor pin, this pin is crucial for connecting the temperature sensor to the charger or the power tools, without this pin the charger will not be able to read the internal temperature of the battery and the hot and cold delay function might not work.
Related: Reset Craftsman v20 Battery Without Charger: 3 Methods
Lastly I found the ID pin which doesn’t carry any voltage but is only used to communicate between the battery and the charger or the tool, the communication takes place to share battery voltage or capacity to each other.
After I found all the pins it was time to measure the voltage across each pin, here is what I measured.
- Positive – Negative – 20V
- Positive – NTC – 0V
- Negative – NTC – 20V
- Positive – ID – 20V
- Negative – ID – 0V
- Negative – C1 – 4V
- Negative – C2 – 8V
- Negative – C3 – 12V
- Negative – C4 – 16V
