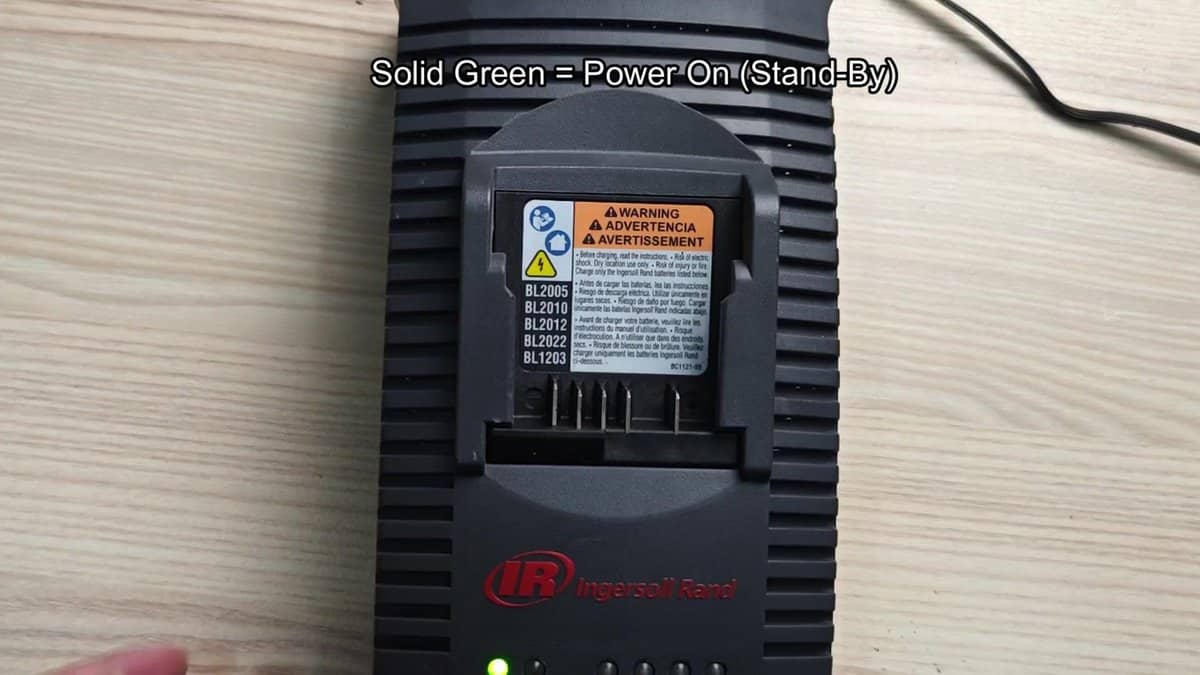
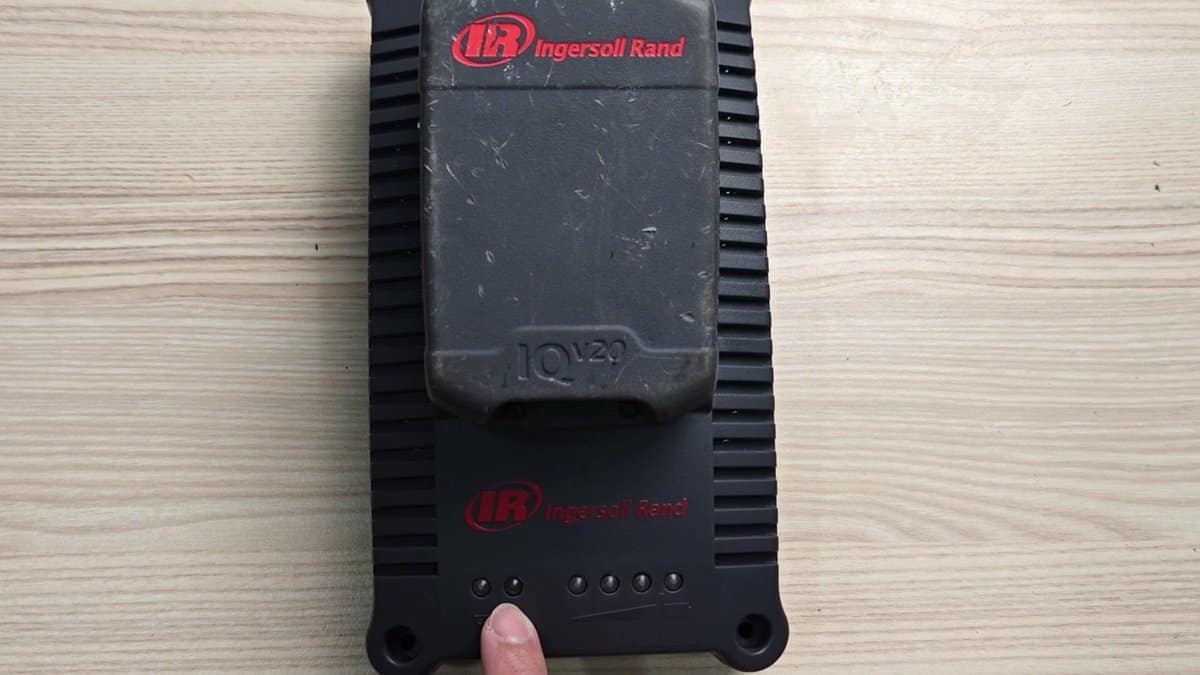
Fixiing problems with the Ingersoll Rand BC1120 charger turned into a genuinely funny experience. The green and red light blinks and understand those light signals required a bit of research. The continuous green light simply shows the rest mode of the device that ensures that it works and is ready to recharge your IQV20 battery.
It is not something difficult, the indicators simply show that the charger is ready and waiting for you to attach the battery. Once you connect a battery, the lights guide you through the whole process, although maybe you need the manual to well read all codes.
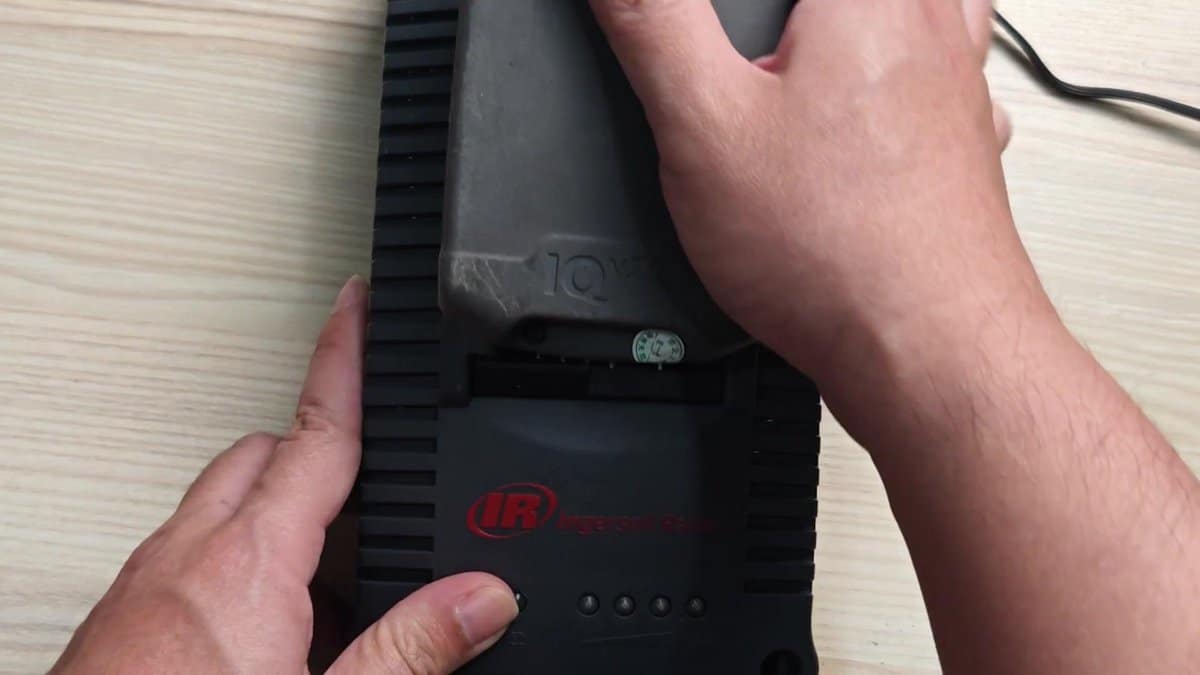
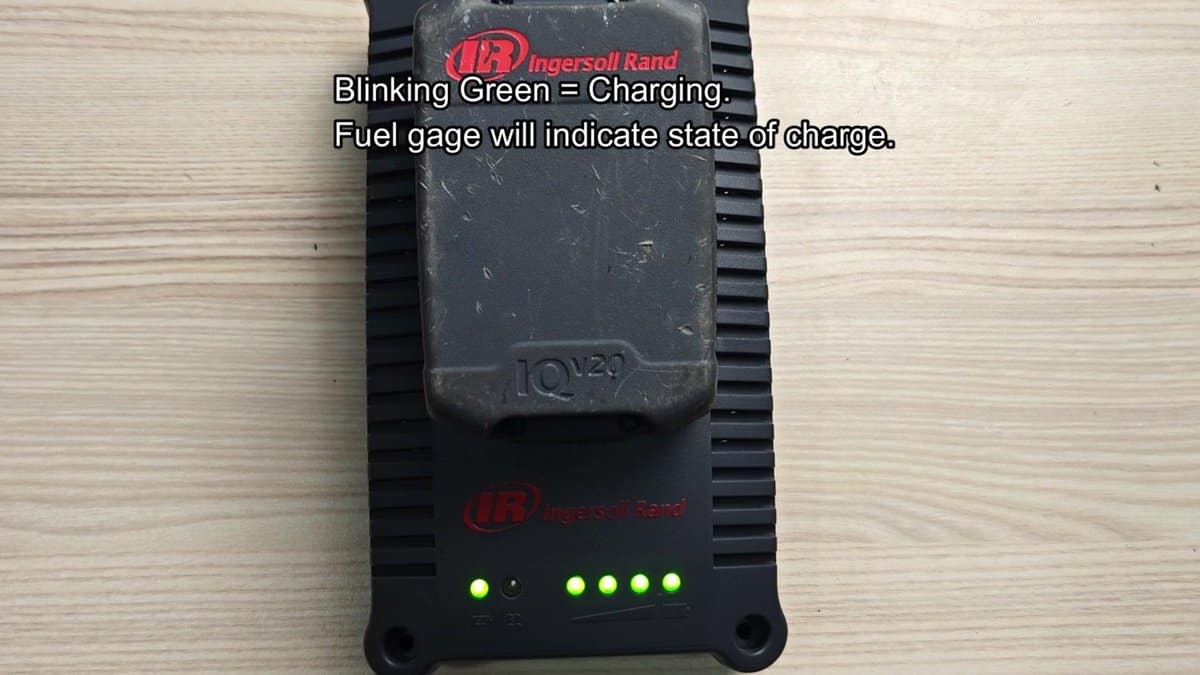
When I attached the battery in the charger, everything became more clear. The green LED light started clicking, showing that the charging already started. Watching the built-in measure of the charge level, I saw as the LEDs lit themselves one after the another, letting me see the charge level as it filled from empty to full.
It is a practical and uselfu addition.
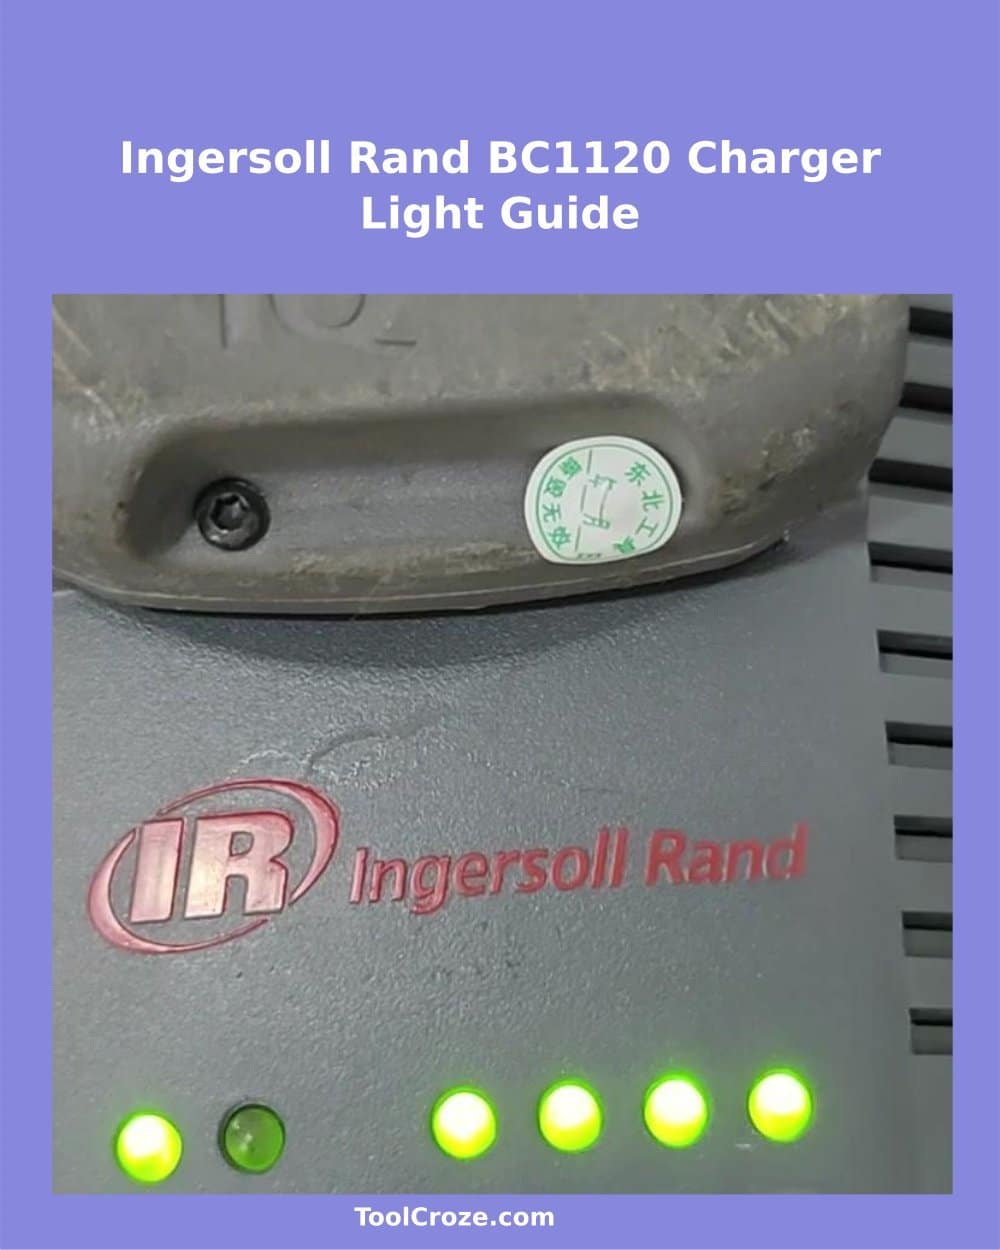
Ingersoll Rand BC1120 Charger LED Meanings and Troubleshooting
When the battery stayed on the charger a bit of time, the lights ultimately all glowed solid, without clicking. That means the charging ended and the battery is entirely full. The difference between clicking and steady glow helps to easily identify whether it works or already is done.
It really is that simple once you try it.
If the LED of the charger stays solid red that shows that the battery and the device do not connect properly. Dirty contacts or wrong battery can be the cause. The main cause is to check the connection to restore everything.

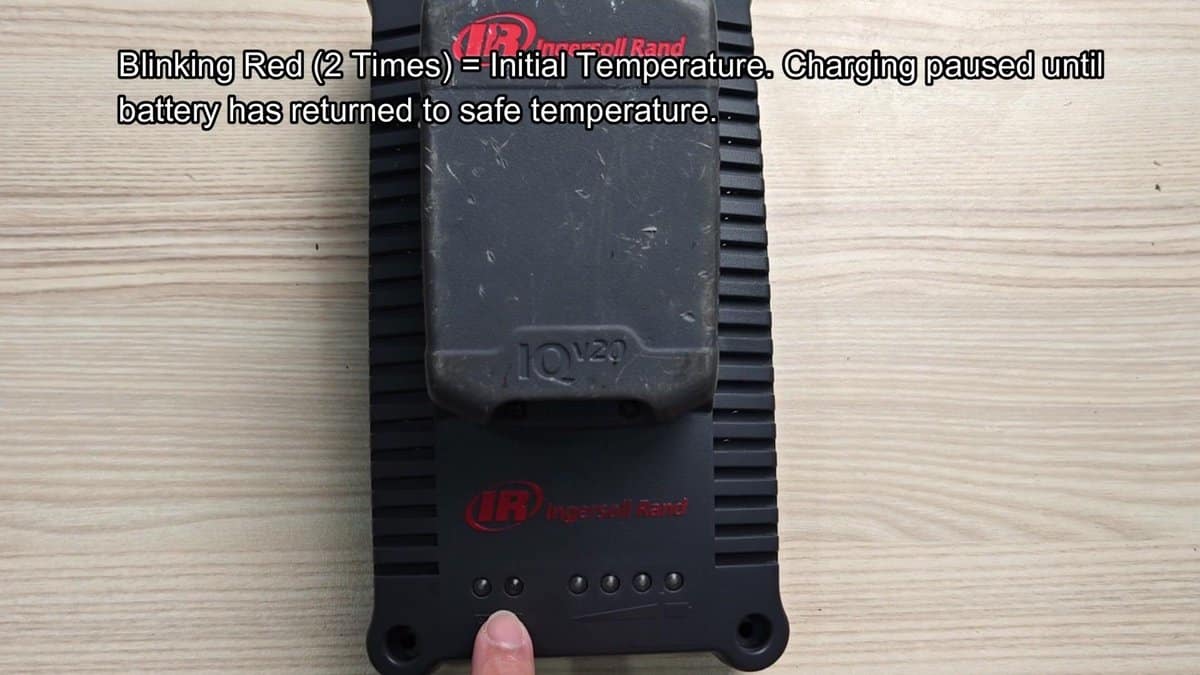
The BC1120 charger uses a learned mode to inform about everything. If you see two red flashes, it means the temperature of the battery is outside standard. The device then pauses until the battery cools or warms to safe level.
Three red flashes mean the charging lasted too long. It usually signals that the battery is at the finish of its life and cannot keep energy anymore. If the charger yet struggles after very long time, probably the cells themselves are damaged.
The device warns about a broken battery.
Four flashes of the charger most commonly show that the temperature of the battery left the safe range during the charging. It is like the two-click pause, but here it happens during the process. The charger itself stops the flow and waits until the temperature settles before restarting.
It can be annoying, but it is important protection.
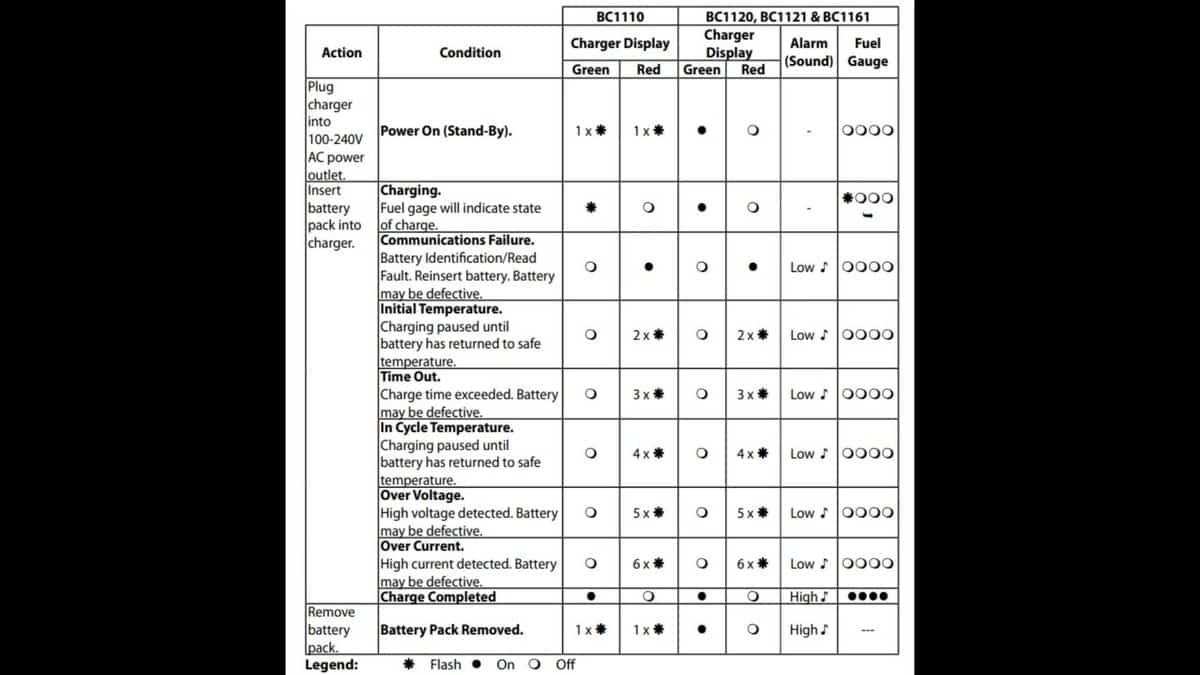
Five solid red flashes warn about too high voltage, when the charger detects a voltage level bigger than normal. Usually that comes from internal damage in the battery or a failed cell that breaks the readings. Here not much you can do yourself, probably the battery must be replaced.When the charger finds too big current flow, it flashes six times to signal overflow.
It commonly shows problems in the battery or internal shortage. Bad news, because that usually means that the whole unit is used and needs a new one. The booklet that came with the charger carries a useful guide that explains all signals, so keep that in mind.
And only for reference, the codes a bit differ between different models, so ensure you know which one you have before settling problems. The new BC1120, BC1121 and BC1161 models all use the same codes, while the old BC1110 has its own signs.The LED measure of the battery about the energy level and the main lights of the charger work to give you a clear overview about the charging. I learnt the signal codes of the charger only watching it while some cycles with different batteries, and the system genuinely does make everything clear when you understand the messages.
