I was halfway through hanging up some shelves on the wall when my DeWalt stud finder decided to not help me at all. Suddenly my DeWalt stud finder refused to work and told me where the studs were on the wall.
One minute it was working fine and then it was not, it was beeping randomly and I couldn’t understand why. At first, I thought I was using it wrong but it was something else that was causing the problems, and after some trial and error I finally got it.
To help you even better, I also made a short video about this topic and you can watch it below.
On the video, I showed how you can fix this problem by checking if the battery of your DeWalt stud finder is still working, if you’re moving it too fast, and if you’re using it on a wrong angle.
Read: Craftsman vs Ryobi vs DeWALT Stud Finder Comparison
What to Do if Your DeWalt Stud Finder Not Working Not Accurate
Here are some of the reasons why your DeWalt stud finder might not work or provide accurate results.
How to Properly Use a DeWalt Stud Finder?
1. It is very important to first understand how to use a stud finder and as a first timer I also had no idea how to use it and maybe it is the reason that caused your DeWalt stud finder to not work properly.

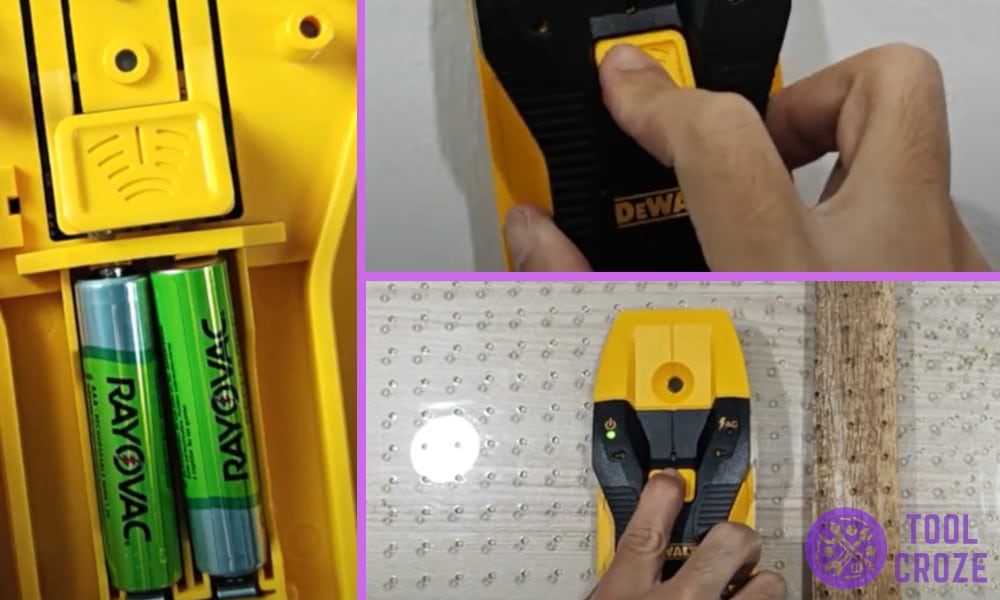
2. If you just bought your DeWalt stud finder, Start by inserting the batteries. It uses a pair of AAA batteries which can be inserted by opening the front plastic cover. After that turn it on and place it against a flat wall.
3. The DeWalt stud finder will calibrate and beep for a second. I usually wait a second or two for it to calibrate before I start moving it across the wall. It’s a very important step and you cannot skip it thinking it will calibrate itself.
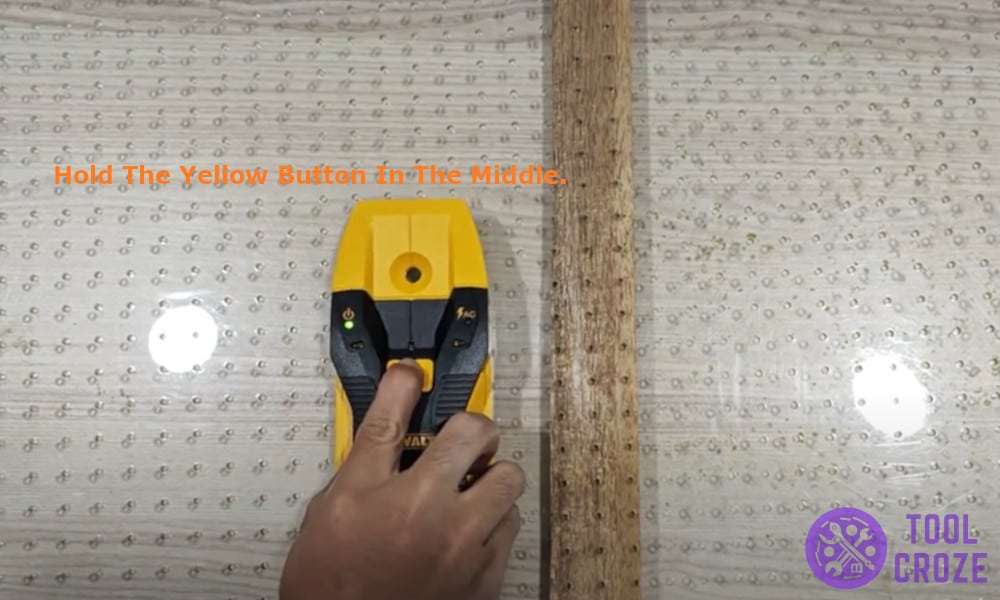
4. Next, Hold the yellow button in the middle and start sliding it across the wall slowly. You will be guided by the arrows on the stud finder which will direct you to the nearest stud inside your wall.
5. Wait for a continuous beep and the red light to flash to confirm the presence of stud behind the wall. When this happens I quickly grab a pen to mark the location with a small cross on the wall.
I also made a short video about this topic and you can watch it below.
Now that you know how a DeWalt stud finder works, here are some common reasons as to why it wont work and provide inaccurate results.
1. Not Turning On – If your DeWalt stud finder is not turning on it might be due to low battery, replace the old AAA batteries with new pair and try turning it on again. It might also be caused by wrong battery installation.
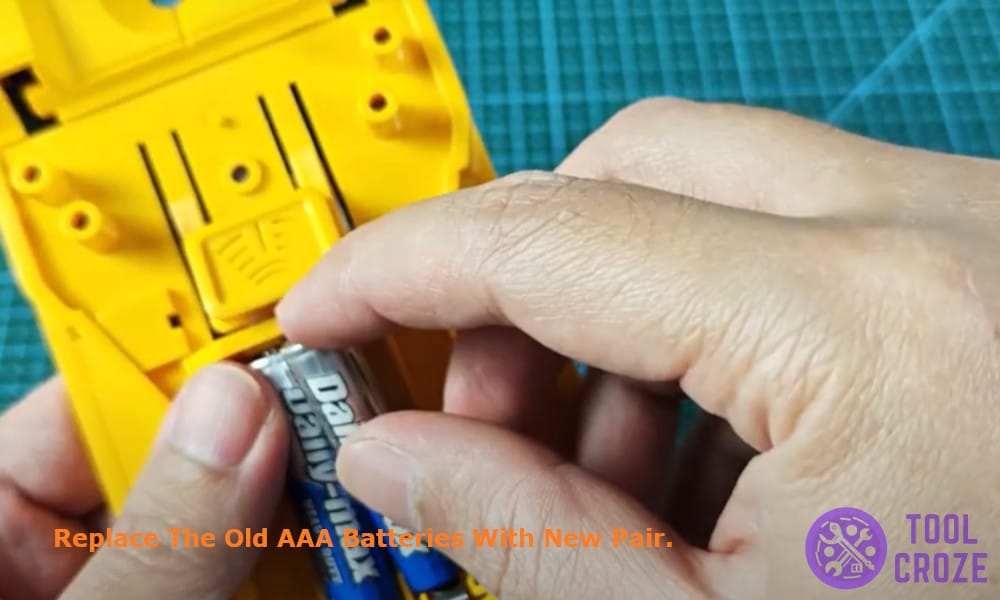
Make sure to check the negative and positive markings before inserting the batteries. I have made this mistake so many times to know that it’s very common to put the batteries in the wrong order for it to not work.
2. Moving too fast – The DeWalt stud finder is used to locate wood studs or metal studs behind the walls. Moving it too fast would prevent the DeWalt stud finder from completing its calibration and finding studs behind the wall.
I always start by first identifying a smooth surface, then I place the DeWalt stud finder on the wall and let it calibrate first. After it stops flashing I start moving it until I am able to find a metal stud behind the wall.
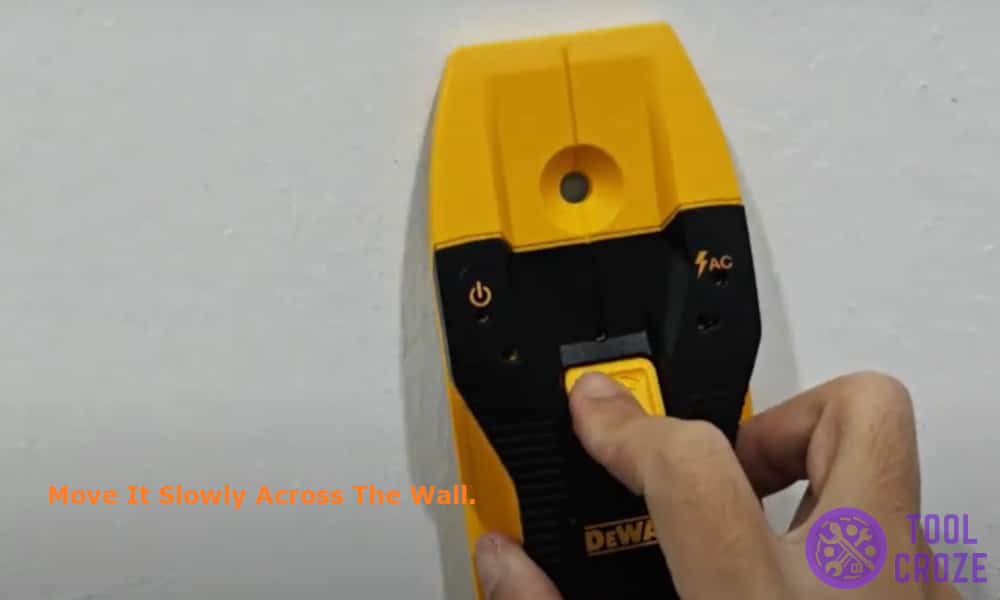
I move it slowly across the wall to make it work smoothly and provide accurate results.
3. Wrong angle – For a long time I thought that the DeWalt stud finder could be used in whatever angle I held it in, but I was very wrong. It is very important to hold the DeWalt stud finder vertically straight while looking for studs behind the wall.
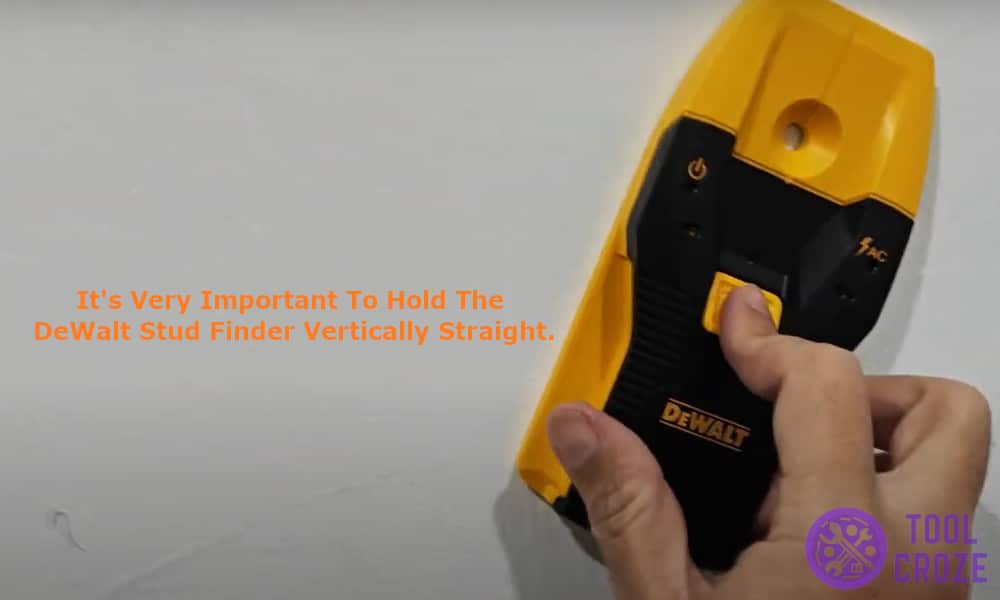
Not holding it at the right angle will cause the DeWalt stud finder to not work and prove accurate results. Make sure to align it straight, before moving it across the wall.
