I started with identifying the + and – terminals on the Hilti battery, since they are not labeled. Be careful before connecting two batteries together and make sure the terminals match when they are connected.
Usually in the Hilti batteries the + and – terminals are located on the second pin from the left and right respectively. But just to be sure I used a multimeter to confirm the terminals.
Then, I used a multimeter in DC voltage mode to check the second outer pin. When the multimeter showed me a positive reading that matched my battery voltage, I knew
I got the positive and negative terminals. Here is a pro tip, red probe means the terminal is positive and the black probe indicates the negative terminal.
To help you even better, I also made a short video about this topic. You can watch it below.
On my video, I demonstrated the three different ways you can reset a Hilti battery. You can use another healthy Hilti battery with similar voltage, a healthy battery from another brand (similar voltage also), or a DC power supply.
Read: Hilti B22 Battery Pinout Wiring Diagram
3 Methods to Reset a Hilti Battery
Method 1: Reset Using Another Hilti Battery
If you have another Hilti battery laying around that works properly, you are in luck. Just make sure the voltage of the battery matches each other, you might not want to fry anything.
Luckily, I also had another Hilti battery laying around. I connected the positive terminal of the healthy battery to the positive of the dead Hilti battery and then did the same for the negative terminal.
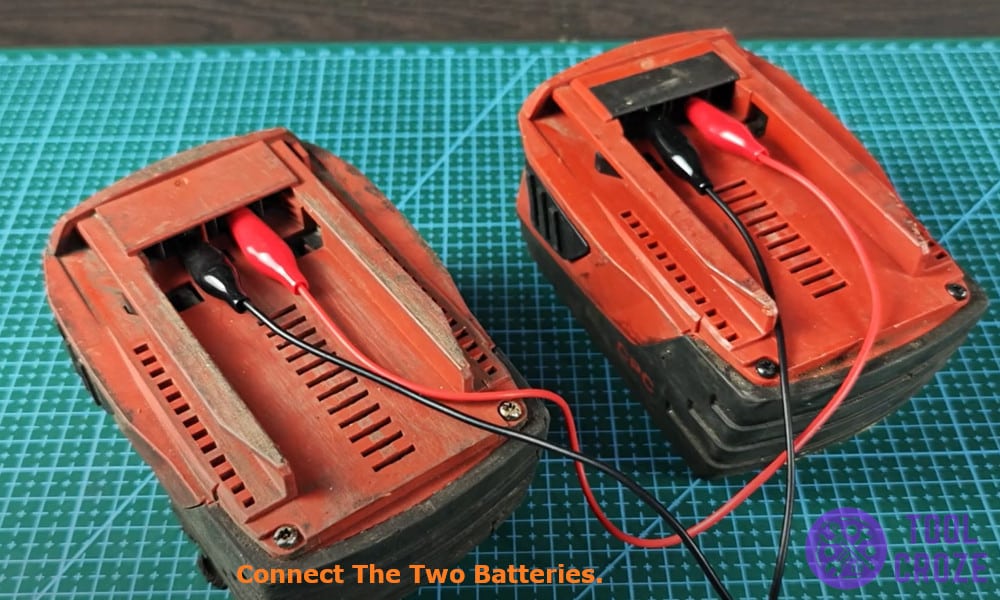
I used the jumper wire cables to connect both the terminals together.
I only kept both the batteries connected for 15 seconds which was enough to send a little jolt down the dead battery and revive it.
I also have a video in which I showed how you can do this. You can watch it below.
Method 2: Reset Using a Different Brand of Battery
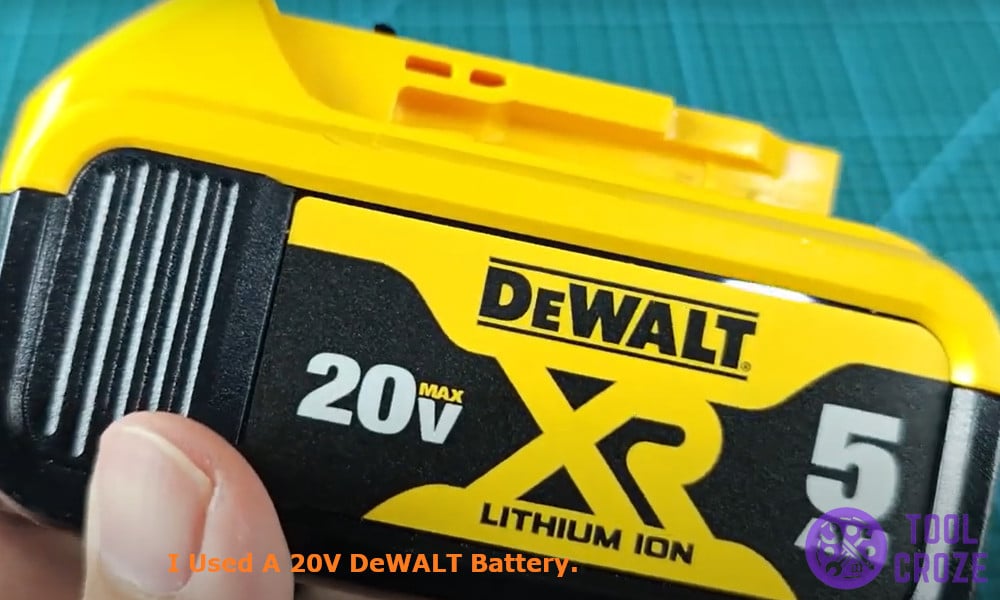
Since not everyone will have the same Hilti battery, here is how you can use a battery of different brands to reset your Hilti battery and get it to charge again.
I first identified + and – terminals on both the batteries and hooked them together using jumper wires. Remember to hook the terminals correctly and not mix them, otherwise you will end up frying your battery.
Then I left both the batteries connected for at least 15 seconds, this generated enough burst of energy in the dead battery to be charged back up again and work normally.
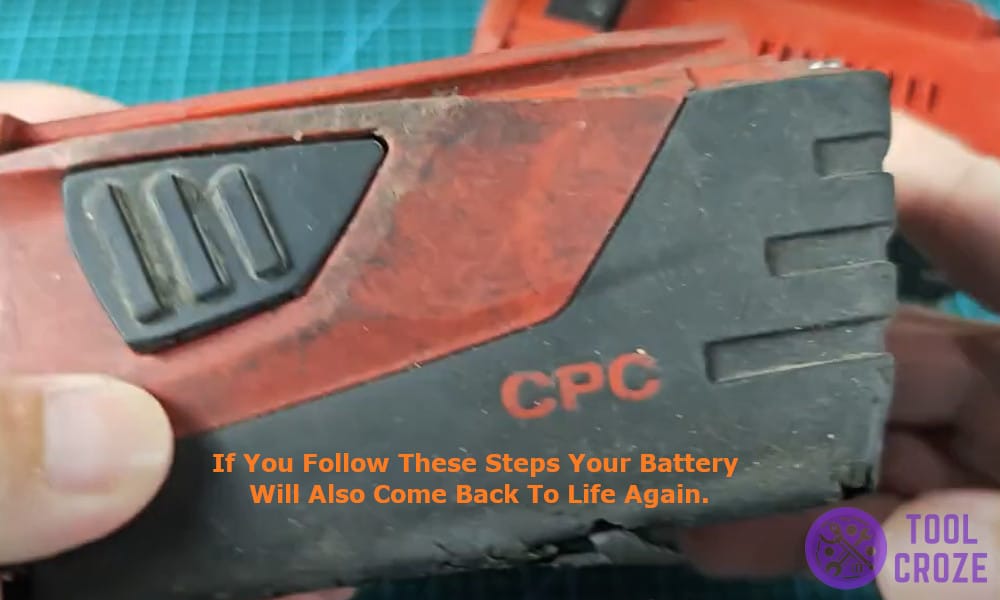
If you follow these steps your battery will also come back to life again.
Method 3: Reset Using a DC Power Supply
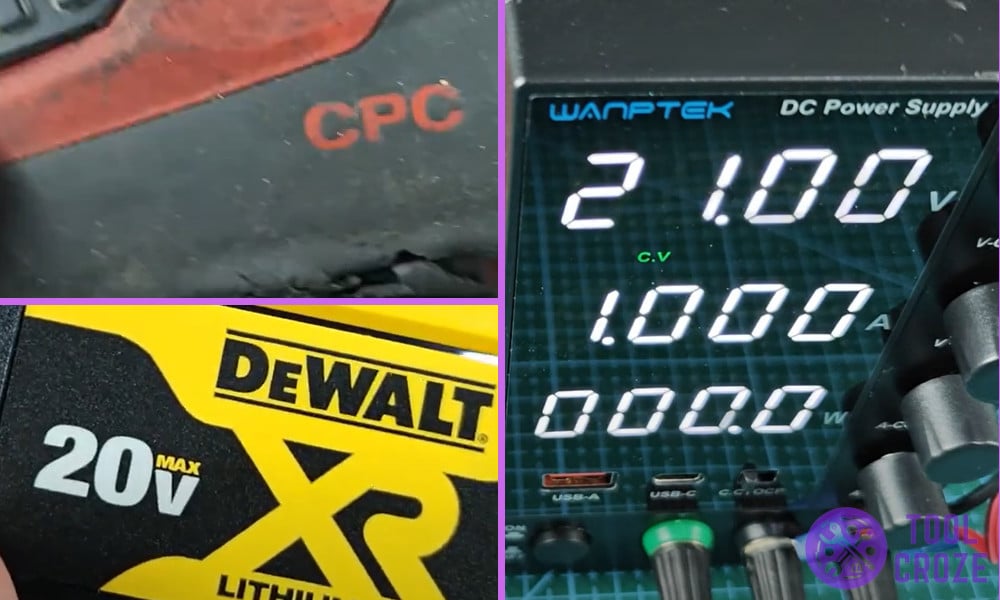
A DC power supply can do wonders, at least it did for me when it helped me revive my Hilti battery. If you also have a DC power supply at home you are in luck.
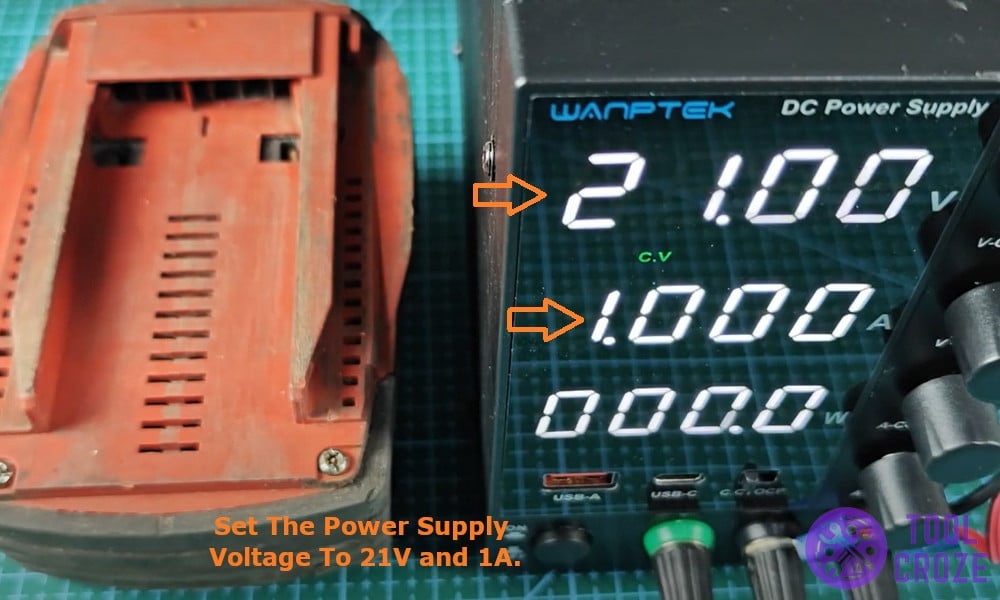
I started with setting my power supply voltage to 21V and 1A, matching the output of my battery. Don’t crank it higher, you might end up damaging the cells.
Then I hooked the battery to the power supply by connecting its positive terminals to positive and negative to negative.
Leave the two batteries hooked up for 15 seconds, then disconnect it. This generated enough voltage in my Hilti battery to be charged again and the charger showed me the green light I was looking for.
