While I was working on a client’s home renovation project and reached for my Greenworks Drill, it decided to give me a tough time. As I went in to change the drill bit it did not budge even a smidge.
The bit was really stuck in the chuck courtesy of my brother giving it a spin over the weekend. This is what I did to handle it with what I had around to get it working without damaging the drill.
By the way, I also made a short video about this topic which you can watch on YouTube. You can also watch it below.
In my short video, I demonstrated how you can fix this problem by using a rubber water hose, locking pliers, or a large plier.
3 Things You Can Use to Remove Greenworks Drill Bit Stuck in the Chuck
Follow along if you also face a similar issue.
Method 1: Use a rubber water hose
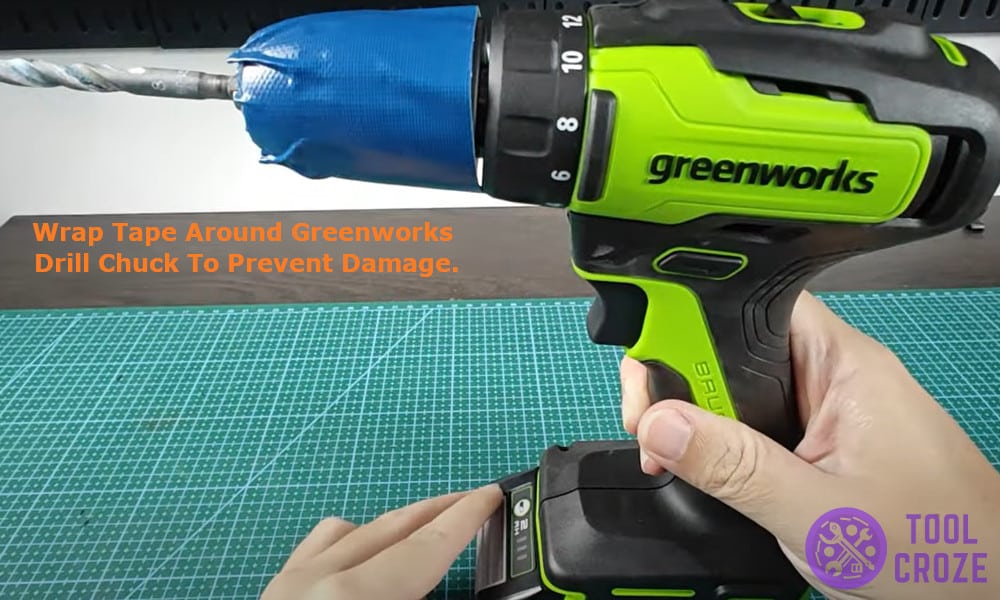
1. My very first thought when the bit wouldn’t come out was to prevent any damage before I apply force. I took a piece of duct tape and wrapped it around the chuck to avoid scratches and also to easily create friction.
I advise you to do the same if you want your power tools to be scratch-less and last long time.
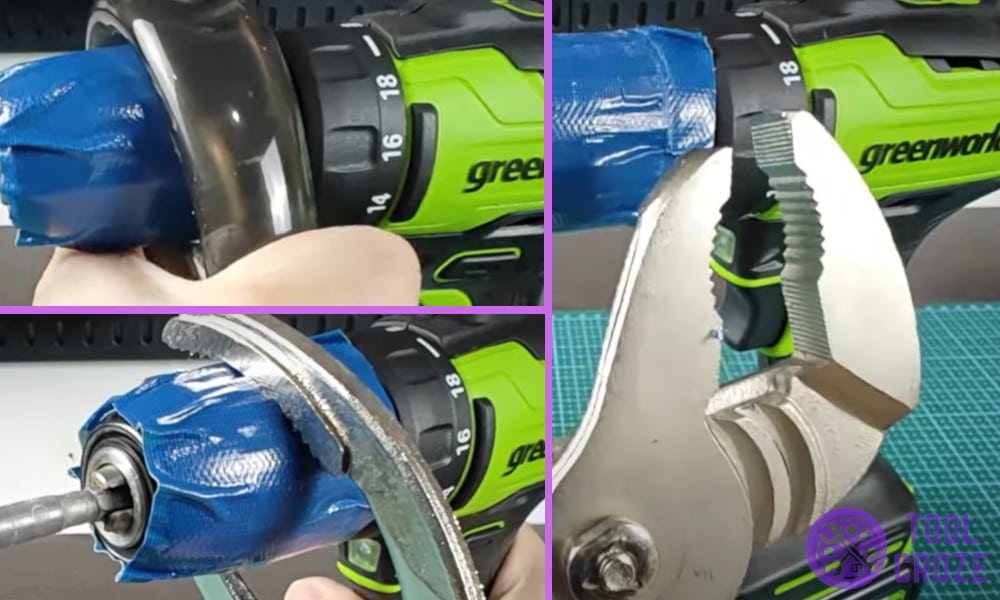
2. Then I found a rubber water hose and wrapped it tight around the chuck to get a better grip. The tackiness of the tape and friction from rubber will have you covered for this one.

3. I put the drill in reverse mode and had a firm hold to keep the hose in place. It took only a light spin for the bit to come right out. The process can be a little tricky, so remember to keep your hands in a safe position and you got it.
Method 2: Try locking pliers for a better grip
1. The hose method usually works out but if yours is really jammed in there or you are not sure putting your hand that close to the bit, don’t worry I’ve got another trick for you.
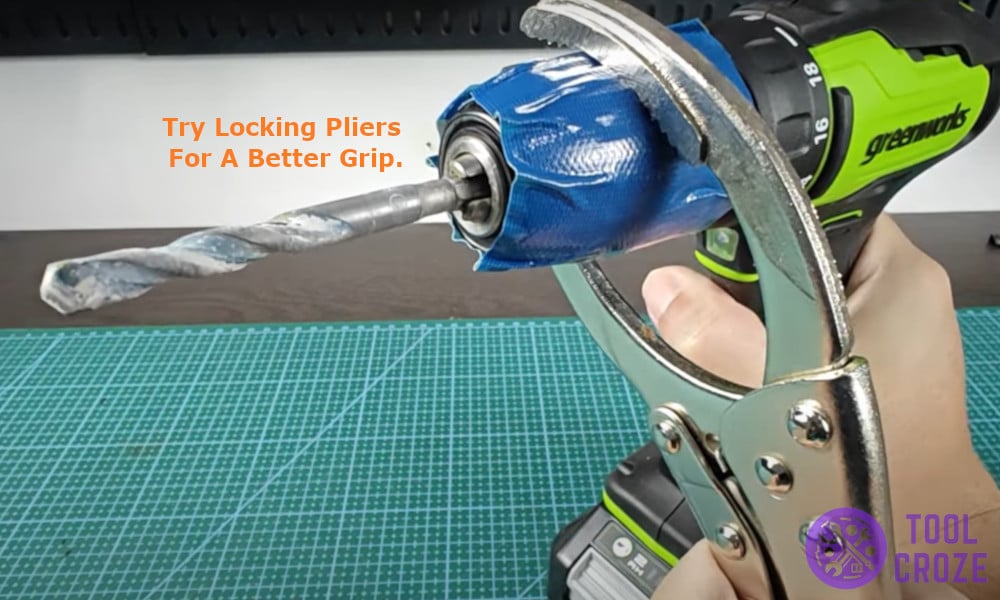
Just grab a locking plier and secure it tightly around the chuck. Don’t forget the tape or the pliers could leave deep scratches.
2. Just lock the pliers snug around the chuck and reverse the drill while holding it tight. The chuck should spit the bit right out and can be fitted with another bit.
Method 3: Use a large plier to hold the chuck
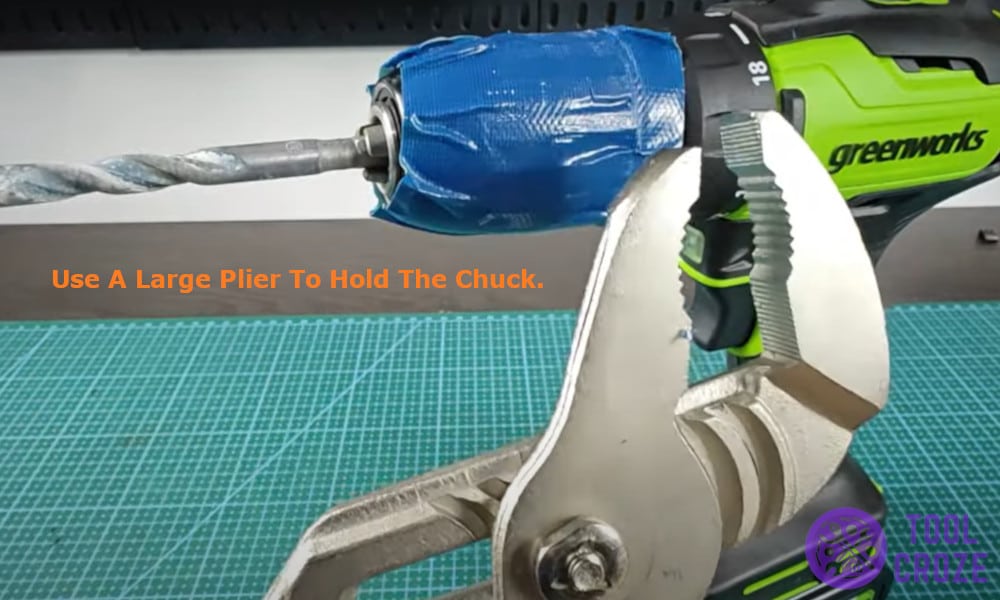
1. I understand not all of us have a locking plier lying around but one basic tool every basic toolkit has is a normal plier. It is easy to handle and also beginner friendly. Just remember to tape the chuck securely and get right to it.
2. Grip a big plier firmly around the chuck, reverse the drill and give it a spin. The bit should easily slide out of the chuck ready to be replaced with a new bit.
