In most instances, the culprit behind any charging issues with a Dyson vacuum is an unbalanced or damaged battery pack. But what causes a battery pack to go bad?
More importantly, how do you deal with this problem? To find out about all this if your Dyson cordless vacuum battery is not holding charge, here’s a full guide on the situation.
I’ve also made a short video about this topic, and you can watch it down below.
To solve this issue, the best solution is to replace the entire Dyson vacuum battery. Another solution which you may consider is to use a tool battery adapter.
Dyson Cordless Vacuum Battery Not Holding Charge – Explained
Why Do Dyson Cordless Vacuum Batteries Go Bad?
Many Dyson cordless models use multiple lithium-ion cells. These are arranged in series or parallel to produce the voltage and capacity required to power on.
Each cell should ideally hold a similar voltage level and charge. On top of that, they need to discharge at roughly the same rate.
When one cell’s voltage drops below the others, the battery management system (BMS) detects the discrepancy. Even if the other cells are still healthy, the pack won’t perform well.
In other words, the vacuum may shut down prematurely to protect that one failing cell even if all the others are fine.
Over time, real-world factors like temperature swings, repeated deep discharges, or something as simple as differences in manufacturing can cause certain cells to wear out faster.

Leaving your Dyson unused for long periods can also cause imbalance, especially if the battery is fully discharged or left in extreme temperatures.
If a cell remains at a low state of charge for too long, it may lose capacity faster or become too damaged to recover.

To tell if your Dyson battery is damaged or imbalanced, note down any times your vacuum powers down suddenly or goes from fully charged to dead quickly.
As a rule of aging, you’re going to see an overall decrease in run time after a certain number of use cycles, but it can be annoying if that happens sooner than expected.
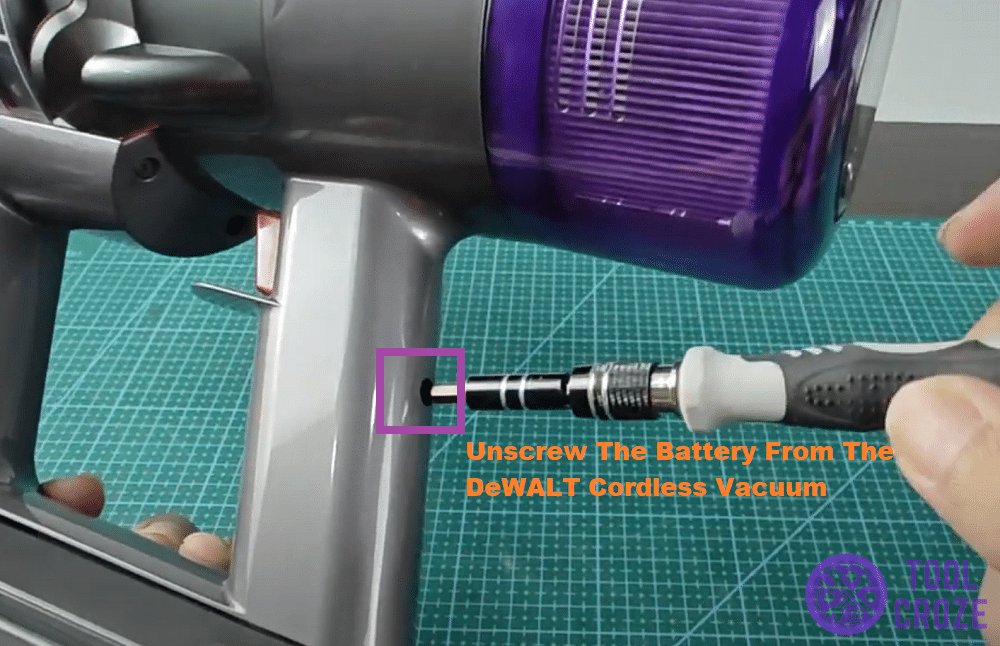
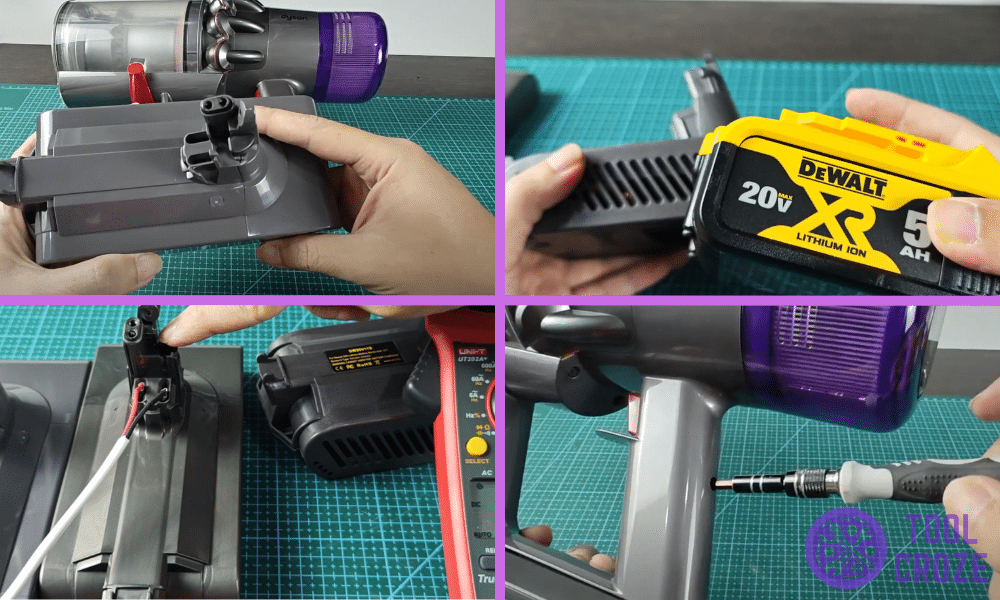
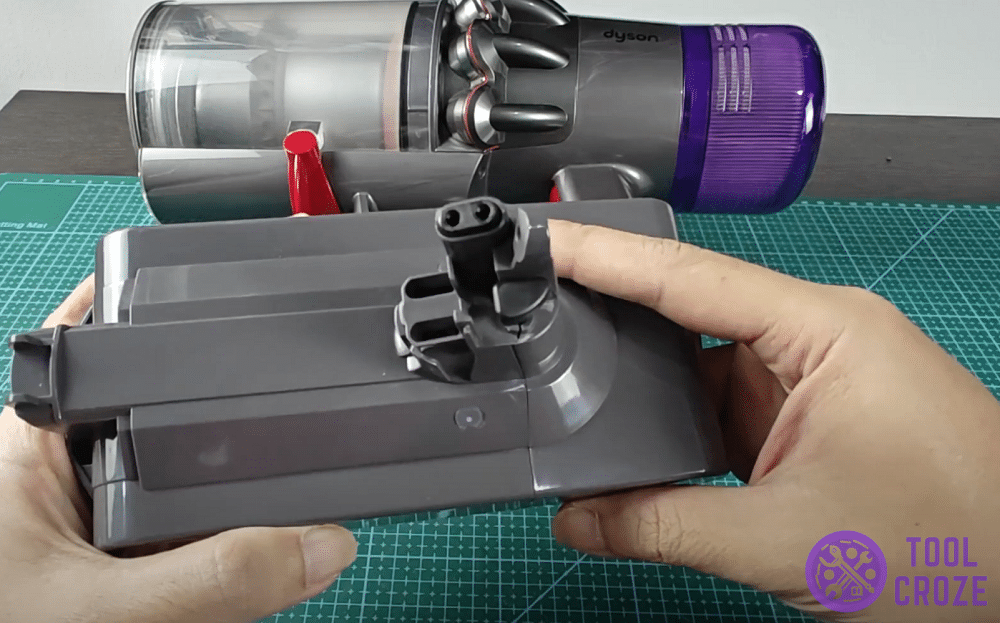
You could also just skip all this and unscrew the Dyson vacuum battery like I’m doing in the picture above. That way, you can use a multimeter to fully decide if its dead or not.
Dealing With A Dead Dyson Cordless Vacuum Battery
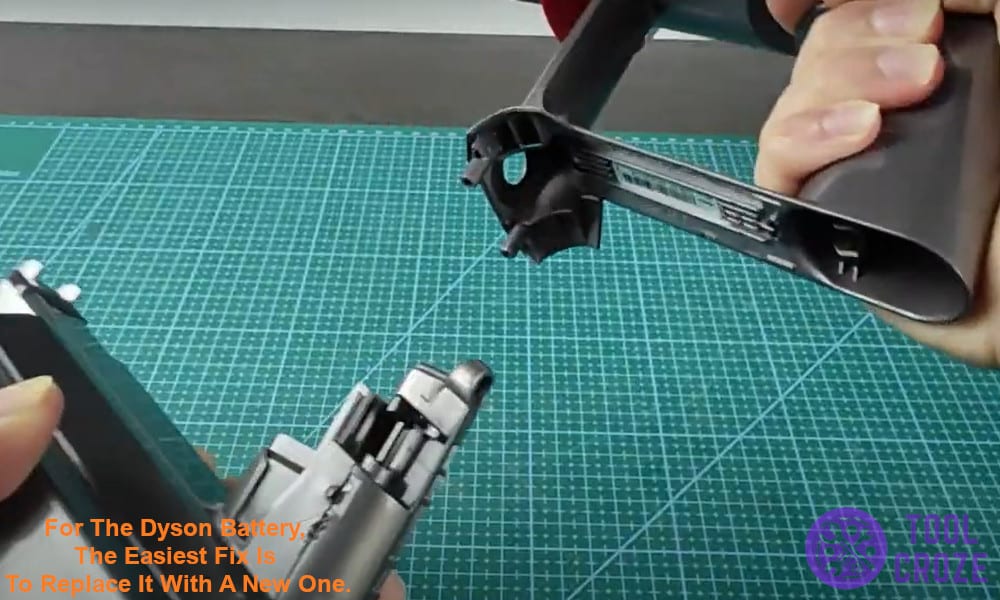
When a battery does inevitably die, you try to repair it. For most batteries, that’s a viable option. But for the Dyson battery, the easiest fix is to replace it with a new one.
But before you buy a new battery for your Dyson cordless vacuum, you may also try to reset it first. I’ve made a short video which shows how you can do this and you can watch it below.
On the video, I reset the Dyson battery using a DC power supply. I connected the DC power supply to the positive and negative terminal of the Dyson battery.
I slowly increase the current of the DC power supply to around 1A. I let it stay connected for around 10 seconds, then disconnect it. This will reset the Dyson battery and it may start to charge properly again.
While you might think about opening the battery pack up and trying a cell-level repair, it’s usually not worth the effort. Disassembling a Dyson battery can be extremely hard.
More than that, you risk damaging other components if you’re not careful. Plus, sourcing individual replacement cells that match the original specifications is difficult.
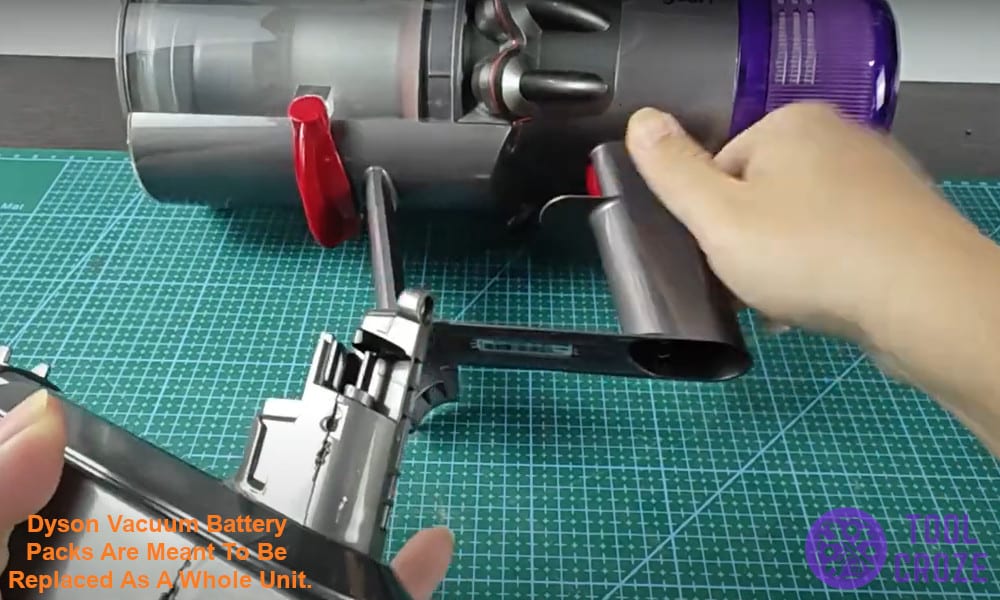
Despite the advanced engineering in Dyson vacuums, their battery packs are meant to be replaced as a whole unit. The company sells replacement batteries for lots of models.
If your Dyson is still under warranty, trying to open the battery could make your coverage void. Replacing it with an official battery through proper channels can keep it valid.
The replacements usually come with a straightforward installation process. Just a few screws to remove before popping in a fresh pack.

A replacement battery also gets rid of any guesswork you have about whether it works or not. If the rest of the vacuum is in good shape, this is the most reliable solution.
When you get the new one, try testing out the voltage to compare with your faulty battery. Just attach the probes of a multimeter to the positive and negative terminals, then push the lever.

My new battery gave an output of around 29V. That’s a bit high, considering its marked at 20V, but not too much.
In comparison, the old battery was only giving out 96mV (millivolt). That is way too low to function and means that the battery isn’t in any state to function.
Solution 1: Using A Knock-Off Battery

Now, you can buy a replacement from Dyson directly, or you can buy a knock-off battery. I wouldn’t recommend this unless you need to follow a budget.
Non-original batteries can be faulty, since they may not have all the right components to prevent overheating. They might even come with the wrong cell voltages.
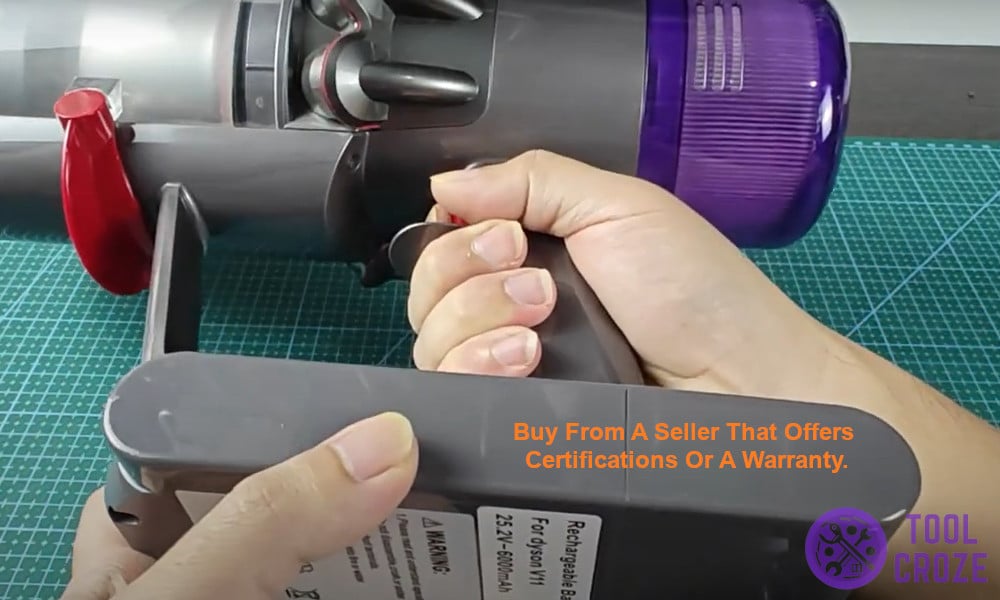
I suggest you do some research into battery sellers before making a purchase. Try to find one that offers certifications or a warranty, just to be sure they’re trustworthy.
Solution 2: Using A Tool Battery Adapter
An alternative way to make your Dyson vacuum work without the original battery is to use a tool battery. For this, I tested out the DeWalt 20V battery.
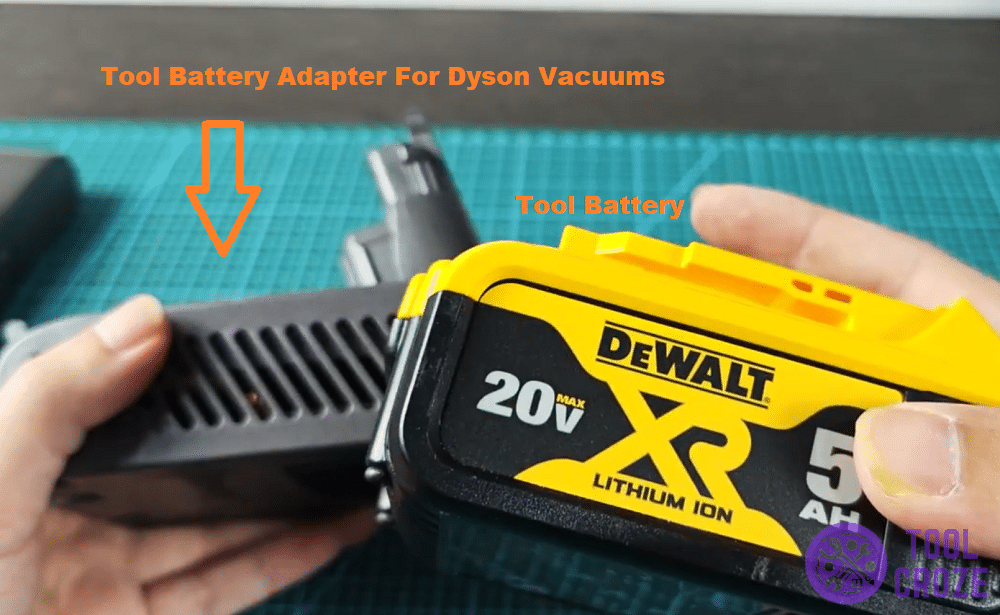
Dyson vacuums have a tool battery adapter, which fits inside just like a normal battery. You can see me holding one, along with my DeWALT 20V battery, in the image above.
This gives you a bit more flexibility with what batteries you can use. Just make sure they’re around 20V, like the original Dyson battery, so you don’t damage your vacuum.

Hi Thomas
My battery in Dyson is dead. Where can I buy the TOOL BATTERY ADAPTOR , and how much is it please. I am in Maroochydore , Queensland Australia.