
Recently my DeWalt impact driver just started to spit out the bits like it doesn’t need them, the bits won’t stay locked in it and would randomly fly out. I was confused and I did not know what to do.
I thought that it was time to throw it away but a quick search on the internet told me that it was just a spring that was faulty and that there was no need to replace it just yet.
Here is how I fixed my DeWalt impact driver not holding a bit chuck in a few simple steps.
But before you continue reading this article, you can also first watch the short video I made about this topic. You can watch it down below.
On the video below, I demonstrated each of the step that you must do in order to solve this problem.
DeWALT Impact Driver Not Holding Bit Chuck Repair: A Step-by-Step Guide
If you are also struggling with this same problem, it is the chuck spring which is at fault. It either needs to be reshaped or replaced with a new one to fix the problem.
So I did what I do the best, I disassembled the chuck head and here is how I did it.
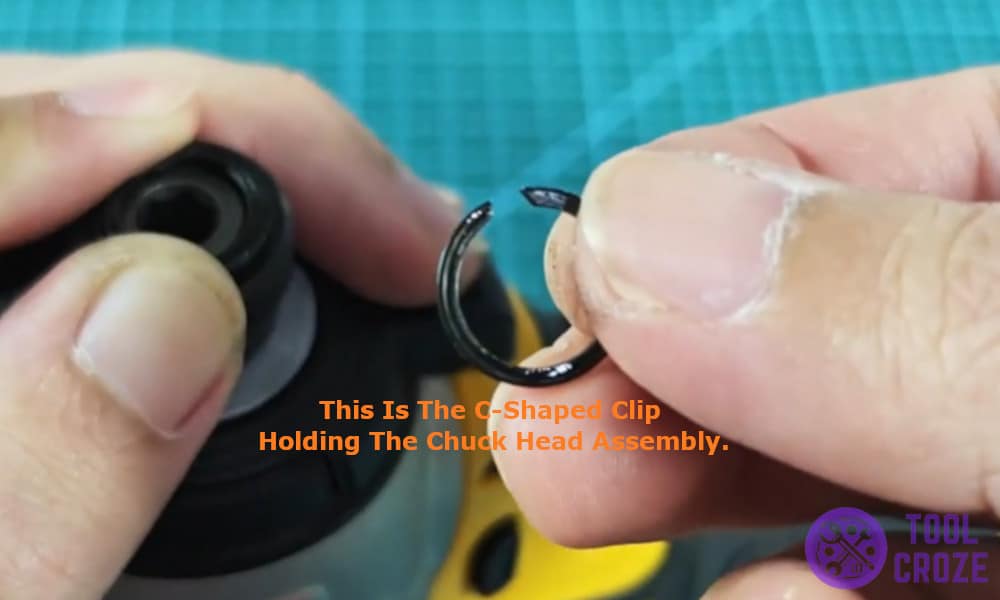
1. Locate and Remove the Retaining Spring
I located the retaining ring which is a C-shaped clip holding the chuck head assembly. I carefully removed it using a screwdriver but remember to be careful it can fly off as it is holding a spring below it.
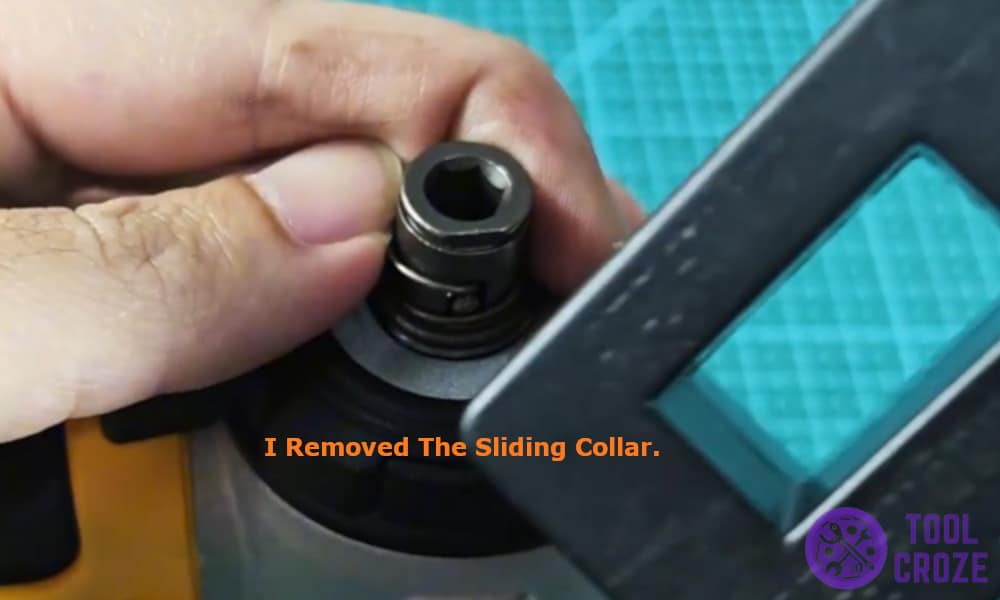
After carefully removing the ring and making sure it did not fly off, I removed the sliding collar which is the part you pull back to insert the bit.
2. Remove the Outer Collar and access the Main Spring and Bearing
Once the collar was off I could finally access the internal spring and the bearing.
In here you can find the main spring that was causing the problem, remove the spring by carefully removing the bearing which is the small metal ball and then removing the spring.
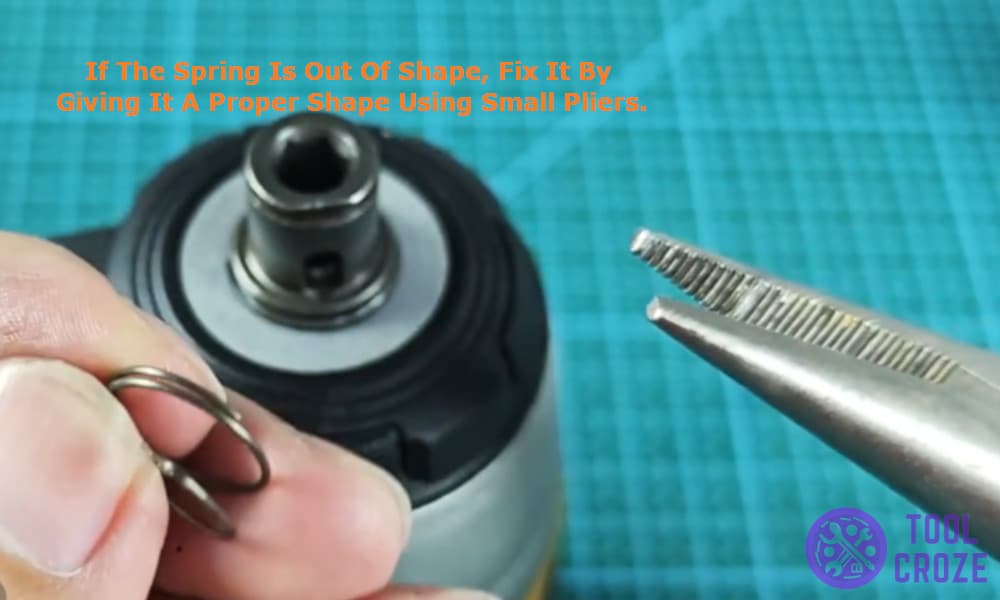
Inspect if the spring is out of shape and fix it by giving it a proper shape using small pliers.
3. Reinstall the Spring and Bearing
Then I inserted the spring back in with the metal ball placed above it. This metal ball is responsible for locking the bit in place so don’t forget to put it back.

Once done with this step, put the chuck collar back and insert the first spring back in place using the C-shaped clip to lock it. The second spring helps to push back the chuck while the C-ring holds it in place.
Once this was done I inserted the bit to check if it locked and to my surprise it locked in perfectly and did not fly out.
It’s very important to know how to use the DeWalt Impact Driver properly so you could avoid a problem like this. I also have a short video about this topic and you can watch it below.
