The Craftsman drill is one of the most powerful drill machines I have ever used in my DIY career, the drill can leave holes in everything from wood to metal and from hard plastics to opening stuck screws.
I own my Craftsman drill for well over a year now and for some time I have been experiencing some issues while using it. Sometimes the battery refuses to charge and other times the switch just gets stuck and I cannot start the drill.
And before you continue reading this article, you may want to watch the short video I made about this topic first. You can watch the video down below.
On the video I discussed the common reasons why a Craftsman Drill will not work and the possible solutions to each of those problems.
6 Ways to Fix Your Craftsman Drill Not Working
Here are six common troubleshooting methods I use to get my Craftsman drill working.
1. Battery not Charging
Sometimes the battery of my Craftsman drill just wont take a charge and other times it would show me that the battery is full it is not.
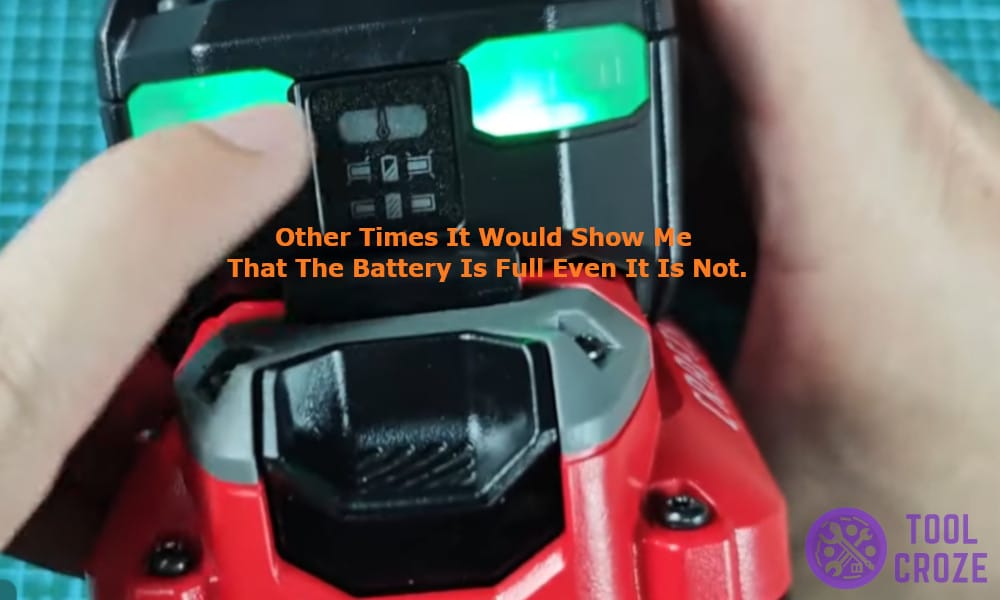
If you are also facing a problem like this your battery may have gone bad and might be causing the drill to not work.
Sometimes the charger will show that the battery is fully charged but when pressing the battery check button the battery would show it is not all charged.
If you face this problem try charging the battery with another charger or give it a reset. Now if your battery doesn’t charge at all just like mine, resetting it would help you fix this problem.
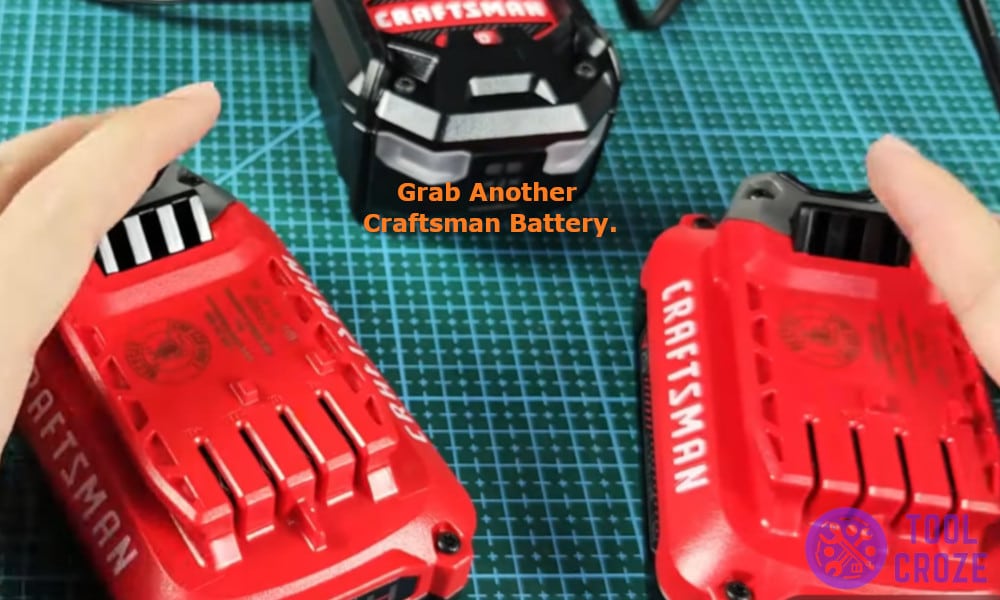
Just grab another Craftsman battery or battery of some other brand but make sure they are of the same voltage and connect it directly to the dead battery.
I used a pair of jumper wire cables and connected the positive terminal to the positive of the healthy battery and negative to negative.
Leave the two batteries connected for 15 seconds before disconnecting them. Try charging the battery again and if the drill starts working, it was the battery that was causing the problem.

2. Drill Motor Not Working
If your battery is healthy and works fine, it might be the motor itself that might not be working.
I replaced the drill with a new battery and it still did not work, so I tried checking the forward/reverse switch, it’s the switch that controls the drive of the drill to forward or reverse.
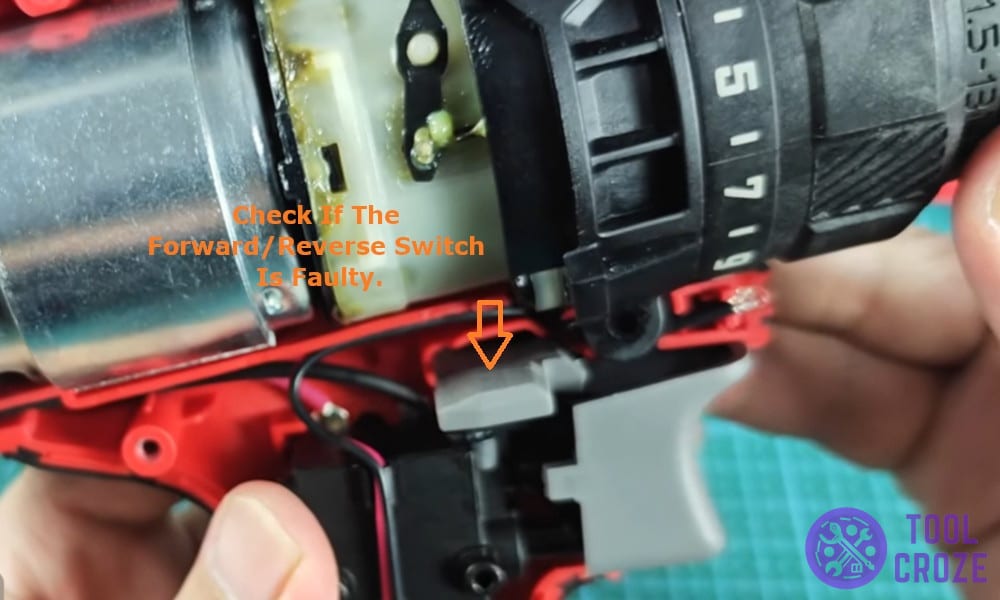
If this switch is broken or faulty it might not move from the outside and prevent the drill from moving.
Try manually moving it from left to right position to see if the drill works or not, the switch should be able to move in three direction center, right and left.
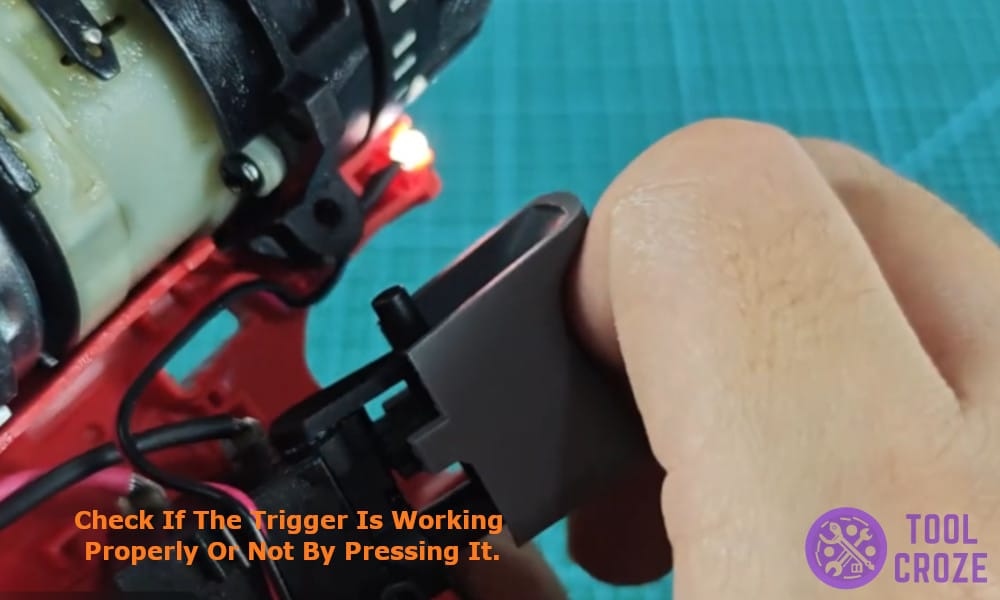
While everything seemed fine with my reverser I looked for problems in the trigger button which is responsible for sending the power to the motor. I grabbed my multimeter and attached it to the trigger.

When pressed, the trigger should send 18V to 20V to the motor, if nothing is detected your trigger might be faulty or the board itself needs to be replaced as the trigger does not receive the current directly from the battery.
In the end It was just the motor itself that needed to be tested, I started by connecting the motor directly to the battery using the jumper wire cables.
When I connected the motor directly to the battery while the board was still connected the motor did not move, making me think there might be a problem with the board.
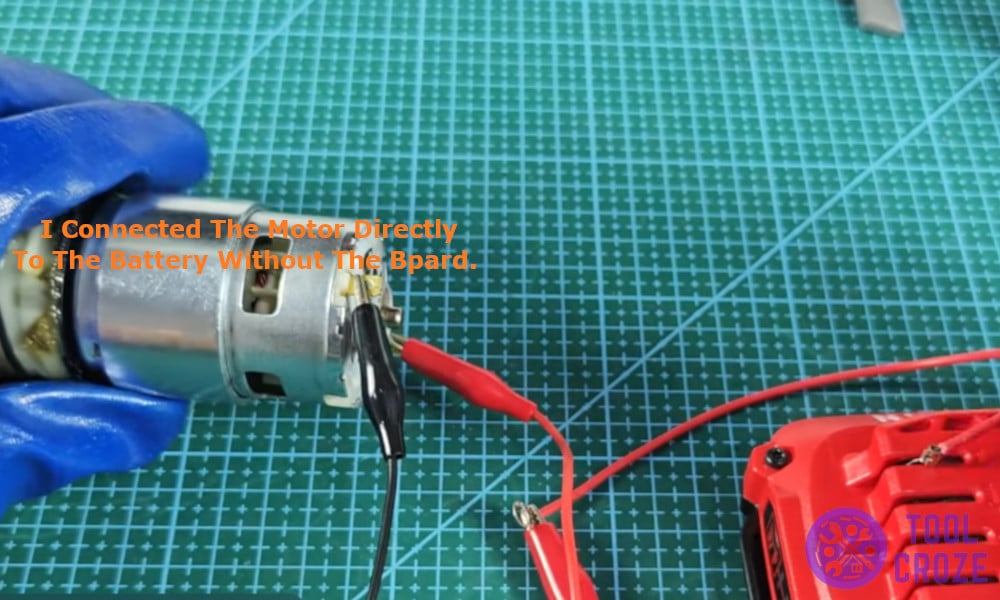
So, I connected the battery directly to the motor and it immediately started moving once again. It turns out that the board was the problem and replacing it would fix my issues.
I also have a video about this topic in which I demonstrated the things that I just discussed above. You can watch the video below.
3. Craftsman Drill Bit Stuck
If your Craftsman drill bit is stuck then you are not alone on this, I was also able to mess my drill up when the drill bit got stuck into its chuck here is what I did to remove it.
I took a piece of tape and wrapped it around the chuck to protect it from the friction and the scratches that the pliers might put on them. You might want to do this if your drill is new or you still want to keep it as shiny as possible.
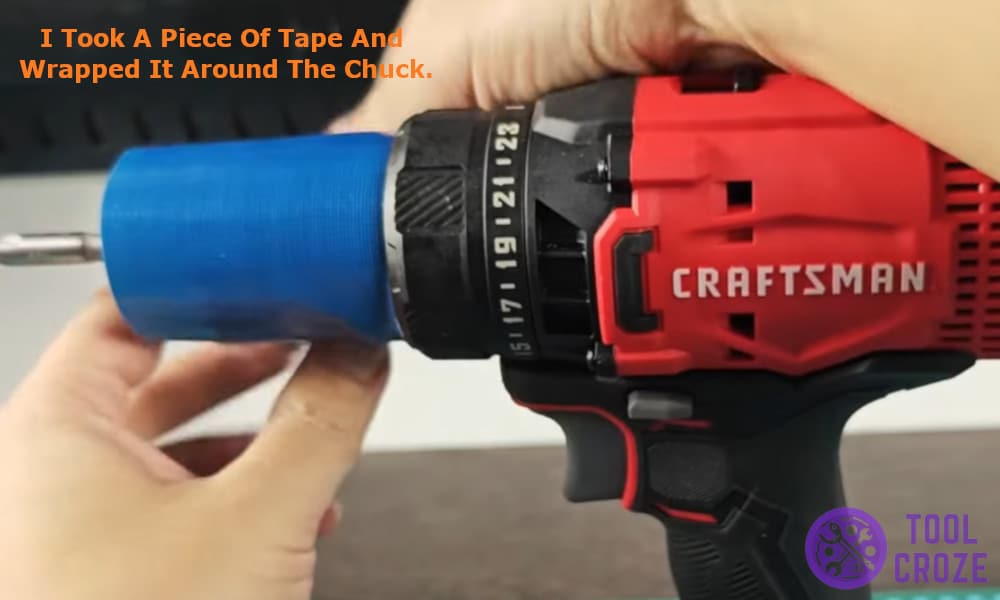
Next I used a locking plier to grab the chuck tightly and reverse the drill. The chuck bit came right off and my chuck was once again free to be inserted with a new drill bit.
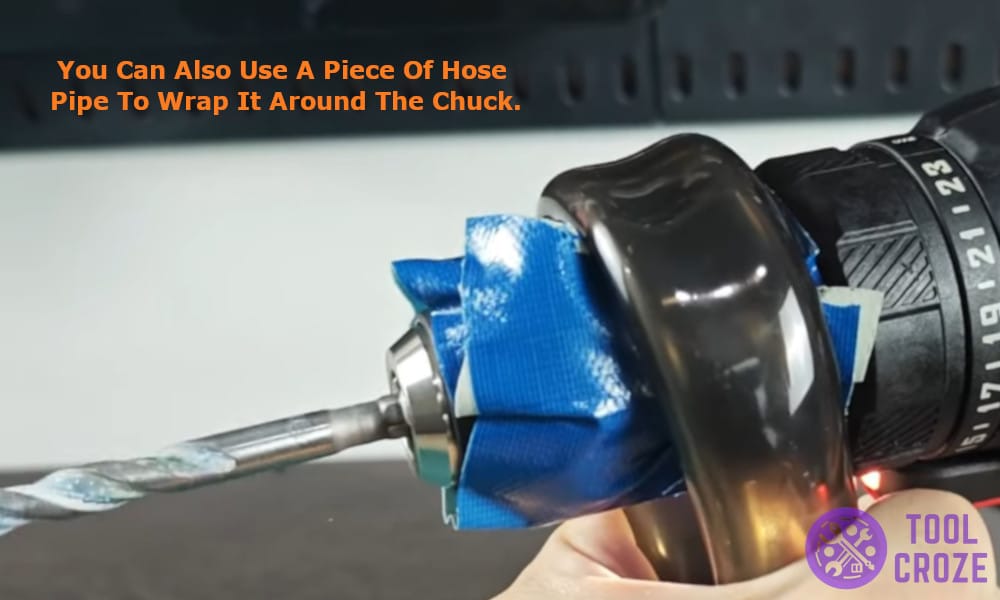
Additionally you can also use a piece of hose pipe to wrap it around the chuck and free the bit from the chuck or a big plier if you don’t have a hose around using the same method.
4. Reverse switch and speed control problem
The reverse switch can cause the Craftsman drill to not work if it is not engaging properly.
I tried looking for problems in the switch by removing the screws that held the drill plastic cover together and removing it, don’t forget to remove the battery before you open the drill.
Then I manually pressed the switch to see if it felt stuck or loose. I also tested if the reverse switch was working properly by making sure it was able to go into its three positions i.e. forward, locked(Center), and reverse.
I couldn’t find any problems with the trigger or the reverse switch so I tried to see if it was the speed control that was causing the problem.
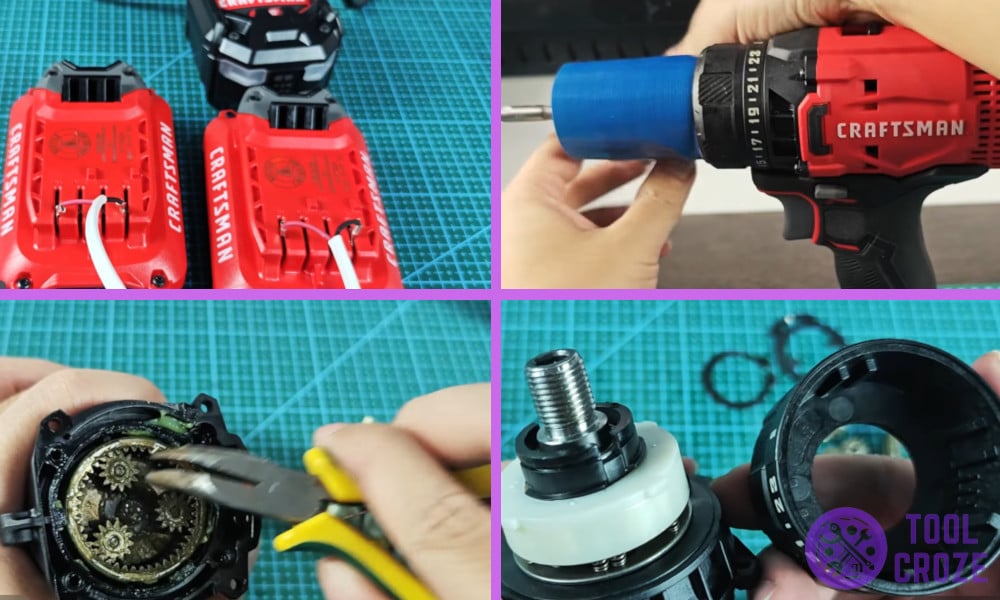
I started by disconnecting the motor housing from the board and removing all the screws to access the gearbox inside the cover. It is connected directly to the motor and controls the speed from low to high.
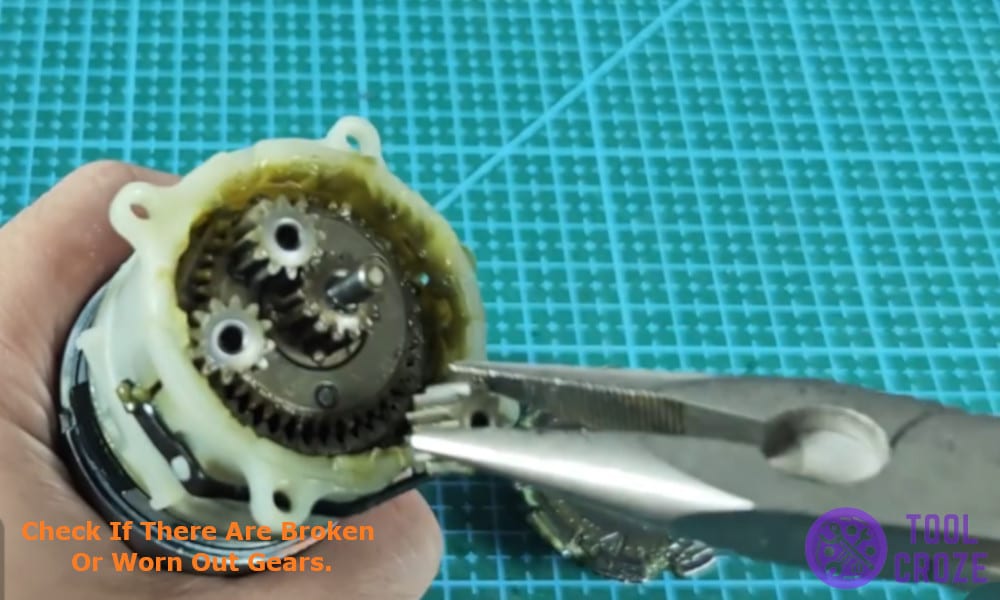
Inside the gearbox check if there are broken or worn out gears, if you do find them replace them with new ones to fix the issue.
I also tried looking into the gear selector 1/2 or low/high not engaging properly to see if that was an issue but for me everything seemed fine and I reassembled the gearbox back.
I also have a video about this topic and you can watch it below. I showed in the video below the steps that I just discussed above.
5. Chuck or shaft problems
If your gearbox seems to be working fine it’s time to take a look at the chuck itself.
I removed the screw from the center of the chuck to take a look inside it, then I removed the chuck by hand and tried spinning it to see if it moved freely or not.

If you feel it is getting stuck check for broken thread or other problems but if it feels fine check for the gears. The chuck also has its own gear clutch which can cause gear control problems.
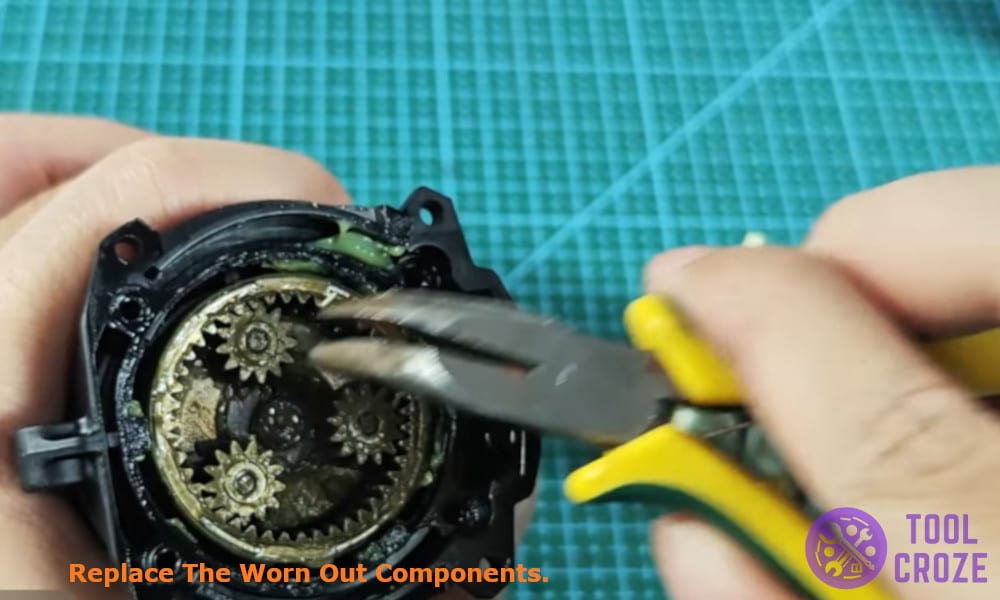
Remove the retraining ring and check the chuck’s gear by removing them and inspecting worn out gears of threads.
Replace the worn out components and start replacing the retaining ring and the gearbox back together, it might take some time to reinstall the components so be patient.
6. Gearbox or Clutch Failure
The very last thing I tried doing was to check if the gearbox failed, while it was removed when I was checking the chuck I tried to see if the gears were jammed or the grease dried up causing the drill to not work and my guess was right.
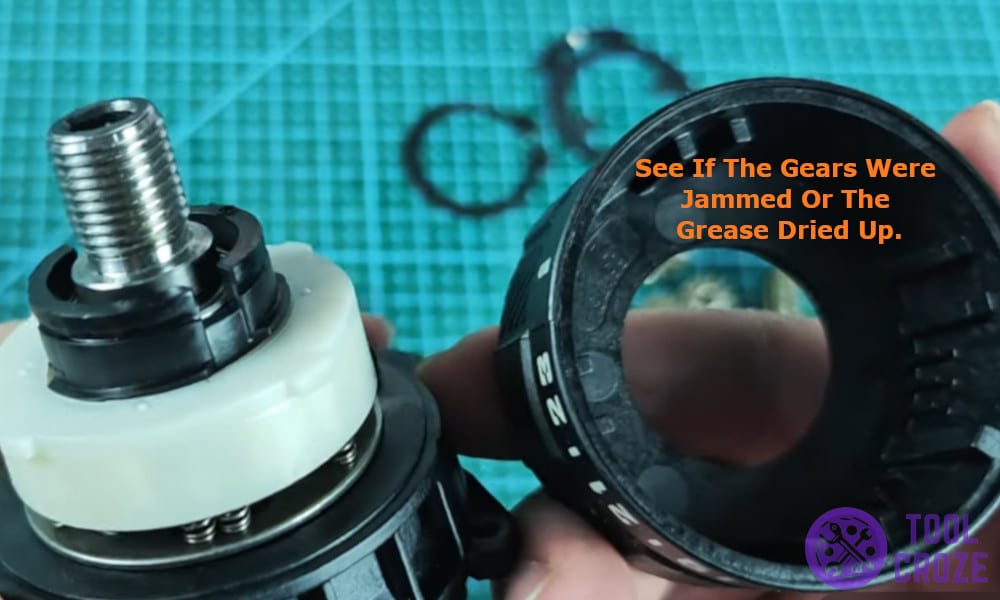
As soon as I opened the gearbox it was all dried up after continuous use. Greasing it again fixed things for me, if you find broken gears or broken clutch springs replace them with new ones to fix your craftsman drill.
