
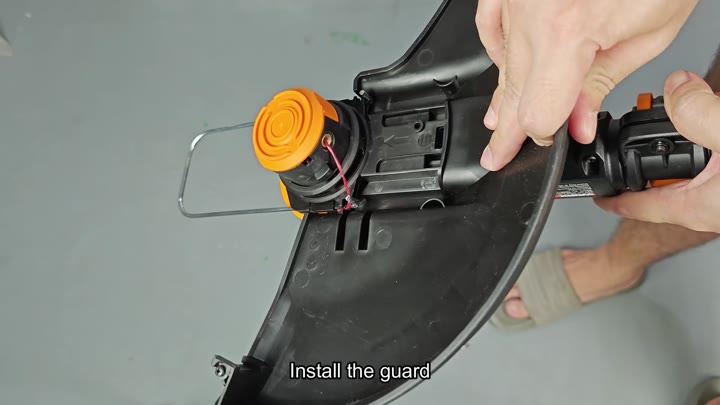
Assembly of the Worx GT3.0 starts with securing the protective guard to the head. This is a snap-on affair that just goes on and clicks into position. Then you secure the rear wheel which make it feel more stable once in use.
However, one place that needs some care is the battery installation. It turns out this tool want something special from the battery.
Battery Compatibility Warning
Specifically, the owner’s manual says it only takes a 4-pin 20V Worx battery (such as part number WA3551). And no, your old 6-pin 20V pack won’t fit in there. Seek out the proper battery or you’re stuck.
After sliding in the appropriate battery, it lock in solidly.
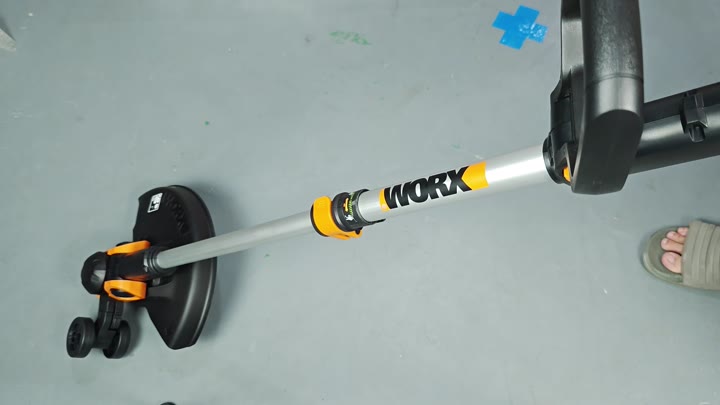
You’re set to go
You adjust the head angle before turning on the machine. Move it until it clicks into place. Stop where it feels most comfortabley for you to stand when operating.
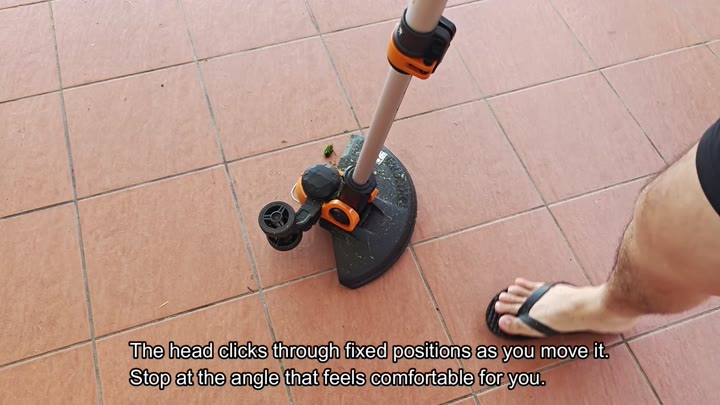
That will increase the control over the operation. It will not wobble around as you are cutting because it has locked into place securely.
To engage the motor, push the trigger and release lock lever simultaneously. That’s a safety feature to keep it from being accidental start. Both controls is held down and the line starts spinning. It makes an efficient and clean cut.
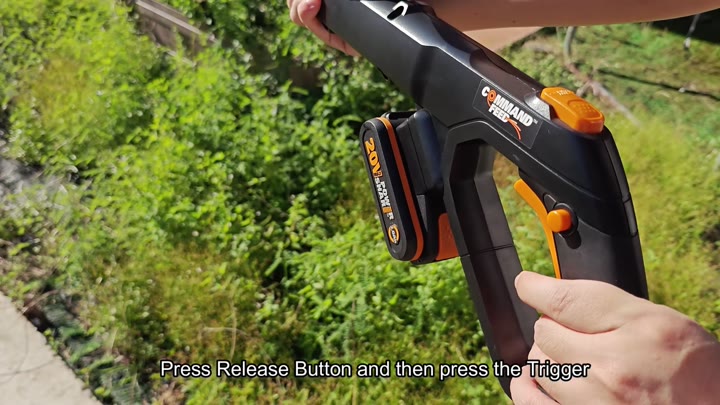
As for the trimmer, it do exactly what I want.
When you run out of line, you will want some fresh cord. That doesn’t take long in thick grass. To do that you hit three controls at the same time: the feed button, the trigger and the release.
Sounds awkward. Why does it need three? It’s an automatic feed. And it feeds you new cord.
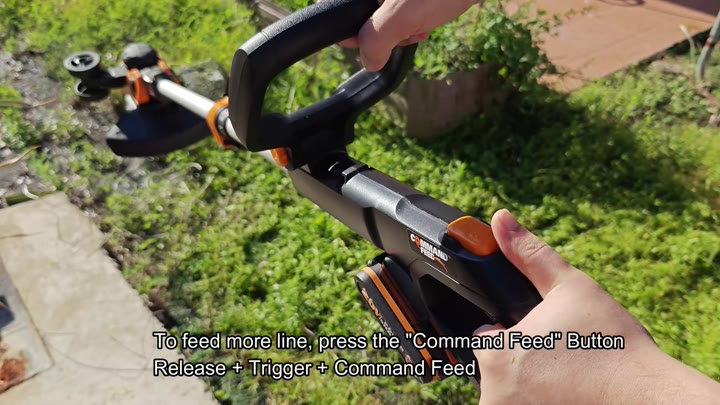
No need to constantly thump it yourself
Then you use the rear wheel to see how well it trims the edges. Yep: the wheel helps you cut cleanly. Simply roll the trimmer against the curb, and it follows neatly in a straight line. It is much nicer than trying to eyeball it with your own hands because of the firm guiding wheel.
And then, when done with the job, you prepare it for storage. Retract the shaft. Slide it back into its compact form. Readjust the head to stand up vertically. Now the trimmer stands upright all by itself. It is out of the way and looks nice and tidy.
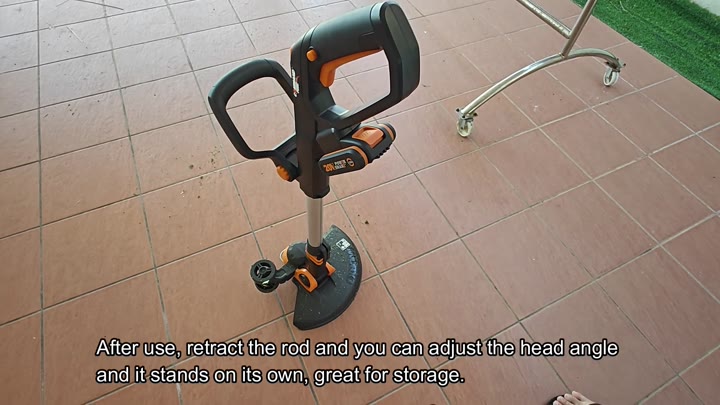
It’s easy to use. It takes minutes to install. Issue: Battery compatibility. Otherwise the rest follows easy.
Lawn trimmer works fine on your lawn. Feeding the line feels cumbersome at first. No more struggling with spools. Just push button and away you go. The retractable shaft is a good feature for storage. Saves room in your shed.
Then an hour later, you’re done trimming. The battery perform well. There is no loss of power or overheating. It’s solid and comfortable to hold.
Before purchasing, make sure you know what kind of battery you need. Hint: That’ll save you some grief.
All-in-all, it was a good experience. The product lives up to its promise. The outcome pleases you. Your lawn looks spiffy. Maybe you’ll purchase one as a gift for someone else. They just need to have the correct battery.
The point is obvious. When grabbing a 20V pack, don’t pick whatever happens to be available. Check the pins first.
