Welding Wire Calculator
Estimate MIG wire feed, deposition rate, weld metal required, spool usage, arc time, and travel speed from wire diameter, weld size, length, passes, and efficiency.
Welding Wire Result
| Wire diameter | Common range | Typical WFS | Best use |
|---|---|---|---|
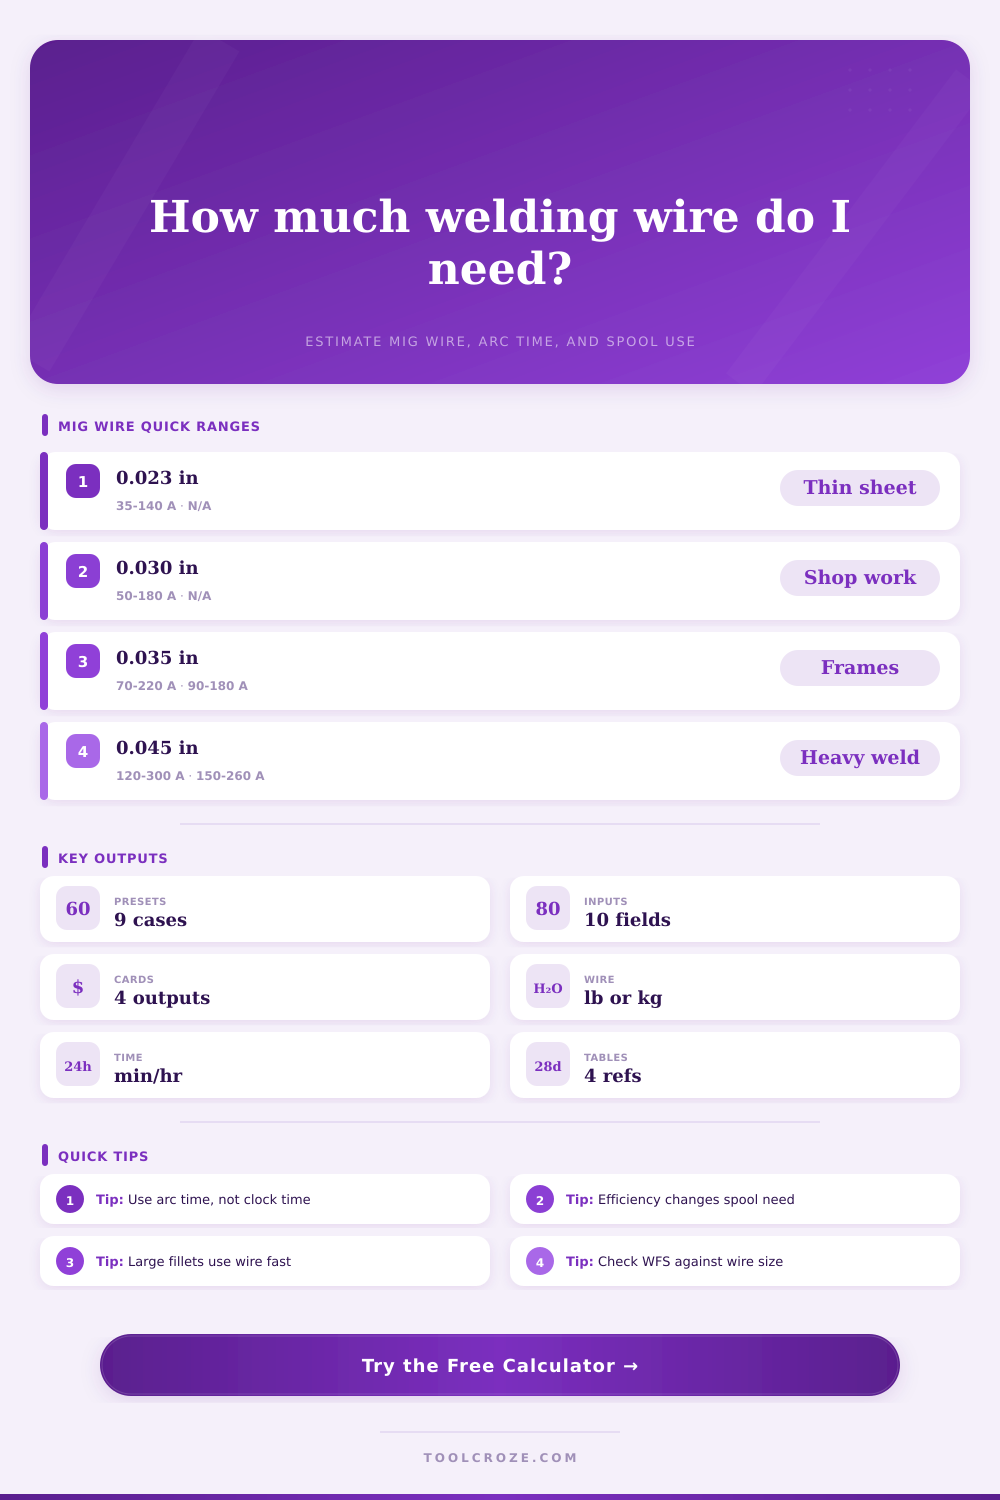
| 0.023 in / 0.6 mm | 35-140 A | 90-300 ipm | Auto body, thin sheet, small tacks |
| 0.030 in / 0.8 mm | 50-180 A | 120-420 ipm | Light fabrication and home shop steel |
| 0.035 in / 0.9 mm | 70-220 A | 150-520 ipm | Frames, brackets, tube, general MIG |
| 0.045 in / 1.2 mm | 120-300 A | 120-450 ipm | Heavy fillets, plate, flux core work |
| 1/16 in / 1.6 mm | 220-450 A | 80-260 ipm | High deposition flux core and structural welds |
| Wire type | Density used | Efficiency band | Calculator note |
|---|---|---|---|
| ER70S-6 mild steel | 0.283 lb/in³ | 88-96% | Use for solid wire MIG with gas shielding |
| E71T flux core | 0.283 lb/in³ | 68-82% | Lower efficiency accounts for slag and fume loss |
| ER308L stainless | 0.286 lb/in³ | 86-94% | Close to steel weight with slightly different density |
| ER4043 aluminum | 0.0975 lb/in³ | 88-94% | Large wire volume gives less weight than steel |
| ERNiCr-3 nickel | 0.305 lb/in³ | 84-92% | Heavy wire changes spool consumption quickly |
| Weld geometry | Area basis | When to use | Input hint |
|---|---|---|---|
| Equal-leg fillet | 0.5 × leg² | T-joints, laps, corner welds | Enter fillet leg size as weld size |
| Groove weld | Width × depth | Butt joints and prepared bevels | Use average filled groove width and depth |
| Lap fillet | 0.58 × leg² | Convex lap welds with toe blend | Use leg size and reinforcement factor |
| Surfacing bead | Width × height | Build-up pads and hardfacing passes | Use bead width and finished height |
| Shop scenario | Wire | Weld size | Planning target |
|---|---|---|---|
| Auto body patch | 0.023 ER70S-6 | 0.06 in bead | Short arc bursts and low spool draw |
| Tube workbench frame | 0.030 ER70S-6 | 1/8 in fillet | Fast travel with modest deposition |
| Trailer bracket | 0.035 ER70S-6 | 1/4 in fillet | Check arc minutes before fitting work |
| Plate reinforcement | 0.045 E71T-1 | 5/16 in fillet | High wire draw and lower efficiency |
| Aluminum rail | 3/64 ER5356 | 3/16 in bead | High WFS with lighter deposited weight |
The wire feed settings don’t account for most of the welding cost; it’s the spool bin. If you think you’re using X pounds of wire but aren’t realy getting X pounds into your joint, then you’re losing money. It’s more than just weighing how much is on a spool to estimate how much wire you’ll use. It’s also about how much actual physical metal you will be placing in the joint.
That number vary based off the gap you create. You also has to make adjustments for real-world waste when welding. This calculator figures out those numbers for you (it’s on this page), but you get more if you learn the variables driving cost.
How to Save Money on Welding Wire
The most misunderstood input is deposition efficiency. This might sound like a small thing, but it makes all the difference between ordering one spool or three. In a clean robotic cell with solid wire, they can gets close to 96 percent deposition efficiency (i.e., nearly every atom of wire winds up in the weld). Stick welding by hand or self-shielded flux core can drop below 70 percent; some percentage of metal is lost to slag and spatter, as well as the electrode stub that’s tossed aside.
Run the numbers using the same perfect deposition efficiency as above, and you’ll have a wildly optimistic estimate if you use a dirty manual welding process. Always select an efficiency rate that reflects what you actualy do, not what’s printed on the box.
Metal moves different depending on size of wire you use. Bigger wires holds more mass per length of feed, but they also take more current to melt. From the table on the page, we see that 0.035-inch steel works well for general fabrication. It feeds easy. Runs a wide range of currents.
For those cutting thick plate with say 0.045-inch wire, the math gets considerably different than. Yes, you’ll put down more metal at a quicker rate, but the wire itself will be heavier. The way arc behaves changes. Adjust your travel speed expectations to match.
Another common mistake in fillet welding is the geometry. Too many welders guesses on the cross-section area. However, the volume grow as the square of the leg size. Moving from a quarter inch fillet to a five-sixteenths fillet doesn’t just add a little extra metal. It nearly doubles the volume required for the same length of joint.
The calculator handles that by allowing entry of both leg size and number of passes. Running multiple passes to build up heavy corner can multiply your wire consumption pretty fast. A small thing, but it adds up when you’re cutting a long production run.
Aluminum presents a different set of variables. It’s not as dense, meaning you’ll require much more wire length per unit volume. Aluminum does have the correct density applied by the calculator (for the right alloy), however, because it immediately begins oxidizing. This oxide coat will be burned off and therefore lost, resulting in a slight decrease in your effective deposition rate relative to steel.
Also, because aluminum needs a faster wire feed speed to get the same amount of metal deposited by weight, it can stress the feeder on cheaper machines.
The secret variable in time management is travel speed. The program estimates arc-on time based off your wire feed speed and the volume of metal needed. Arc-on time isn’t clock time, however. There’s lots of time spent cleaning, clamping, repositioning, grinding, etc.
Manual shop work usually have a 25 percent duty cycle. In other words, you spend three minutes doing something but only one minute welding. Knowing this ratio will keep you from getting frustrated at the end of the day. It prevents you from running out of wire because you thought you would of being welding faster than you actually are.
And that’s what the final output is: a sanity check on your plan. If the spool usage suggests you need two fifty pound spools for a small frame, double check your inputs. Maybe you entered the weld length wrong. Maybe the joint factor is too high.
Welding is as much about controlling the heat as it is about getting the material count correct beforehand. You save money, time, and the embarrassment of sitting there with the welder idling while they wait for a delivery. Keep the math simple, but keep the assumptions honest. That’ll put you in the black.