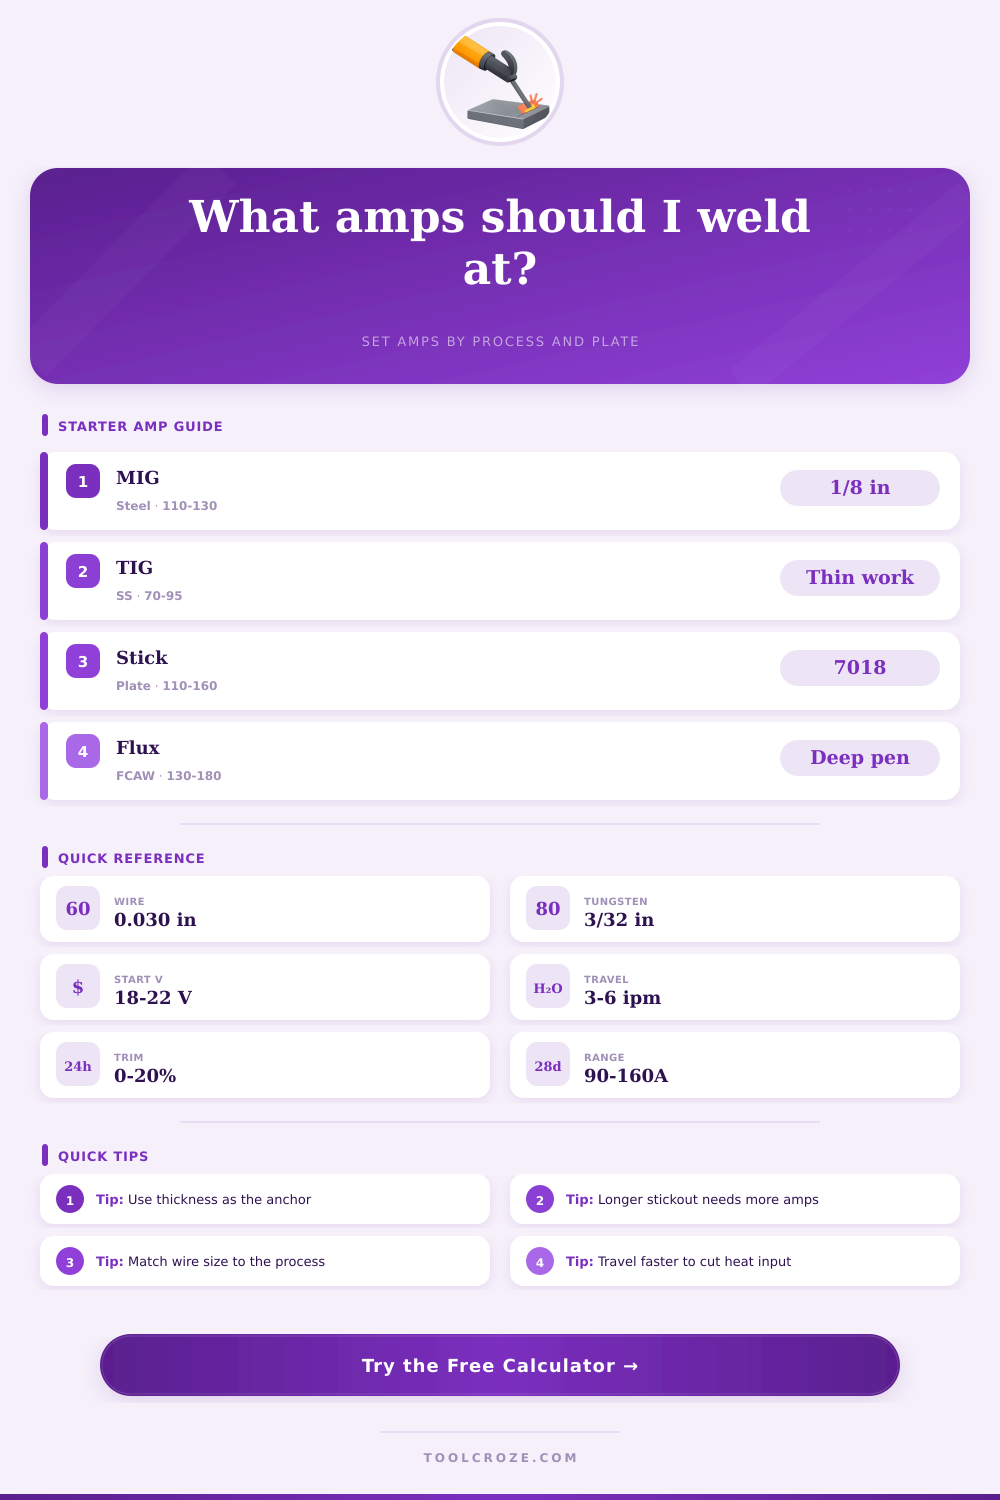
Welding Amperage Calculator
Set a practical amp range, start voltage, and feed target from thickness, process, joint style, and filler size.
⚒ Presets
🔧 Welding Setup
Welding amperage estimate
📊 Material and Process Cards
📋 Quick Charts
| Process | Thin stock | Mid stock | Heavy stock | Notes |
|---|---|---|---|---|
| MIG steel | 60-95 A | 110-160 A | 180-220 A | Good for sheet and plate |
| FCAW | 90-120 A | 130-180 A | 190-250 A | Higher heat and penetration |
| TIG | 40-90 A | 70-140 A | 130-200 A | Best for control and finish |
| Stick | 70-110 A | 110-160 A | 150-220 A | Works well outdoors |
| Size | Type | Start amps | Typical use |
|---|---|---|---|
| 0.023 in | Wire | 60-110 | Thin steel |
| 0.035 in | Wire | 110-170 | General MIG |
| 3/32 in | Tungsten | 70-130 | TIG control |
| 1/8 in | Rod | 110-180 | 6010 or 7018 |
| Joint | Factor | Gap bias | Best use |
|---|---|---|---|
| Butt | 1.00 | Neutral | Direct fusion |
| Lap | 0.95 | Low | Sheet overlap |
| Fillet | 1.05 | Medium | Corner welds |
| Groove | 1.12 | High | Deep penetration |
💡 Tips
This welding amperage calculator turns thickness, process, joint style, and filler size into a practical starting range, plus voltage, feed, and heat input for faster setup.
Amperage are the measurement of electrical currents that controls the heat created by the welding arc. The amount of heat that the welding arc creates determine both the penetration of the weld and the flow of the weld puddle. Using too low of an amperage will result in the weld suffering from a lack of fusion.
Lack of fusion cause the weld to remain on the surface of the metal without melting into the metal. Using too much of an amperage will cause the weld’s edges to melt, and the excess heat can lead to the metal burning through or warping. The thickness of the metal that is to be welded will influence the amperage settings that is required.
How to Choose the Right Amperage for Welding
Metals that is thicker will require higher amperage settings because the thicker metals will absorb more heat before they begin to form a weld puddle. For example, 16-gauge metal will require 90 amps for MIG welding processes, but metal plates that are quarter inch thick will require 160 amps or more for MIG welding processes. The type of joint that is to be welded will also influence the amperage.
For example, a butt joint that metals that are in close proximity to each other will require less amperage than a wide groove. Additionally, fillet welds will require different amperage settings than a butt joint due to the way that metal will conduct heat away from the weld joint. The type of metal that is to be welded will also influence the amperage requirements.
For example, mild steel metals will allow for even distribution of heat throughout the metal. Metals like stainless steel will hold heat longer than mild steel metals, so less amperage is required to weld stainless steel metals. Additionally, aluminum metals will allow heat to travel away from the weld site at a rapid rate.
To compensate for the rapid dissapation of heat from welded aluminum metals, the user will have to increase the amperage by 15 percent. The welding process that is to be used will influence the amount of amperage settings that must be employed. For example, MIG welding processes are efficient and follow general rules regarding the thickness of the metal that is to be welded.
Flux-cored welding metals require higher levels of amperage because they are used for welding metals that are deeper in dirty conditions. Additionally, TIG welding metals will use lower levels of amperage because the weld process is more precise and used for thinner metals. Stick welding metals will require different amounts of amperage settings based off the position of the weld.
For example, welds in vertical or overhead positions will have to use more amperage to compensate for the effect of gravity on the slag. Additionally, the size of the filler metal will influence the required amperage. For instance, 0.023-inch welding wire requires 80 amps, but 1/8-inch welding rods will require at least 110 amps to effectively weld metals.
The speed at which the welding torch is moved will influence the amount of heat that is deposited into the metal. For instance, if the welder moves the welding torch slowly along the metal that is to be welded, the amount of heat that is deposited per inch of metal will be greater. However, if the welding torch is moved quickly along the metal that is to be welded, less heat will be deposited into the metal per inch of metal welded.
Heat input is often measured in kilojoules per inch of weld; this measurement will indicate whether or not the amperage settings will lead to the welded metal to distort. A trim setting may be used to adjust the amperage settings that are calculated for the metal that is to be welded. For instance, a person may use a 10 percent margin for error with the trim setting to allow for rusty metal metals or welding machines that tend to run hot.
The voltage settings will follow the amperage settings. For instance, the voltage settings for MIG welding will be in the range of 18 to 22 volts, but will increase with the wire feed speed. The positioning of the weld may also influence the amount of amperage settings that is required due to the effect of gravity upon the weld.
For instance, if a weld is to be performed in an overhead position, the metal will be under the influence of gravity. In these instances, it is recommended to decrease the amperage by 10 percent. Additionally, you should of not use only the sound that is created from the welding process to determine the proper amperage settings.
For instance, if the weld puddle is not wetting the metal at least 1.5 times the diameter of the welding wire, the amperage settings are too low. In addition to the above factors, it is always best to test the amperage settings on a scrap metal piece of the same thickness as the metal to be welded. For instance, striking a test weld on scrap metal will allow the welder to inspect the weld and determine if the amperage settings are correct.
Finally, safety should always be considered when performing any welding processes. For instance, proper ventilation should be ensured in the welding shop, and the welder should be wearing the appropriate protective gear to protect themself from fumes and metal particles that is created during the welding process. Additionally, improper amperage settings can lead to weak welds.
Just as importantly, improper shop conditions (such as lack of ventilation) can also lead to fires in the welding shop.