Weld Stress Calculator
Estimate weld group stress from effective throat area, geometry, direct shear, bending moment, torsion, allowable stress, and safety factor.
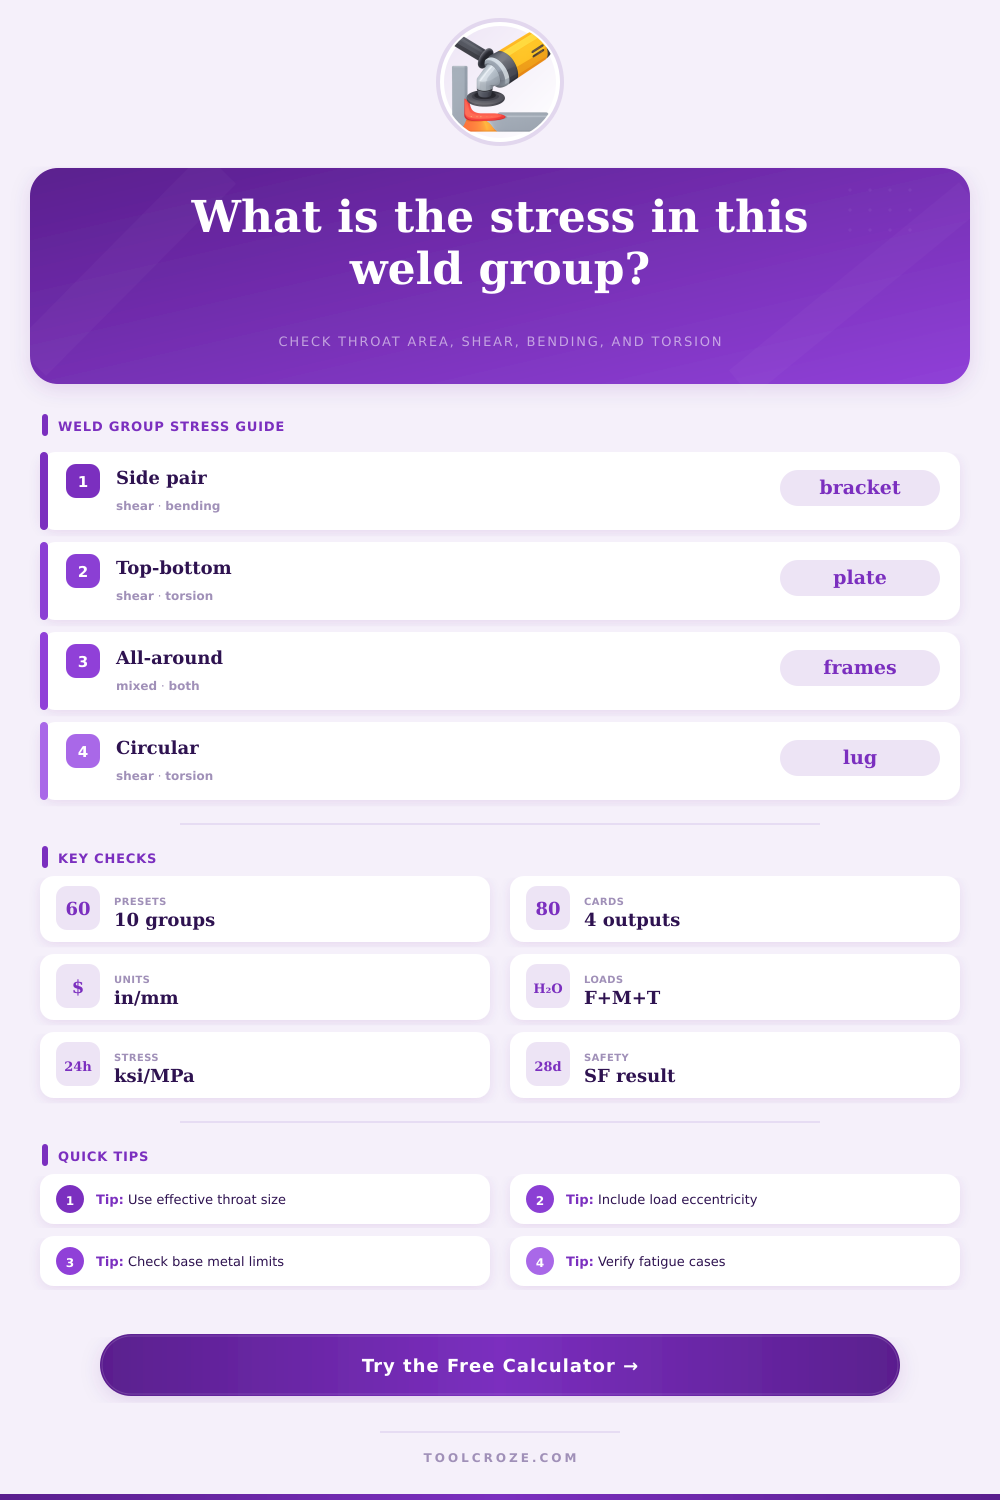
Choose a common weld group geometry. Each preset fills the weld size, group dimensions, load, moment, torsion, allowable stress, and target safety factor.
| Geometry | Typical use | Length model | Stress note |
|---|---|---|---|
| Two side welds | Wall bracket, clip angle, lug plate | 2 x group height | Efficient for vertical shear, sensitive to torsion |
| Top and bottom welds | Seat plate, shelf tab, end plate | 2 x group width | Often stronger for bending about the horizontal axis |
| All-around rectangle | Tube frame, base plate, sealed bracket | 2 x width plus 2 x height | Good polar stiffness and balanced load path |
| Circular group | Pipe saddle, round pad, lifting lug boss | pi x weld diameter | Uniform radius simplifies torsion stress checks |
| Basis | Common planning value | Example | Use with care |
|---|---|---|---|
| Conservative shop check | 0.24 x electrode tensile | E70 gives 16.8 ksi | Early sizing, uncertain fit-up, field welding |
| ASD-style weld metal shear | 0.30 x electrode tensile | E70 gives 21.0 ksi | Preliminary checks before code verification |
| Custom allowable | Project specified stress | Enter ksi or MPa directly | Use when drawings or engineer set the limit |
| Fatigue or cyclic service | Often lower than static | Depends on detail class | Do not rely on static stress alone |
| Fillet leg | Effective throat | Throat area per inch | Typical note |
|---|---|---|---|
| 1/8 in or 3 mm | 0.088 in or 2.1 mm | 0.088 in2/in | Light sheet, tabs, small fixtures |
| 3/16 in or 5 mm | 0.133 in or 3.5 mm | 0.133 in2/in | General brackets and frames |
| 1/4 in or 6 mm | 0.177 in or 4.2 mm | 0.177 in2/in | Structural clips and supports |
| 5/16 in or 8 mm | 0.221 in or 5.7 mm | 0.221 in2/in | Heavier brackets and base plates |
Welded connections do not rarely fail because the weld bead is too weak. Instead, a persons misjudgment regarding how the load will travel through the welded joint results in the failure of welded connections. If a person misjudges the load path through a joint, then the loads will create a highly degree of stress in one small section of the welded joint.
This is why welded joints may fail unexpectidly at areas that appear to be strong within the welded joint. The geometry of the weld group will dictate the area of peak stress within the welded joint, and the geometry of the weld group will dictate where the peak stress occurs well before the weld strength is reached. The inputs into a weld calculation will require a person to determine the relationship between the weld lines and the applied force.
How the Shape and Size of a Weld Affect Its Strength
For instance, vertical side fillets will experience direct shear and torsion if the load is applied away from the centroid. Top and bottom weld lines will experience bending moments if they are applied to a flat plate. All-around rectangular weld groups will distribute the load more even, but will require more weld length than may be necessary if the bending moments at the joint are small.
Circular weld groups are simple to fabricate, and each point is the same radius from the center of the joint. However, the property of circles that make them easy to fabricate also limits the bending strength of such weld groups. The geometry of the welded joint also has an impact on the strength of the weld group.
A person must also decide on the size of the throat of the weld. The leg of a fillet weld is the measurement that is taken, but the strength of the fillet weld is calculated based on the shortest distance through the weld throat. For fillets of equal leg length, the throat is approximately 70% of the length of the leg.
This factor of 0.7 is derived from the fact that the failure of a fillet weld is along a plane that cuts diagonally across the triangular cross-section of the fillet weld. A person can increase the leg size of a weld beyond the amount required to balance the loads. Fabricators often do this to increase the thickness of the joint.
However, since the throat size of the weld has not been increased, the weld will fail during the load test. The calculator will calculate the necessary math for the weld if the leg size of the fillets and the throat size factor for fillets are entered into the calculation. However, the designer is responsible for ensuring that the joint will provide the throat size that is assume in the calculation.
Eccentricity of the load with respect to the weld group is another factor that a person should consider in the weld design calculation. Eccentricity in the design drawings may place the resultant force several inch from the weld centroid. This offset will introduce both a bending moment and a torsional moment into the welded joint.
The calculator can calculate both of these in determining the load that can be supported by the welded joint. The calculator will calculate the load at the most loaded point of the joint. If the safety factor is found to be too short for the structural member that contains the weld, then the designer can increase the size of the weld, the dimensions of the welded joint can be increased, or the designer can reduce the eccentricity of the load with respect to the weld group.
Reference tables contain the allowable stress for welds and the relationship between the leg size of a fillet weld and the cross-sectional area of the weld throat. These values are not absolute values for the strength of welds, but provide a starting point for calculating the strength of fillet welds. The quality of the weld is also a factor that can reduce the allowable stress of the joint.
If the quality of the weld is less than 100%, the allowable stress for the weld will be reduced. This factor is important, as joints that appear to have an adequate safety factor may not maintain that safety factor if the quality factor is applied to the joint. Although the calculator is a valuable tool, there are other factors that affect the strength of welded joints that the calculator does not consider.
These factors include the strength of the base metal into which the weld is made, block shear strength, and prying action. The heat-affected zone of high-strength base metals can develop brittle areas. Additionally, fatigue of those metals can be affected by the details of the weld joint.
Codes require that the size of the weld be at a minimum size that ensures the fusion of welds and minimizes distortions in the metal. Such minimum size requirement may require welds that are larger in size than calculated by the weld calculator. The weld calculator can be used as a tool to compare the relative strength of different weld geometries, but it does not replace the need for a full design review of the structure.
A person may use the calculator to determine the safety factor of various weld designs, but a person is still responsible for ensuring that the weld group does not exceed any other limit states on the structure, such as the strength of the base metal or the prying action of the welded joint on the structure. A person should run the weld calculations before finalizing the drawings of the welded joint. By testing various weld geometries, a person can find one that will provide the required safety factor for the welded joint.
For instance, changing from side fillets to all-around weld groups may increase the safety factor of the welded joint. Additionally, changing from a circular welded lug to a rectangular welded group may increase the safety factor. By testing these alternatives before finalizing any drawings, a designer can avoid the situation where a designer discovers that weld stiffeners or moving the welded joint entirely is required to meet the safety factor requirements for the joint.
While the calculations are simple once the geometry of the welded joint is determined, it is also important for a designer to understand which geometry will best distribute the loads of the structure to which the welded joint is attached.