Wall Framing Stud Calculator
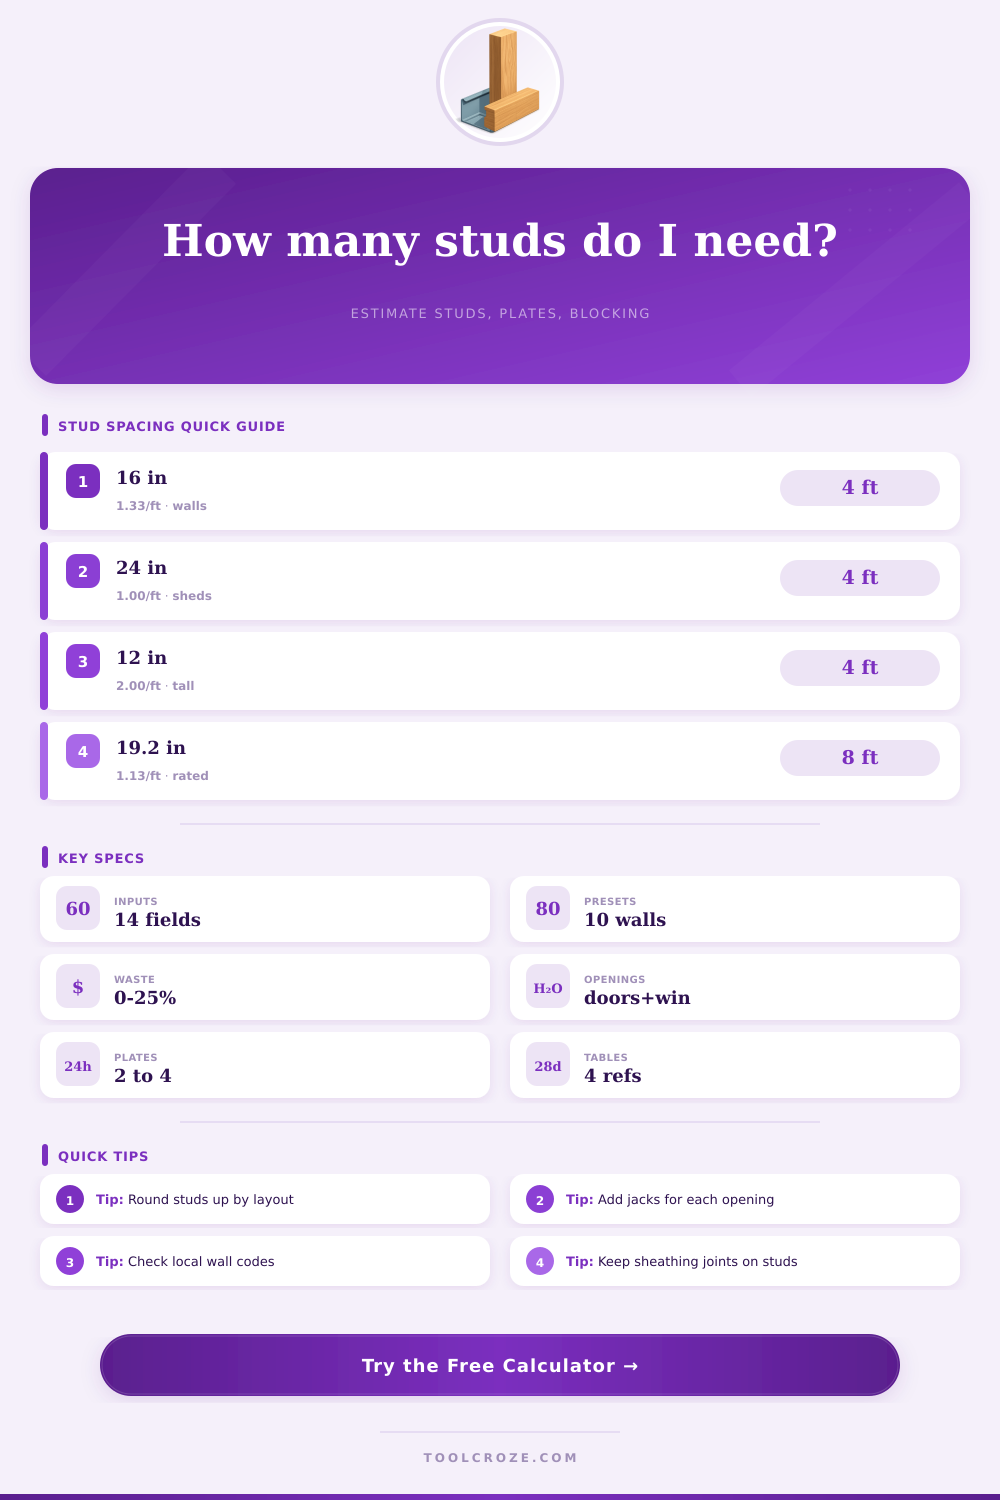
Estimate common studs, extra corner and intersection studs, plates, king and jack studs, cripples, blocking, waste, and sheathing panels for a straight framed wall.
Choose a typical wall layout, then adjust the fields for your actual plan.
Estimates are material takeoff cues only. Verify stud placement, bearing requirements, bracing, hold-downs, and opening headers against your plans and local code.
Framing Breakdown
| Spacing | Layout Use | Studs Per 8 ft | Sheathing Cue |
|---|---|---|---|
| 12 in o.c. | Tall walls, tile backing, high load plans | 9 studs plus end checks | Panel edges land every 4 studs |
| 16 in o.c. | Common residential wall layout | 7 studs plus end checks | Works cleanly with 4 ft sheet width |
| 19.2 in o.c. | Rated layouts with engineered design | 6 studs plus end checks | Check panel span rating first |
| 24 in o.c. | Sheds, nonbearing partitions, some exterior walls | 5 studs plus end checks | Use rated sheathing and fastener schedule |
| Opening Part | Count Cue | Typical Purpose | Calculator Treatment |
|---|---|---|---|
| King studs | 2 per opening | Full-height studs beside header pack | Added to opening stud pack |
| Jack studs | 2 per opening | Support each side of the header | Counted as stud-length stock |
| Window sill studs | 2 per window | Support sill and lower opening framing | Added for windows only |
| Cripple studs | Based on opening width | Short studs above headers or below windows | Converted into stud equivalents |
| Material | Rule of Thumb | Waste Cue | Field Check |
|---|---|---|---|
| Bottom plate | One course across wall length | Add splices and cuts | Use treated lumber where required |
| Double top plate | Two top courses, stagger joints | Order by stock length | Lap intersections and corners properly |
| Blocking | One row uses about one block per bay | Add short-piece waste | Fire stop where code or plans require |
| Sheathing | Gross area minus rough openings | Usually 5 to 15 percent | Keep panel joints backed by framing |
| Preset | Length | Openings | Typical Notes |
|---|---|---|---|
| Interior partition | 10 to 12 ft | One door | Often 16 in o.c. with double top plate |
| Shed wall | 8 to 16 ft | Door or small window | 24 in o.c. may be plan-dependent |
| Exterior wall | 20 to 40 ft | Doors and windows | Use engineered header and bracing details |
| Tall wall | 10 to 24 ft | Variable | Requires closer spacing or engineering checks |
Framing projects begin as guess and a roll of tape for most. Measure your wall, divide by 16 inches. Voila. Done. Or so we think.
There’s more to walls than straight up-and-downs. Cripple studs for void spaces around windows and doors. There is headers above doors. There are window sills. There is corners. Intersections. But all that math dissapears into a computer when you plug in your measurements. It accounts for waste, for plates, and for structural requirements that dividing doesn’t cover.
Why You Need a Framing Calculator
The first choice is stud spacing, which determine all that follows. Sixteen inches apart is typical for standard residential construction. That rhythm aligns with drywall and other sheet material (four feet wide). So all edges falls on wood.
If you’re trying to cut costs, as in a shed, you’ll find some builders spaces studs twenty-four inches apart, but then there are fewer places to attach finishes, which weakens the wall unless the wall is rated for supporting more than just a shelf. For rated assemblies, you may find nineteenth-and-a-quarter-inch spacing. That’s enough to let eight-foot sheets butt up to the center on each side. It is a small detail but it is important to structure.
Openings are where things get complicated. You can’t install a window or door without king studs running full height of your wall. And you need jack studs to hold up header and cripple studs between header and floor (or above the door). The calculator divide it all up into an opening stud pack so you don’t order just what you think is needed for the overall layout. That way if you forget about those extras you’re not making several runs to the store.
You won’t have any sort of support structure for your wall frame. Most folks discover this omission when they step on one of the bottom plates and find nowhere to put next stud.
Another issue involves plates and corners. Single bottom and double top plate is most common. At corners, the top plates overlap and join the wall sections together. That adds length which doesn’t show up in gross square footage.
Next decision: What kind of corner do you want? Standard is a three-stud corner with extra width in the interior. It provide a good solid nailing surface for drywall from both sides. The drawback: it takes up more interior space. A two-stud corner are energy efficient, uses less lumber, and makes for more insulation space. Needs some sort of clip or blocking to fasten drywall seams, however.
The tool’s table of references lays it all out neatly. Match your finishing plans with your framing choice.
You can’t ignore waste. Shipping damages the ends. The wood isn’t always straight. When you cut it, you end up with scraps that aren’t long enough for next bay. So it’s normal to add a ten to fifteen percent buffer to the number of studs you need. That feels wasteful, until you realize you’re halfway into framing and you ran out of two-by-fours. This means you are delayed the rest of the way. You can tweak this percentage in tool depending on the quality of lumber where you live and how confident you feel making cuts.
Estimating sheets of sheathing follows same reasoning. Subtract the rough openings, such as doors and windows, from gross area. Then add extra for waste because corners are not always straight. And it’s not simply to cover the wall. It’s so each sheet has an edge resting on a block or stud. Any seam falling on nothing will crack as the house settles, moves with the wind, etc. So proper layout keeps building skin tight for years.
There is a lot more to framing than swinging a hammer. Planning for framing includes knowing how to order exactly what you’ll need before making first cut, so you don’t end up with a wall that’s difficult to correct. Make sure you check your load path and headers against local codes. Calculations are only as good as the rules they follow. It could of saved you a last minute panic run to the lumber yard. Staying on track means staying on budget.