Wall Framing Material Calculator
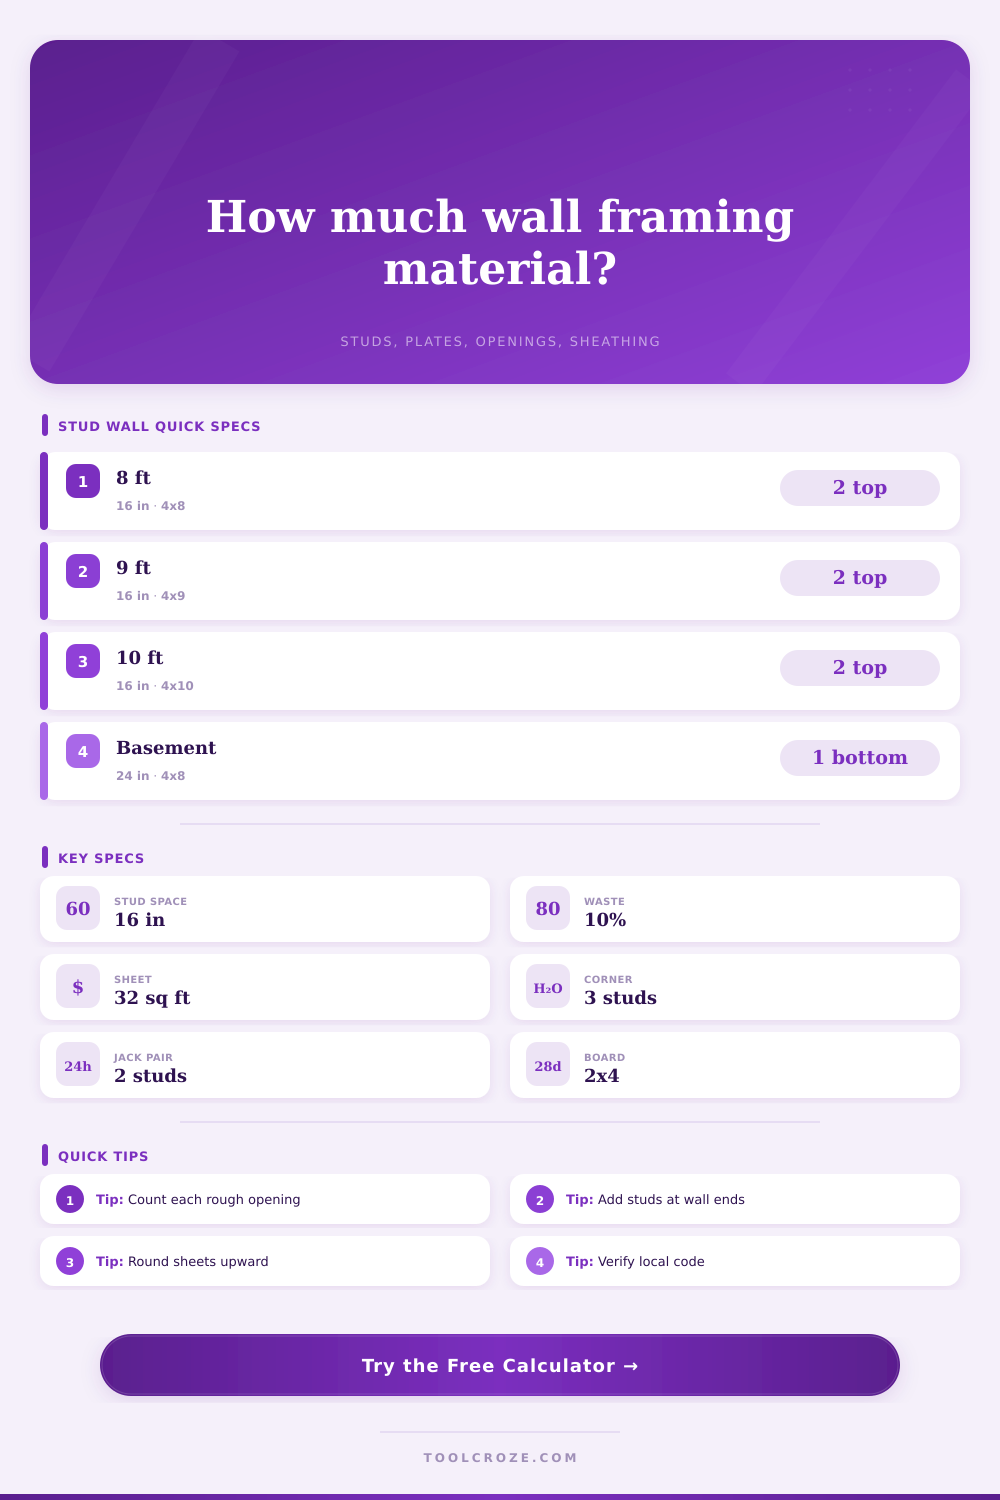
Estimate studs, plates, wall ends, corners, intersections, rough openings, cripple studs, sheathing sheets, blocking, board feet, and waste for a stud wall takeoff.
📌Framing Presets
📏Wall Takeoff Inputs
Framing Takeoff Results
🧰Lumber And Material Spec Grid
📚Reference Tables
Stud Spacing Layout Reference
| Spacing | Use Case | Studs Per 8 ft | Layout Note |
|---|---|---|---|
| 12 in OC | Heavy finishes or high loads | 9 common studs | Dense framing pattern |
| 16 in OC | Typical exterior and interior walls | 7 common studs | Aligns with 4 ft sheet edges |
| 19.2 in OC | Engineered layouts | 6 common studs | Five spaces per 8 ft module |
| 24 in OC | Nonbearing or approved designs | 5 common studs | Confirm sheathing span rating |
Opening Framing Allowance
| Opening Type | King Studs | Jack Studs | Cripple Allowance |
|---|---|---|---|
| Interior door | 2 | 2 | Above header only |
| Window | 2 | 2 | Above and below if needed |
| Wide patio door | 2 | 4 | Engineer header support |
| Pass-through | 2 | 2 | Depends on sill height |
Plate And Sheathing Planning
| Material | Typical Size | Calculator Basis | Field Check |
|---|---|---|---|
| Bottom plate | 2x same as studs | 1x wall length | Use treated lumber on concrete |
| Single top plate | 2x same as studs | 1x wall length | Lap joints over studs |
| Double top plate | 2x same as studs | 2x wall length | Stagger plate seams |
| Sheathing | 4x8 sheets | Net area divided by 32 | Match rating to spacing |
Common Wall Height Material Notes
| Wall Height | Stud Stock | Sheet Strategy | Takeoff Note |
|---|---|---|---|
| 8 ft | 92-5/8 in precut or 8 ft | 4x8 vertical | Common residential height |
| 9 ft | 104-5/8 in precut or 10 ft | 4x9 or 4x8 plus strip | Add extra sheathing waste |
| 10 ft | 116-5/8 in precut or 10 ft | 4x10 or horizontal layout | Check brace requirements |
| 12 ft | 12 ft stock | Engineered layout | Confirm stud grade and load |
💡Framing Takeoff Tips
Most DIYers simply guess how many studs each wall needs based off its length. This lead to extra trips to the yard for more lumber or wasted wood when the guess doesn’t match actual amount needed.
Once you enter your measurements into the calculator (above) it does all of the work for you, eliminating any need to guess about conversions and coefficients. It will even factor in “hidden” costs of openings, corners, and intersection. These are the places where it realy gets expensive.
Why You Should Use the Calculator
When given the height and overall length of a wall, the tool will ask how far apart you want the studs spaced. There is a reason sixteen inches on center is the standard so the tool doesn’t just divide those two numbers; it takes your stud spacing into account. A sixteen-inch stud layout work out perfectly with the four-foot width of drywall sheet. Use twenty-four inch centers to save money, and you’ll buy fewer studs, but you’ll have to get thicker sheathing to cover the wider space which won’t make your wall feel quite as solid when you punch holes in it. The calculator accounts for this difference in the number of studs needed. It will also remind you to consult your local code, as some areas has stricter requirements for fire rating or heavy finishes that require closer stud spacing.
Estimates go bad at openings. A door frame is not just a hole in the wall. It need two king studs to bear its weight, two jack studs to support header, and multiple cripple stud above or below the opening. The calculator tallies up every rough opening separately, then adds their respective framing members to grand total. If you skip this step, you’ll have no backing for fixtures and trim, and a wobbly door that sticks in summer and gaps in winter. This little thing makes all the difference come finishing time.
You’ll have no backing for fixtures and trim. You’ll also have a jiggly door that gaps in winter and sticks in summer. This little thing makes all the diffrence come finishing time.
The math says your gut feeling can also lead you wrong; that bottom plate runs the whole length, so normally the top one will, too. Most residential walls uses a double top plate to tie crossing walls together into a snug construction. To do that, you require three full-length pieces of lumber per foot of wall height. The tool calculates the linear footage including a waste factor. And that’s the key part (that waste percentage), because that covers damaged boards, cut-offs, and that inevitable mistake you’ll make at 4 PM on a Saturday. If you don’t have that, you’re down three studs on a twenty-four-foot wall. Sounds like no big deal right? Until you try to brace the thing up before driving back to the store for more.
It is the same with sheathing. The calculator figures out how much of your wall need covering by subtracting openings, then divides that by 32 (the size of a typical four-by-eight). This way, you don’t end up having to buy a bunch of non-fitting leftover strips. The calculator multiplies this by two if you’re sheathing both sides but still accounts for waste. Better to have a few extra than not have any at all on your weather barrier.
The page also includes reference tables for various scenarios, such as exterior walls with doors or interior walls in garages. These tables helps you determine how much material you will need for each configuration. And they explain exactly what size lumber is: A 2×4 isn’t realy two inches by four inches. After it’s planed down, it’s 1.5 inches by 3.5 inches. That way you know how much space your studs will take up in reality, which matters if you want to run electrical chases or insulate.
Nailing wood together is all well-and-good; that’s precision disguised as brute force, but the project still stalls when your material count are off. A calculator takes away the anxiety of estimation; it allows you to get right down to the craft. Exactly how much do I need? How do I know what to order, what to cut, when to stop? When will I know? That, dear reader, is exactly why we plan.