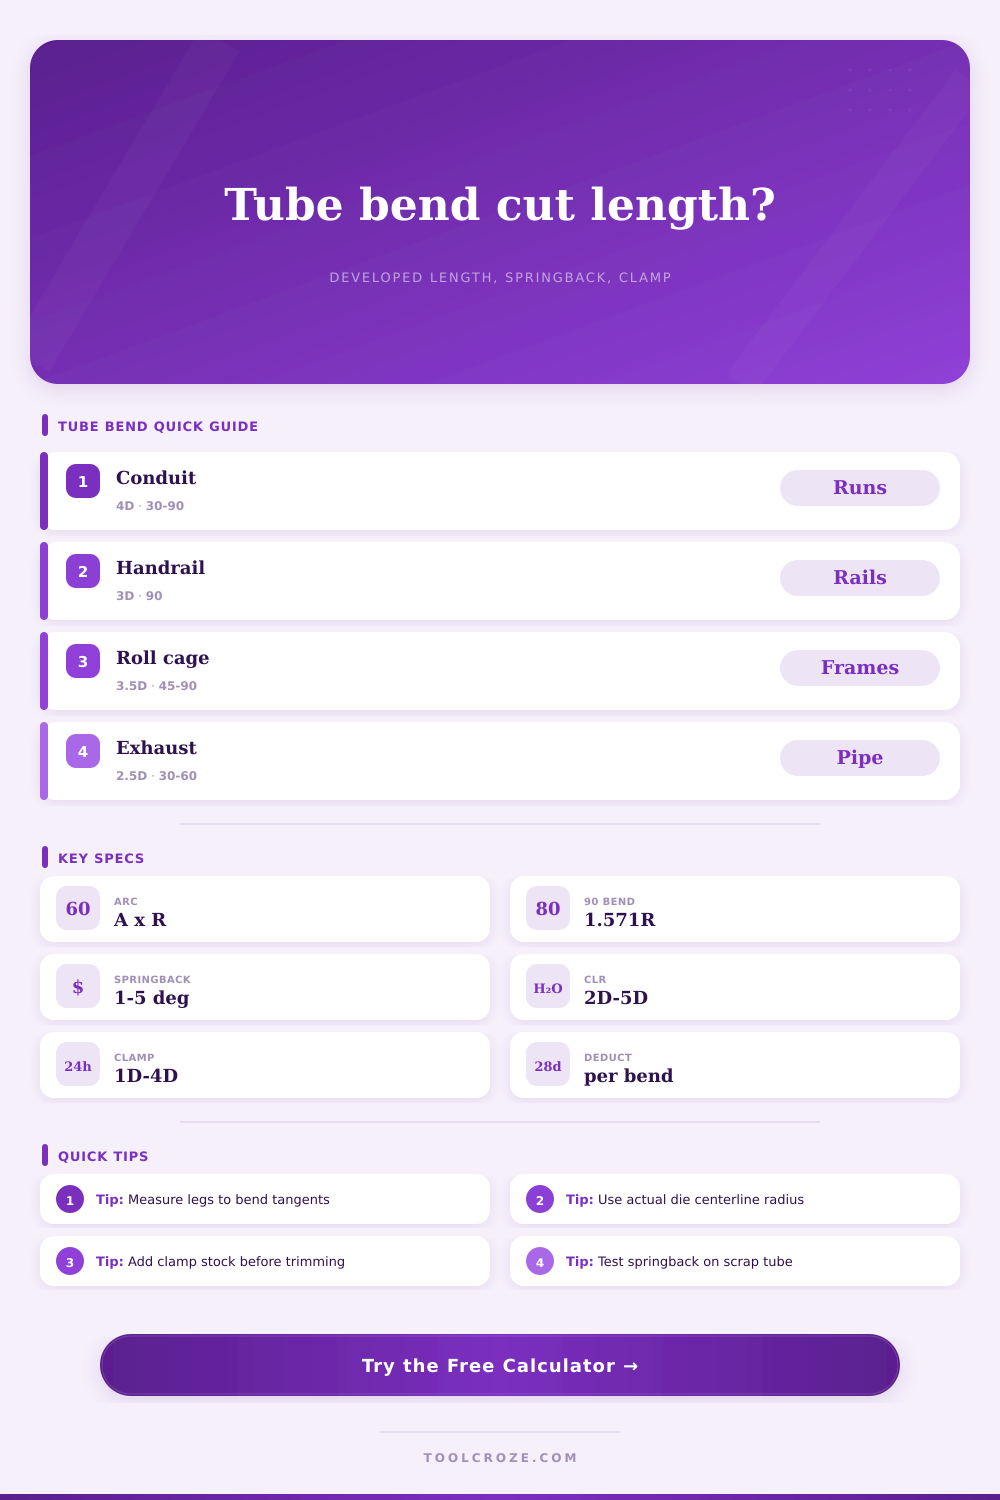
Tube Bending Length Calculator
Calculate tube bend developed length, centerline arc, total cut length, springback setup angle, bend deduction, multi-bend totals, and clamp allowance from real tube and die inputs.
📌Tube Bend Presets
⚙Bend Length Inputs
Tube Bending Length Results
🔧Bend Tooling Grid
📊Bend Allowance Formula Reference
| Calculation | Formula | Use | Result meaning |
|---|---|---|---|
| Bend allowance | Angle radians x CLR | Tube developed length | Centerline arc in the bend |
| Machine angle | Design angle + springback | Bender setup target | Overbend before release |
| Straight total | Start + end + middle x gaps | Multi-bend parts | Tube outside bend arcs |
| Cut length | Straights + arcs - deductions + extras | Blank length planning | Saw length before bending |
| Theoretical tangent setback | CLR x tan(angle / 2) | Layout to intersection | Distance from virtual corner |
📐Common Centerline Radius Ratios
| Tube job | Common CLR ratio | Usual bend range | Layout note |
|---|---|---|---|
| EMT conduit bends | 4D to 6D | 10° to 90° | Use bender take-up marks only if they match your die |
| Handrail and guardrail | 3D to 5D | 30° to 90° | Measure finished tangent points on the rail centerline |
| Roll cage and chassis tube | 3D to 4D | 15° to 90° | Leave trimming stock until notch and fit-up are checked |
| Exhaust and process tube | 2D to 4D | 15° to 60° | Thin walls often need larger radii or mandrel support |
| Hydraulic tubing | 2.5D to 4D | 30° to 90° | Respect minimum straight length for flares and fittings |
🧪Material Springback Reference
| Material | Starting springback | Wall factor clue | Calculator preset behavior |
|---|---|---|---|
| Mild steel tube | 2° to 4° | D / wall under 25 is easier | Balanced default for shop layouts |
| Stainless steel tube | 3° to 6° | More elastic recovery | Adds higher machine-angle allowance |
| Aluminum tube | 1° to 3° | Temper controls cracking risk | Uses moderate radius guidance |
| Copper tubing | 0.5° to 2° | Soft tube forms easily | Lower springback and gentle clamp extra |
| Chromoly / DOM | 2.5° to 5° | Fit-up usually drives trimming | Uses extra trim for chassis work |
🗂Preset Scenario Reference
| Preset | Bends | Tube and radius | Main planning check |
|---|---|---|---|
| Handrail 90° | 1 bend | 1.5 in OD, 4.5 in CLR | Arc plus two tangent legs |
| Conduit Two 30° | 2 bends | 0.75 in EMT, 4 in CLR | Offset blank with middle straight |
| Furniture U Bend | 2 bends | 1 in tube, 3 in CLR | Symmetric leg and bridge length |
| Hydraulic Tube 90° | 1 bend | 0.5 in OD, 1.5 in CLR | Clamp and flare extra |
💡Tube Bend Tips
Most shop disasters begin with a saw cut that is an eighth of an inch too short. So you set up your measurements. You figure the bend radius and the tangent points. You are sure you got it all laid out right. You clamp down the tube and pull the lever and the metal springs back far enough to create an angle that’s shy of ninety degrees. And now the part doesn’t fit the frame. And the scrap bucket just gets heavier.
Bending tube is less about geometry and more about anticipating how metal fights you. It has more to do with what the metal are going to resist you doing than anything else. You have to realize that it won’t follow the outside edge or even the inside wall. It’ll take an invisible path through the middle of the material. That neutral axis will shift based off the material hardness, the wall thickness and the radius of the dies you use.
How to Bend Tubes Without Mistakes
When you input your specific die and tube size into the calculator above, it do all the work for you. The real length of tubing eaten up by the curve itself is called the developed arc length, but without this number, you are just estimating. That’s where the guessing come in. Using this developed arc length number, it calculates the total cut length by adding the arcs and the straight legs together. You still input those same numbers, the centerline radius, the included angle and the straight leg lengths. Then the program figure the total length needed for cuts, both the arcs and the straights.
It includes one other factor too; springback. Most operators assume the tubes won’t kick back very hard, but stainless steel bends has considerable elastic memory. Stainless will kick back harder then mild steel. If you don’t compensate for this in the setup angle, your finished part will be open. What the program does is include the springback allowance in the calculation with your desired angle, so you can tell exactly how much further beyond the target angle you should of overbend on the machine.
Clamp allowance gets overlooked by people. In order to bend a tube, the bender has to be able to grab onto something. Most machines require some additional straight stock to grab onto before the bend begins and after it ends. So if you cut your tube to exact final length, what do you use to clamp? There’s a space for that excess stock on the tool, to make sure you’ve got enough of your raw blank to put into the machine. At the end you add the trim allowance back. It is a small thing, but it is important. Clamp allowance is the most frequent cause of ruined material on first try.
The material makes all the difference. Some materials is soft and flexible (aluminum). Others are tough but brittle (stainless steel). Some stretch without breaking (copper), while others resist bending but tear when bent too tight (again: stainless steel). There’s a handy reference table on the page that explains common ratios for various applications.
For example, a three to five times diameter radius is popular in handrail application because it looks nice and feels comfortabley. A roll cage could be built tighter for strength, but that would increase the risk of cracking and making it turn into an oval shape. Basically, you want to find the right shape for your application. This depends on how it need to fit into other things. You also need to consider what the material can stand up to.
How much springback will there be? There’s no magic answer. That depends on the bend radius and the hardness of the material being bent. For example, tight radius bends force the metal to stretch further than a long, sweeping bend. This can result in less percentage of elastic recovery compared to a long, gentle sweep. However, it isn’t linear.
First, test on scrap material. Measure the angle post bend, then subtract that from the original bend angle. If you want a 90-degree finished part and it springs back two degrees, then you’d program your machine for ninety-two degrees for a 90-degree finish. The calculator uses standard defaults, but your shop data is what matters most. Those defaults will give you close, but won’t take the place of an actual test bend.
That’s the trick. You must measure to the right spots. Not at the imaginary point where the lines cross each other. No. You measure from the tangent points where the straight part intersect the curved part. That’s how it works out in reality and that’s the only way the math work. After that, it’s all addition. You add the straight legs, the developed arcs, an additional amount for trim stock, and the clamp. It is a single number that goes on your saw blade.
Millimeter bending is the art of trade. The physics of the tube won’t let it bend like you think it should. It’s up to you to make it work with the grain, die, and wall thickness. Once you know about Springback and Neutral Axis, you quit guessing. You begin planning. Precise saw cut, Clean Fit-Up. The scrap bin is empty. The math works long before the metal move.