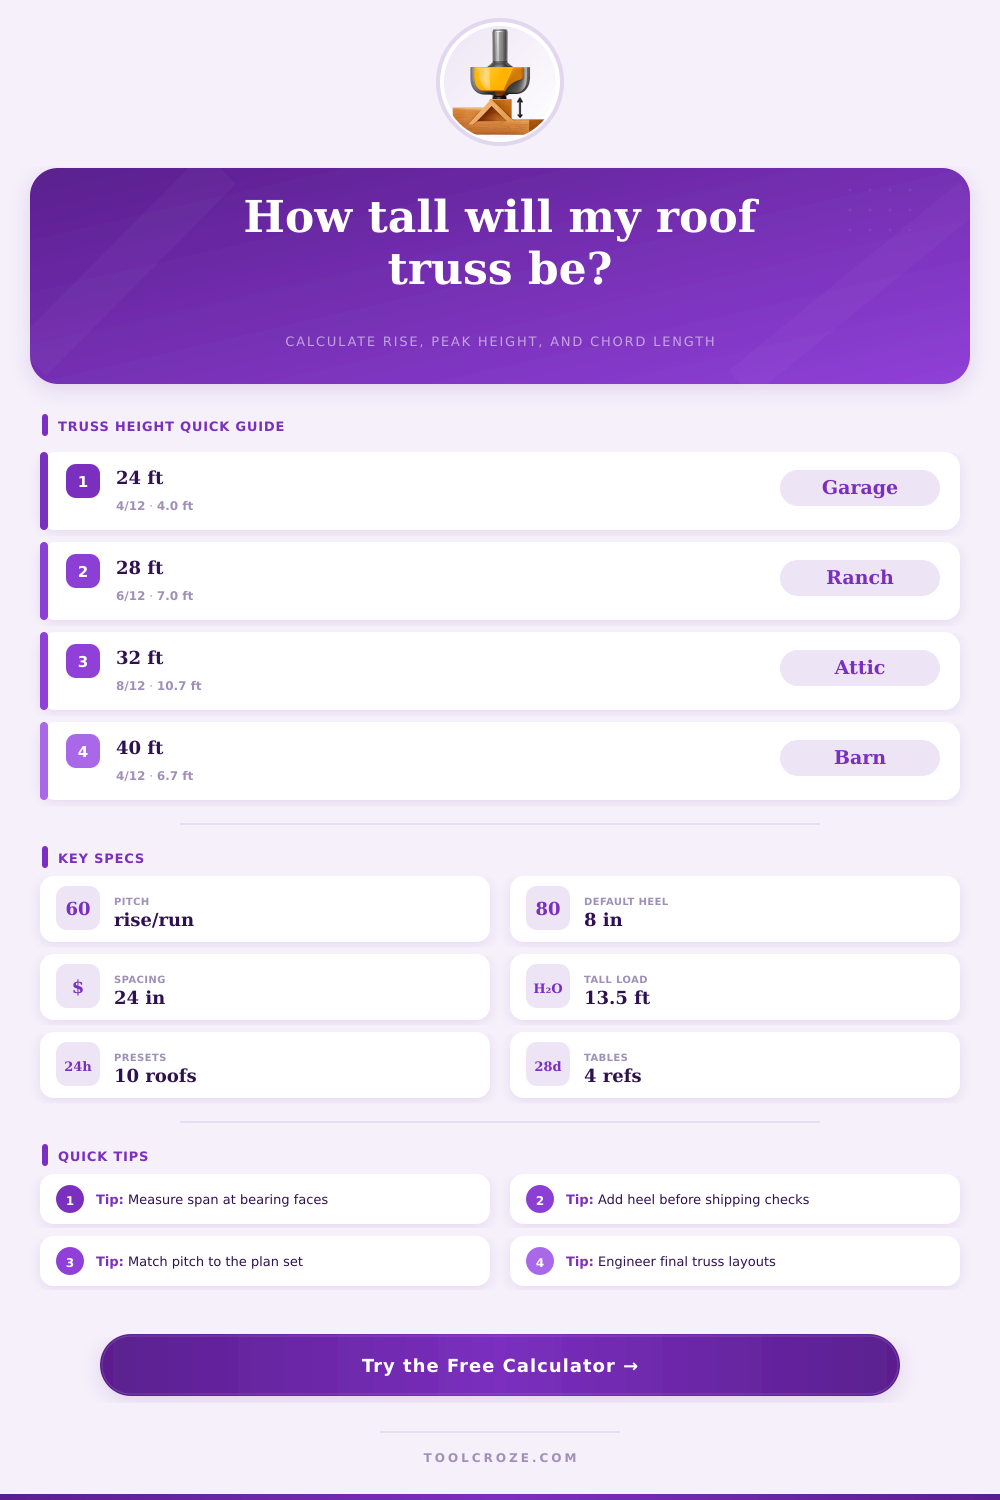
Truss Height Calculator
Estimate roof rise, peak height above bearing, shipping height, top chord length, truss count, and clearance for common roof truss layouts.
🏗Roof Truss Presets
📐Geometry Inputs
Use outside bearing to outside bearing span, not overall roof width.
Typical values: 3.5 in for 2x4, 5.5 in for 2x6.
Used for scissor and attic clearance estimates.
Allowance for web depth, gusset zone, insulation, or storage headroom.
🧱Material and Spec Grid
📊Pitch, Profile, and Height References
| Pitch | Angle | Rise on 24 ft span | Common use |
|---|---|---|---|
| 3/12 | 14.0 deg | 3.0 ft | Porch, shed, low roof |
| 4/12 | 18.4 deg | 4.0 ft | Garage, barn, simple gable |
| 6/12 | 26.6 deg | 6.0 ft | Residential common truss |
| 8/12 | 33.7 deg | 8.0 ft | Attic or steep roof profile |
| Truss profile | Height basis | Clearance impact | Layout note |
|---|---|---|---|
| Common gable | Half span x pitch | Web zone below peak | Most direct peak height calculation |
| Raised heel | Rise plus tall heel | More insulation depth | Check shipping height early |
| Scissor | Roof rise outside | Interior vault reduces web room | Ceiling pitch must be lower than roof pitch |
| Mono slope | Full span x pitch | High end controls total height | Use low bearing as the baseline |
| Heel height | Typical roof | Why used | Height effect |
|---|---|---|---|
| 3.5 in | Basic bearing | Minimal heel cut | Adds 0.29 ft |
| 8 in | Standard raised heel | Better ceiling edge depth | Adds 0.67 ft |
| 12 in | Energy heel | More insulation at eave | Adds 1.00 ft |
| 18 in | Deep energy heel | Large overhang and vent zone | Adds 1.50 ft |
| Planning check | Common threshold | What it affects | Action |
|---|---|---|---|
| Shipping height | 13.5 ft | Transport route | Confirm local limits |
| Shop handling | 11.5 ft | Stacking and rotation | Add handling allowance |
| Scissor gap | 18 in | Web fit at peak | Reduce ceiling pitch if tight |
| Attic headroom | 60 in | Storage usability | Verify engineered layout |
⚙Practical Calculation Notes
The image of a roof is easy: A triangle atop a house. It is middle-school level geometry. Pick an angle; pick a width; go build it. In real life, things aren’t quite so tidy. Gravity will not let up in its attempt to collapse that high point into the floor beneath. Messing with height doesn’t merely involve appearance. It affects whether your trusses fits on your truck when they come off the rack, or if they’ll be too tall to haul. It affects if your insulation will fit and whether entire building stays square when weighed down by a heap of snow.
Always start with the span: How far across does it need to cover? (That’s the distance from one set of bearing walls to another; it isn’t how wide the siding will be, nor how far the overhang will extend.) Confusion over what spans what lead to trusses that are too long or too short before they even leave the factory.
Why Roof Math Is Harder Than You Think
Once you figure out the span, it’s time to decide on the pitch. Standard slope on a garage is four twelve. It is steep enough to shed water off, yet gentle enough to work with most materials. Eight twelve begins to feel more like an attic than simply a roof shell. Use the calculator up top and it’ll do the math for you. It will turn those ratios into real feet of rise. It can also help you see internal volume before any framing.
That’s where it gets dicey. The actual height of the trusses when shipped will be different than what you calculated on paper. Add the heel height to the rise. (The heel is usually three-and-a-half inches high.) Now you have barely any space in the eave for insulation, this creates a thermal break that wastes energy during the winter. To remedy this, builders is opting for raised heels. They’re going up to eight or even twelve inches high. That added height changes whole math of the building process.
You’ll want to check whether your local roads can accommodate a flatbed truck with a fourteen foot-tall load. Otherwise, there will be delays and disassembly expenses.
While no one ever mentions it, there’s another element of building these trusses that has an impact on amount of area they require: material selection. Douglas fir is denser than southern pine. That impacts the size of the webs and chords specified by the engineer. Bigger chords result in higher total assemblies. Higher assemblies with the same roof slope means higher buildings. You can see that spelled out in the reference table on the page. It displays how the change in density (and stiffness) moves takeoff numbers. We all forget about those tiny bits of print until we are in the middle of a warehouse wondering where our estimate went wrong, it is three percent over budget.
It’s also important that they are spaced evenly. Residential standards call for 24 inches on center, which isn’t arbitrary. It strikes a good balance between structural strength and material usage. Sixteen inch spacing may make your roof deck a bit stiffer but it will require more trusses, and therefore more lumber in total to be hauled to the jobsite. At what point do you decide that marginally less flexibility is worth more money at check-out? That’s a question of how much you value rigidity (on a windy day) vs. Your bottom line (at check-out).
Another wrinkle: Scissor trusses produce vaulted ceilings within the home. There’s a restriction: the ceiling pitch has to be less steep than the roof pitch. If it isn’t, the geometry folds over on itself and becomes an impossibly intersecting mess. That restriction further reduces maximum possible interior ceiling height. You can’t simply choose some heroic arch and assume everything will line up mathematicaly. By displaying both pitches side-by-side, the tool lets you spot this mismatch sooner, before you waste money buying the wrong trusses from the catalogue, which won’t fit between your pre-built walls.
For contractors without experience moving their own supplies, the logistics of shipping are a shock. In most jurisdictions, trucks is limited to thirteen and a half feet in height on the road. Anything taller than that requires a permit or escort vehicle. You don’t want to waste time getting one of those; it’s worth more than the lumber. Before finalizing your design, always calculate the adjusted shipping height. It is just a small number on a screen, but it could of mean hours of waiting at a weigh station.
In the end, all of this is planning estimates. It’s meant to point out glaring mistakes and prompt the correct questions. The actual design will need an engineer to check it for local code compliance as well as load paths and connector plates. But having an idea what informs those figures help make the back-and-forth with your supplier more on-point. Instead of asking “how high does it have to be?”, you ask “why is it that high?”. This knowledge becomes a list of things you can manage rather than a vague concern.