Stone Veneer Mortar Calculator
Estimate scratch coat, setting bed, joint fill, bag count, water range, and waste-adjusted mortar volume for manufactured or natural thin stone veneer.
⚒Real Stone Veneer Presets
📏Wall, Veneer, and Mortar Inputs
Full Calculation Breakdown
📦Material and Spec Grid
📚Reference Tables
| Mortar product | Typical wet yield | Water per 80 lb bag | Common veneer use |
|---|---|---|---|
| Type S mortar mix | 0.55 to 0.65 ft³ | 4.5 to 5.5 qt | Exterior veneer, scratch, setting, pointing |
| Type N mortar mix | 0.60 to 0.70 ft³ | 4.5 to 6.0 qt | Interior or softer masonry veneer assemblies |
| Polymer-modified veneer mortar | 0.45 to 0.58 ft³ | Follow bag label | Bond coat over approved substrates |
| Mason mix with sand included | 0.58 to 0.66 ft³ | 4.5 to 5.5 qt | General veneer beds and grouted joints |
| Stone veneer profile | Bed factor | Typical waste | Calculation note |
|---|---|---|---|
| Manufactured stone, flat back | 1.00x | 10% | Most consistent mortar bed volume |
| Natural thin stone, saw-cut back | 1.10x | 12% | Allow extra for uneven back-buttering |
| Ledgestone strips | 1.08x | 12% | Many horizontal edges, moderate joint demand |
| River rock or rounded backs | 1.30x | 18% | Voids behind rounded pieces can add mortar |
| Layer or joint | Typical thickness | Volume per 100 ft² | When to adjust |
|---|---|---|---|
| Scratch coat over lath | 3/8 to 1/2 in | 3.1 to 4.2 ft³ | Use thicker side for heavy lath texture |
| Setting bed | 1/2 to 3/4 in | 4.2 to 6.3 ft³ | Increase for rough stone backs |
| Tight pointed joint | 1/4 to 3/8 in wide | 0.4 to 1.0 ft³ | Small stone faces raise the amount |
| Wide rustic joint | 5/8 to 1 in wide | 1.2 to 2.8 ft³ | Overgrout and deep tooling need more |
| Project area | Typical size | Mortar focus | Common preset choice |
|---|---|---|---|
| Fireplace surround | 35 to 80 ft² | Interior bed coat and tidy pointed joints | Manufactured stone with standard joint |
| Foundation wainscot | 80 to 250 ft² | Scratch coat, exterior waste, openings | Natural thin stone or limestone veneer |
| Column wrap | 30 to 90 ft² | Corner cuts, small faces, joint fill | Ashlar or fieldstone veneer |
| Dry-stack accent wall | 50 to 160 ft² | Setting bed dominates; joint fill near zero | Ledgestone or dry-stack profile |
💡Mortar Takeoff Tips
Safety note: Wear eye protection, gloves, sleeves, and respiratory protection when mixing mortar, cutting stone, or handling dry cement products. Follow the veneer, lath, weather barrier, and mortar manufacturer's instructions for your wall assembly.
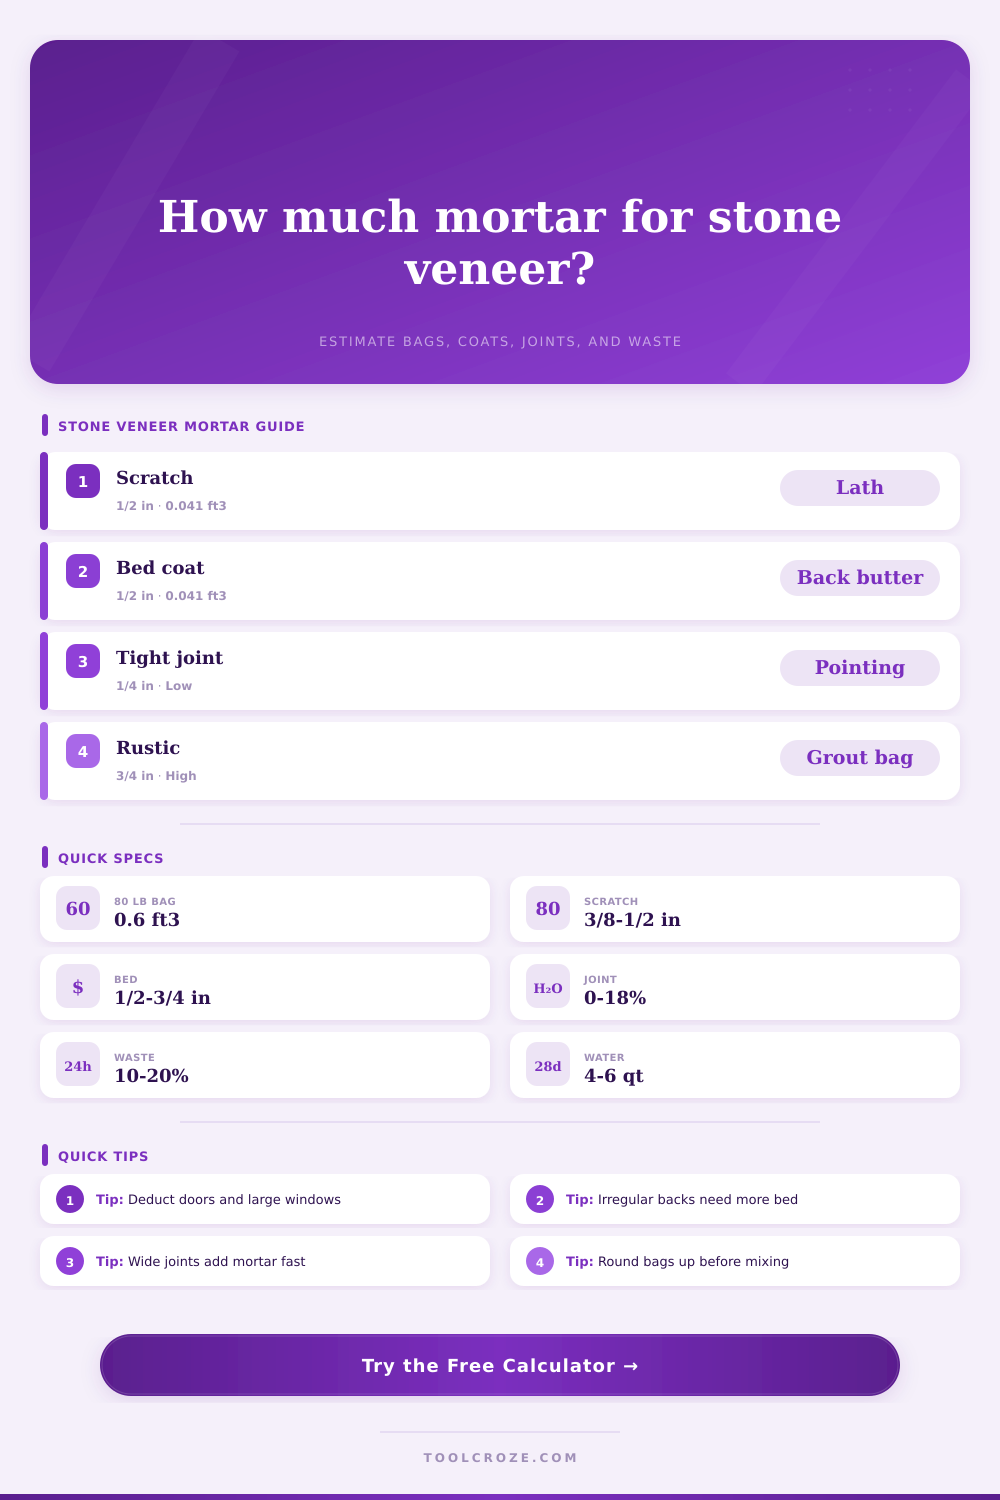
Buying too much stone for the wall is easy; underestimating the mortar, not so much. Seems like simple math, but underestimating setting bed is what stalls out half way up a chimney or results in fireplace with crumbling joints. Enter our calculator (above) that do the math for you by simply plugging in the dimension of your wall and profile of the stone. No more need to guess at conversions and coefficients. It breaks down three different types of mortar used to hold veneer in place, and explains the specific job and waste factor for each.
So here’s the deal: You start off with the scratch coat. It goes down first… Over lath or directly onto masonry, before anything stone hit the wall. Most people think it’s just glue, but it’s actualy a mechanical key. It needs to be thick enough to grab onto lath wires but thin enough that it doesn’t sag. With metal lath, perfect isn’t as important as having some texture. The tool assumes it’ll have a half-inch thickness for this coat. That is why the surface area is spread evenly. That’s a baseline. The closer your wall are to being even, the more material you will use. The waste slider in the interface account for that.
How to Calculate the Right Amount of Mortar
Next is the setting bed. That’s the actual mortar that holds stone in place over the scratch coat. And here’s where a lot of estimates goes wrong. The amount of setting bed material you’ll use depend entirely on shape of the back of your chosen stone. If it’s manufactured stone, there’s a flat, even back, and you know exactly how many square feet of paste you’re going to use. But if you’re using natural thin stone (ledgestone) or something like that, those stones will be all rough and uneven on their backs, with spaces between them. All those air pockets need to be filled with mortar… usually by buttering the back of each one individually. Based off what kind of veneer you choose, the calculator accounts for this. It understands that rounded river rock contain lots of air pockets on its back side, requiring far more paste then, say, a flat ashlar block.
The third variable is joint fill. Until your bucket’s empty, it’s simple to forget that wide, rustic joints with lots of deep tooling eat up a bunch of mortar while tight, raked joints require hardly any. You are laying small pieces of stone. The joint length per sq ft skyrockets, meaning even at the same wall area, you’ll need more pointing material. The page’s reference table makes all this clear: the wider the joint, the higher number of bags required at the end. It is about volume management, not just aesthetics.
Waste is the quiet budget-killer. Down to the decimal place in theory, you can account for exact volume. In reality, there’s mortar on floor. There is mortar in the bucket. There is excess scraped from a tool that hardens too soon. For clean jobs, plan for ten percent waste; if weather (a gusty day outdoors) dries your mix out before you can finish laying it, or if you’re working with irregular stone, adjust that upwards to as much as fifteen-twenty percent. This slider can be adjusted in the calculator, so you won’t find yourself panicked by being out of mortar at four o’clock on a Friday.
Then there’s the matter of mixing, where planning meets reality. Before you begin, you have to figure out how many bags you’re going to go through. Mortar mixing is no joke; it’s hard work. You don’t want to stop to grab another bag halfway through. Doing so disrupts your rhythm and tears up your bond line. With the tool, you get a water range per bag, so you can prep your buckets beforehand. If you add too much water, the mix gets weak; too little and it won’t work at all. Figuring out the right balance takes some time. However, knowing how much total volume you’ll need will help you plan when to start mixing.
All that said: Ultimately, the beauty of stone veneer isn’t just aesthetic, it’s logistical. The most beautiful natural stone you could of possibly own might be sitting in your yard, but if you lack a good mortar strategy, the outcome will be ugly and precarious at best. Use this calculator to get real with yourself about how much of each kind of material you’re working with. It won’t put the stones down for you, but it will make sure you’ve got the mortar to support them when they do. When mortar comes first, all the stone does is become an accessory on a stable base.