Stair Handrail Angle Calculator
Calculate stair pitch, handrail angle, sloped rail length, bracket layout, and practical fit checks from finished rise and run measurements.
△Unit System
★Real Stair Presets
⚙Stair And Rail Inputs
Full Calculation Breakdown
▦Material And Spec Grid
☰Reference Tables
| Stair Type | Typical Rise | Typical Run | Approx Angle |
|---|---|---|---|
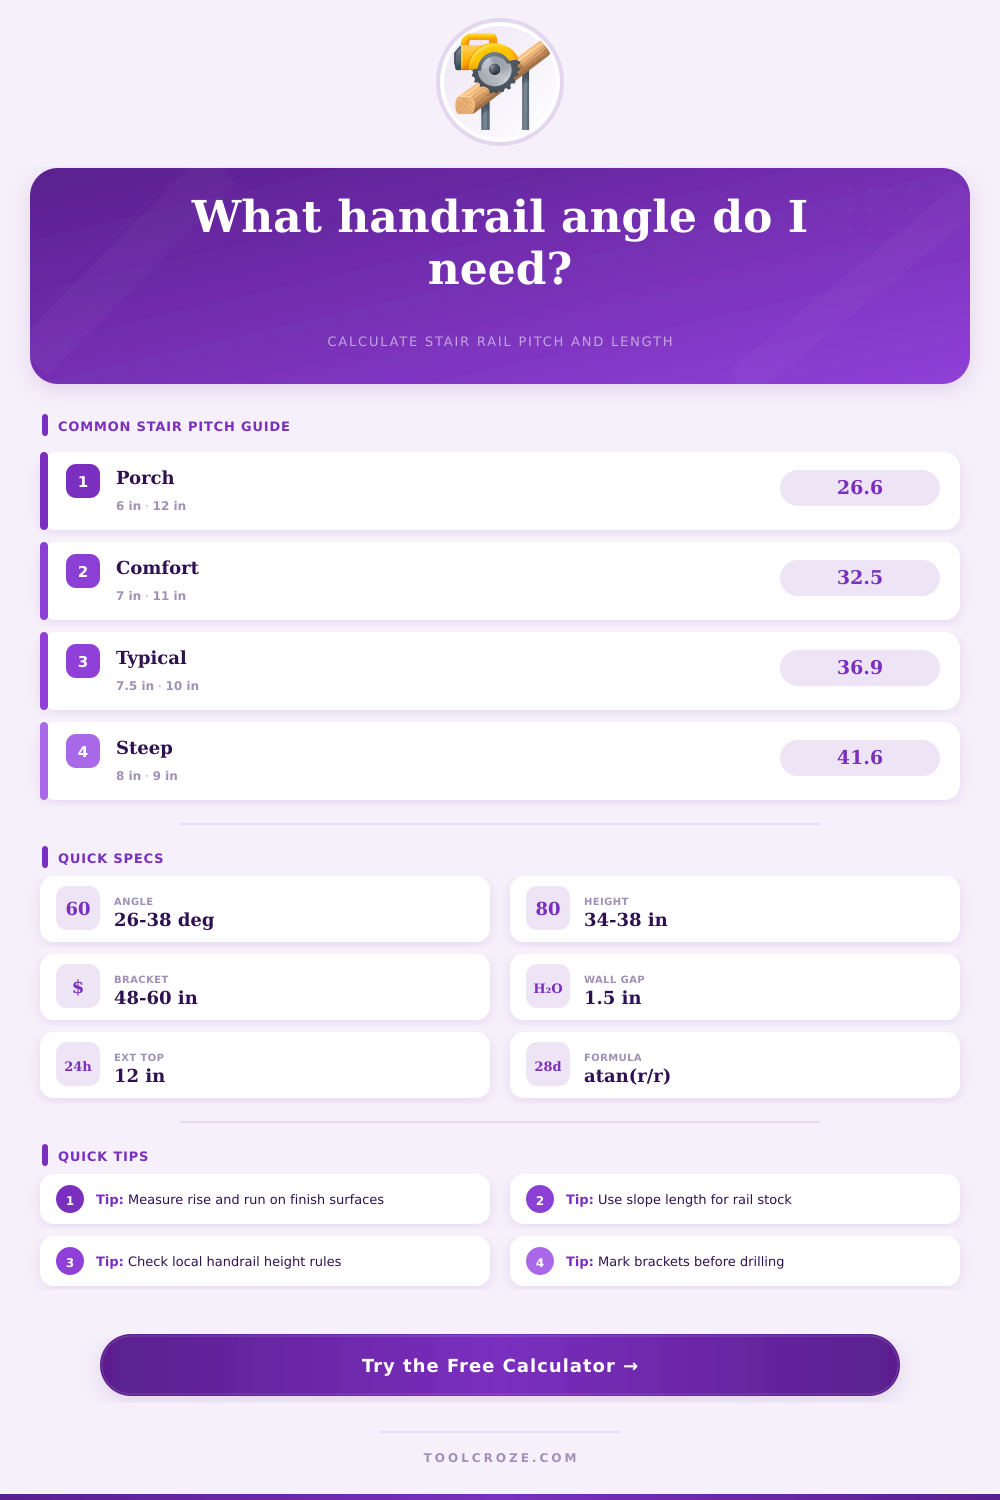
| Gentle porch or landscape stair | 5.5 to 6.5 in | 12 to 14 in | 22.6 to 28.4 deg |
| Comfort residential stair | 6.5 to 7.25 in | 10.5 to 11.5 in | 29.5 to 34.6 deg |
| Typical interior stair | 7.25 to 7.75 in | 9.5 to 10.5 in | 34.6 to 39.2 deg |
| Steep basement or utility stair | 7.75 to 8.25 in | 8.5 to 9.5 in | 39.2 to 44.1 deg |
| Handrail Spec | Common Value | Calculator Input | Field Check |
|---|---|---|---|
| Height above stair nosings | 34 to 38 in | Handrail height | Measure perpendicular from nosing line |
| Clear space at wall | 1.5 in minimum | Wall clearance | Check brackets and trim do not reduce it |
| Round graspable rail | 1.25 to 2 in diameter | Material selection | Confirm the profile can be gripped |
| Top extension | Often 12 in level | Top extension | Follow the landing direction |
| Bottom extension | Often one tread depth | Bottom extension | Return to wall, floor, or post |
| Rail Material | Typical Use | Bracket Spacing | Layout Note |
|---|---|---|---|
| Wood round or oval rail | Interior wall rail | 48 to 60 in | Fasten brackets to studs or blocking |
| Painted steel tube | Exterior or commercial | 48 to 72 in | Check post welds and corrosion protection |
| Aluminum rail section | Deck and porch stairs | Per rail system | Match stair angle to swivel brackets |
| Stainless tube rail | Wet or coastal areas | 48 to 60 in | Use compatible fasteners |
| Guard-mounted cap rail | Open stair sides | Post to post | Verify guard height separately |
| Formula | Use | Example | Result |
|---|---|---|---|
| Angle = atan(rise / run) | Rail pitch | 90 / 120 | 36.9 deg |
| Slope = sqrt(rise² + run²) | Rail along stairs | 90 and 120 | 150 in |
| Pitch ratio = rise / run x 12 | Framing comparison | 90 / 120 x 12 | 9:12 |
| Brackets = ceil(length / spacing) + 1 | Support count | 183 / 48 | 5 brackets |
ℹRail Layout Tips
The classic DIYer heartbreak is a handrail that terminate before reaching landing. This is almost always because people don’t understand how a slope works: the rail must cover the diagonal distance, which is always longer than horizontal distance you measured.
This calculator does all the math for you so you don’t need to know how to convert or what coefficient applies here and there. Enter your rise/run measurement and it provide the proper length for your material. It’s just applying some basic trigonometry to carpentry. A horizontal “run” and a vertical rise create a right angle triangle. The hypotenuse of this triangle is where the hand rail goes. So when you only measure the run, it’s going to order you the stock for a straight floor (not one with stairs). This thing figures out how long that sloped length is and then tacks on your desired lengths on each end.
How to Measure Your Handrail Correctly
It also adds in a little bit for cutting mistakes since no one’s blade is exactely straight. That buffer means you don’t have to go back to the hardware store to get more because you cut too far off the end.
It’s better to get the inputs correct rather than the exact outputs. Many folks take measurements from their rough framed house which is different then a finished surface. Finished rise and run are what the calculator requests since that’s where the foot actualy lands. The rise can actually be different than what the studs say depending on how thick your carpet padding is or if you have a plywood underlayment. If you want to know the precise rise, then measure from one nosing to the next but don’t try and do this between joist.
This accuracy are necessary if you’re trying to match some sort of code requirement on your rail heights. Locals has their own code requirements, but they typically make sense (and are for safety) so most of the time, you’ll want your handrail about thirty- four to thirty-eight inches off the stair nosing. That’s measured perpendicularly to the slope, not vertically from the top of the tread. You tell it what that measurement is; it makes sure you’re within a safe range.
And it can help estimate bracket placement: A sagging rail between support poses an invitation for injury. Typically, standard wood rails requires a support at every forty-eight to sixty inches. Once you know the final sloped length, the calculator will tell you exactly how many brackets you need. This ensures you don’t find yourself halfway up the staircase with nothing left.
The layout strategy differs a bit based off material choice. Wood and metal systems is similar here, but metal systems often use a swivel bracket that can be adjusted to fit the pitch. In contrast, wood requires careful placement of brackets against blocking or studs. For wood, be sure to leave enough room between the wall and the rail: at least an inch-and-a-half, otherwise you can’t really get a good grip on it. Metal systems typically rely on swivel brackets that self-adjust to the pitch of the stairs; in either case, be carefull that any molding/trim doesn’t eat up this space.
On the page, there’s a table of common stair types laid out. This table serves as a benchmark to see if your calculated angle fits the context.
Don’t forget about the extensions. They are often neglected until the last minute but you don’t want your handrail to stop mid-flight at either the top or the bottom. It should meet the wall again or be extended to level off. This ensures no fingers gets caught in it and no clothes snag on it. The extension lengths are also included in the cut length from the calculator, so you’ll purchase sufficient material for the transition areas. Most codes suggests a horizontal extension that equals one tread depth at the top and something similar returned at the bottom.
So in the end, a handrail is both a design feature and a life-safety device, and if it doesn’t feel like something you’d trust your weight on, then the angle’s not quite correct. If your rail runs exactly with the pitch of the stairs, it will give even support from step to step. If it dips or waves up and down, it makes you hesitate. Do your measurements carefully once everything is built out, plug them into this tool, and make the geometry do the work for you instead of making it fight you. That three inches you were dreading at the beginning would of been nothing once you’re cutting to the actual hypotenuse.