Single Point Threading Passes Calculator
Plan roughing passes, finish allowance, spring passes, compound dial movement, and pass-by-pass depth for external or internal single point threading.
Choose a named shop setup, then tune the pitch, depth, material hardness, nose radius, or degression factor as needed.
Threading Pass Plan
This pass plan estimates dial movement and radial thread depth. Verify actual fit with wires, pitch mic, gauge, or mating part before committing to the final pass.
The table updates after calculation and shows radial DOC, cumulative depth, compound dial movement, and the pass role.
| Pass | Role | Radial DOC | Cumulative Depth | Compound Dial | Shop Note |
|---|---|---|---|---|---|
| 1 | Sample | 0.0060 in | 0.0060 in | 0.0069 in | Click calculate |
| Thread Spec | Pitch / TPI | Approx 60° External Depth | Typical Pass Count |
|---|---|---|---|
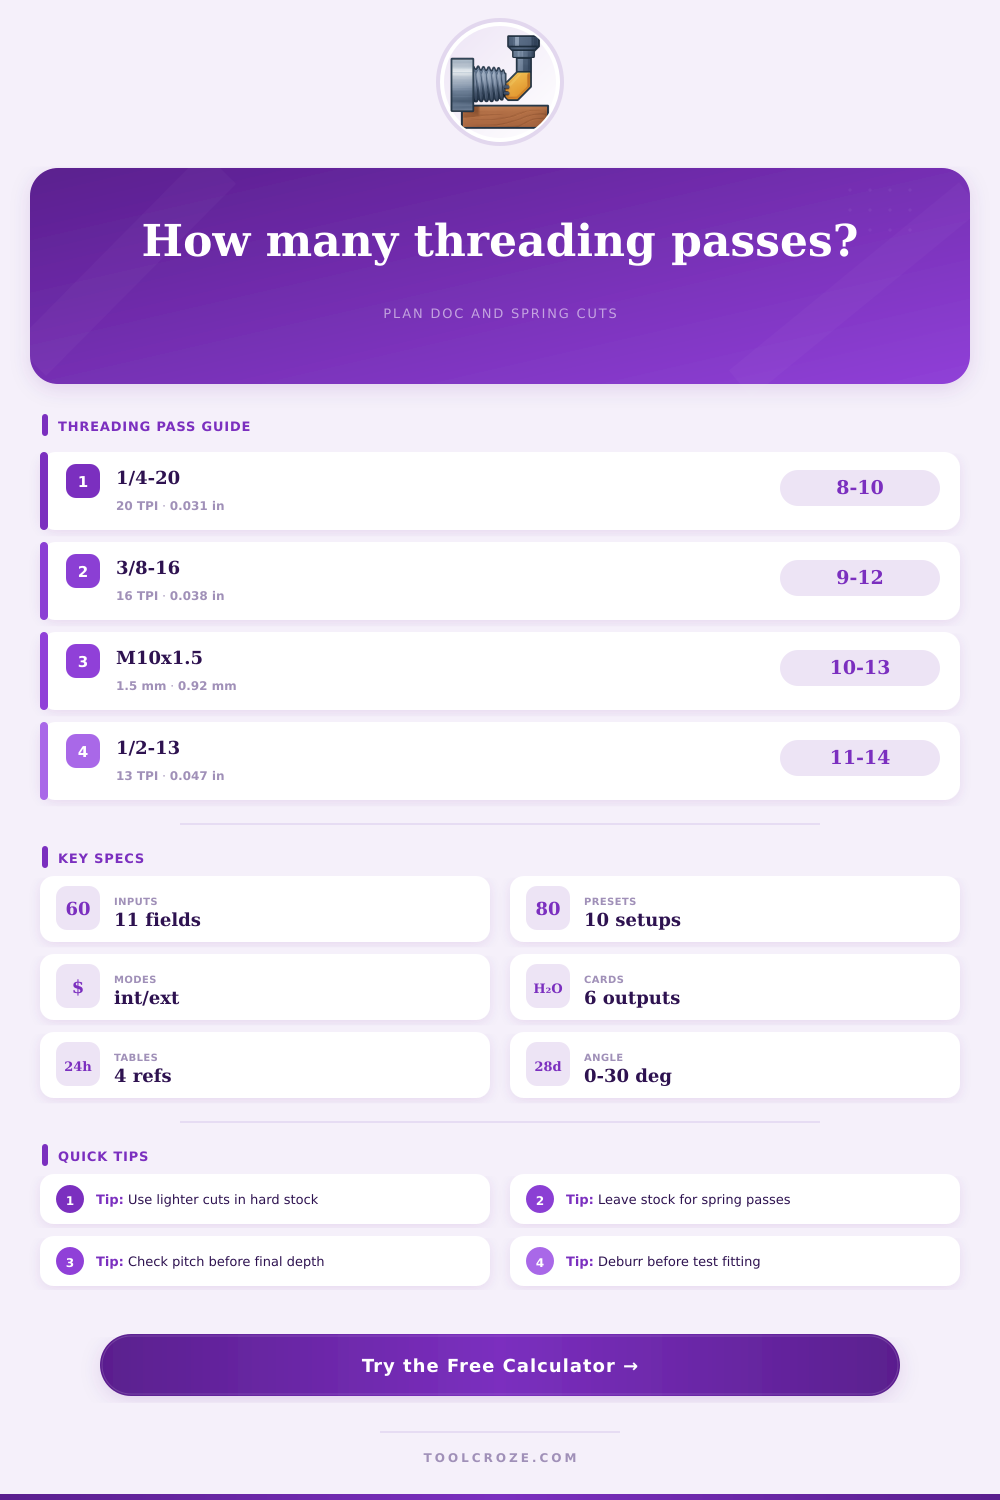
| 1/4-20 UNC | 20 TPI | 0.0307 in | 8 to 10 |
| 3/8-16 UNC | 16 TPI | 0.0383 in | 9 to 12 |
| 1/2-13 UNC | 13 TPI | 0.0472 in | 11 to 14 |
| M8 x 1.25 | 1.25 mm | 0.767 mm | 8 to 11 |
| M10 x 1.5 | 1.5 mm | 0.920 mm | 10 to 13 |
| M12 x 1.75 | 1.75 mm | 1.074 mm | 11 to 15 |
| Material | Typical BHN | Pass Style | DOC Guidance |
|---|---|---|---|
| Aluminum 6061 | 95 | Open chip | Can start heavier; use sharp tool |
| 360 brass | 80 | Free cutting | Moderate cuts; watch tool rub |
| 1018 mild steel | 130 | Baseline | Use steady degression |
| 304 stainless | 170 | Work hardens | Use positive feed and lighter finish |
| 4140 prehard | 285 | Tough | Reduce first DOC and spring cut |
| O1 tool steel | 220 | Firm load | Keep passes conservative |
| Tool Nose Radius | Best Use | Final DOC | Finish Note |
|---|---|---|---|
| 0.002 in / 0.05 mm | Fine pitch | Very light | Fragile edge; avoid chatter |
| 0.004 in / 0.10 mm | General 60° | 0.001 to 0.002 in | Common insert or HSS tip |
| 0.008 in / 0.20 mm | Coarse thread | 0.002 to 0.004 in | Needs enough root clearance |
| 0.012 in / 0.30 mm | Heavy external | Moderate | Check thread form standard |
| Degression Factor | Pass Shape | Where It Helps | Watch For |
|---|---|---|---|
| 0.50 | Gentle taper | Soft material | More similar pass loads |
| 0.75 | Balanced | General threading | Good first estimate |
| 1.00 | Linear reduction | Harder steels | More light cleanup passes |
| 1.25 | Fast taper | Small lathes | Avoid rubbing late passes |
Setting up threading on a lathe looks easy till you try to cut it. Make one bad depth setting and you’ll either chip out your insert or harden the flank of your threads. How you break down the total depth into individual cuts make all the difference between a good part and scrap. That’s where using a threading passes calculator comes in handy as you go beyond “normal” shop practice, it marries math and experience.
One point does everything. To strike that balance between deflection, tool life and load in a single-point operation, machinist angles his compound 29 or 30 degrees, just enough to put most of the cutting force on one flank when he use a 60-degree thread. Dial movement is converted by the calculator into true radial depth for stopping guessing about how much 0.006 inches is when you’re chasing a tight tolerance on a coarse thread. When you do the trigonometry, it’s maybe more like 0.0052 inches but those little errors add up fast.
How to Plan Your Threading Cuts
The process are very different depending on material you choose. Prehardened 4140 bar can be hammered down with an aggressive depth, but free-machining brass won’t tolerate such abuse. Tool nose radius also put a limit on the safe depth range of the cut. While a nice sharp.002 inch radius will make fine pitches, it can chatter if you take off too much stainless steel in the initial pass. Larger radii require increased root clearance and typically benefit from lightening up the final couple of passes to allow the radius to cut as opposed to smear. These tradeoffs is what the calculator considers when creating your list of passes.
Another advantage to using degression is that it doesn’t remove an equal amount each time you go by. The program begins with larger cuts and decreases the cut with each pass until it reaches final size. A good starting point for most work is around 0.75. This allows for a spring pass and leaves enough material so you don’t rub out a final pass when you get down there.
Spring passes are easy and they works. No new cut, just set your dial to what you were going by before and hit it again a couple of times. That’s normally one or two passes and removes the spring and carriages. It also gives you a consistently round diameter. If you chase them on a tight tolerance thread you may spend all afternoon trying to get to the right size.
Even before we get into the cutting, common errors become apparent. Newbies think that because measurement is 5/16” on paper, the first cut can be deep. But when they see how close the first cut was to the bottom in their material, there’s no chance for a proper finish cut. And others fail to plan a deliberate finish allowance so instead of finishing after threading is done, last pass has to both size the thread and also do some cleanup. Both practices damage tools and enlarge the chance of a drunken thread. The best practice is to take big bites upfront, smaller ones in the middle, and small bites at the end. You should of also stop to clear burrs and test the fit before final engagement.
More so than you realize pitch plays into this. A fine thread allows a deeper cut relatively speaking because it is in contact with material less each revolution. On the other hand coarse threads punish aggression as the tool is loaded longer and generates heat faster. Inside threads compound the issue. In this case, the tool is sitting within a hole. Chips are removed with more difficulty, and deflection generally goes the other way. Threading inside a bore will frequently require small first cuts and an added spring pass to balance the strain.
What’s nice is that calculator takes the math out of your head and lets you concentrate on how it looks and more important sounds when cutting. It’s not gone because you’ll be standing there by the machine with one hand on the dial. Listen for sound of clean chips. You are looking for the flash of proper thread crest formation. The numbers give you a good approximation, the feel makes up the difference. Single-point threading becomes a game of control craftsmanship rather than gambling when both are in play.