Segmented Bowl Calculator
Estimate ring segment length, miter angle, total pieces, board length, kerf loss, blank diameter, and glue-up height for segmented bowl turning.
Segmented Bowl Results
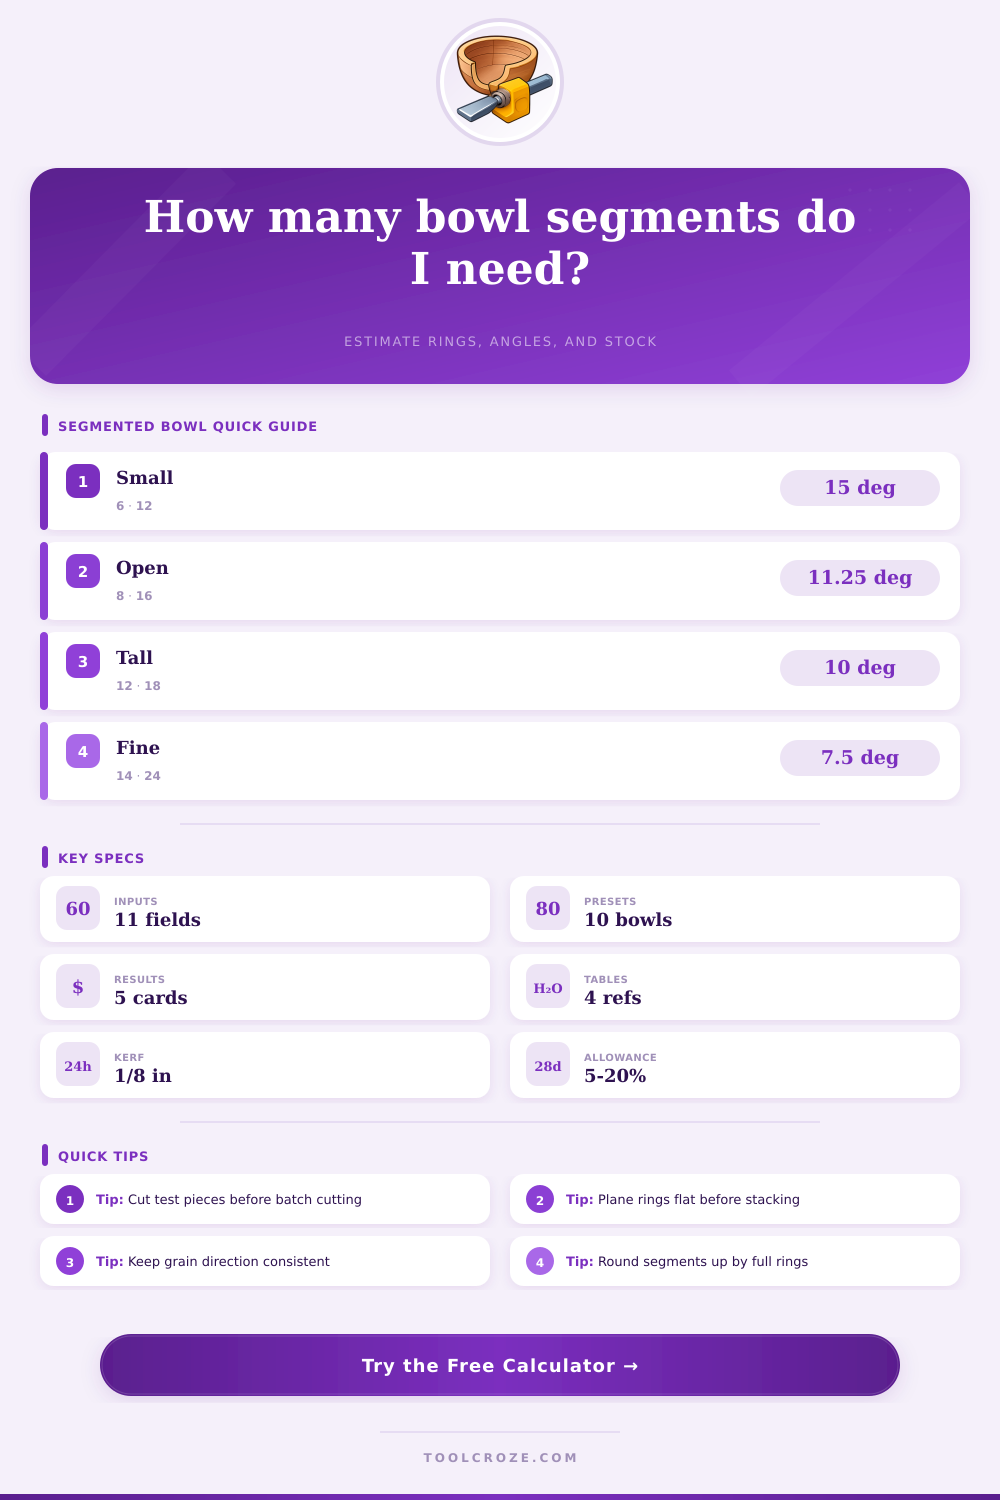
| Segments | Segment angle | Miter angle | Use |
|---|---|---|---|
| 12 | 30 deg | 15 deg | Fast small bowls |
| 16 | 22.5 deg | 11.25 deg | General bowls |
| 18 | 20 deg | 10 deg | Taller vessels |
| 24 | 15 deg | 7.5 deg | Fine polygon |
| Top OD | Segments | Long side | Stock width |
|---|---|---|---|
| 8 in | 12 | 2.14 in | 1.0 in |
| 10 in | 16 | 1.99 in | 1.25 in |
| 12 in | 18 | 2.12 in | 1.5 in |
| 14 in | 24 | 1.84 in | 1.75 in |
| Wood | Density | Janka | Glue note |
|---|---|---|---|
| Maple | 44 lb/ft3 | 1450 | Mill clean |
| Cherry | 35 lb/ft3 | 950 | Stable |
| Walnut | 38 lb/ft3 | 1010 | Open grain |
| Ash | 42 lb/ft3 | 1320 | Firm clamp |
| Allowance | When to use | Effect | Check |
|---|---|---|---|
| 0.01 in | Drum sanded | Light loss | Flat rings |
| 0.02 in | Normal work | Safe stack | Most bowls |
| 0.03 in | Hand sanding | More loss | Thick stock |
| 0.04 in | Rough rings | Big loss | Re-mill first |
This calculator is for layout planning. Final dimensions depend on actual saw setup, stock movement, ring flattening, turning profile, and your preferred wall thickness.
If your attempt at creating a segmented bowl looked something like an octagon, you probably also struggled with the math. The bowl might have held together just fine but it didn’t look good, because you had 12 parts to make a complete circle and the miter angle wasn’t calculated for that number of segments.
That’s where a calculator comes in, to solve the geometry problem for you, allowing you to concentrate on glue-up, the tougher step of this process.
How to Make Better Segmented Bowls
Segmented turning is basically applying trigonometry disguised as woodworking. By creating angled cuts on otherwise straight pieces of wood and putting them together they approximates a curved shape (a circle). The more pieces you have the closer your curve will look to being round, and the harder it will be to assemble. A 12 piece ring appears like a polygon from afar, but has a very smooth feel. A 24 piece ring appear solid if you’re not looking too closely, but requires exponentially more time to lay out and assemble. Most turners settle around 16 or 18 pieces since it’s close enough visually without making it impractical.
Novice ring makers often overlook kerf loss, only to find after making three or more rings that their bowl is smaller than expected because of it. A single saw cut loses an eighteenth of an inch; this accumulate rapidly as you work through dozens of pieces. The calculator accounts for this by adjusting the required board length based on your specific blade width; wider blades is factored into the calculations.
Waste Percentage: Waste should never be lower then 10% if you are working with figured wood. This accounts for being selective about cutting grain matches, and tossing some otherwise useable looking pieces because they don’t match the desired look.
You can test the Calculator here.
The type of wood complicates things further. Certain woods like maple is dense, stable, forgiving, and great for learning miter joints. Others such as cherry shift less when being glued, which helps keep their rings in place. Other woods such as walnut are softer, so your chisel bite deeper into the workpiece on the lathe. Because grain opens up, being careless with clamping pressure can cause more squeeze-out to show. Knowing the characteristics of each species (the type of reference data the tool offers) help you know what to expect. You will understand how a particular wood behave in the shop and over time as it dries out and under stress. To select stock suitable for your skill level, you must understand how a wood’s density impacts cutting speed and finishing qualities.
Another frequent error is forgetting about glue-up allowance. When you clamp a ring together its faces will compress a bit. Even if you’ve sanded your segments perfectly flat before gluing, you’ll still lose maybe a thousandth of an inch per joint. But what happens if they’re not actualy flat, microscopically uneven? That loss compounds all the way around the ring.
To compensate for this you can enter a flattening allowance, typically one to three thousandths per joint, into the calculator. This will give you a final bowl height matching what you planned. Ignore it, and you’ll find yourself with bowls that come out shorter than expected, requiring a last minute adjustment to either the rim or foot.
There needs to be some batch cutting discipline as well. After cutting the first segment, make sure you clearly mark which side is the reference face and then cut all of the pieces with that face against the fence. Each time you turn a board around (backwards or even upside down) in the jig, you move the angle by double the amount off the error. That small mistake will mess up the whole ring.
Dry fitting each ring before gluing them is a must. It’s the only way to catch any errors early while it still is cheap to correct. Before you commit to the glue, tweak your miter gauge until final joint meets perfectly.
Patience is required, but so is precision, when working with segmented bowls. The math makes it all work together, but your hands makes it stay together. Keep the wood choices easy to predict and start with simple layout plans. Let the geometry be on your side instead of fighting it. That first octagon bowl wasn’t a failure. It’s the first draft of what circular thinking can teach you.