Easy to use and versatile, the Ryobi PCL206 drill driver is worth considering as an addition to your toolbox. But before you make the purchase, I tested out all of its features.
Take a look at how my tests went below so you can decide if it’s the right fit for you or not. Everything you need to make that decision is in this Ryobi PCL206 drill driver review.
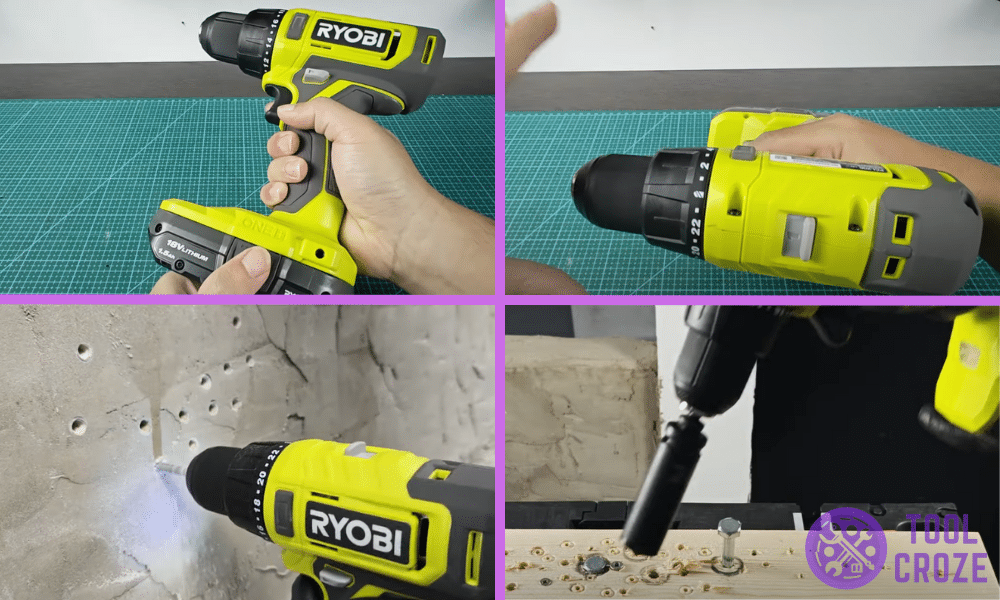
I’ve also made a short video which demonstrates the different uses of the Ryobi PCL206 drill driver. You can watch it below.
On the video, I showed how I use it to drive screws, long screws, and metal bolts into wood. I also showed there how I drill into concrete using this tool.
A Detailed Ryobi PCL206 Drill Driver Review
Let’s start with the basics. Here are the key specifications of the Ryobi PCL206 drill driver:
| Ryobi PCL206 Drill Driver Specifications | |
|---|---|
| Chuck Size | 1/2 in or 13 mm |
| Max RPM | 1750 |
| Clutch Positions | 22 + Drilling Mode |
| Hammer Mode | No |
| Battery | 18V Lithium Ion |
| Speed Settings | 2 |
| Max Torque | 515 in-lbs |
| Motor | Brushed |
| LED | Yes |
The tool’s lightweight and compact design is a big plus. It was made with the user in mind, offering comfort without sacrificing durability.
While the brushed motor isn’t as advanced as modern drill drivers, the PCL206 delivers consistent power and good versatility. Mainly thanks to its different settings and modes.

You’ll find the built-in LED is great for getting the visuals you need while working. At 1.65 kg (or, 3.64 lbs), it’s hefty enough to feel solid in hand but well-balanced for prolonged use.
To get a good grasp of the Ryobi driver’s performance and capabilities beyond all these specifications, I tested it with four different tasks. Here’s how it did with those:
- Screw Driving Into Wood
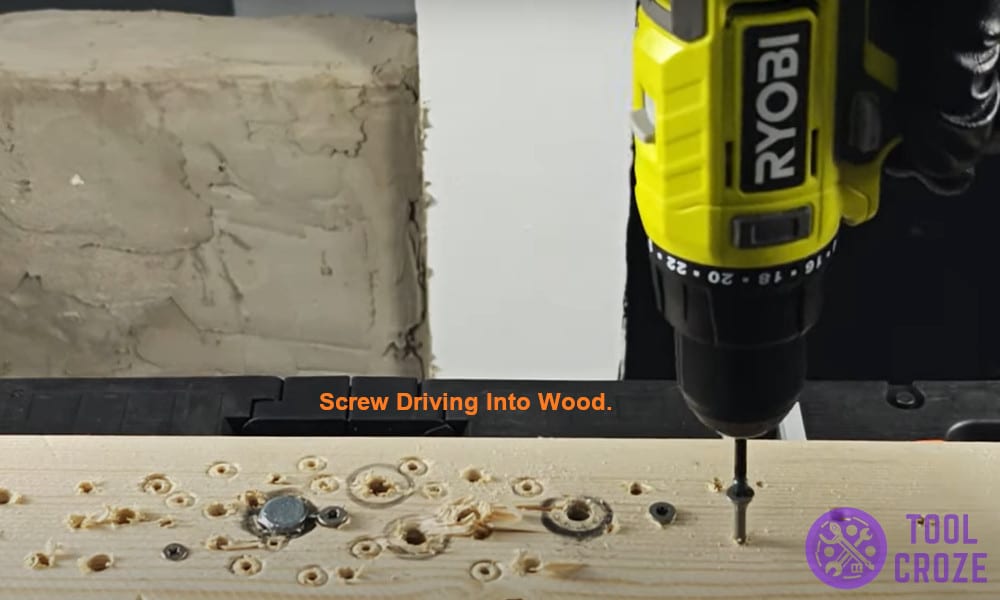
Driving screws into wood is often the first task anyone uses a drill driver for. The Ryobi PCL206 did not disappoint.
Its 22 clutch positions allowed for precise torque control and made sure the screw was driven smoothly. No stripping or overdriving at all.
If you do get a stripped screw, check that your bit sizes match. Mixmatches bits is one of the most common causes of stripping. When you go to drive it in, start with low pressure.
Related: Ryobi Drill Bit Stuck in Chuck: Methods to Fix This Problem

Once the screw starts biting into the wood, that’s when you want to apply more force. The keyless chuck comes in handy here, allowing you to make quick changes for the best results.
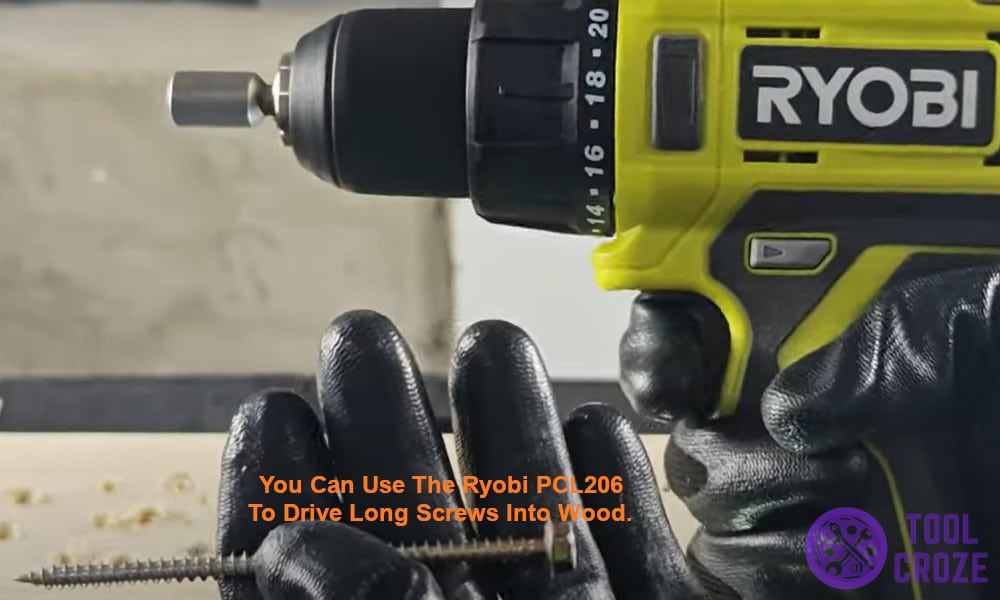
- Long Screw Driving Into Wood
Long screws require both torque and precision, and this drill driver handled them well when driving into wood.
Thanks to its two speed settings, I could easily switch between the low-speed mode for better control and the high-speed mode for faster results.
What’s more is that the ergonomic design decreased wrist strain so it was easier to grip.
While the brushed motor isn’t as efficient as newer brushless models, it still maintained consistent performance and avoided overheating even during extended use.
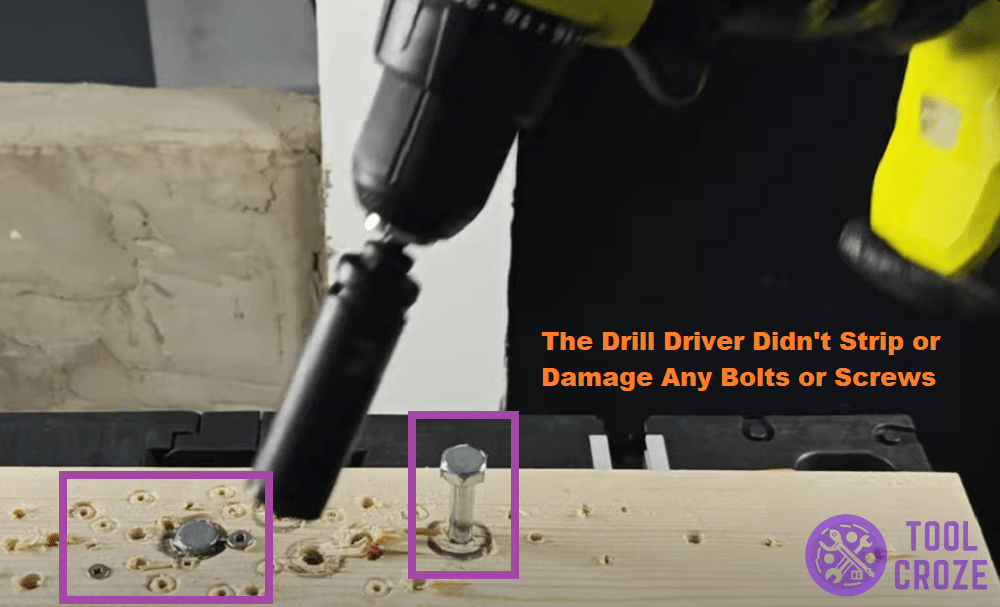
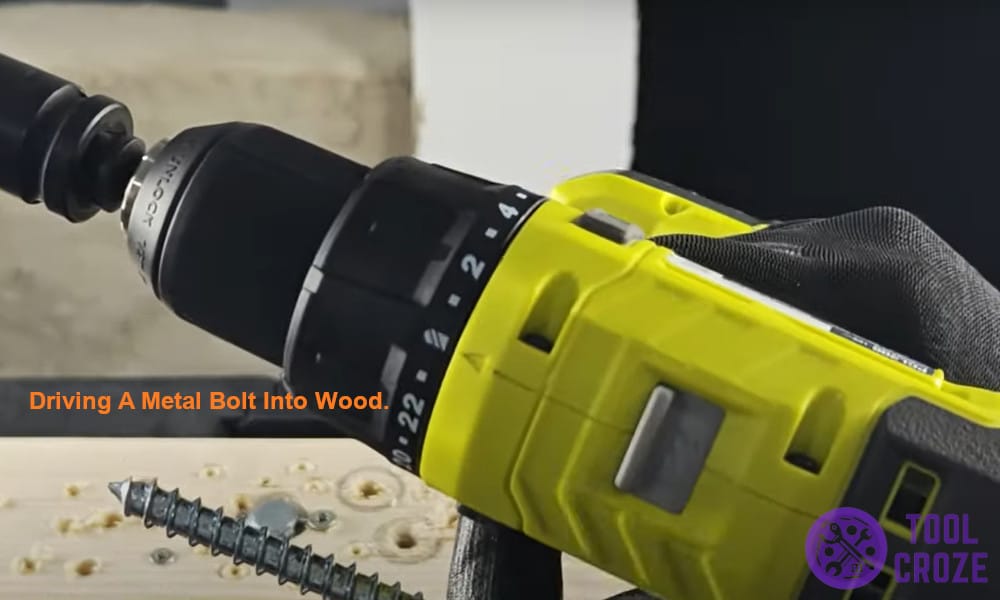
- Driving Metal Bolts Into Wood
For this test, I pushed the Ryobi drill driver a bit further by driving metal bolts into wooden planks. The PCL206’s max torque really came through here.
Torque is the force a driver uses to turn a screw or bolt. In this case, turning metal bolts isn’t something every power tool can do. It requires some extra power.
Related: Ryobi PCL235 Impact Driver Review
While it required steady hands and some patience, the Ryobi PCL206 drill driver proved it could tackle some heavier tasks without much to worry about.
- Drilling Into Concrete
Concrete is usually the ultimate test for a drill driver. Without a hammer mode, the PCL206 was a bit challenged, but still managed to drill small pilot holes into a concrete wall.

The key here was pairing it with the right masonry bit and taking a slow, steady approach. For larger or more demanding projects, you’d need a dedicated hammer drill.
