
When one of my Ryobi 4V battery pack went dead and the charger started flashing all the LED on the charger, it was very frustratingly. The battery had dropped to such a low voltage that the Ryobi charger would not start up the battery charging cycles for it.
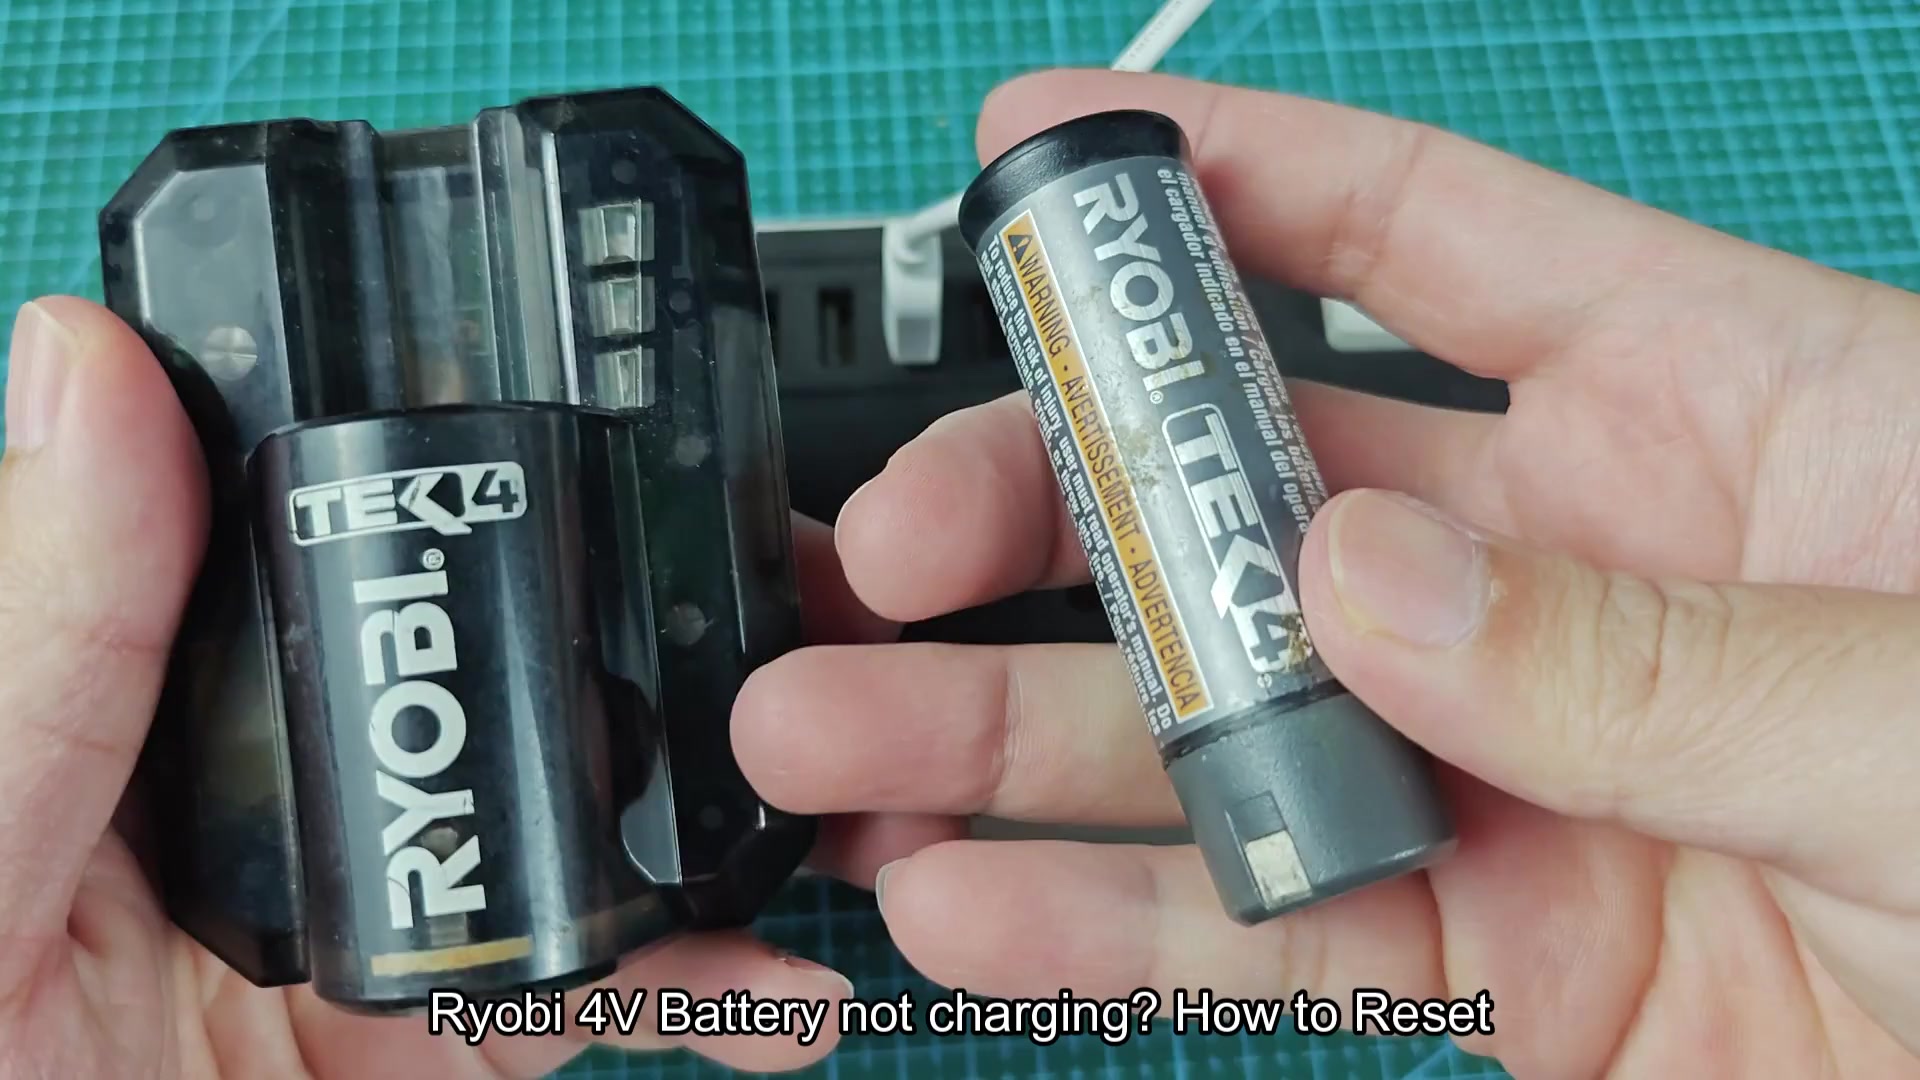
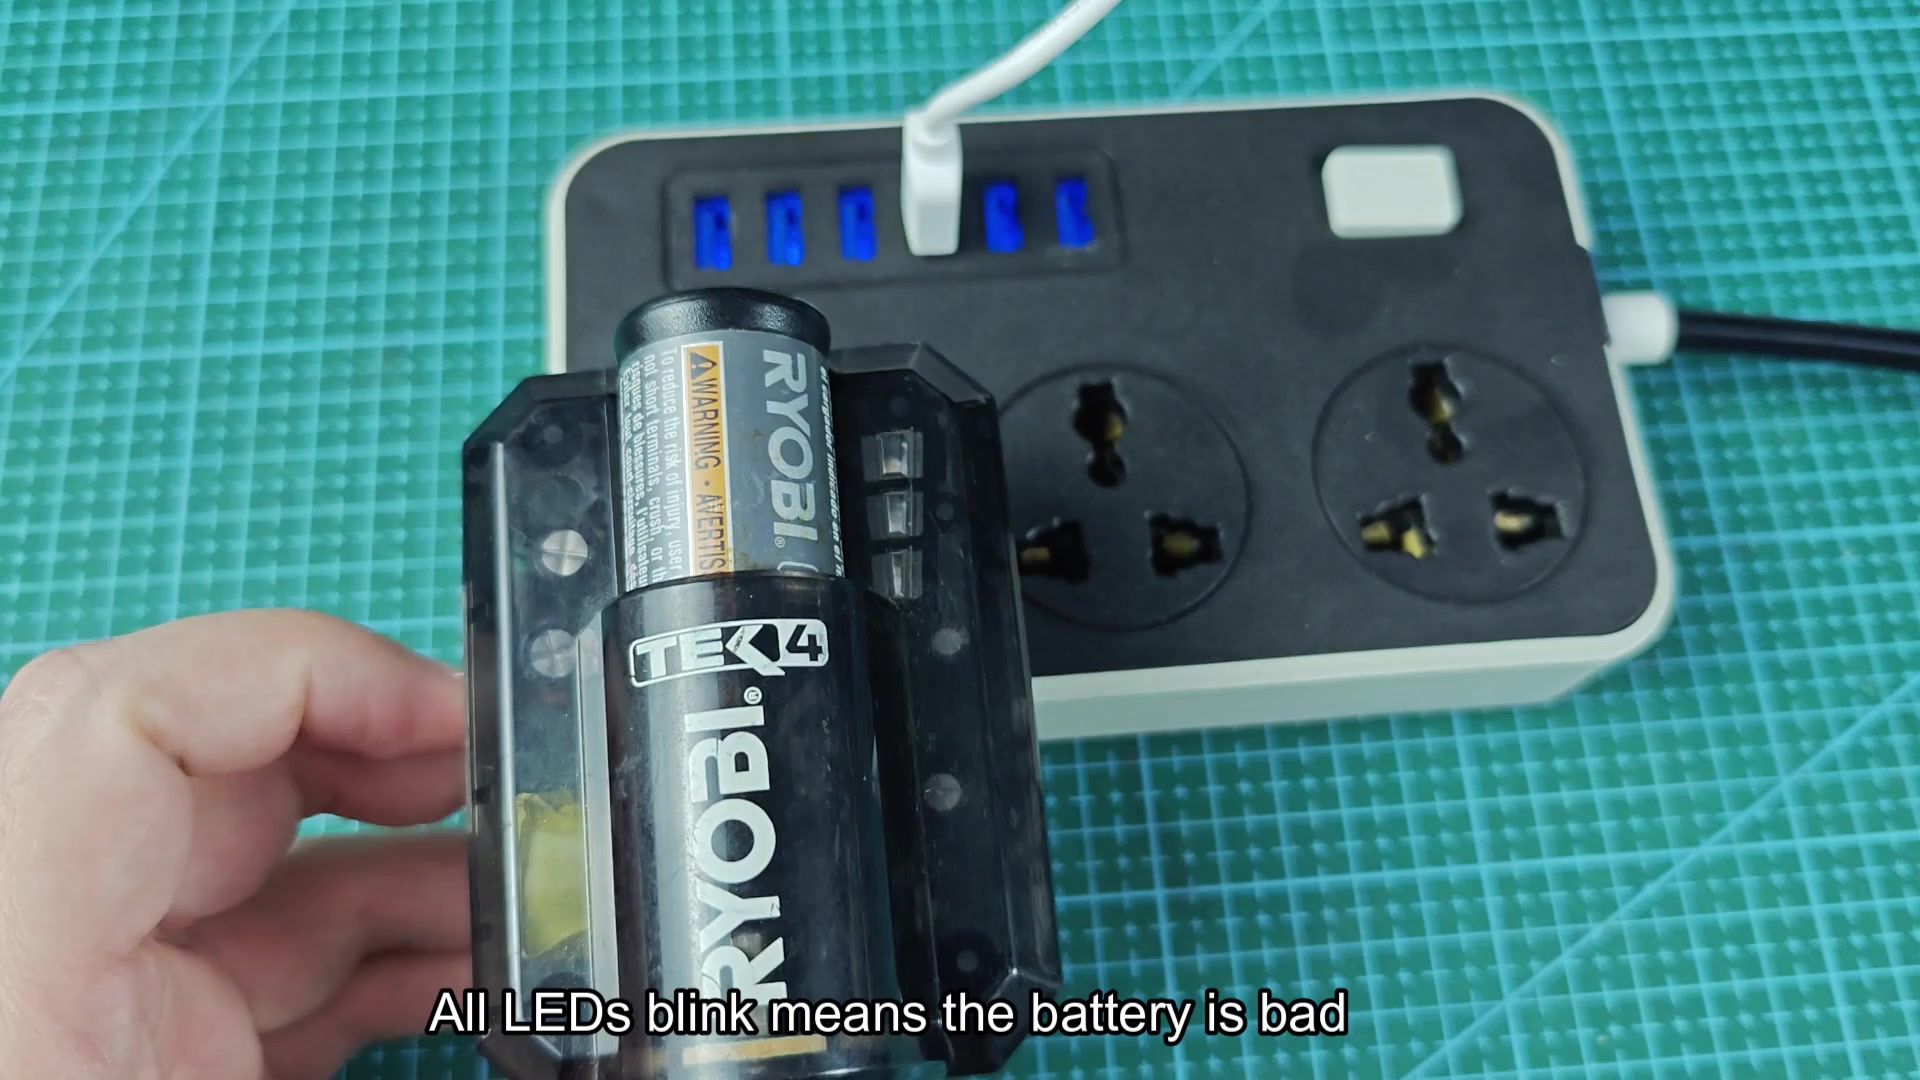
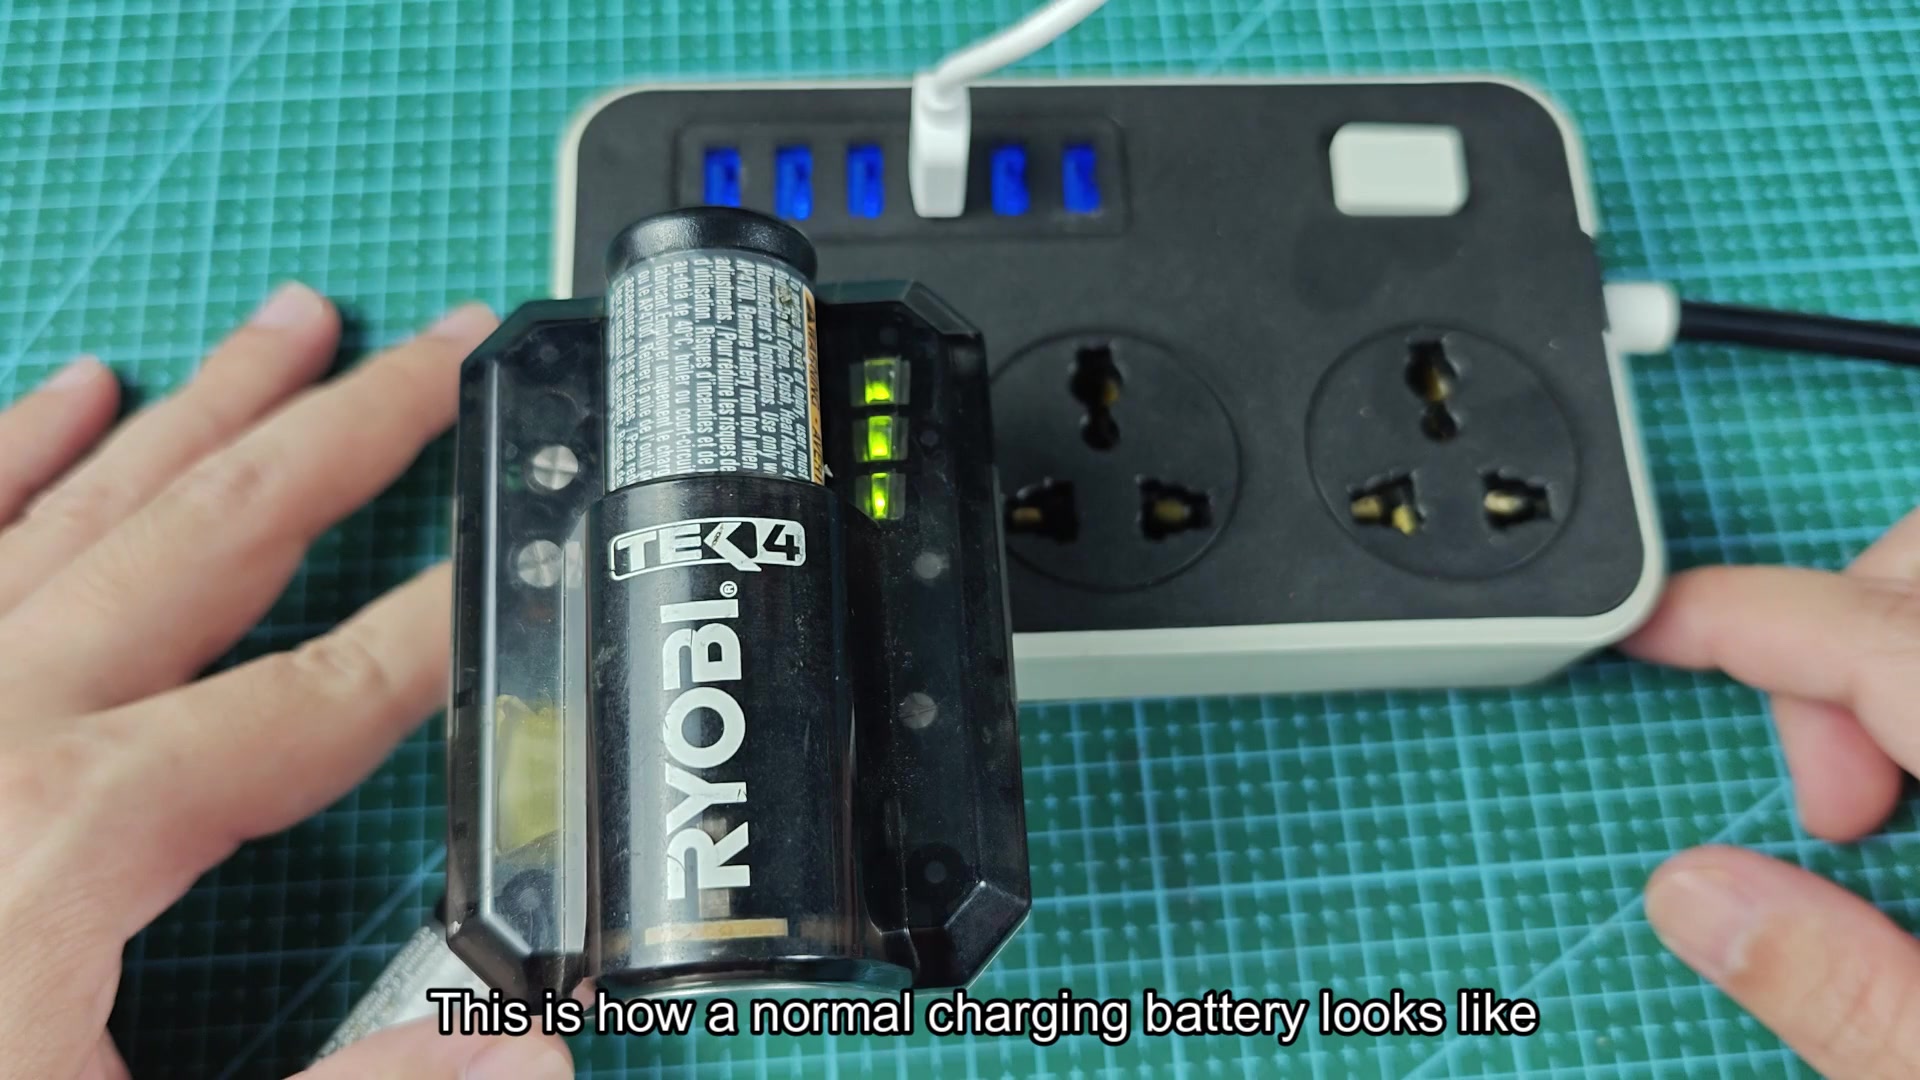
The blinking LEDs on a Ryobi battery charger indicates that the battery has dropped to a voltage level that is too low for the charger to recognize as needing charge. With a good battery, the LED will flash steady while the battery is charging. However, if all of the LEDs flash on the charger at the same time, it mean the battery was too depleted to be charged.
Check battery voltage
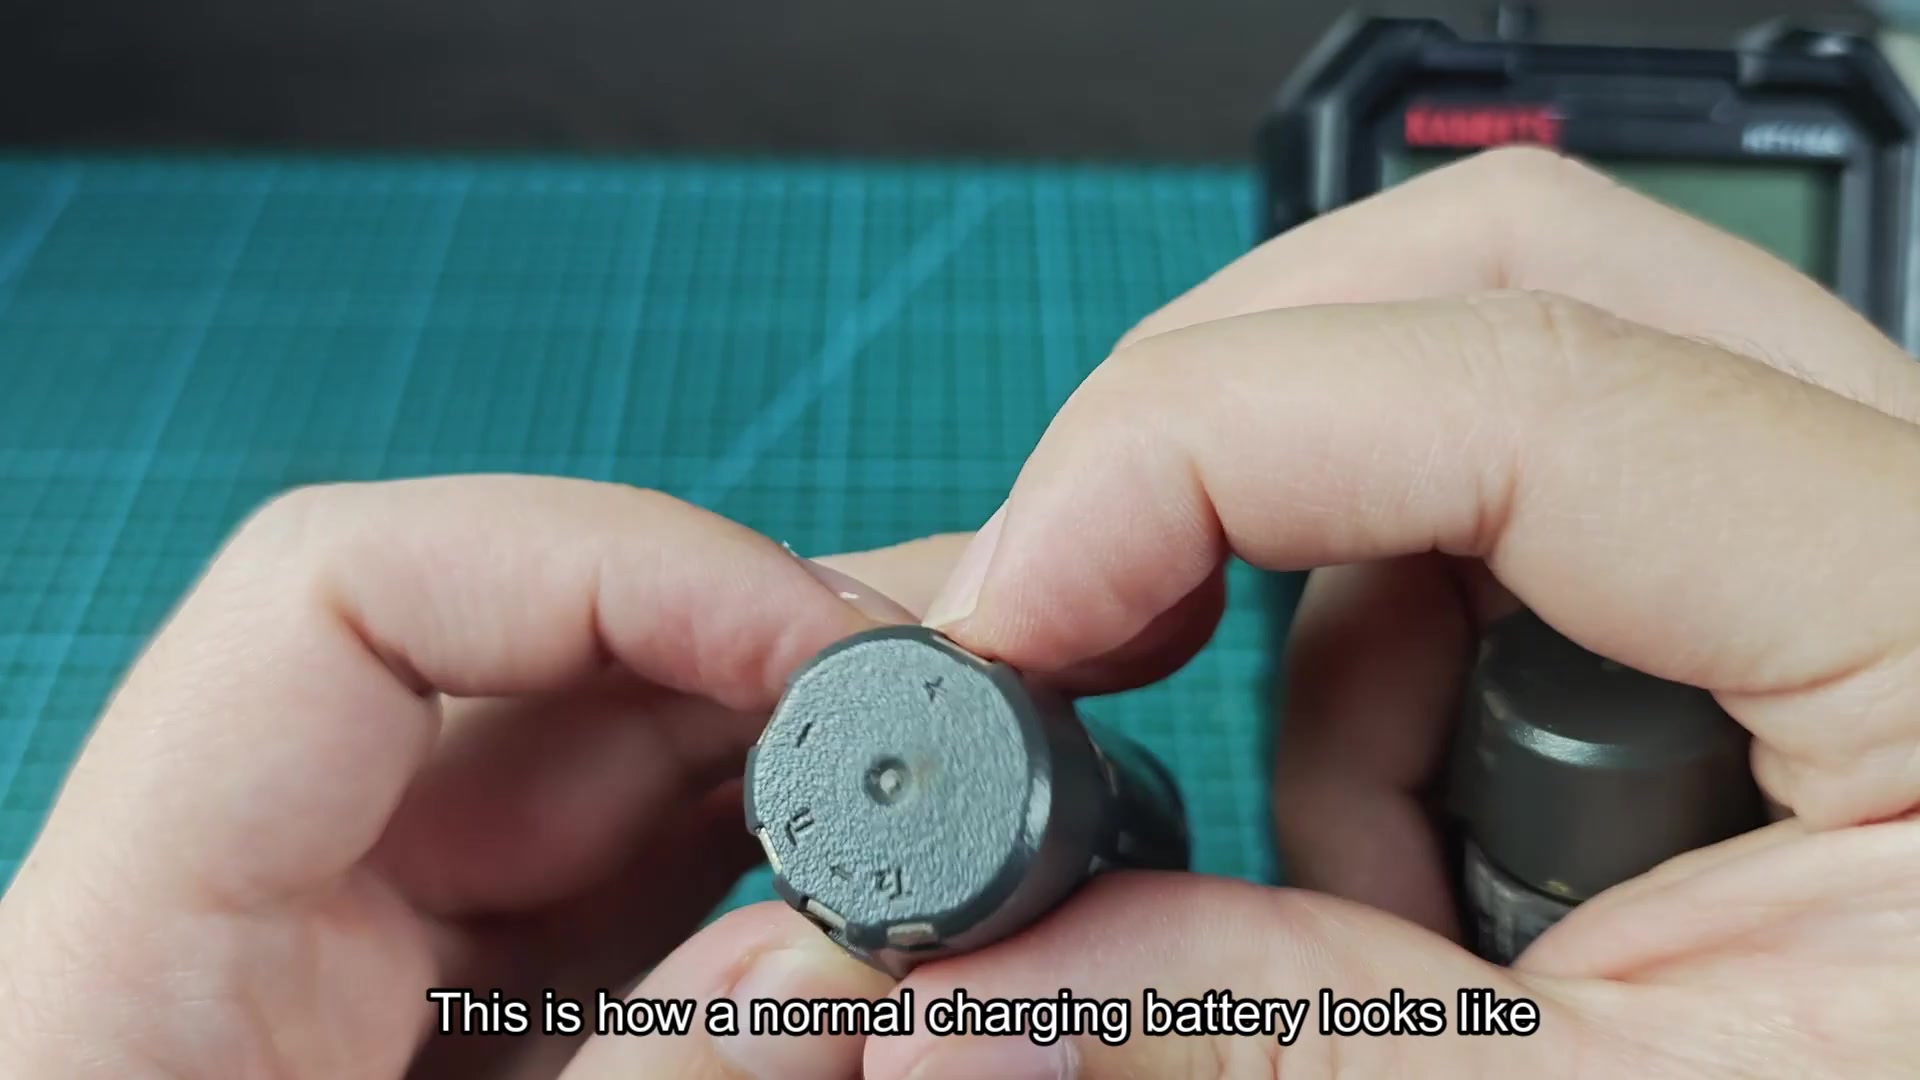
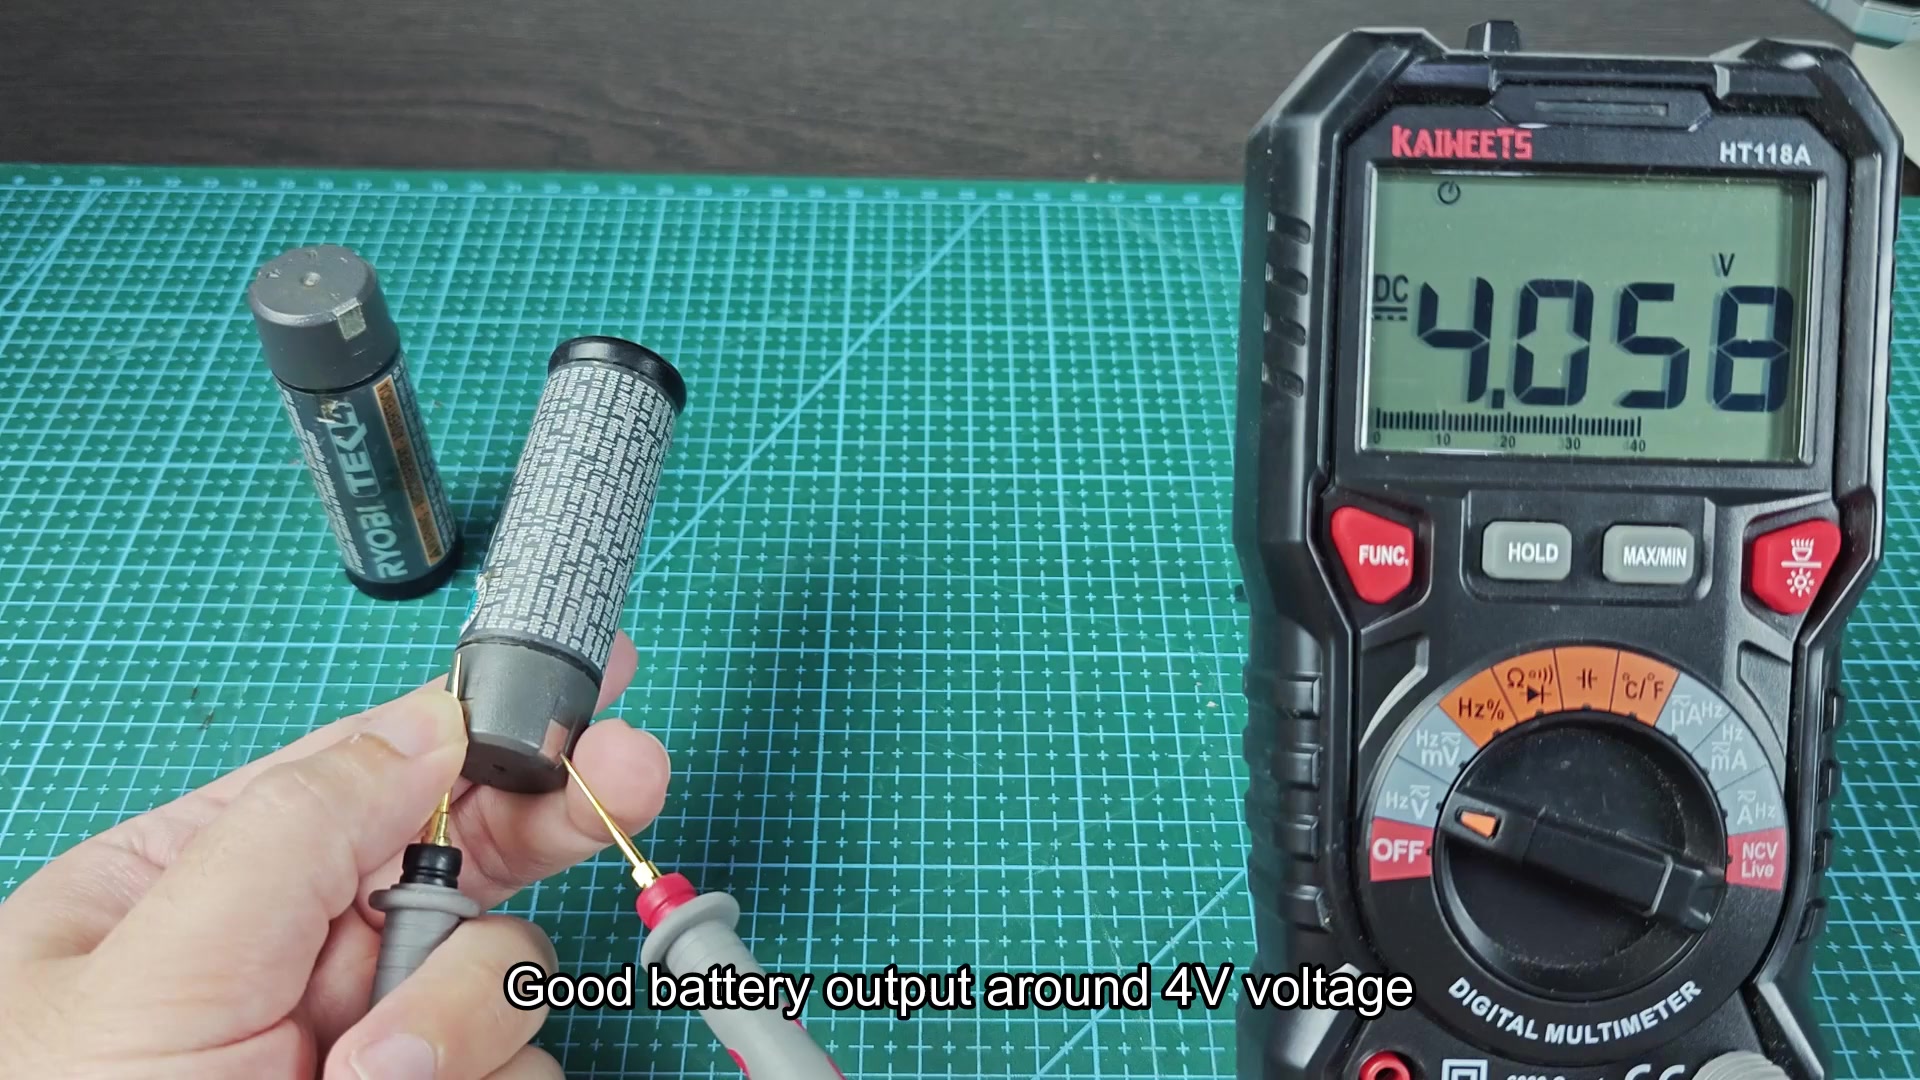
In order to remedy the blinking lights on the charger, you can check the voltage of the battery. By placing the probe from a multimeter onto the positive and negative terminal of the dead battery, the voltage will likely register to be well under 4 volt. Ideally, it should be around half a volt. A good 4 volt battery should read around 4 volts with the multimeter.
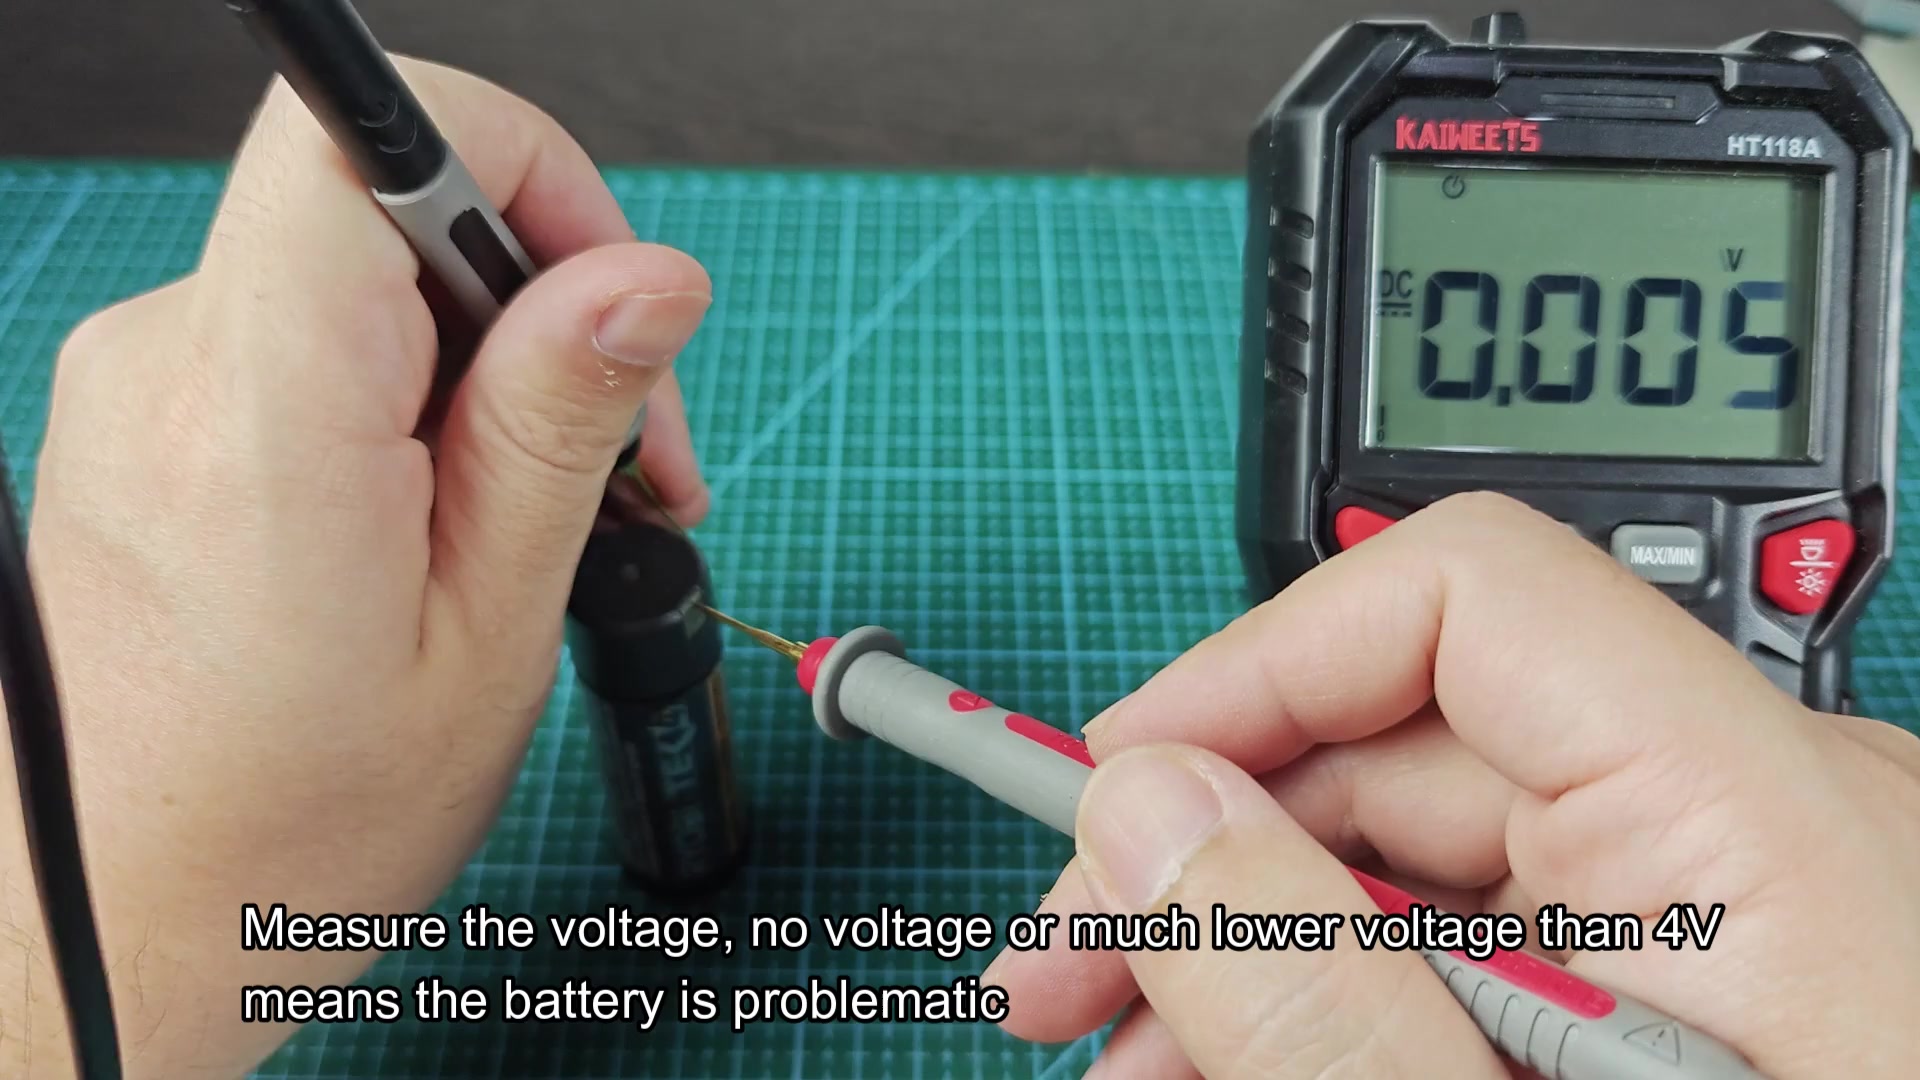
To test this theory, take a good 4 volt battery and test that one as well. It should read close to 4 volt with the multimeter.
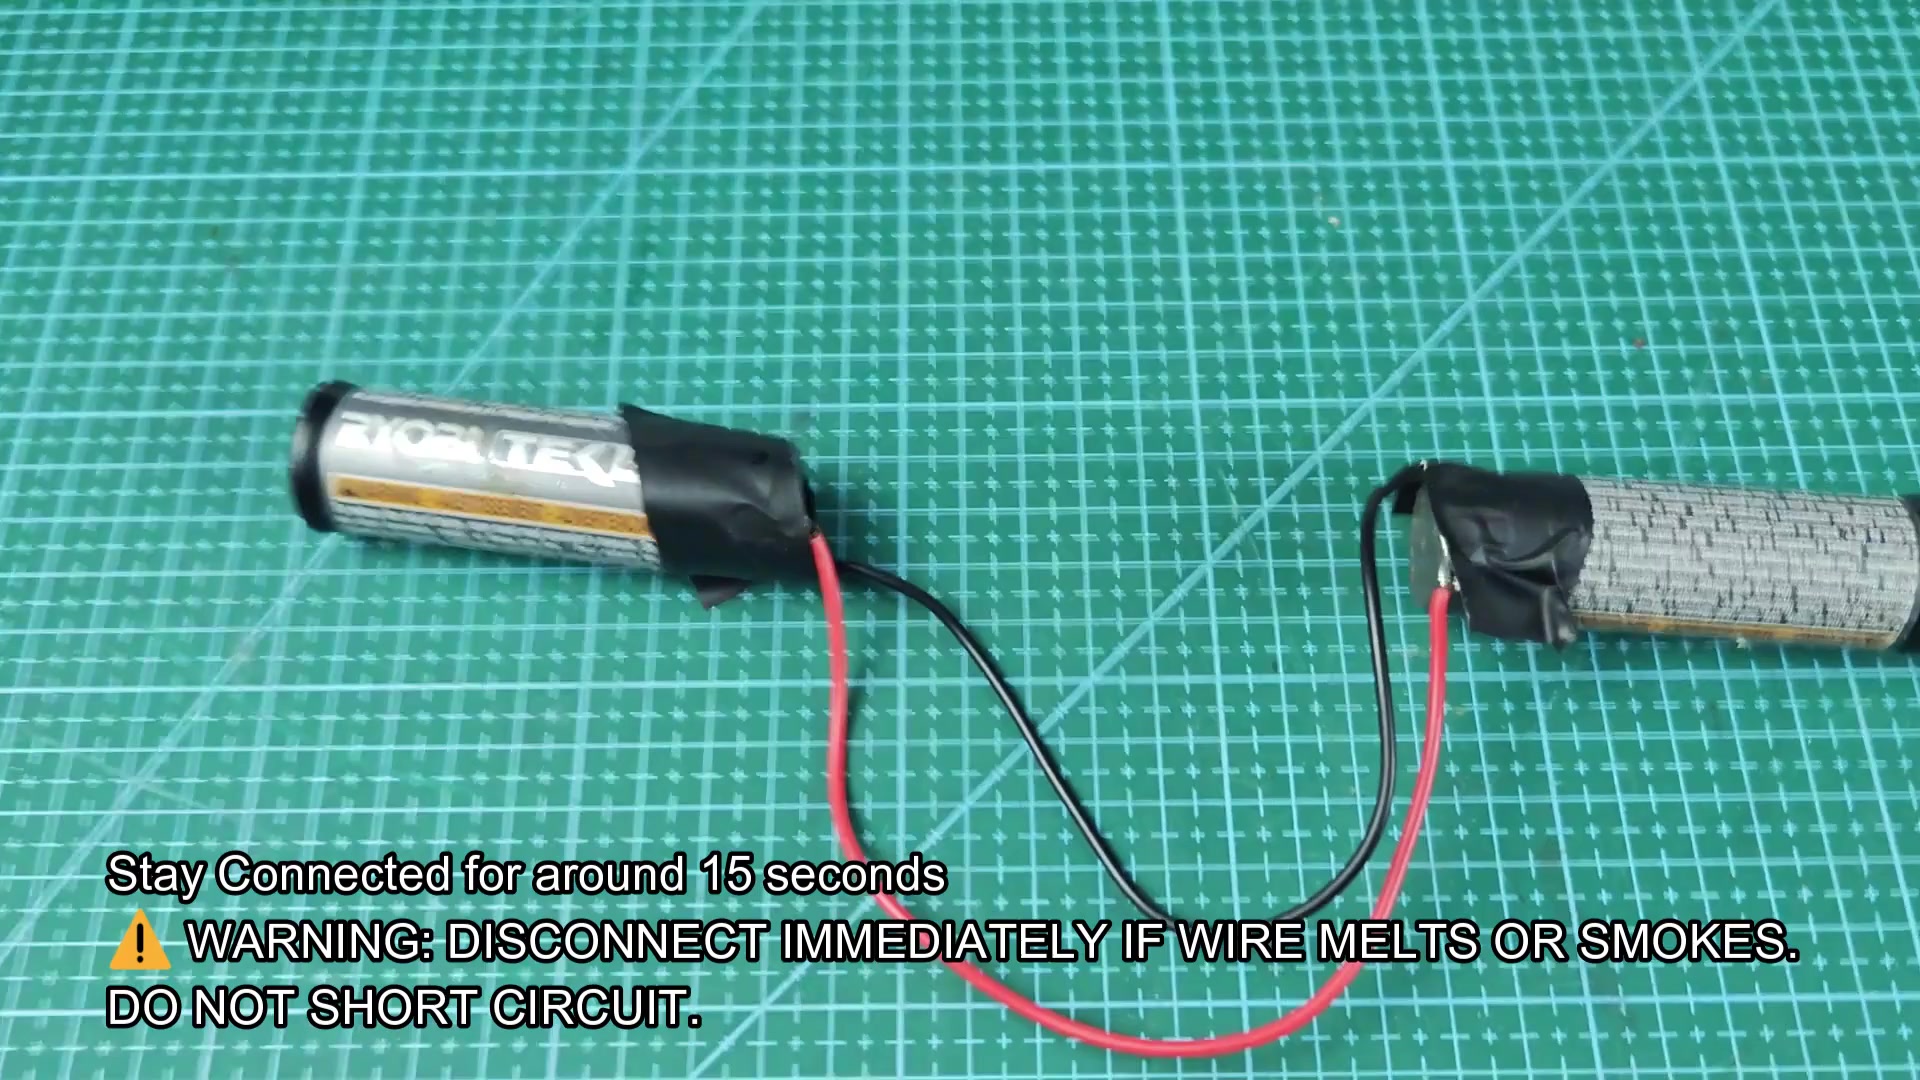
To jumpstart the dead battery, connect the positive terminal of the good battery to the positive terminal of the dead battery with a jumper cable. Do the same for the negative terminal of each battery.
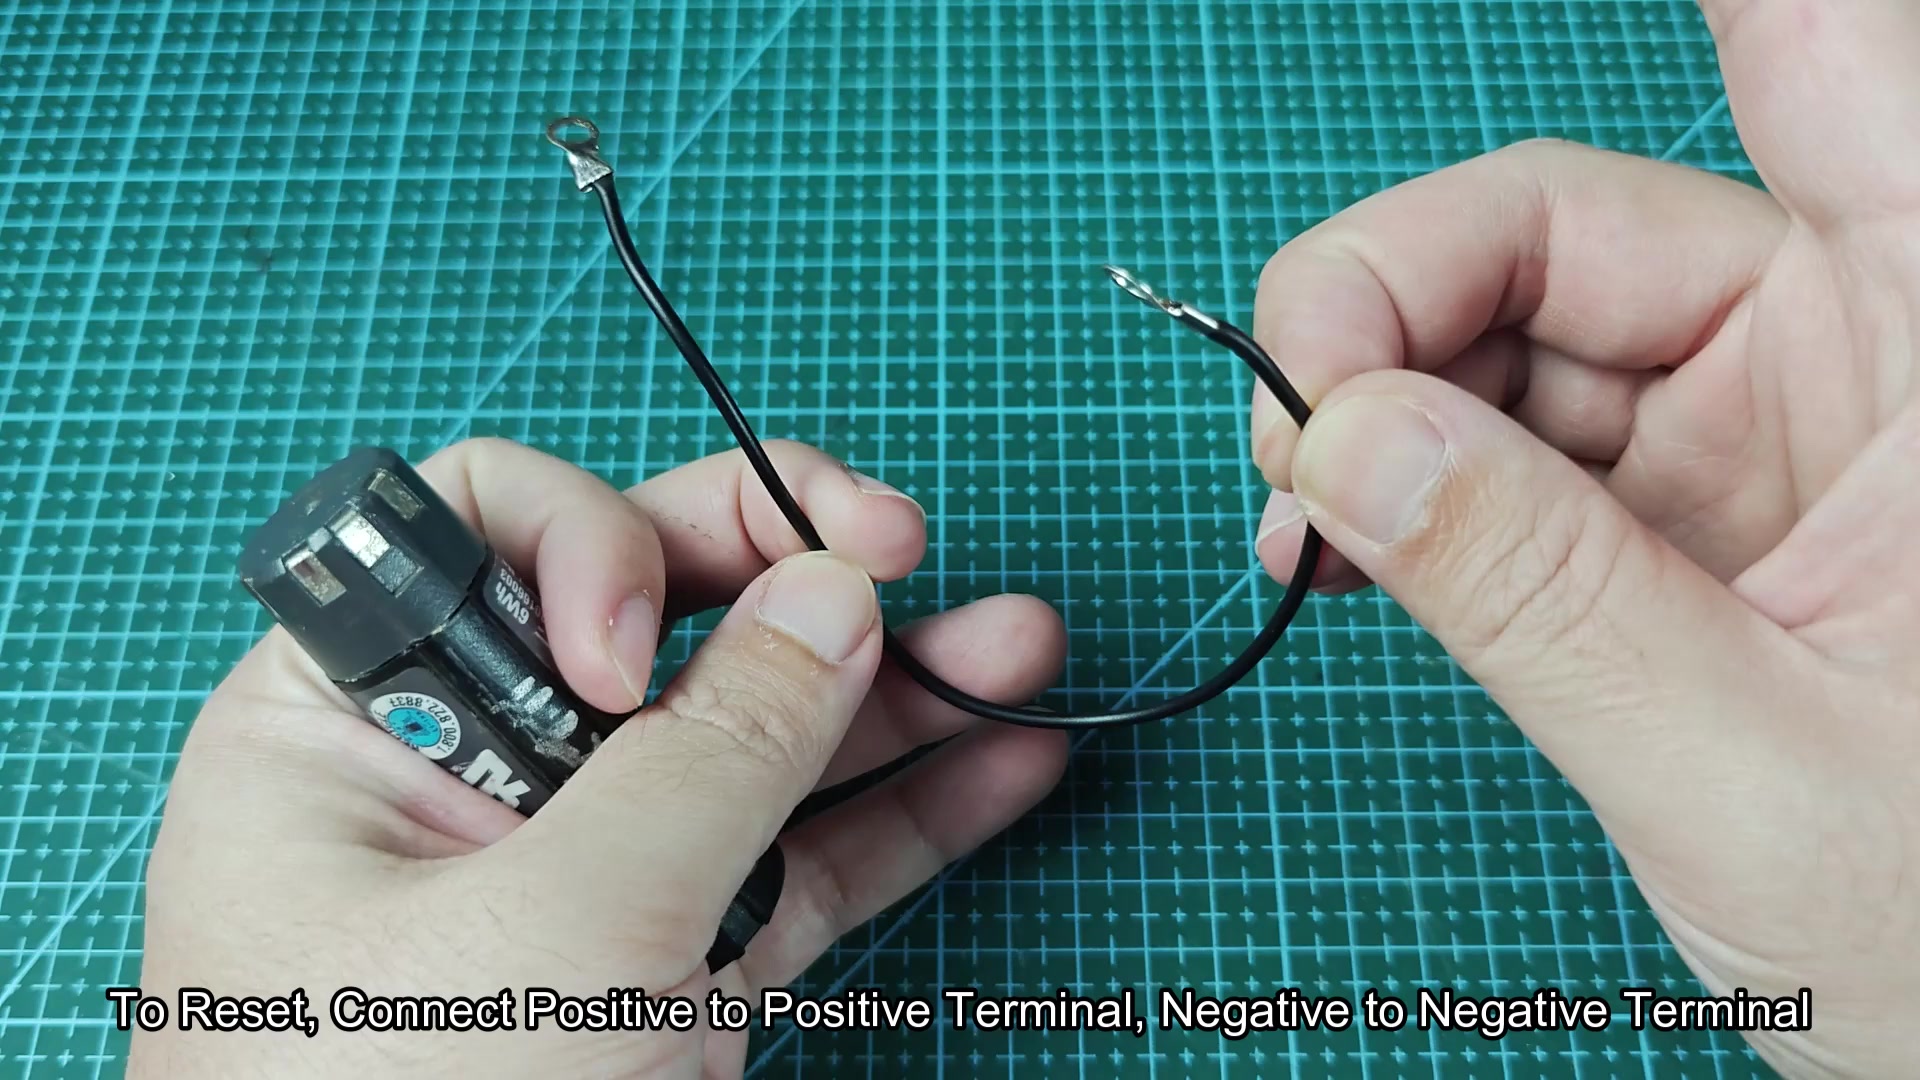
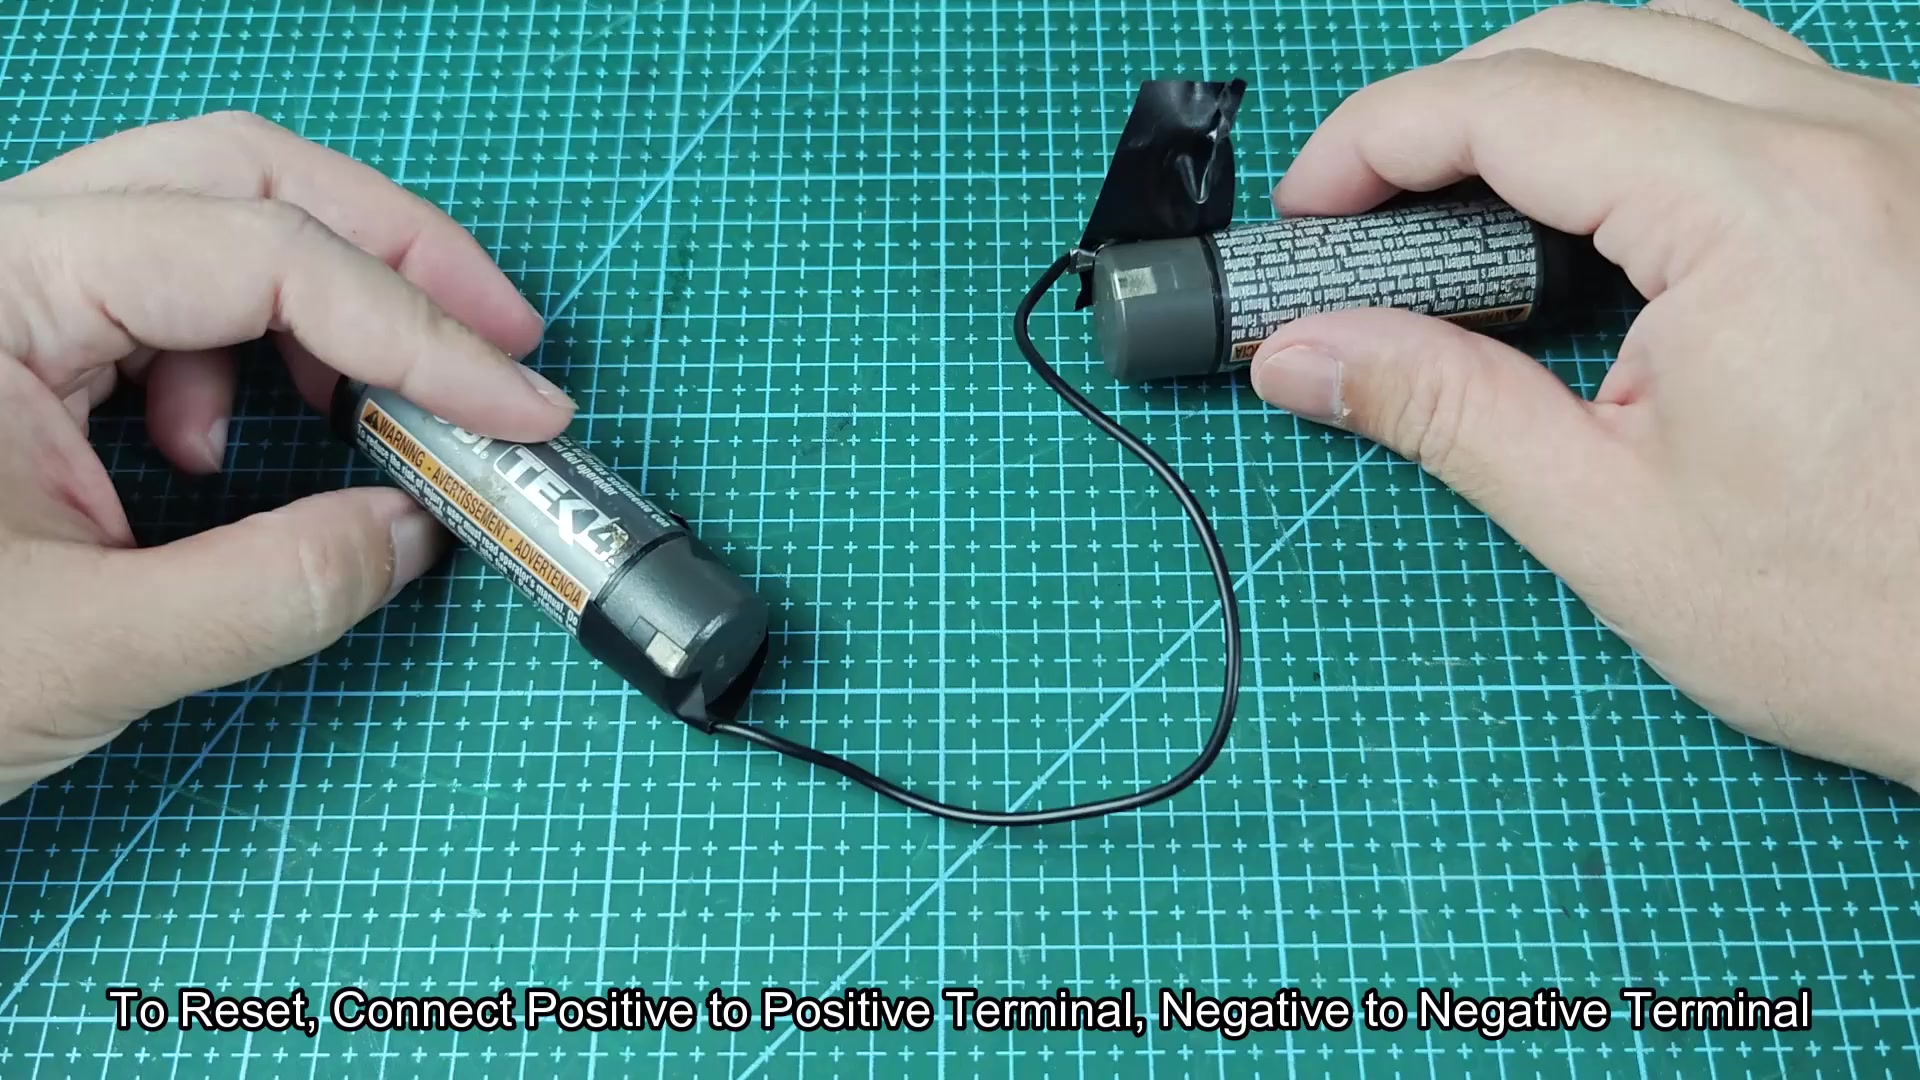
Allow the two batteries to remain connected to one another for approximately 15 seconds. After connecting the batteries together in this fashion, disconnect the jumper cable from the dead battery. Place the dead battery back onto the charger. The LEDs will no longer blink and the battery may begin to charge.
If the battery does not start to charge after performing the jumpstart procedure, then the battery is too far gone to be save. In this case, you will have to open the battery to inspect its internals for potential damage.
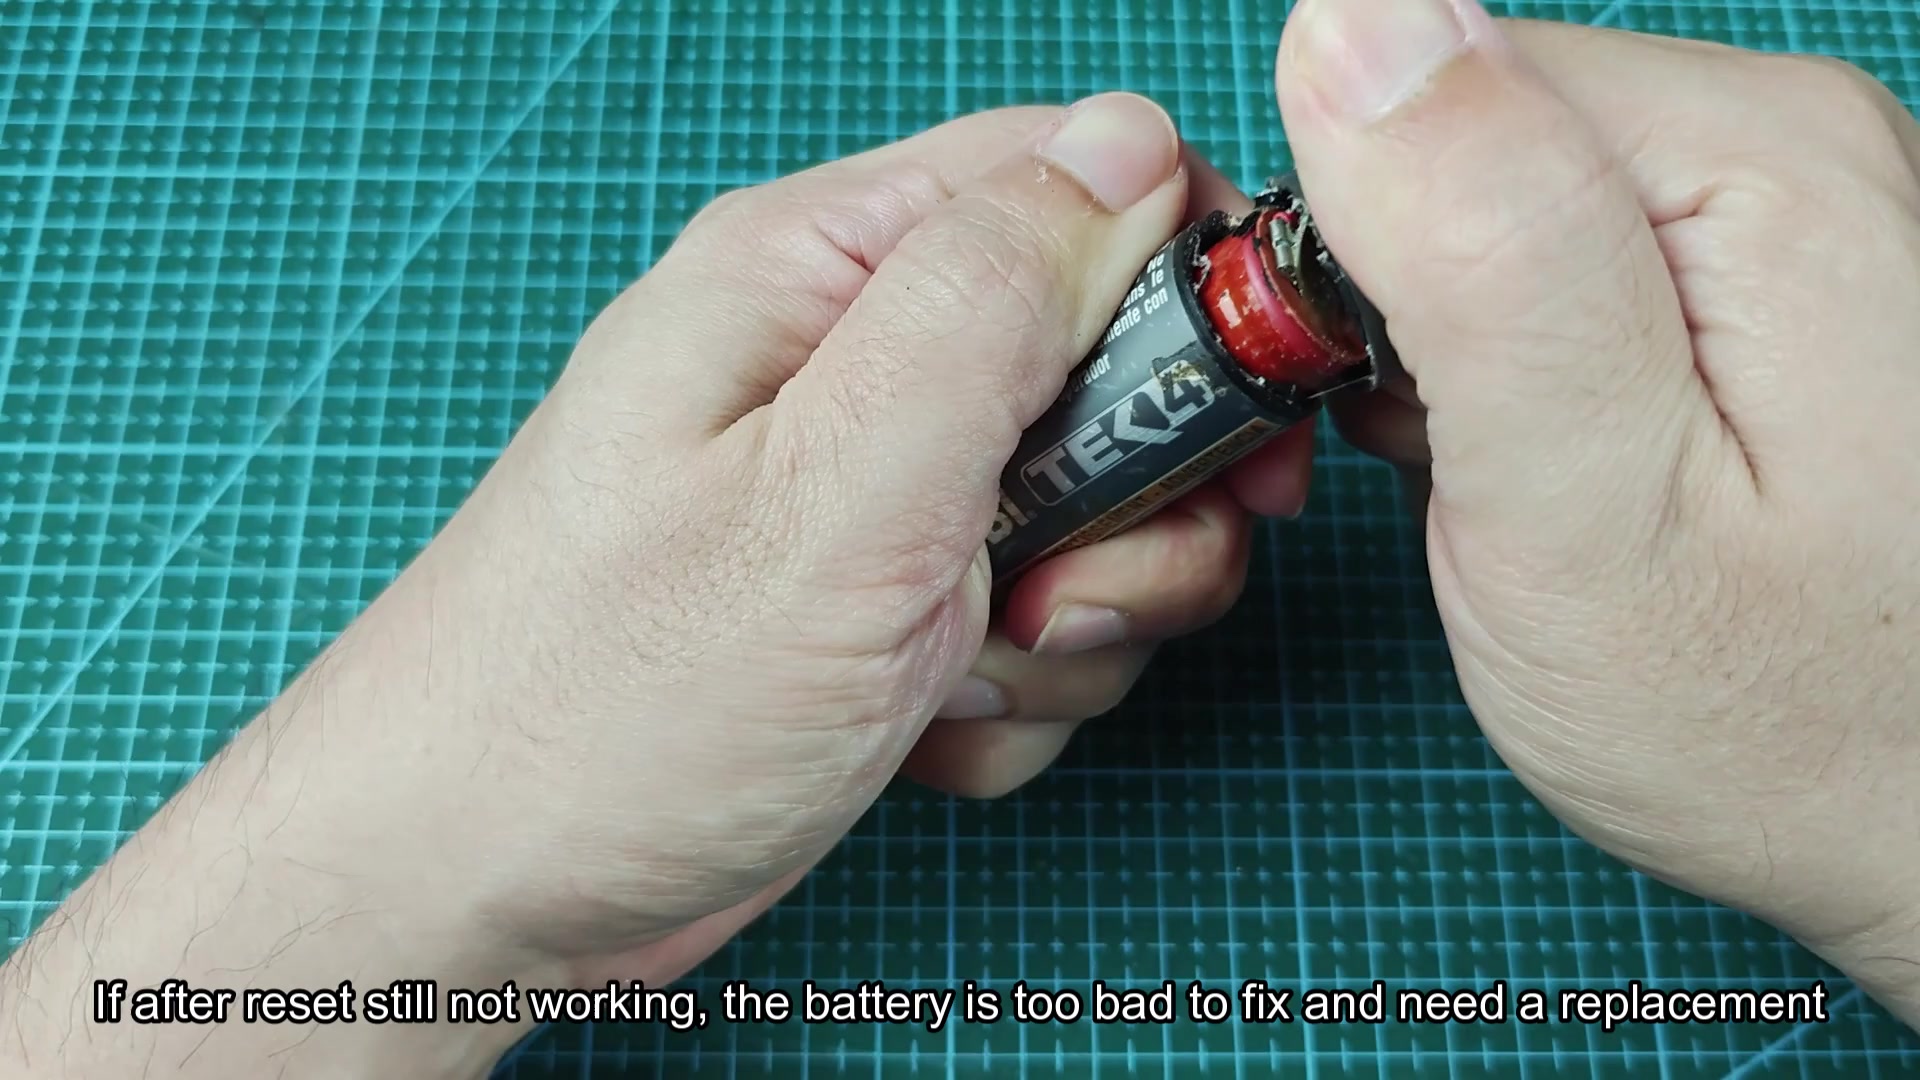
Inside of the dead Ryobi 4 volt battery are a few cylindrical battery cell that are connected by connections to a circuit board. These battery cells are what provide the power to the Ryobi battery. Additionally, each connection between the battery cells is what allow the power to be distributed. These connections may be damaged, in which case you will need to replace the battery with a new one.
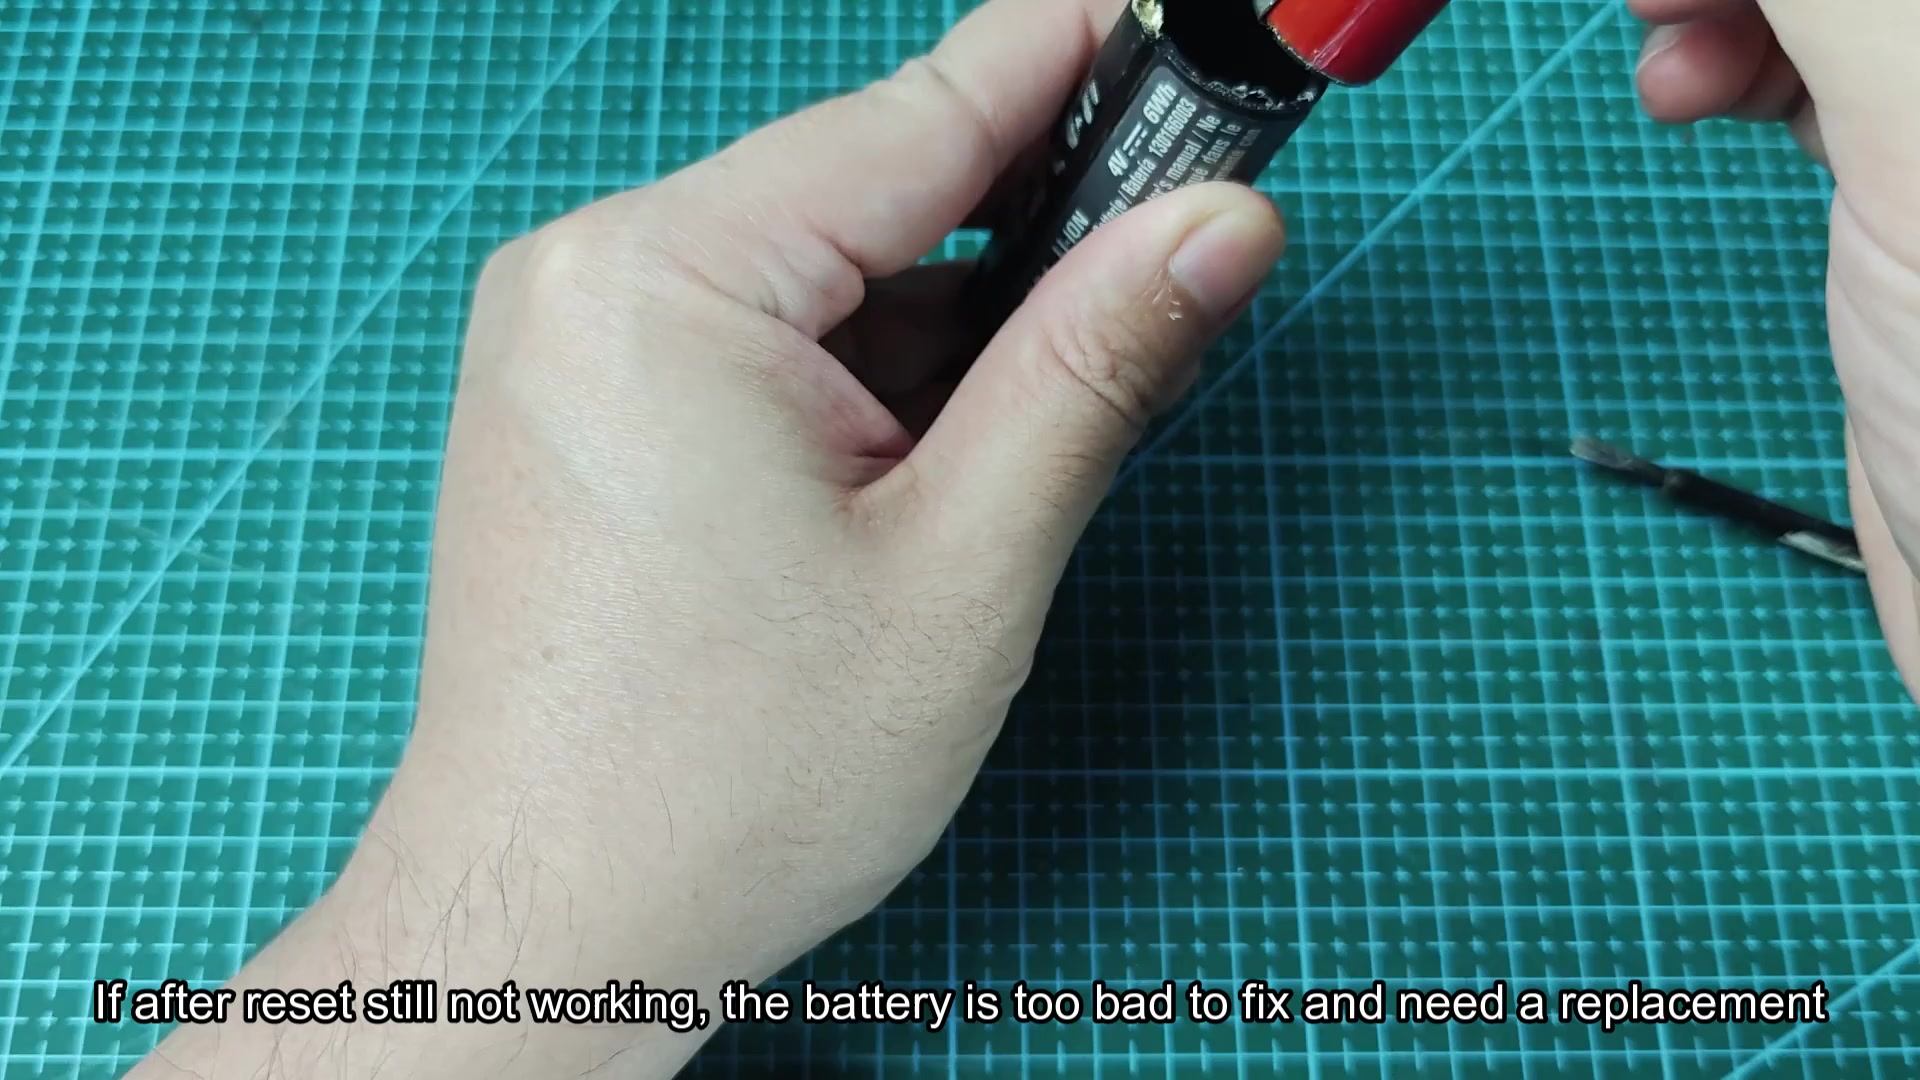
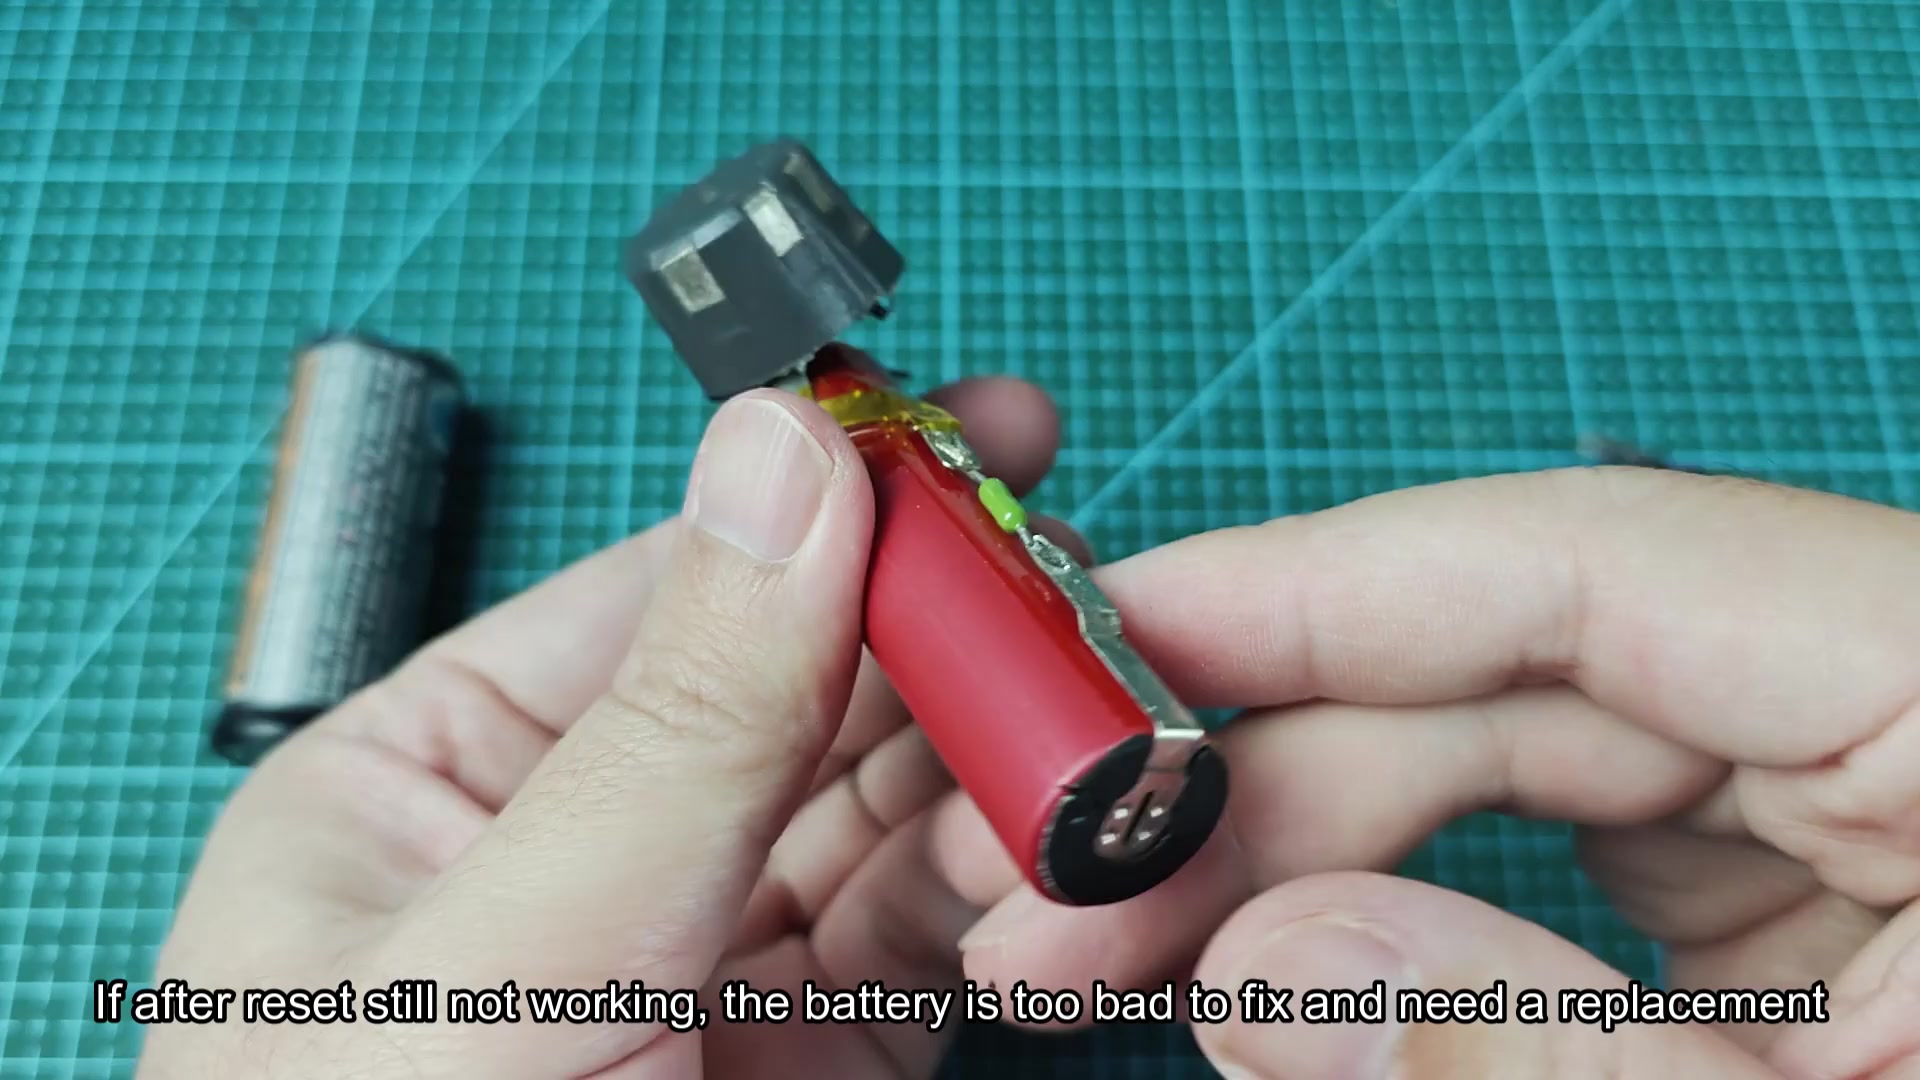
To replace the battery cell, it is first necessary to procure a new battery cell that matches the specification of the old battery cell. Additionally, each connection between the battery cells is spot-welded to the battery terminals. Thus, you cant just twist the connections together to connect the two batteries.
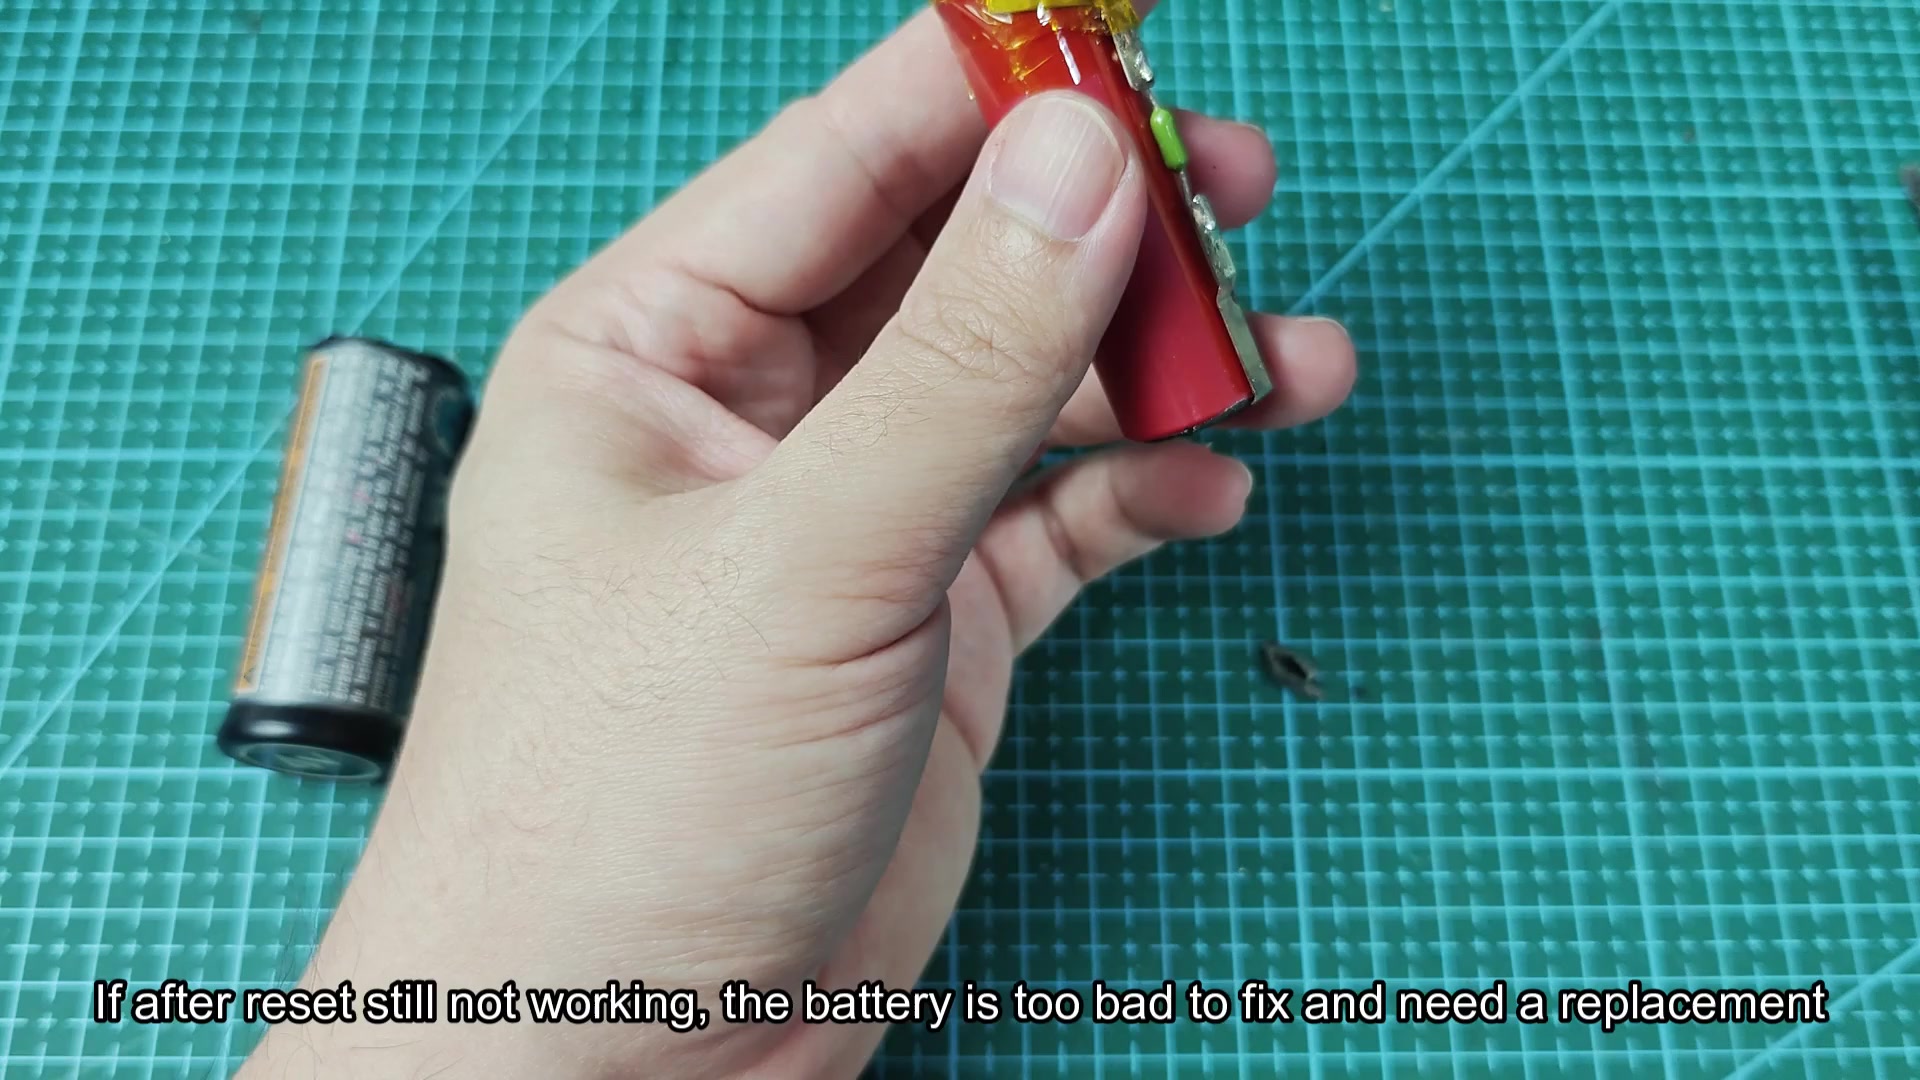
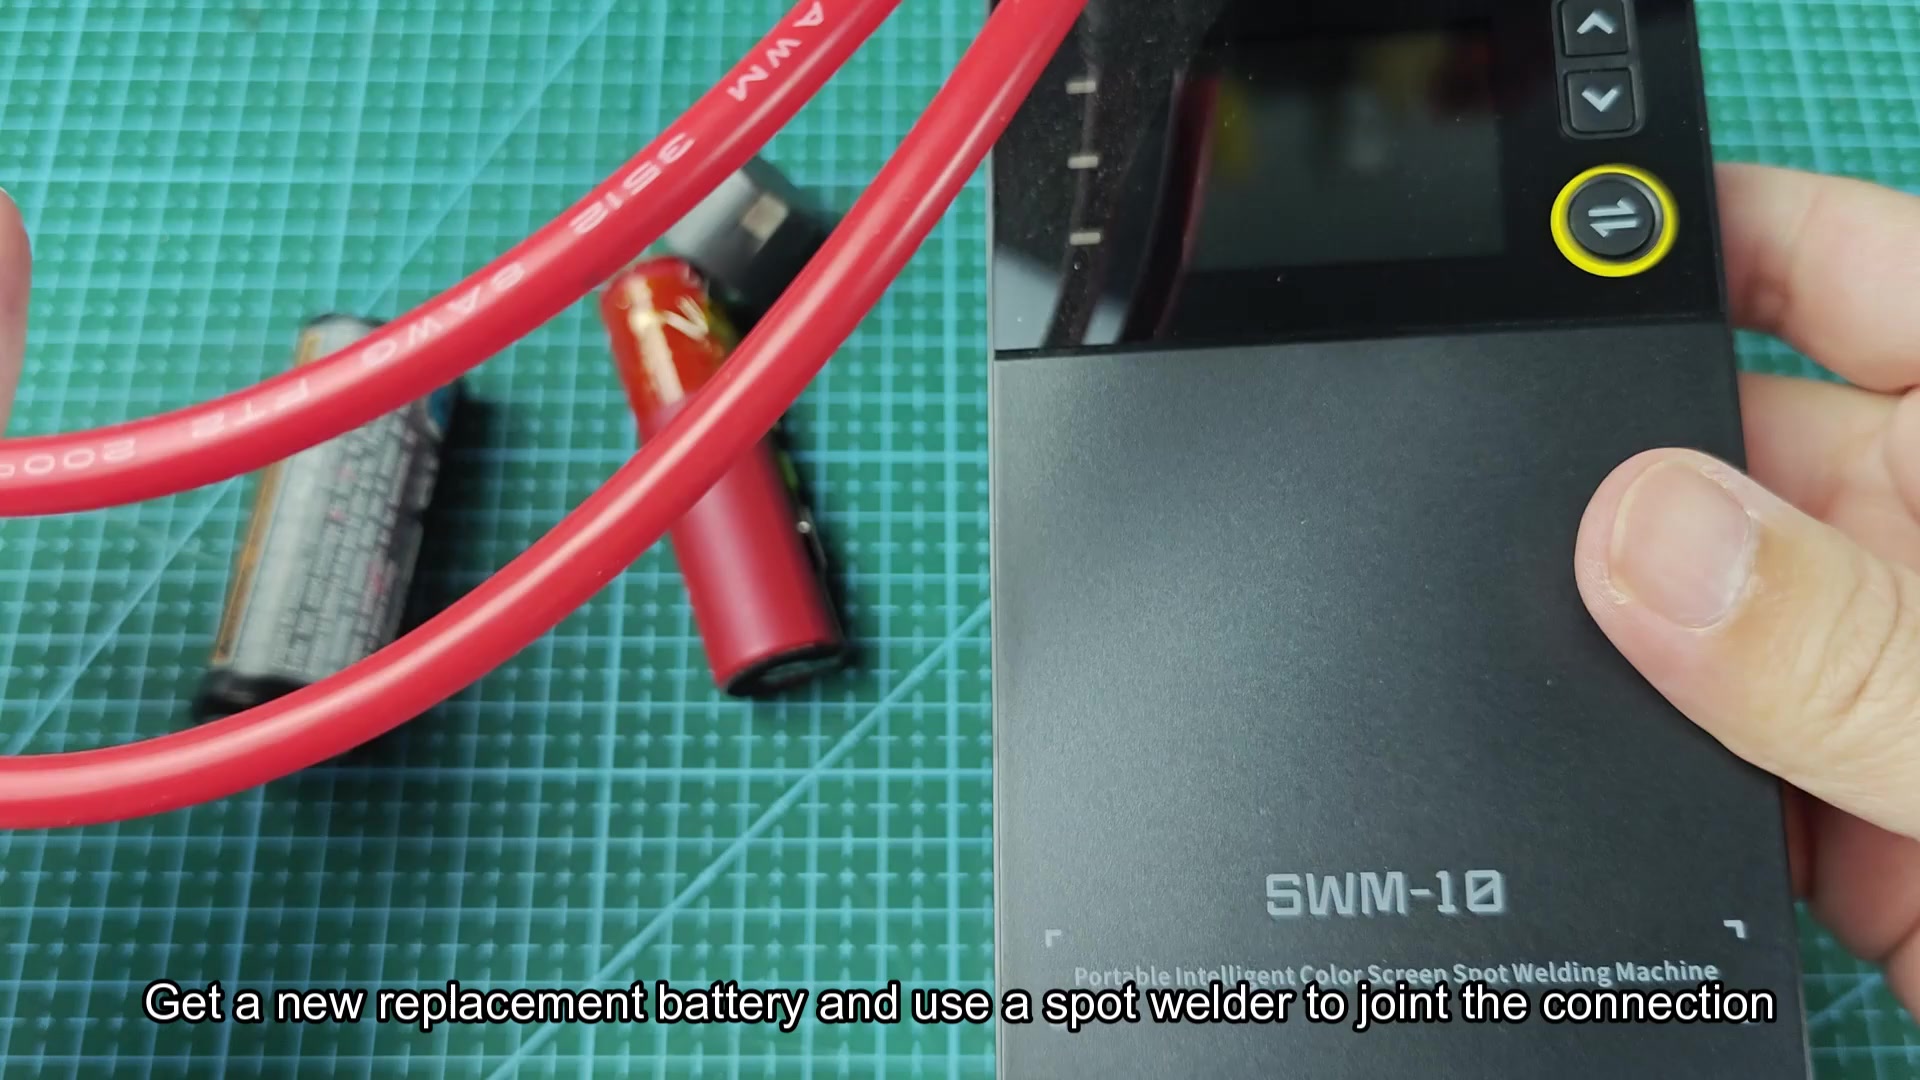
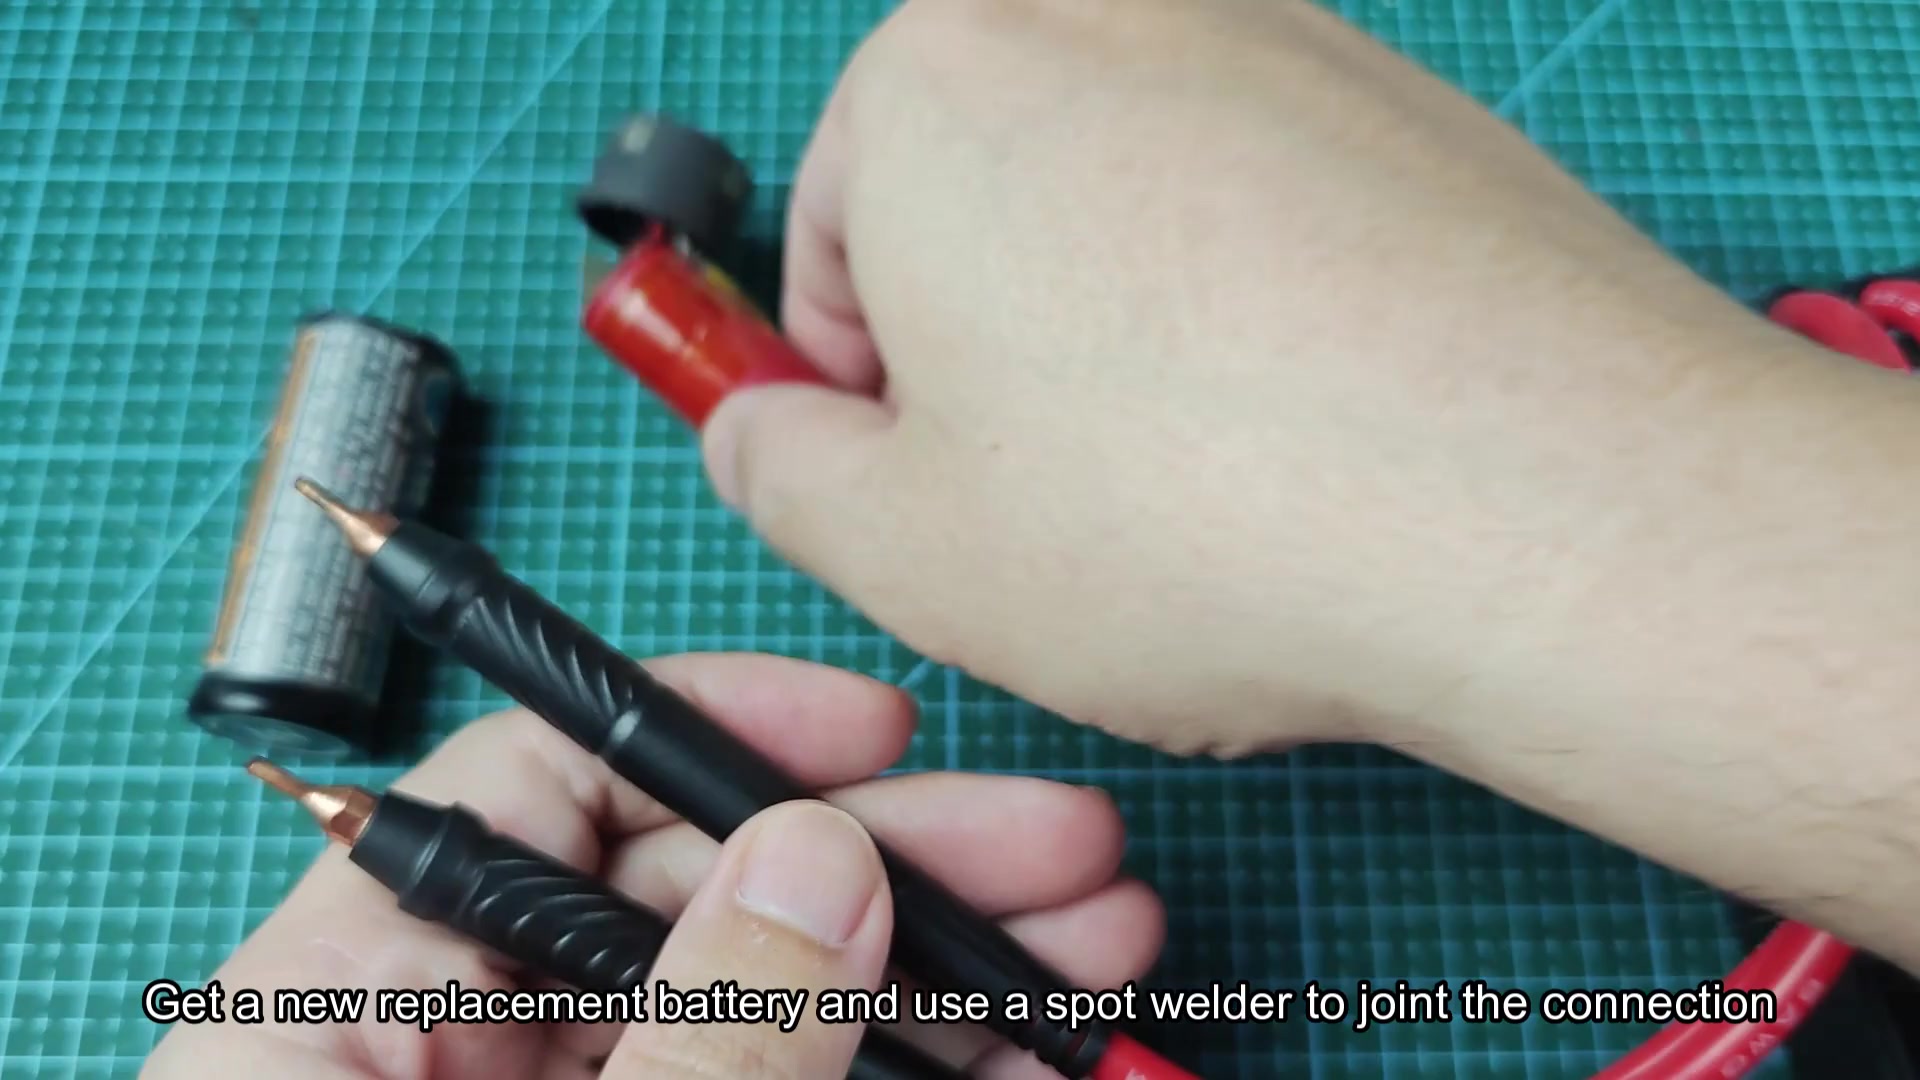
To connect the new battery cells, a spot welder is used. Unlike welding that uses high heat to form a weld between two objects, a spot welder forms a weld between two metals without heating the object too much. A spot welder is necessary because heating the battery to the welding temperature will degrade the battery. Place the spot welders welding tips onto the spots where the metal connection are located. Turn on the spot welder to form a weld between the metals at the battery connections.
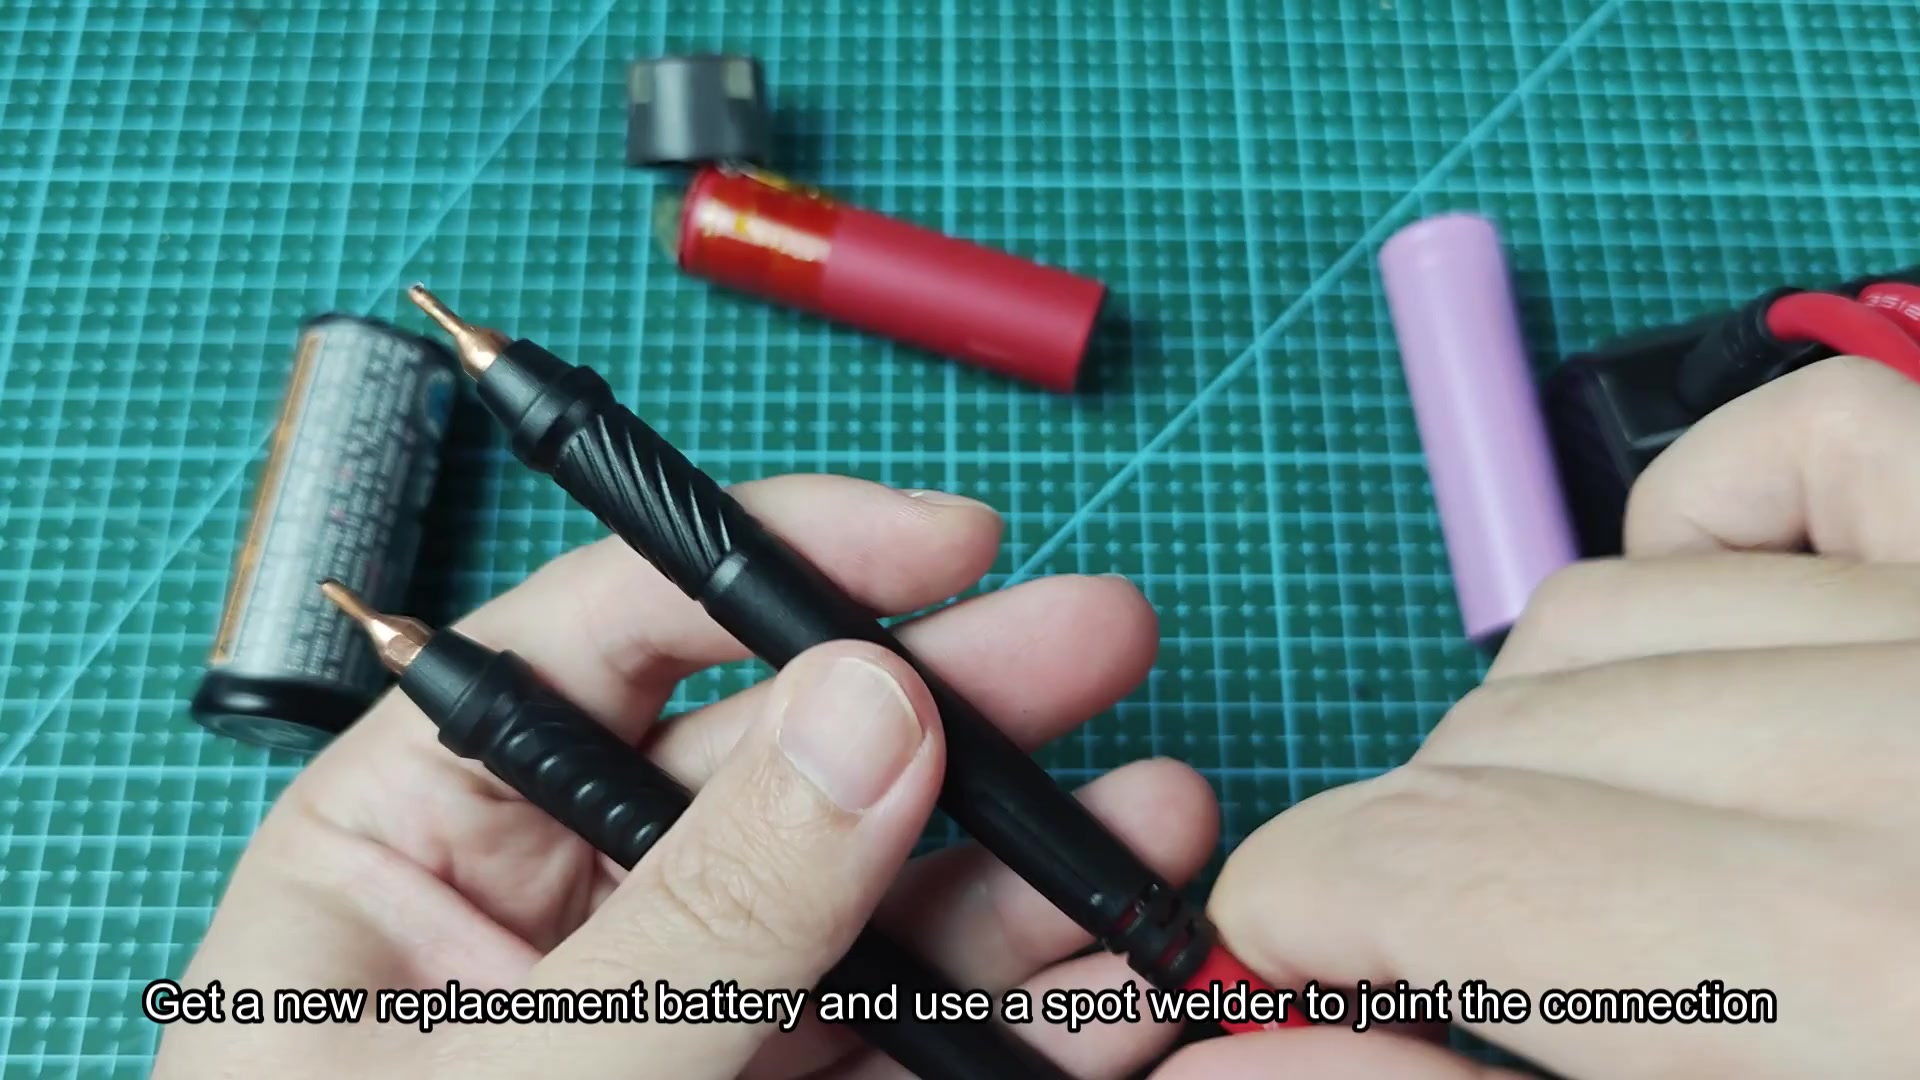
After replacing the battery cell and spot welding the new battery connections to the battery terminals, reassemble the Ryobi battery. Place the battery back onto the charger. The LED will no longer blink and the battery will begin to charge. With the newly replaced battery cell, the Ryobi battery will be running again and will have began to charge. Thus, instead of throwing out the battery, it was possible to fix the issue and have a working Ryobi 4 volt battery again.
