One morning my Ryobi 24V battery would not charge. The indicator lights was dark. It just sat on the charger and did not do anything. I thought the pack was dead, so I felt I had no choice but to throw it away.
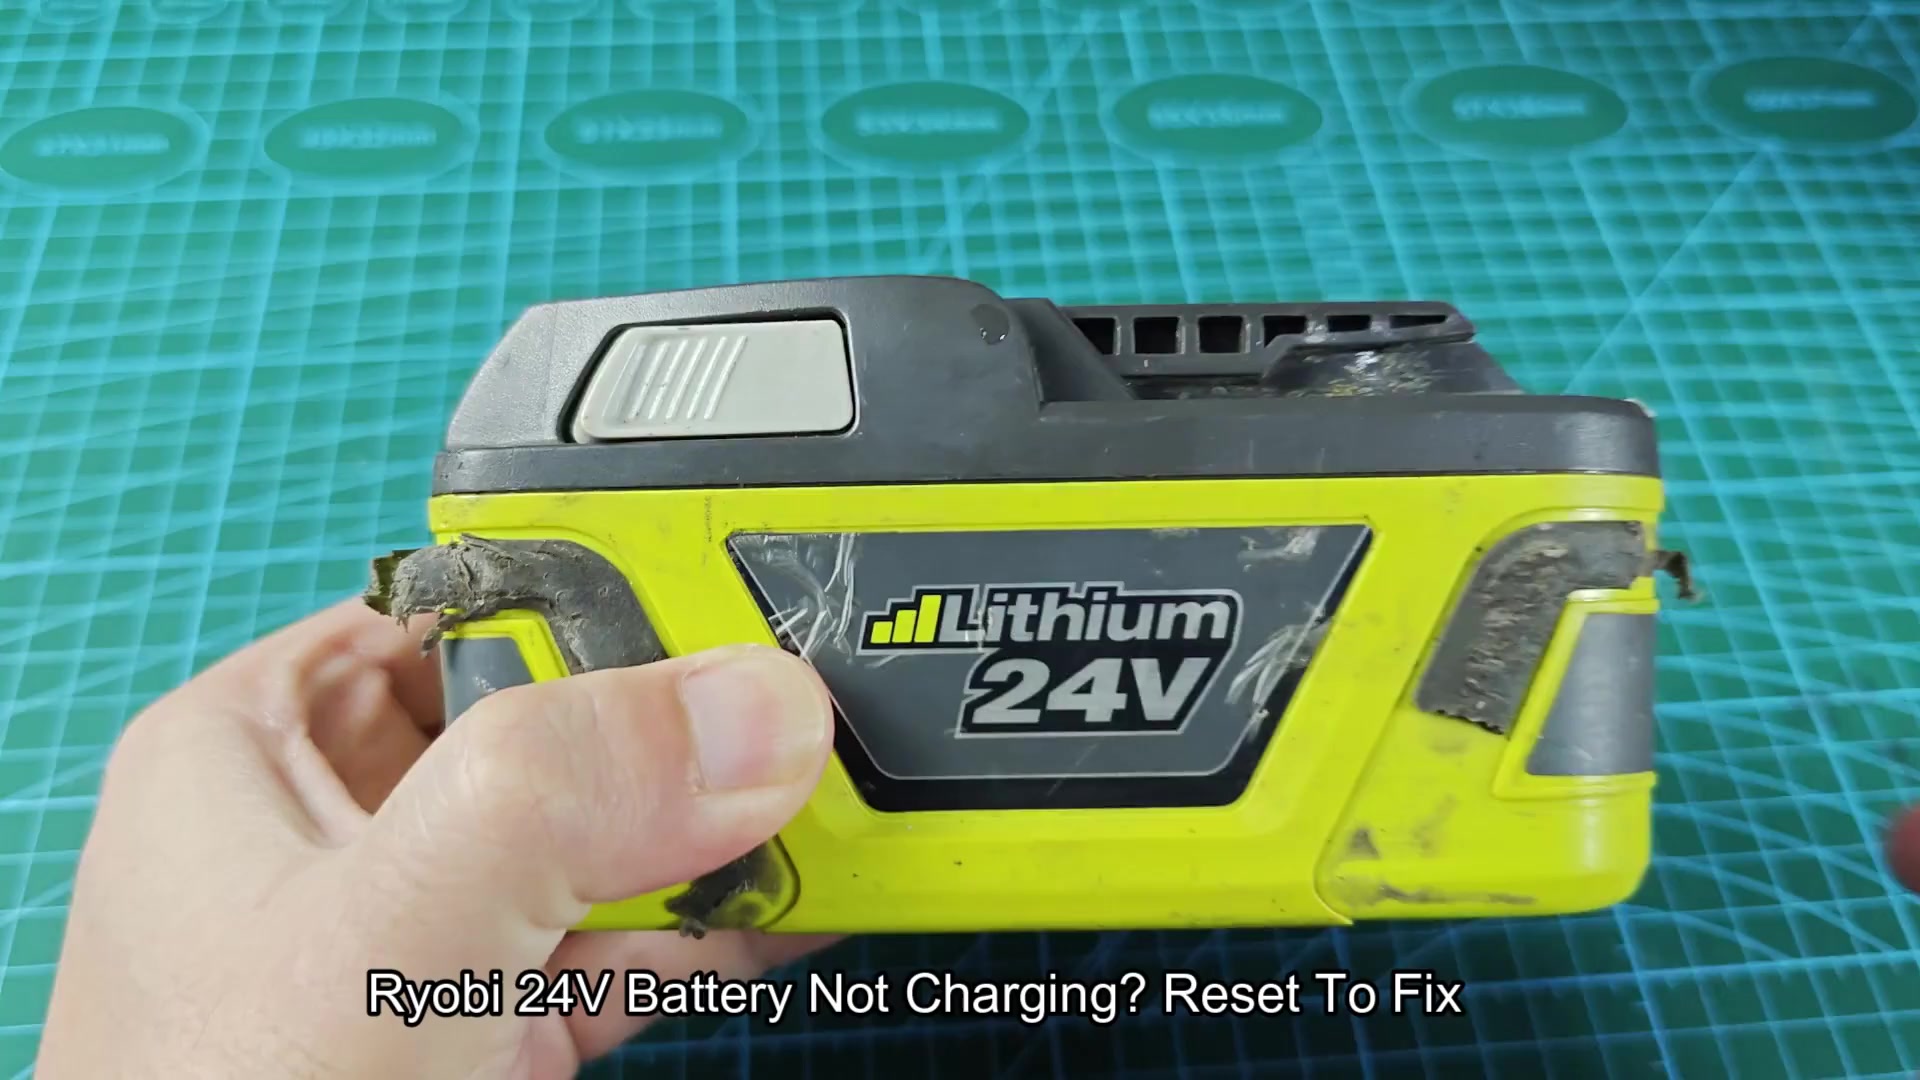
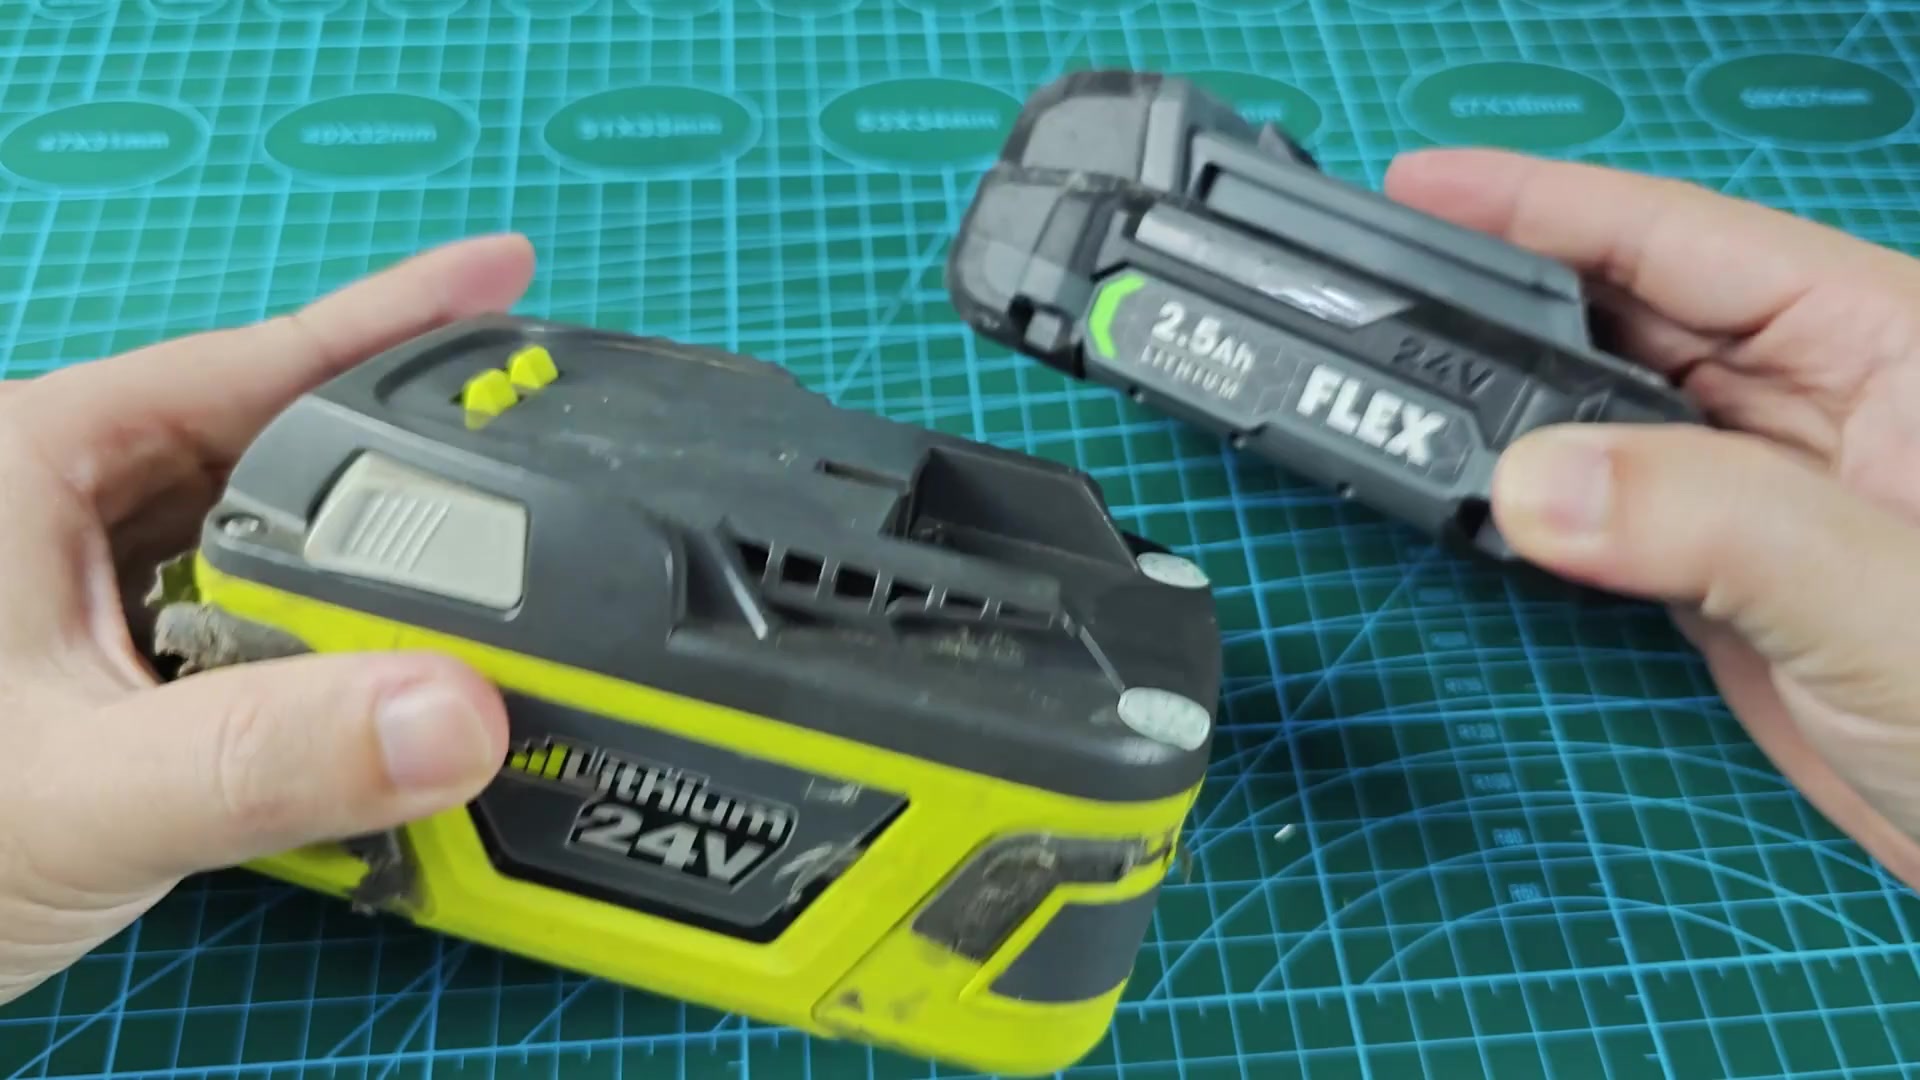
Then I realized maybe there’s a chance I could bring it back rather then purchase another. Lots of lithium-ion packs has a voltage drop that will make the charger think the cell is bad. Often, bringing the voltage back up above the threshold will bypass that protection circuit. This lets the charger see the pack again, allowing it to “jump start” the pack. However, since I had another battery that was compatible, but not the same exact model, I thought I’d give it a shot as a donor. I had a FLEX 24V on the bench that were completely charged and in perfect condition.
Using a Bench Power Supply
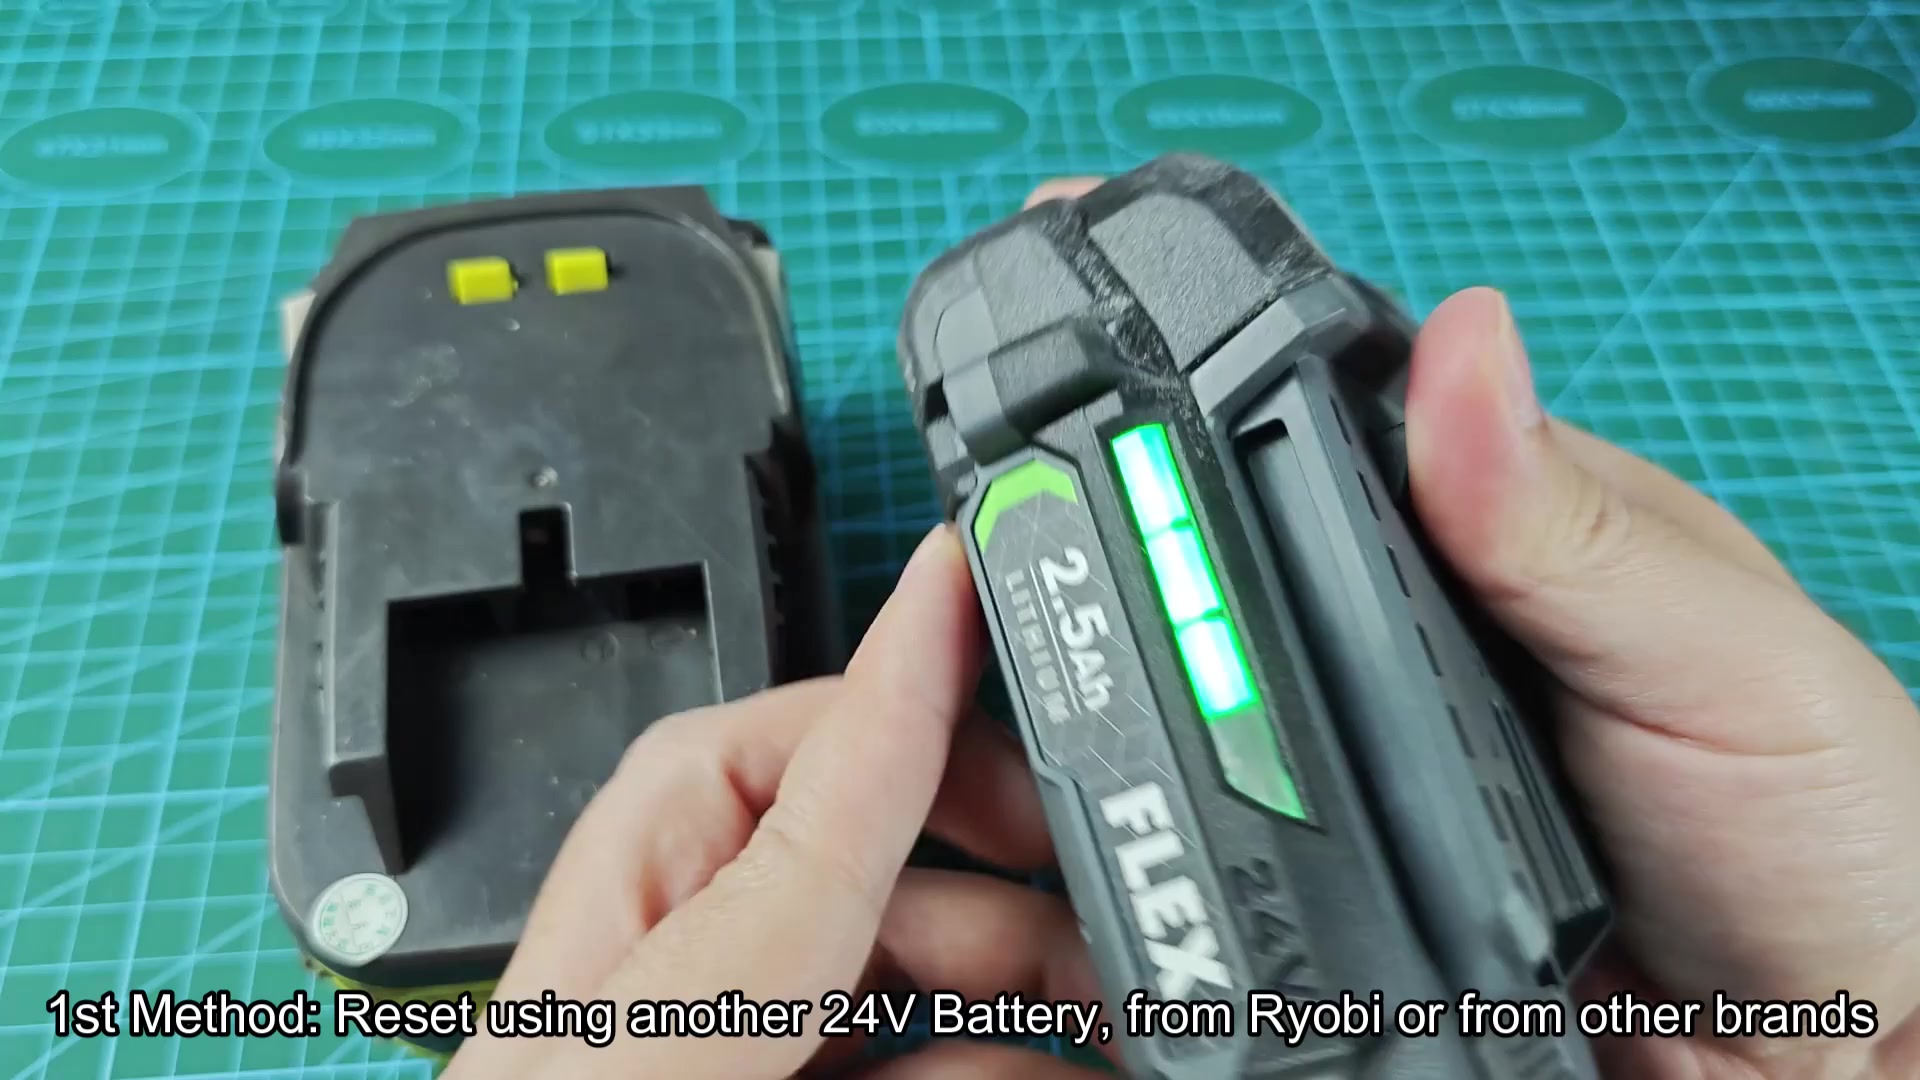
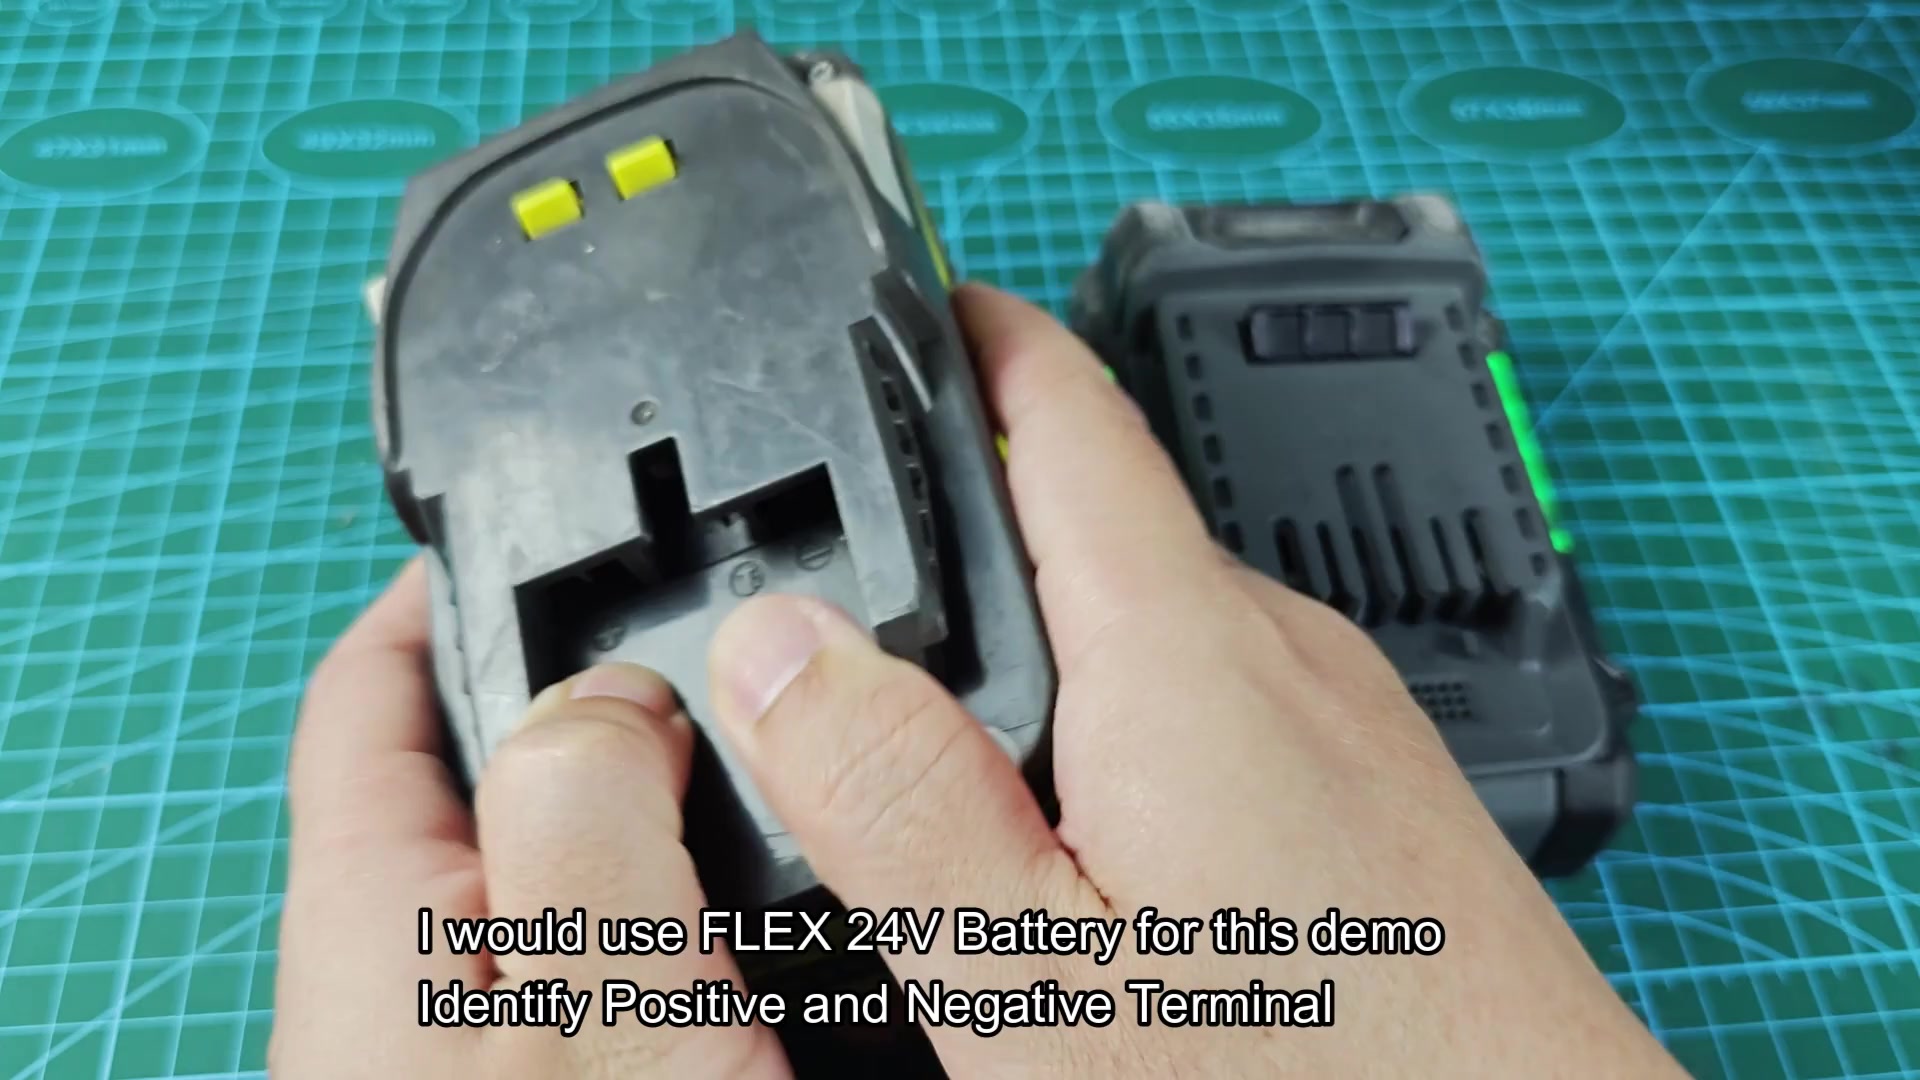
To do this you simply hook your good pack to your dead pack for a few seconds (but only long enough to jump start the management system). Sounds simple, and really isn’t too hard at all if you have proper tools. Since the batteries both has positive and negative terminals located on the base, there’s no confusion. They’re also labeled with plus and minus signs. Double check your polarity…this cannot be messed up or bad things will happen. To do this you’ll need two sets of alligator clips. One connects from the positive and negative terminals on the donor battery, the other goes to the dead Ryobi pack’s terminals. It’s important that you match the leads exactly, positive to positive, negative to negative. Hooking them up backwards could result in a short that would be bad news, and probably destroy your batteries.
You want these things to be snug as bugs in a rug since you’re trying to get enough juice across to reset the system. All set? That’s all you have to keep the connection in place for, just fifteen seconds. No need to keep it connected for minutes on end. With only fifteen seconds, there was enough current flowing into the dead pack, boosting its internal voltage high enough to trigger the charger.
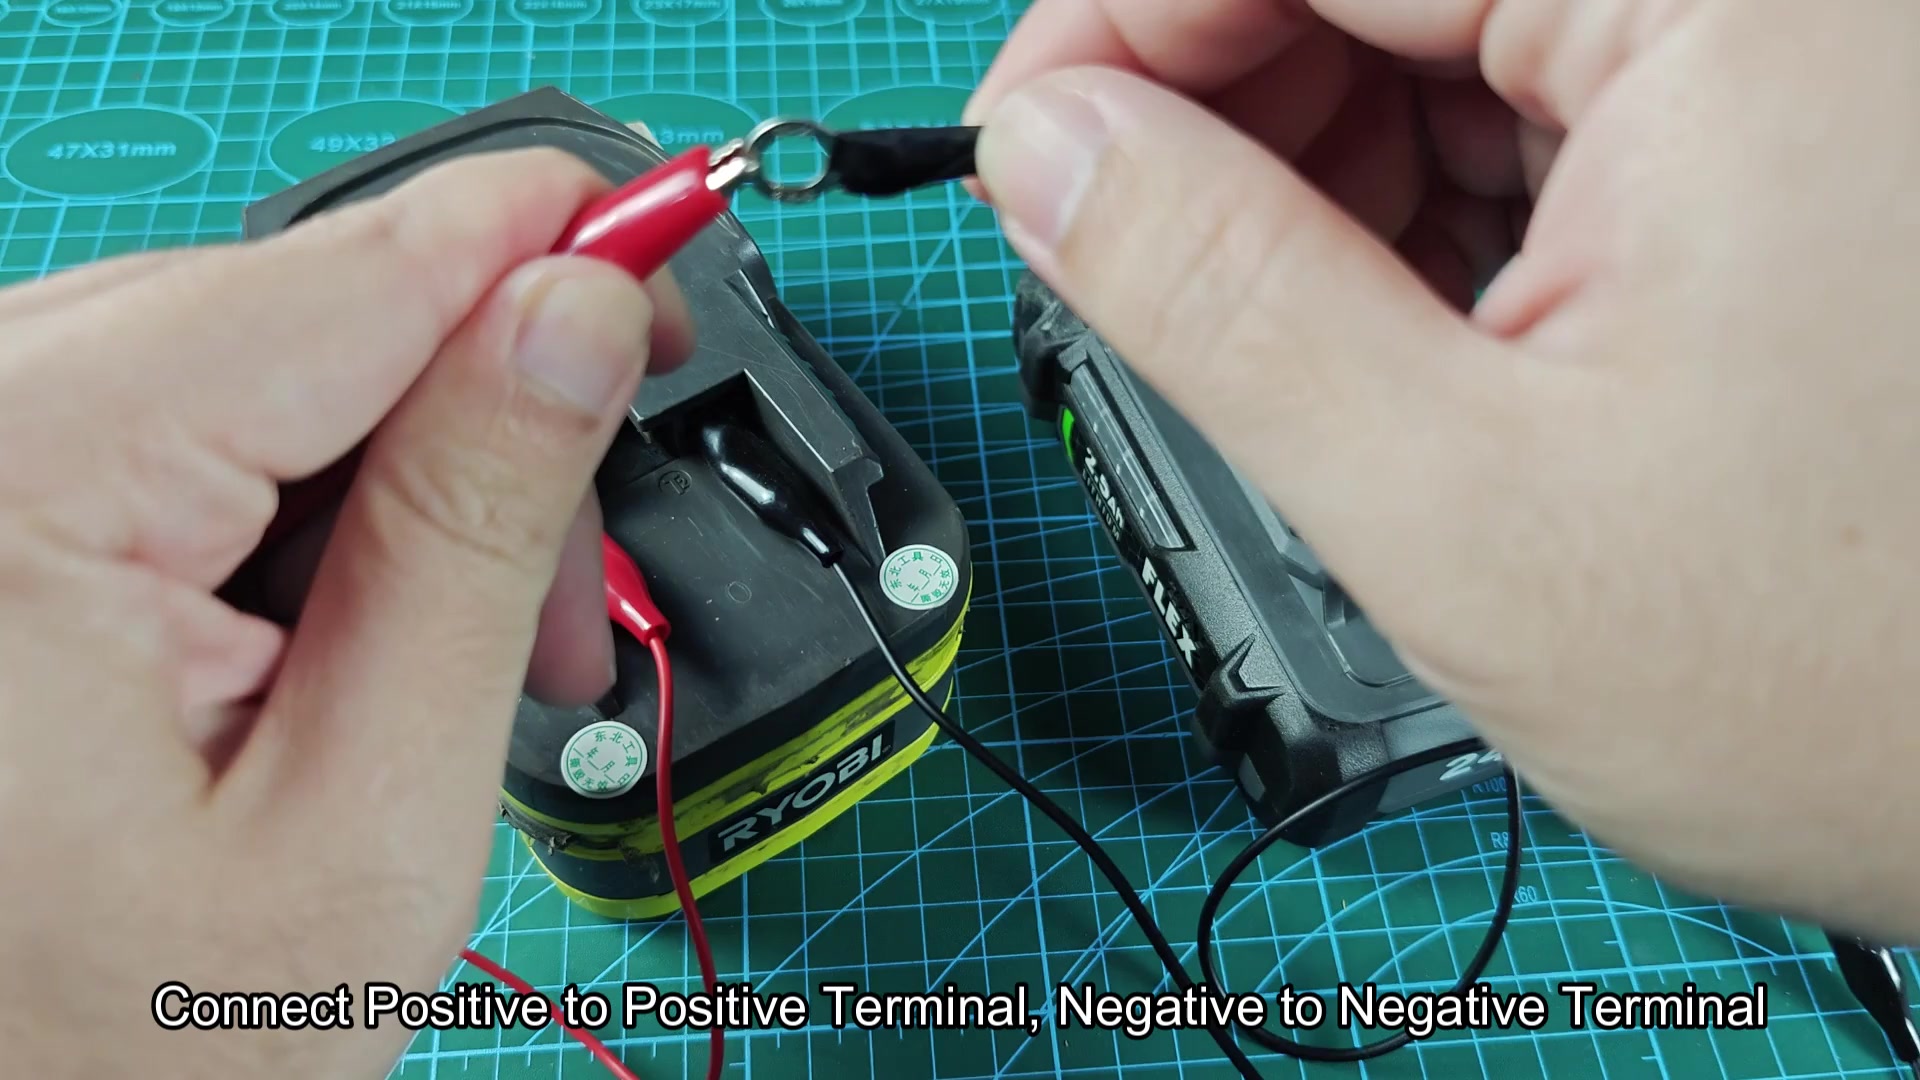
As long as no one overheats anything or smells burnt, everything should be okay. In my case, everything stayed cool and smelled good, so after fifteen seconds, I removed the clips from both batteries. The dead pack was charged enough to try again; meanwhile, the donor battery still retained significant juice. I replaced the now revived Ryobi battery on the original charger. It immediately began to accept a charge just as if nothing ever happened. The charging lights all came on. Whew! Glad I didn’t have to replace that pack after all.
For those of you with batteries that may be shut down temporarily from being too low of a voltage level, this will work. This is not for batteries with broken internal parts or really bad damage to cells, but for a temporary shutdown. If your downtime was only a few minutes like mine, it’s an easy solution. It had my drill running again in minutes instead of having to wait for a replacement to ship.
If you do not have a spare 24V battery handy, there is another option.
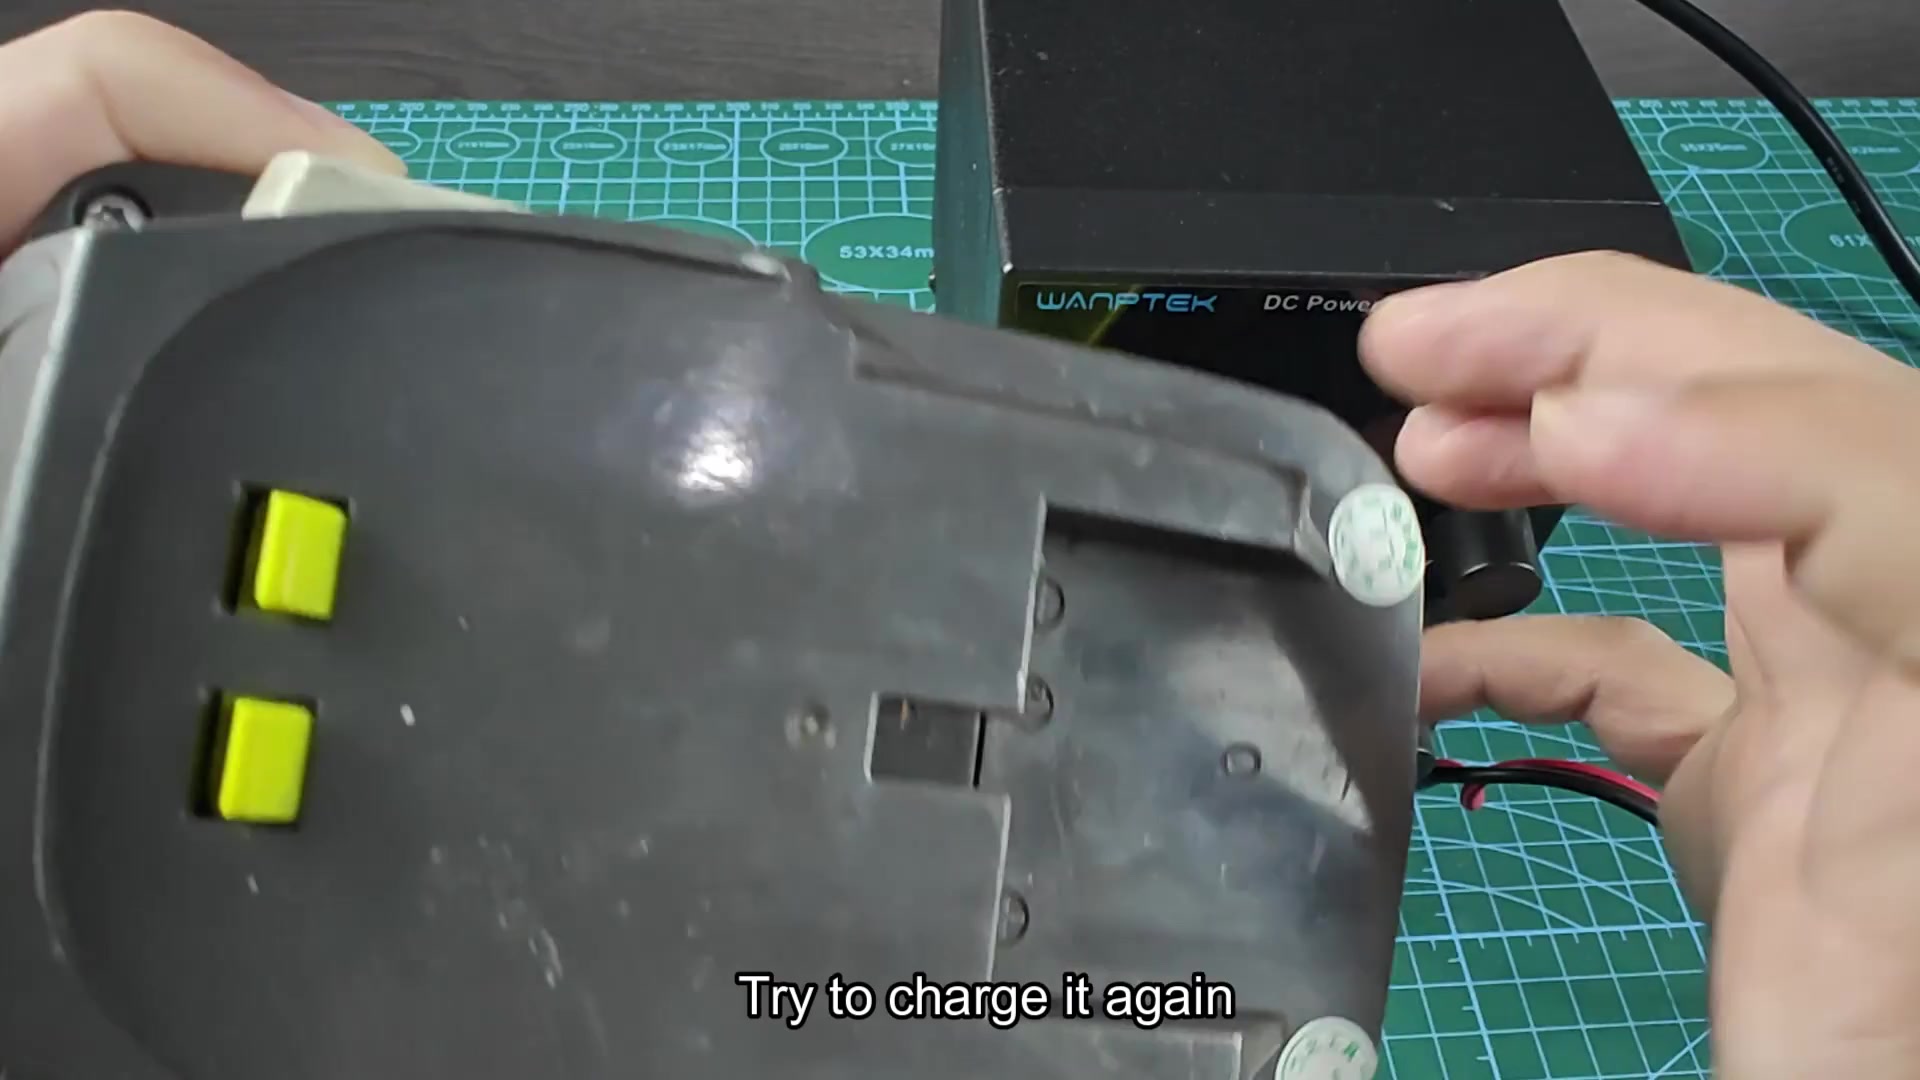
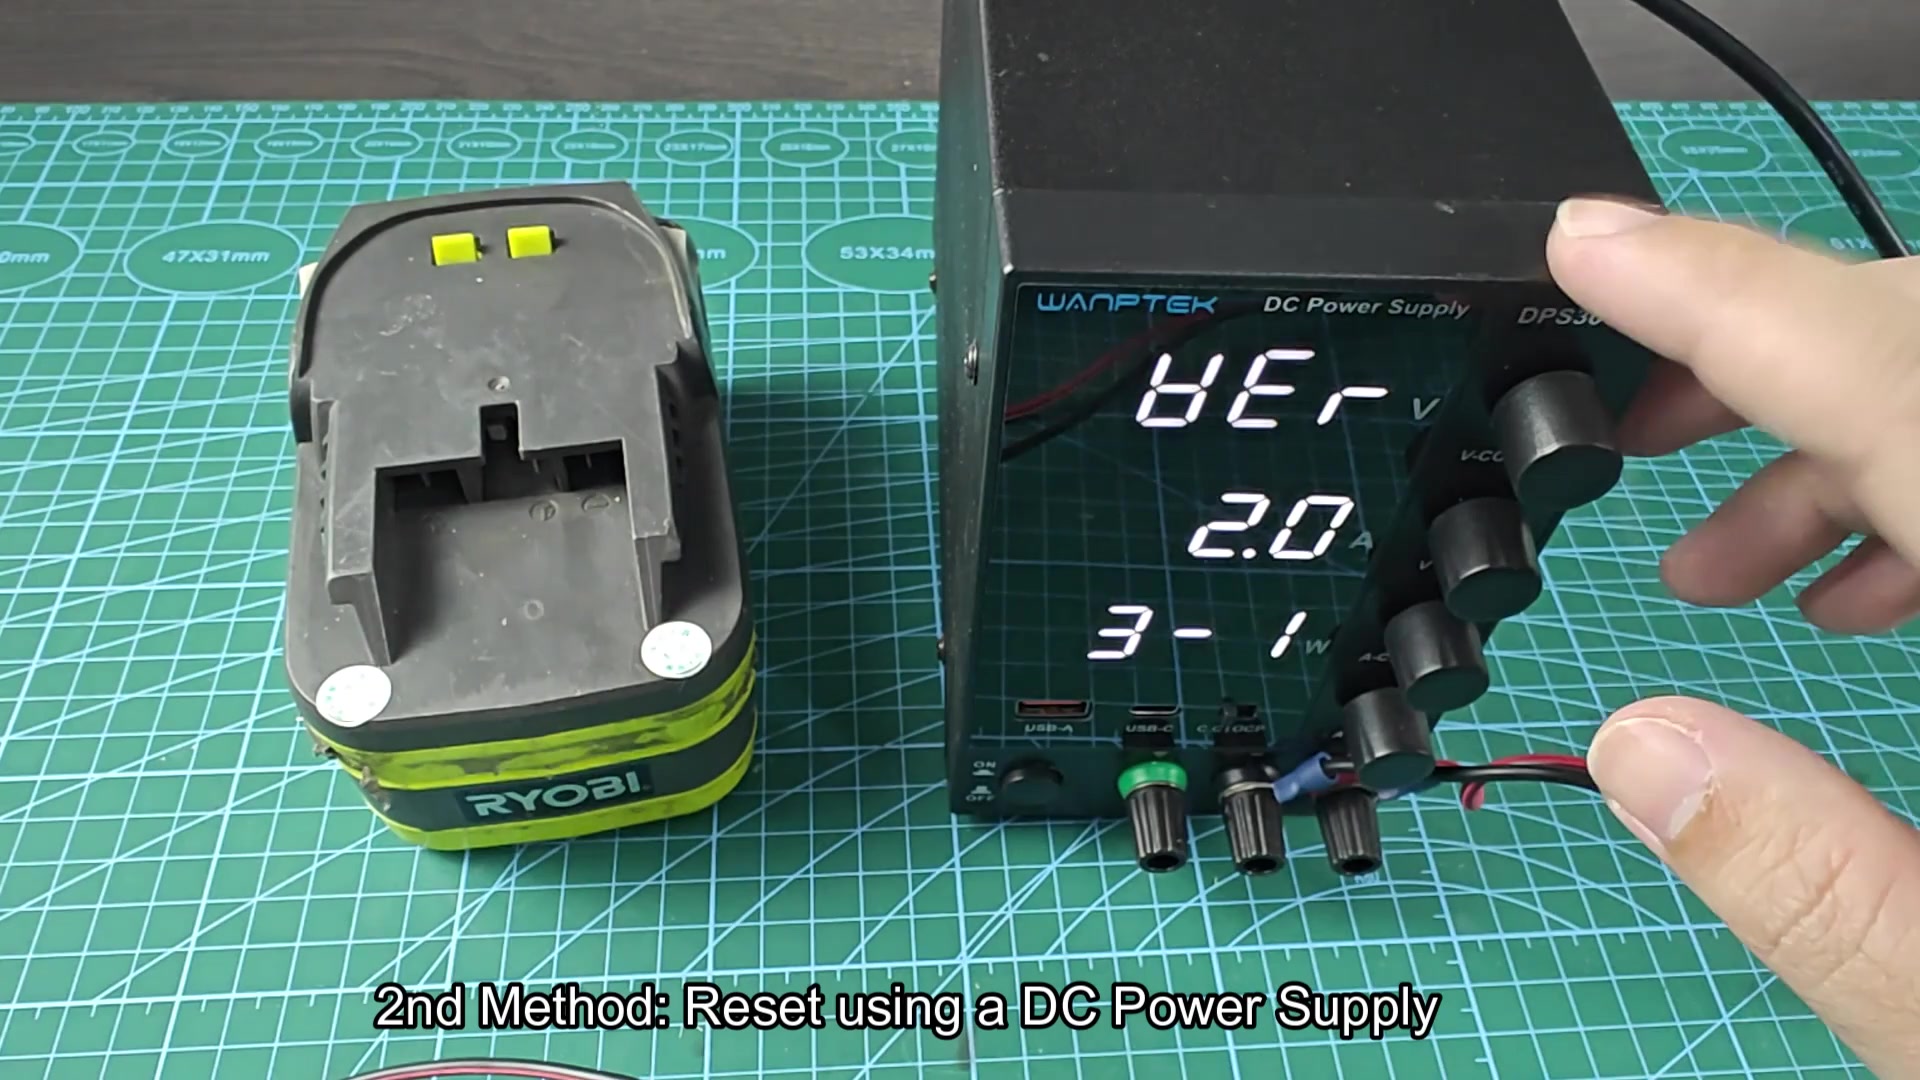
But what if you don’t have a spare 24V battery lying around? Well, there’s an alternative, although it requires a bit of equipment. Since I already had a bench top DC power supply, I decided to use it as the source instead.
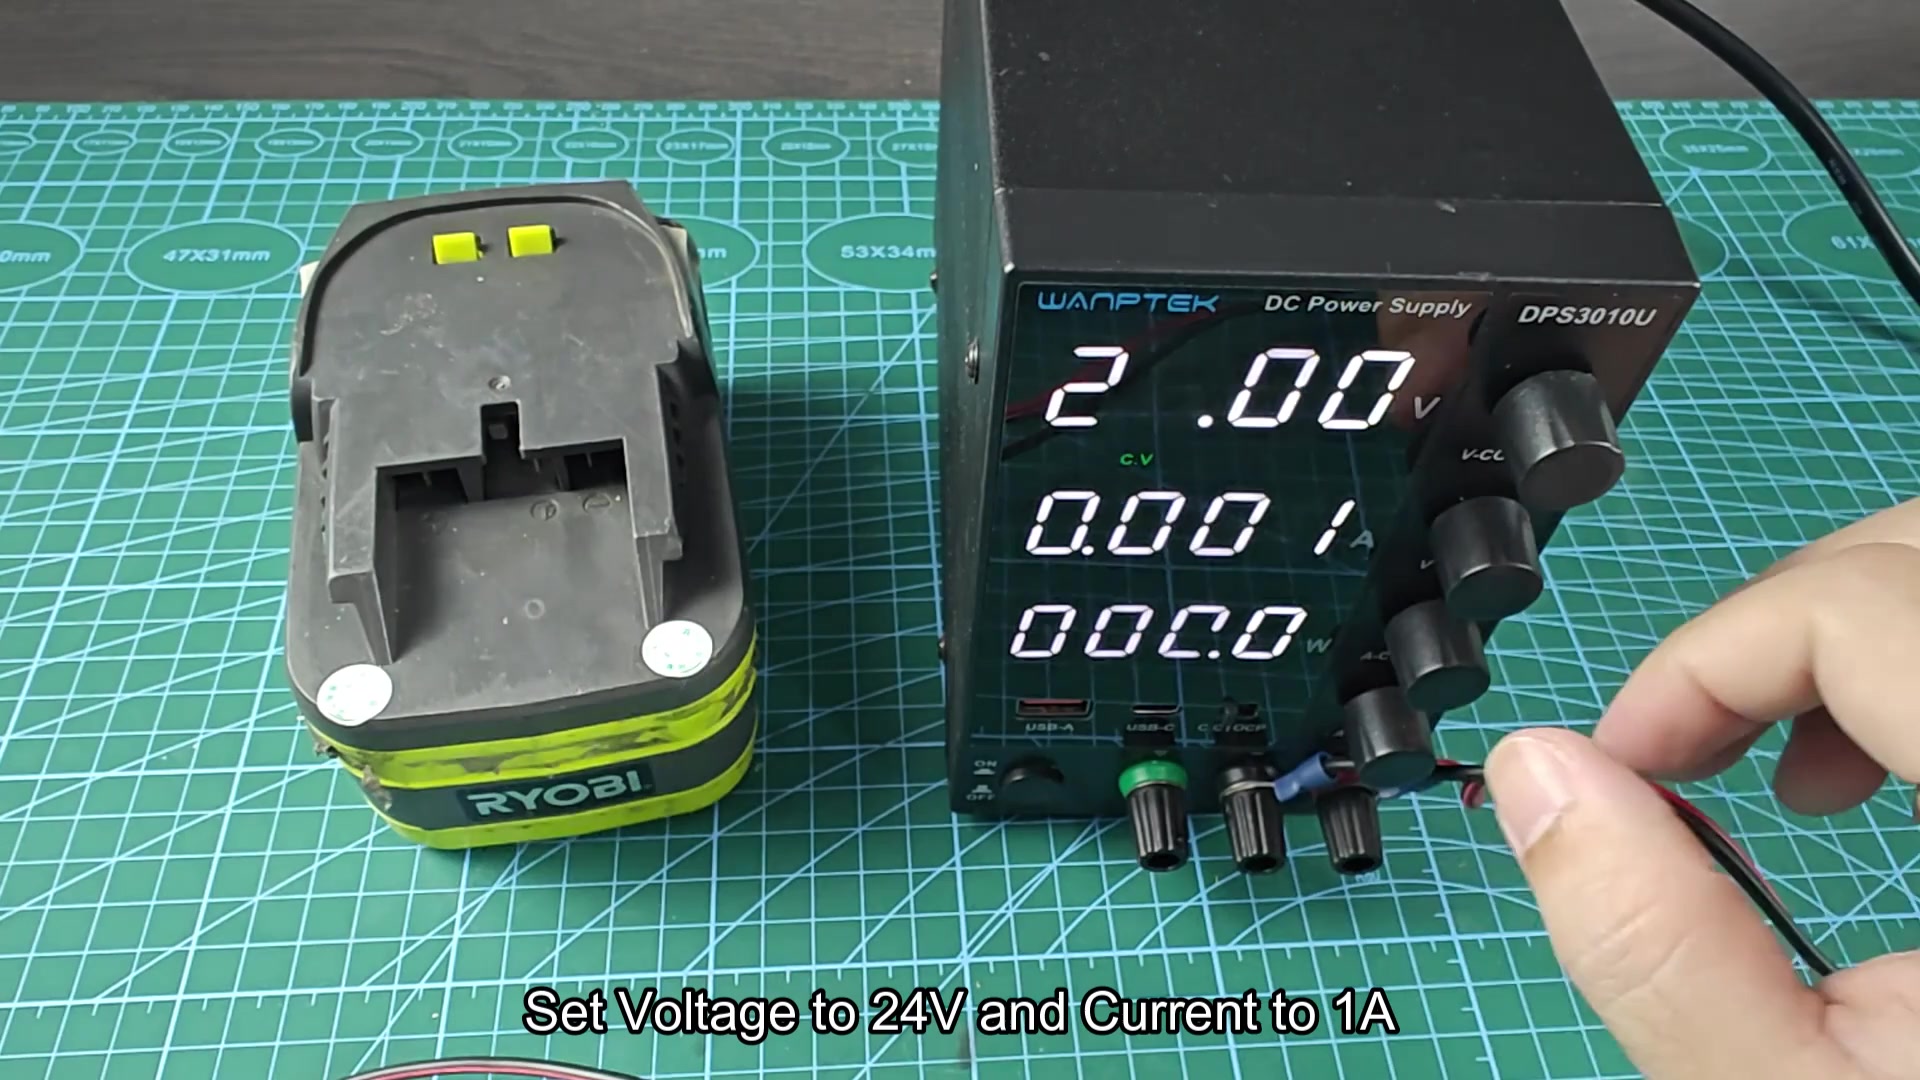
The advantage is being able to control the current and the voltage exactly as required. In other words, configure your supply to the specs of the batteries. In my case, I used a 24V Ryobi pack. Set the voltage to 24 volts and the current to no more than one ampere so you don’t overpower the cells while they wake up. The power supply requires some time for setup. I adjusted the knobs until the display showed the correct readings. Check this before connecting it. Otherwise, you might damage the battery chemistry if you do not have the right voltages (in this case 24v/1A).
After setting the dial, I prepared the leads. Like the battery-to-battery connection, same rules apply; red to positive and black to negative. Always respect polarity. Afterward, I attached the leads on the power supply to the Ryobi battery terminals. And just as before, I kept it there for about a minute to send that small surge of electricity to the battery.
It did not take very long at all for the display to settle in on zero amps being drawn by the power supply. This is what you’d expect when you have an internal resistance keeping it below the voltage limit until then. There was no heat, no smoke, and nothing out of the ordinary. Once the timer was up, I pulled off the clips on both terminals.
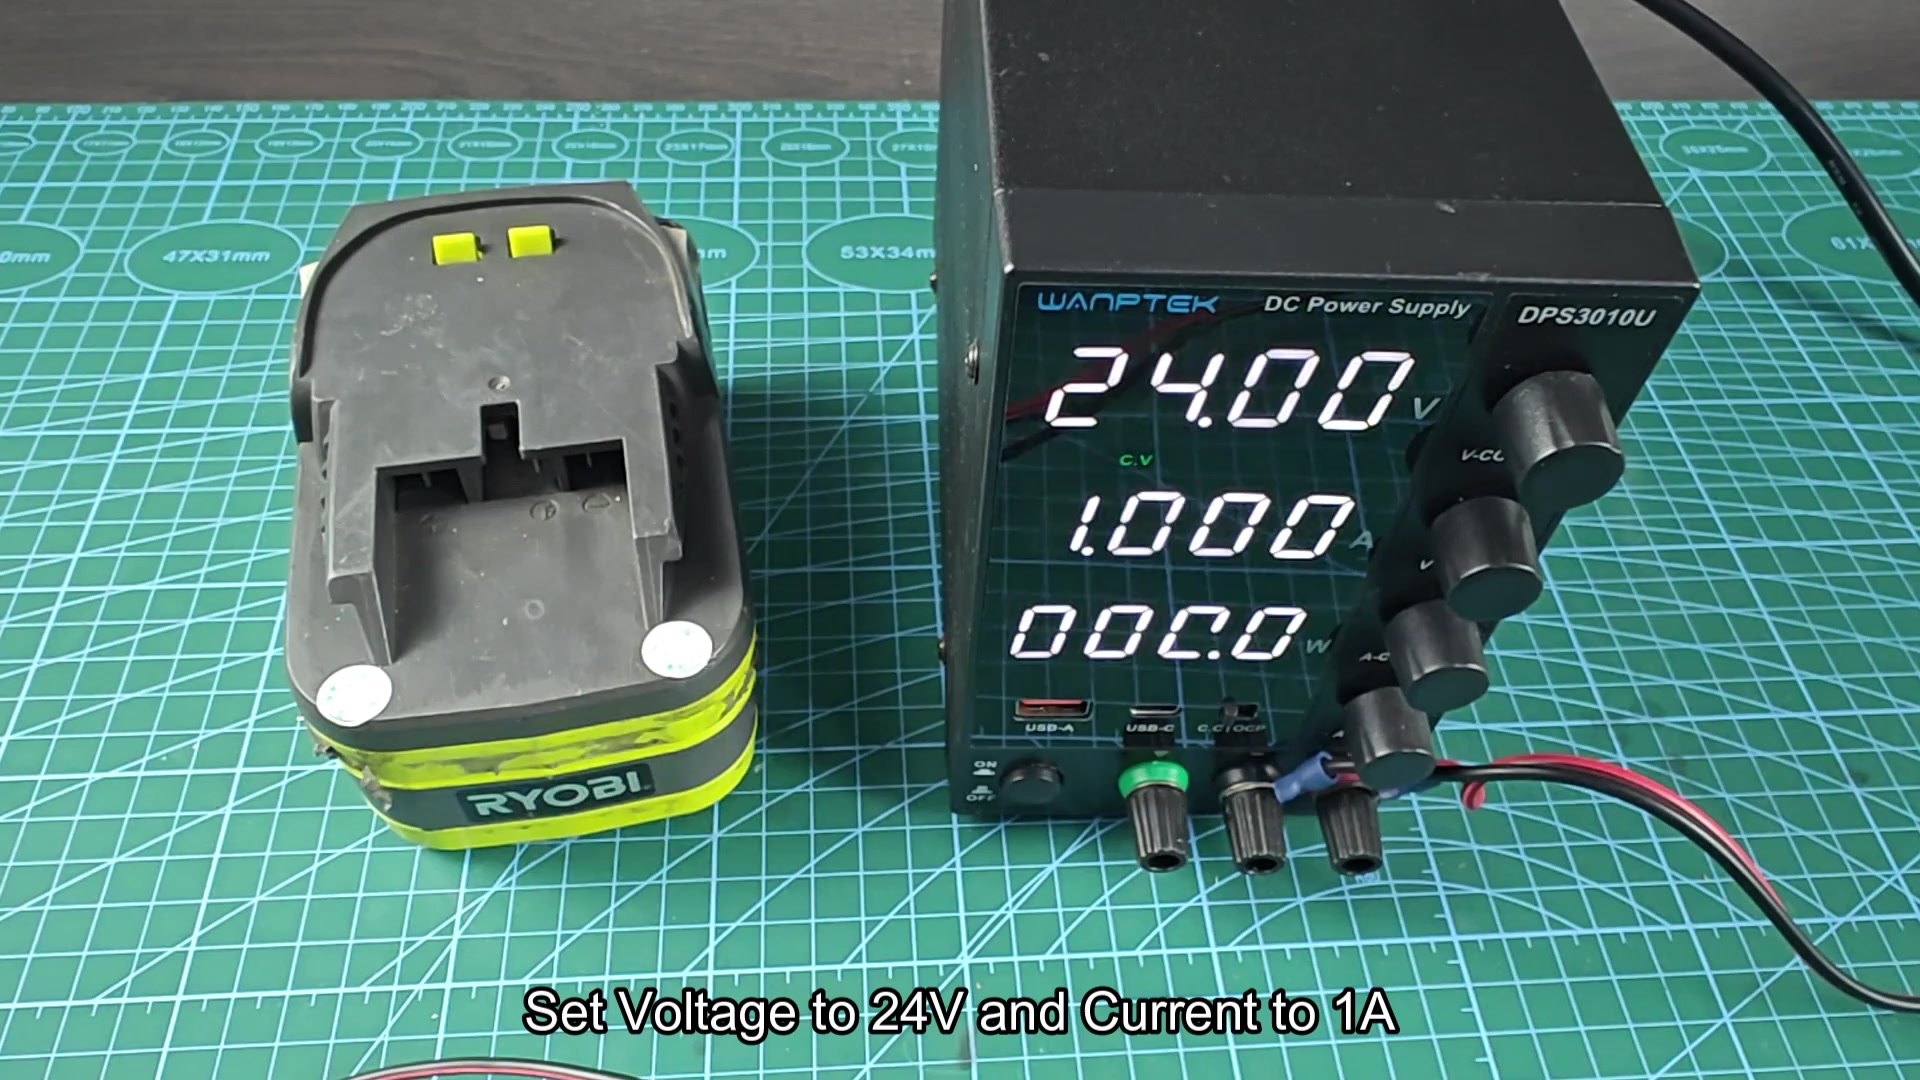
The result was identical to the first method because the battery immediately began charging when placed back on its standard charger.
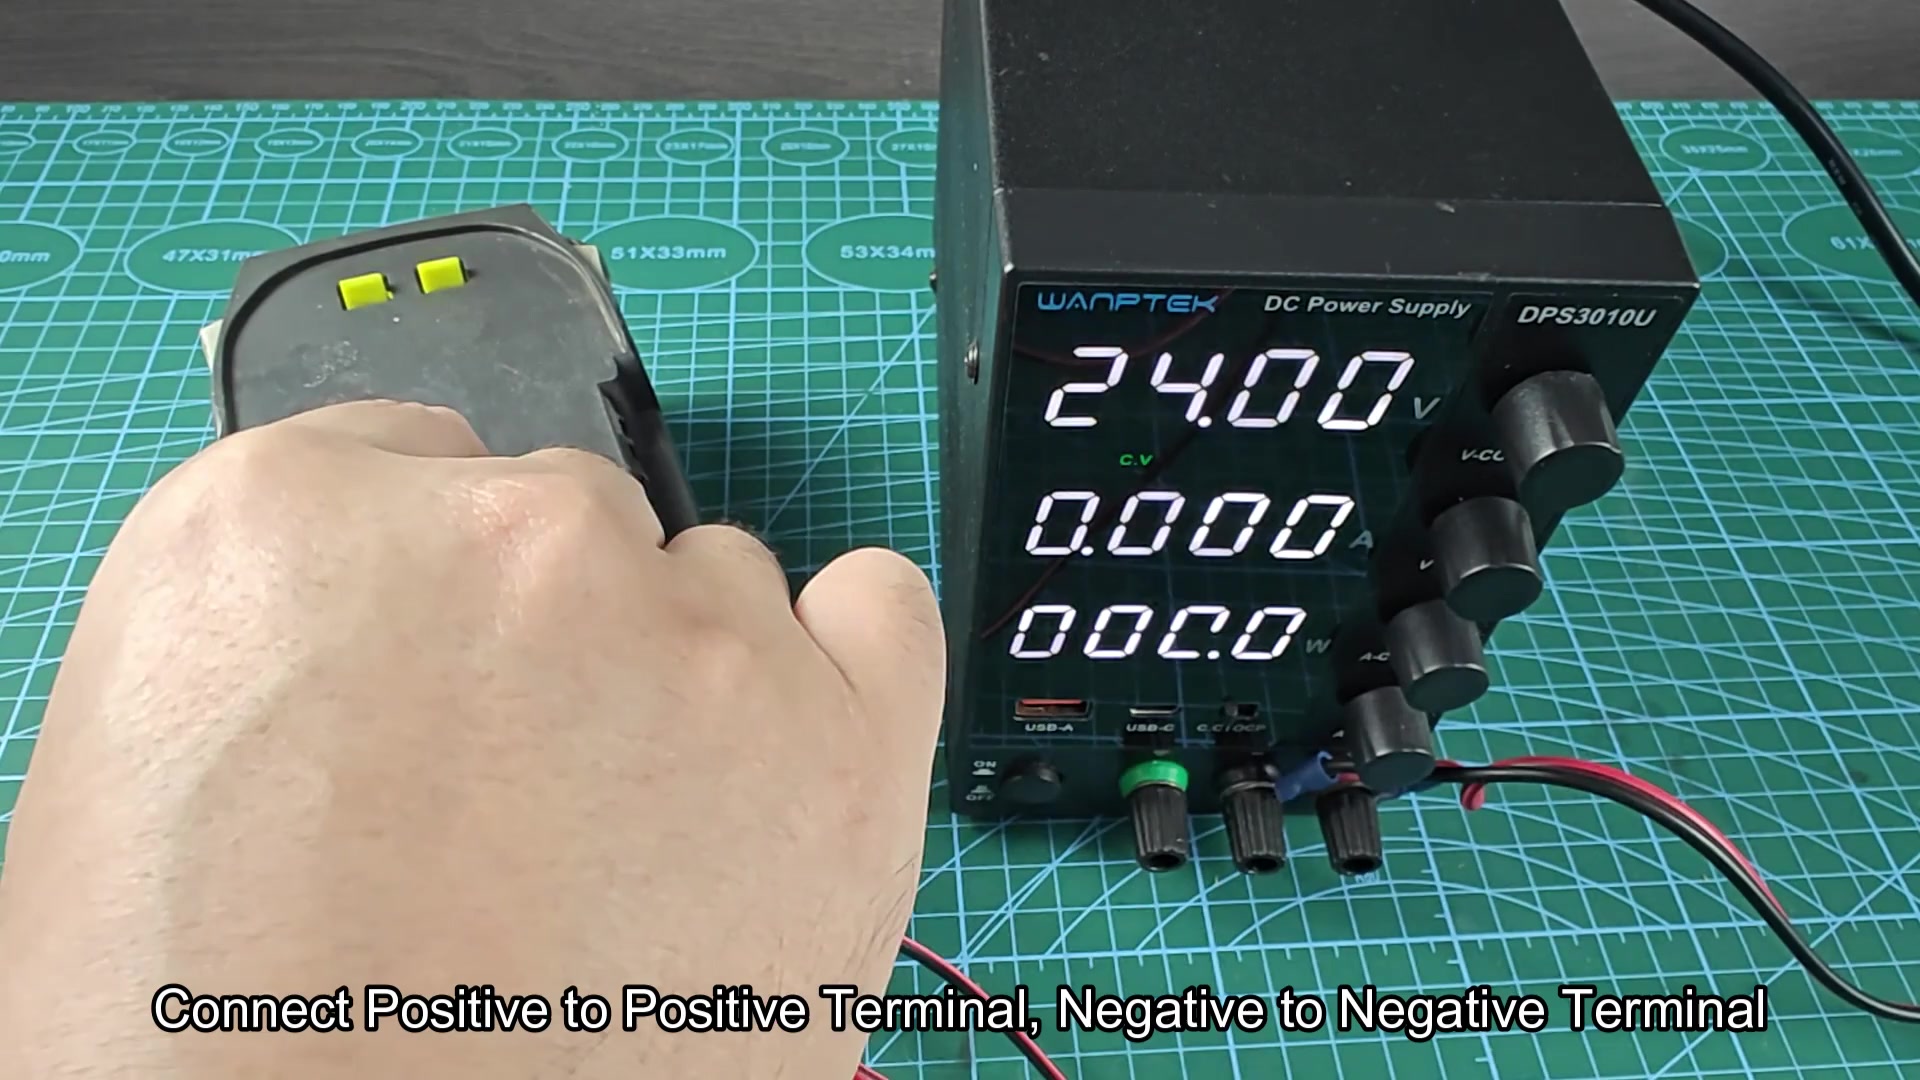
When I put the battery back onto the regular charger, it started charging right away. It was just like before. So the exact same result as above.
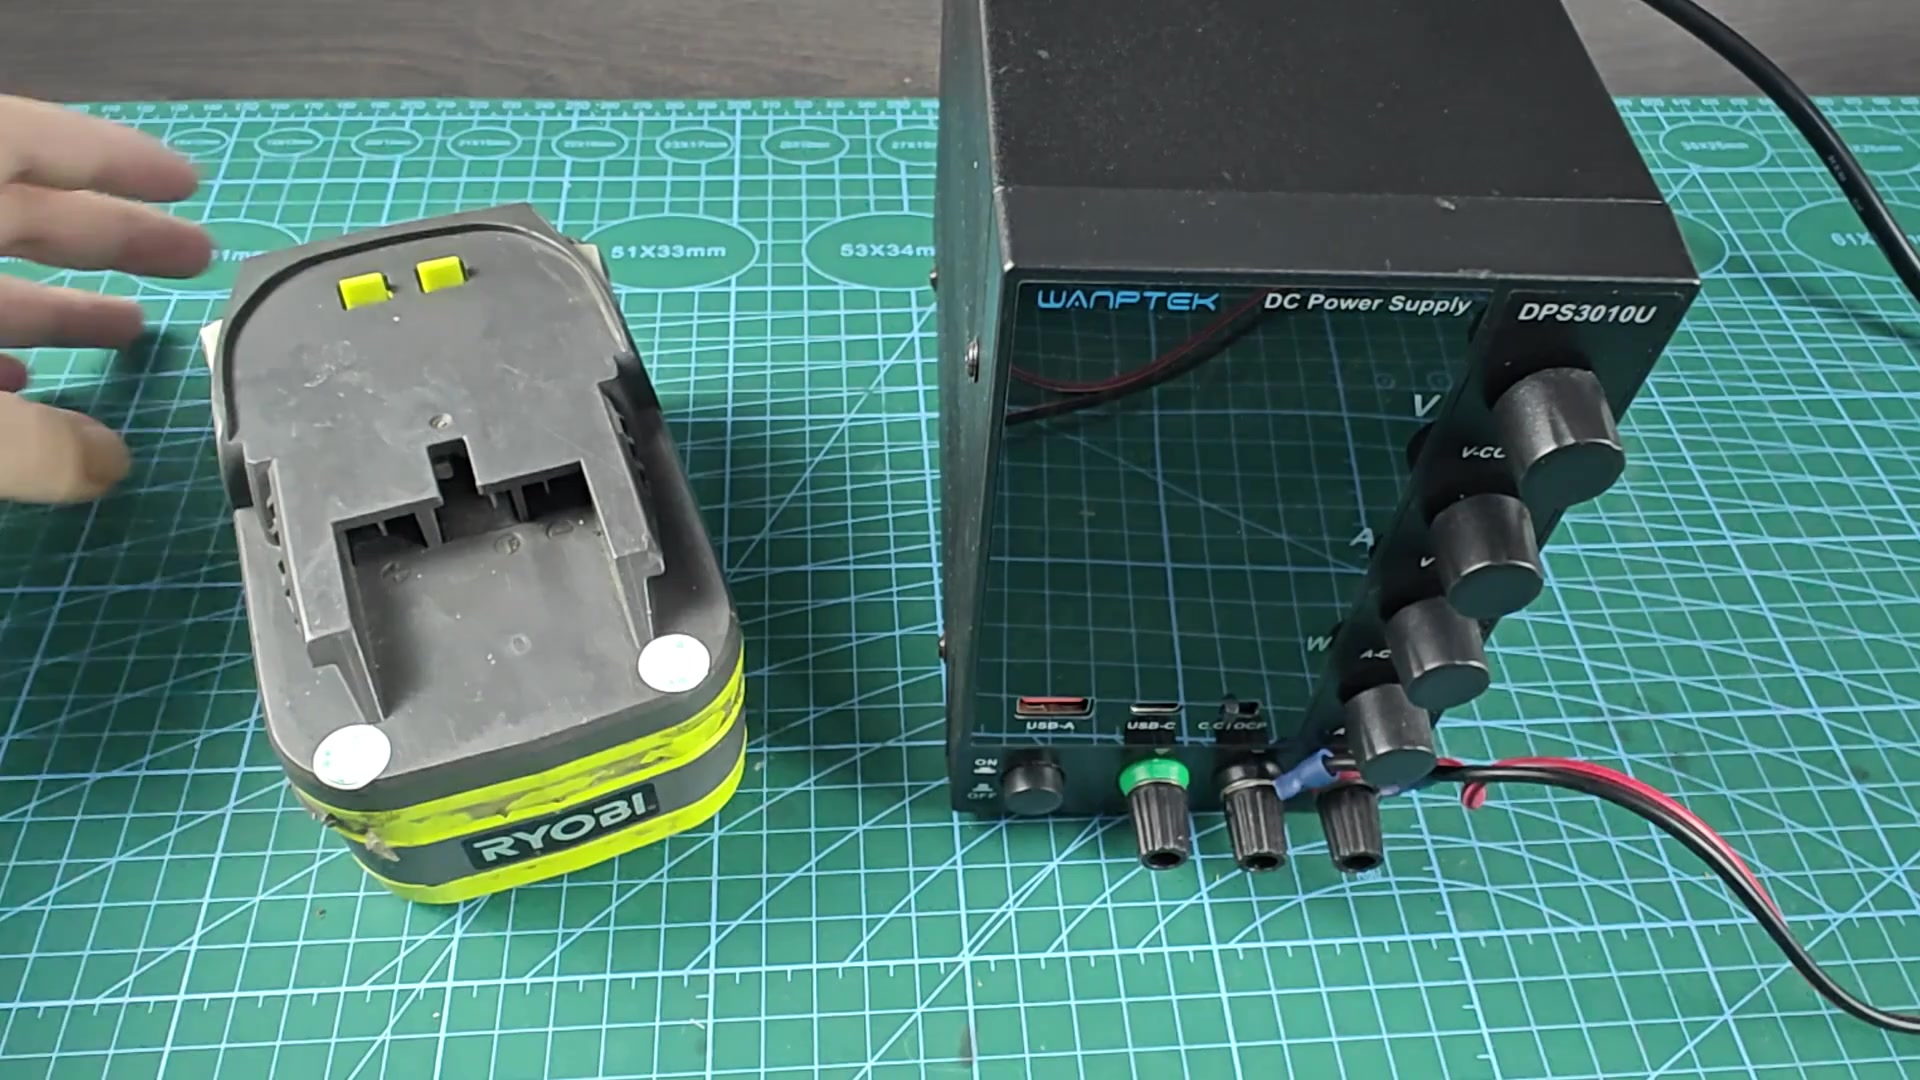
This technique will work well if you have a bench power supply already and don’t want to buy another battery pack at all. They both accomplish the same thing but do it efficienty. They jump start the electronic management system inside of your battery pack. After that the charger does the rest. It’s not as scary to revive what seems to be a dead battery as it sounds. All that has to happen is you give it some voltage for a moment to the proper terminals. This can be done from a power supply or from another battery (donor). Get the voltage up over the cut-off limit and then let the charger take it from there in regular mode.
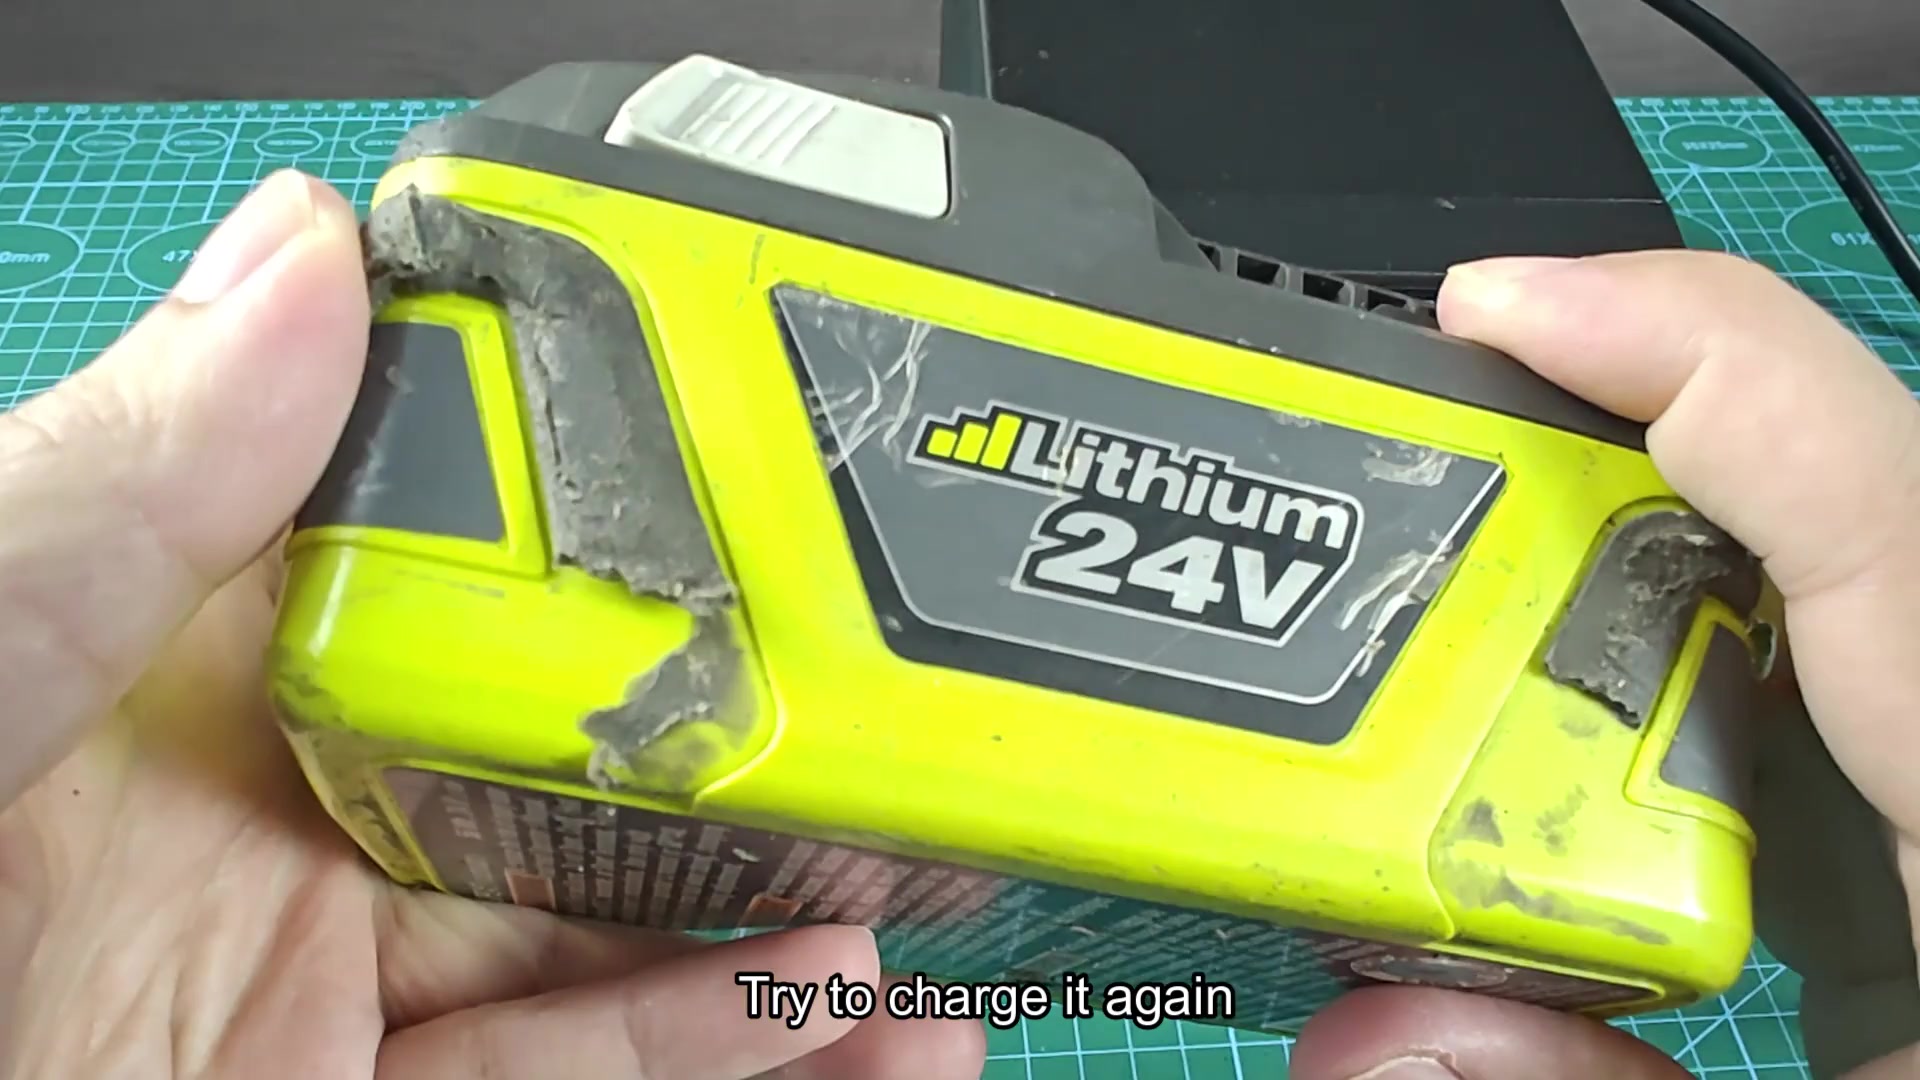
I’ve used this process to save me time and money. My tools is humming along fine now and I was on the verge of throwing away a pretty costly battery until I tried this little trick. If you have an expensive battery in one of your power tools, try it first before throwing it away. It should of been done.