
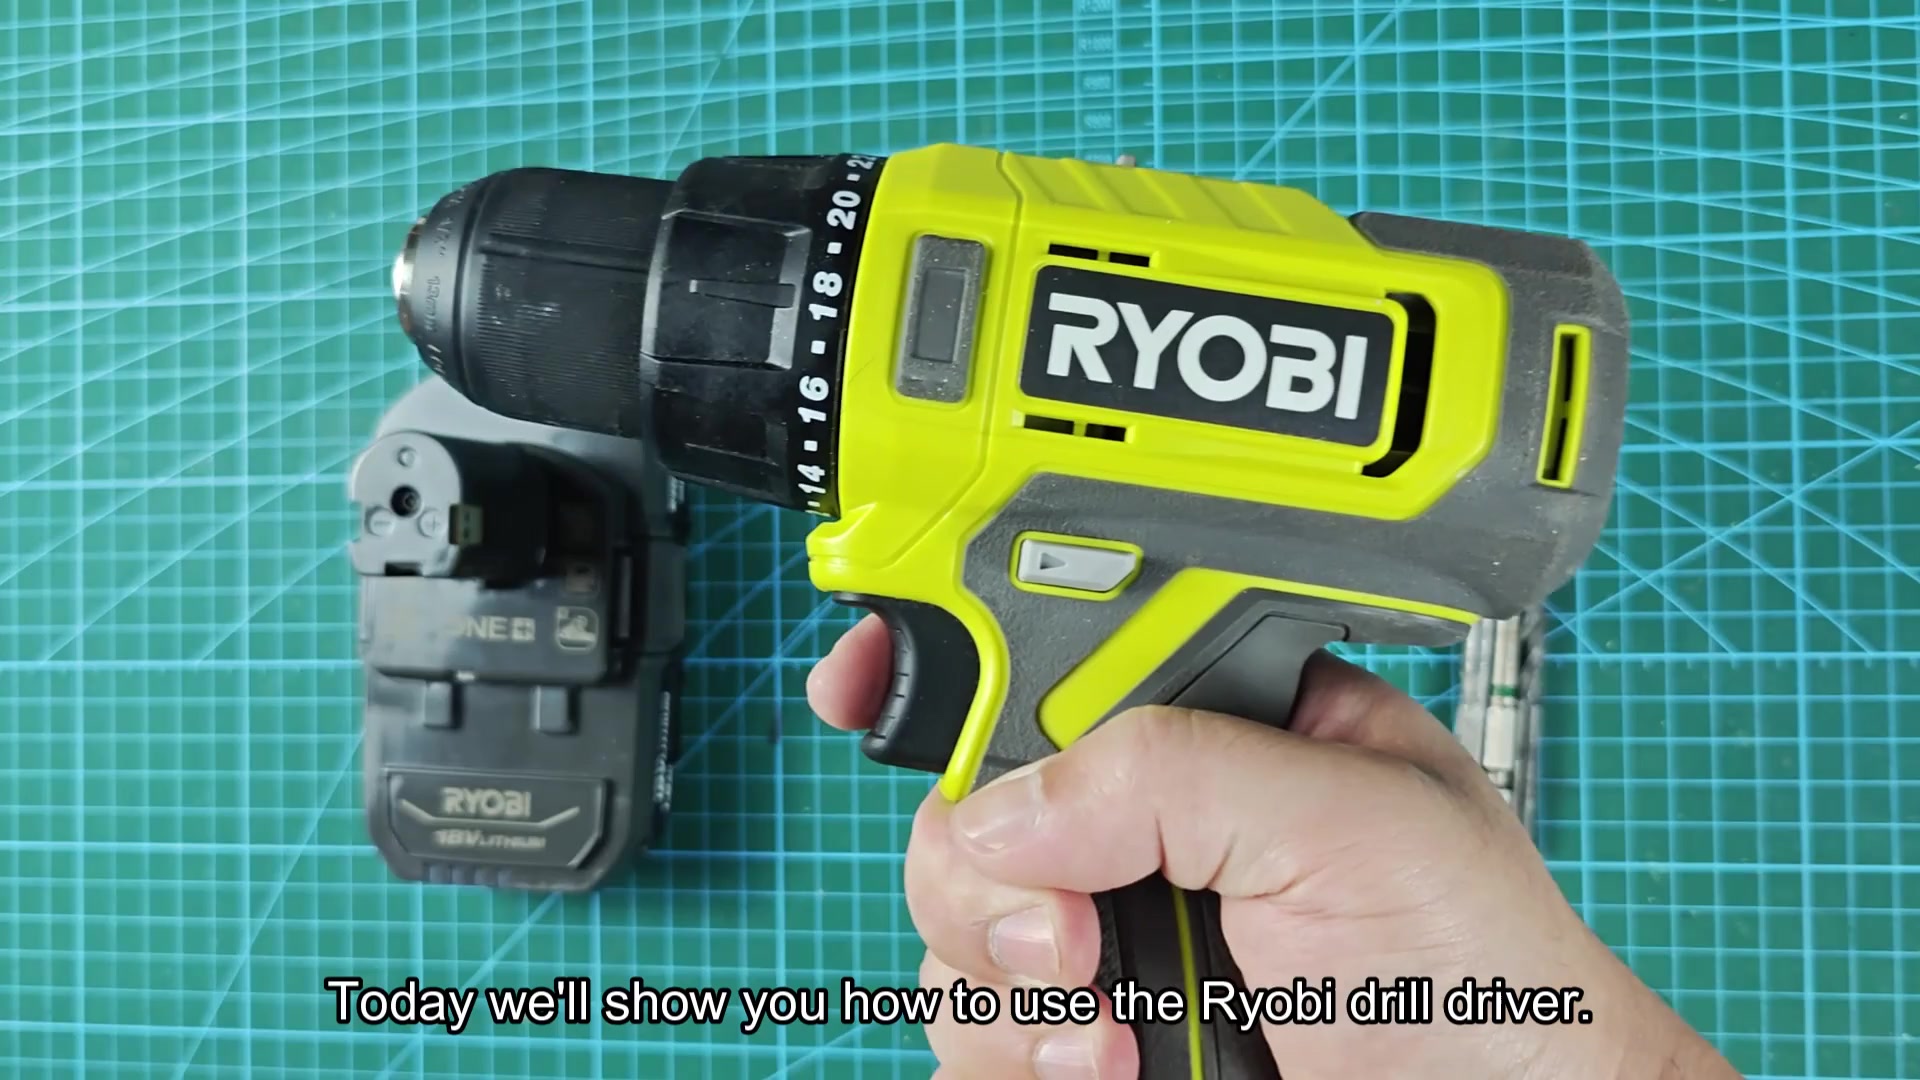
Slide the ONE+ battery into the drill body and it will snap into place when you are ready for charging up enough for a whole job’s worth.
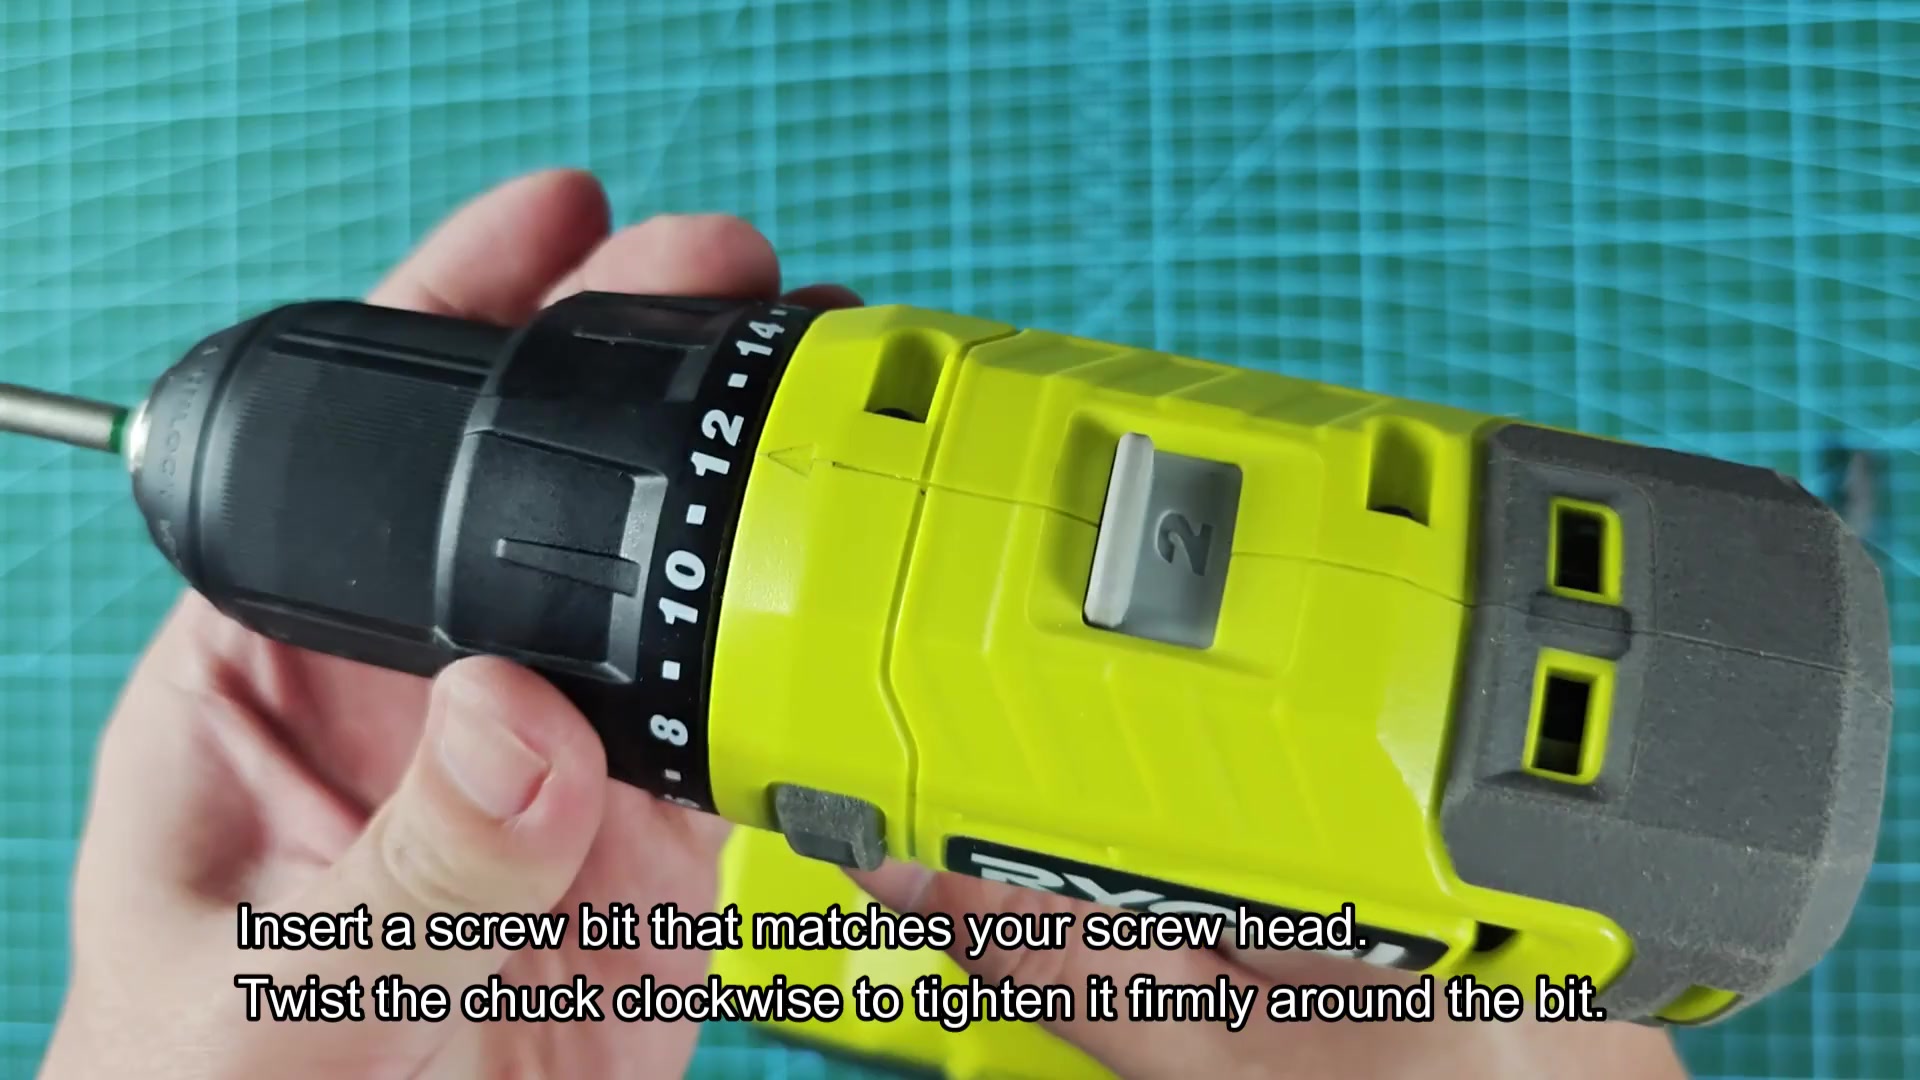
On the back side of the chuck is the mode selector ring which give you different controls. The numbers on the torque clutch adjusters is in line with how tightly they should of been set.
Drilling in Wood and Concrete
The numbered collar let you control how hard the drill will push the screw in and check your torque settings, so you don’t damage material or strip screw heads. For delicate jobs use a lower number (less torque). If you let your mind wander and set it to high torque on a screw, you’ll find yourself with a bad screw head.
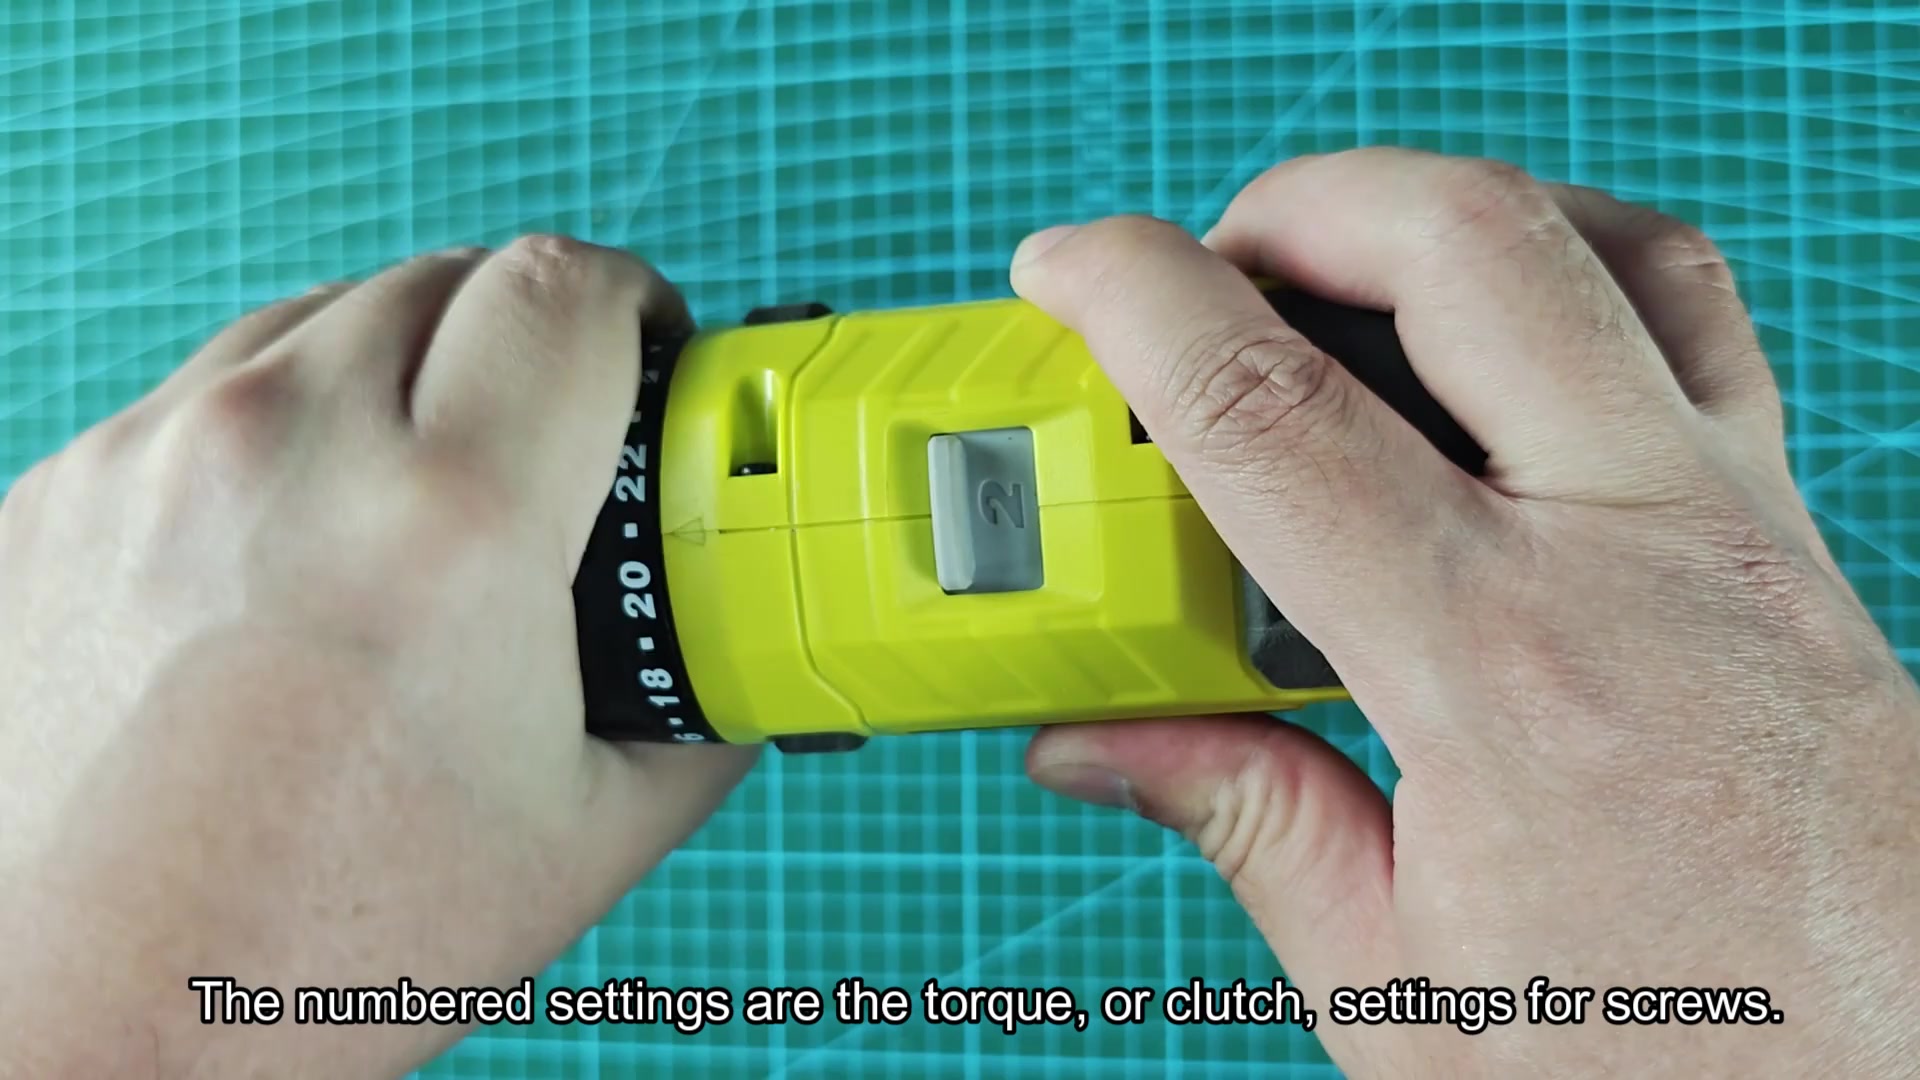
When tightening screws, dial the collar down to a lower number to keep from over driving them and tearing screw head off. Don’t be too aggressive… Go easy on your first few tries.
When you’re ready for removal of a screw, flip forward-reverse toggle to the reverse position and the bit backs out effortlessly without any fighting with the material.
To remove screws, use your drill the same way you used it to put them in. Get it? Just set the switch to reverse and let the drill do it for you.
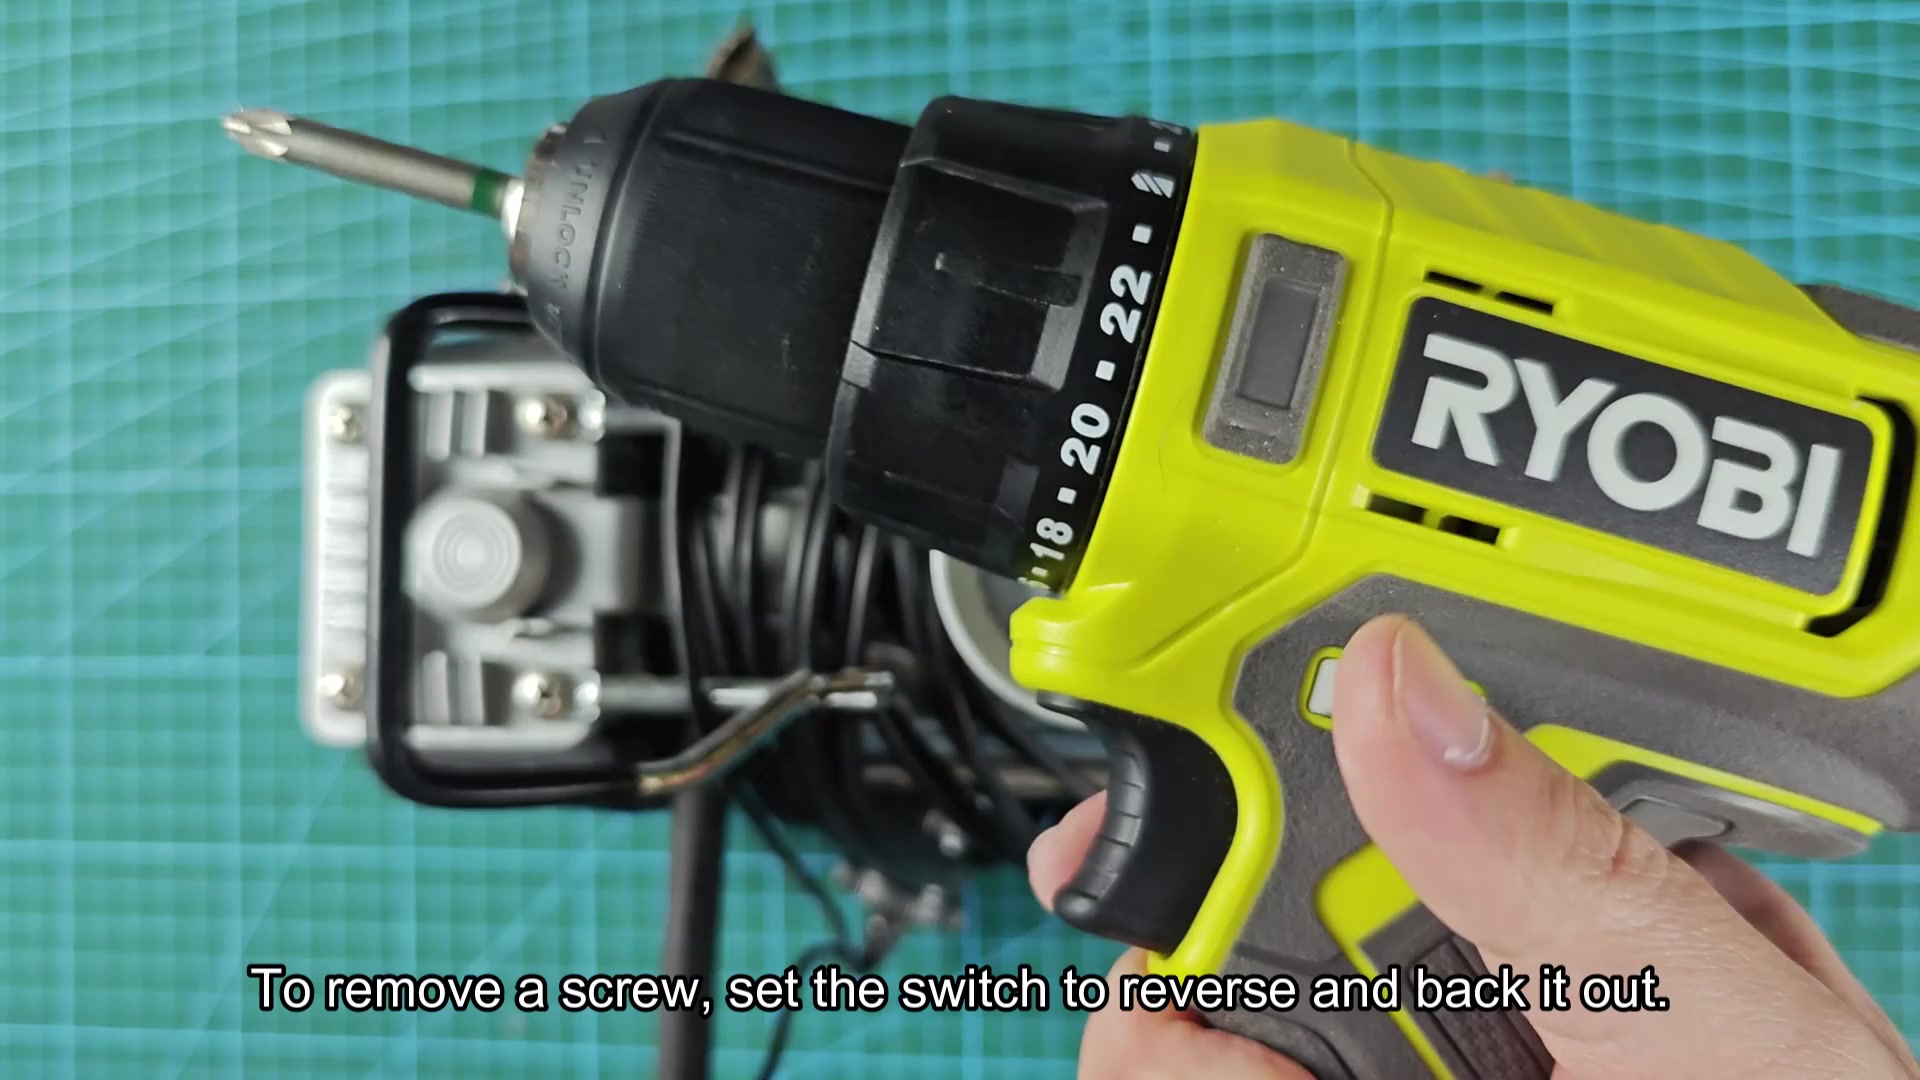
When backing out screws, be patient; this protects you from finger-twisting injury. Use the switch’s toggle to return it to forward, then the drill bit grabs on and pushes that screw home smoothly.
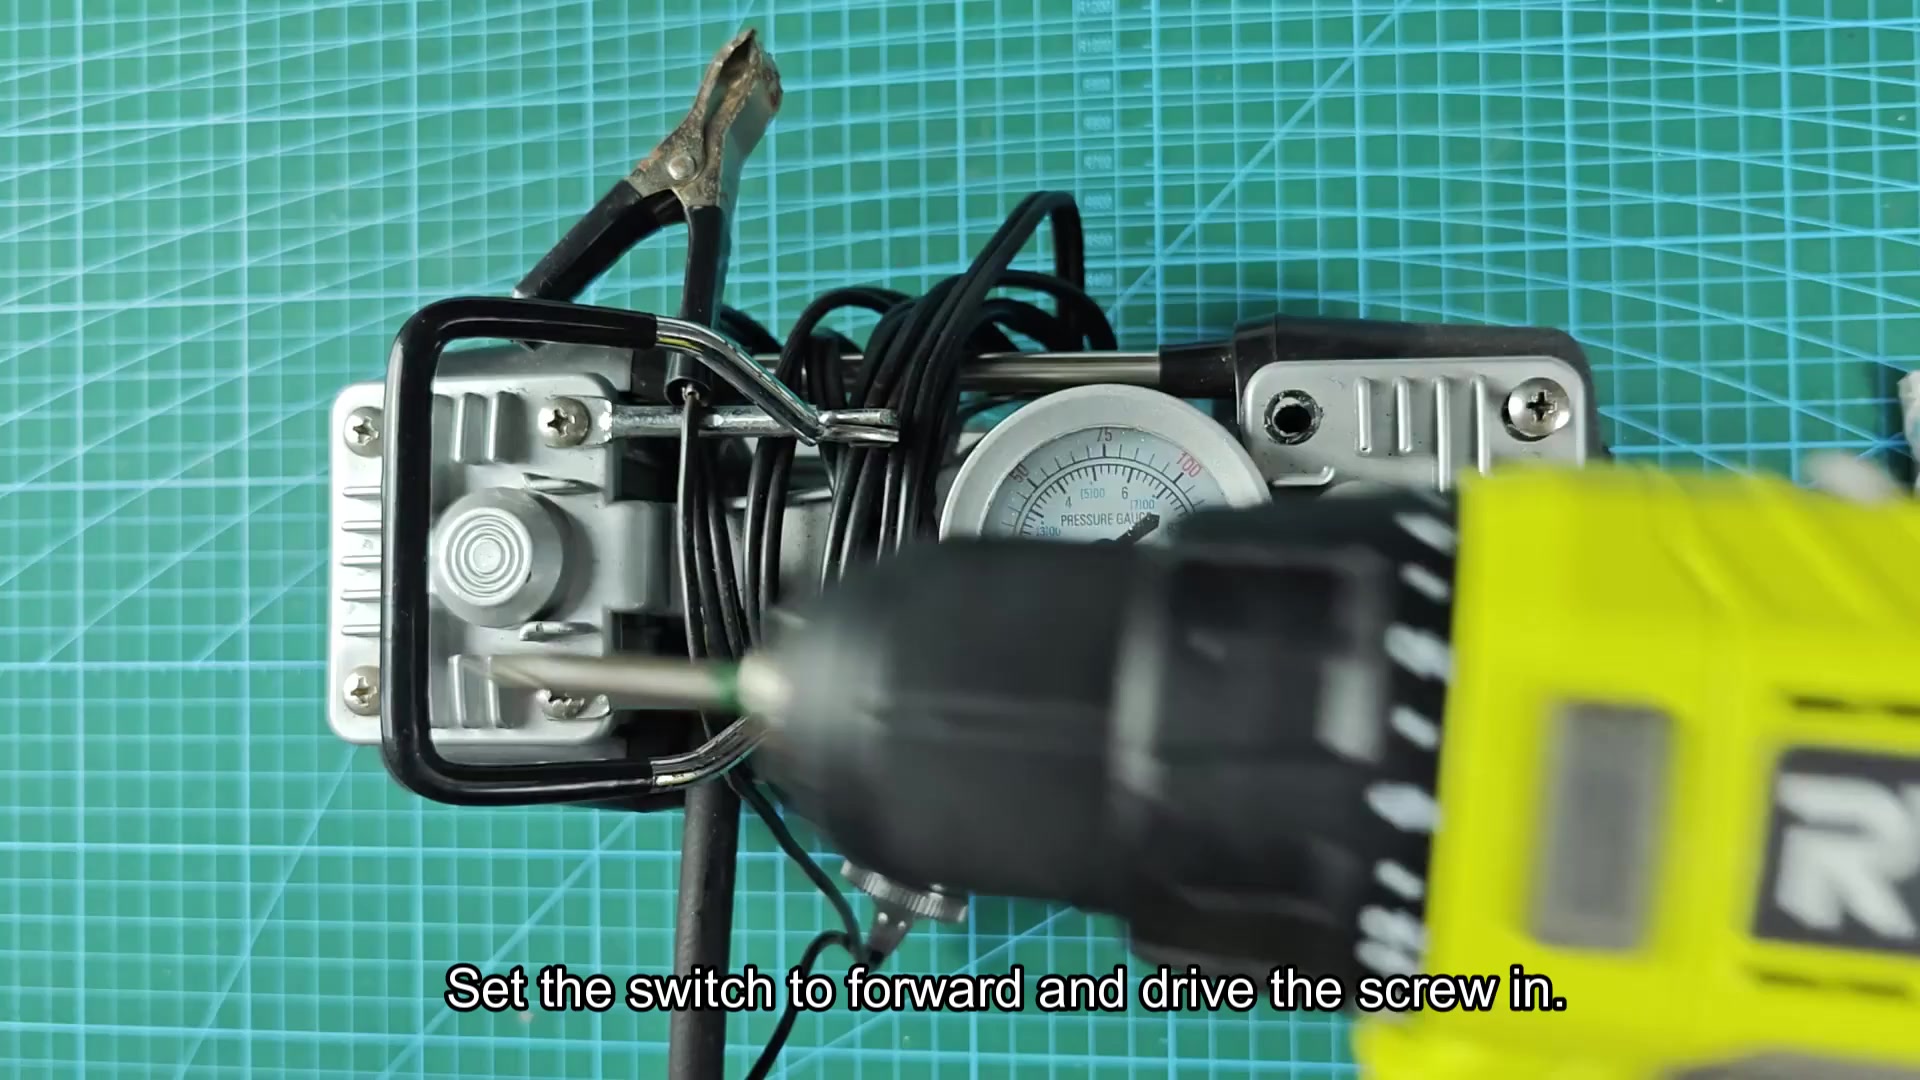
It’s easy to drive screws with appropriate settings and a firm grip. You can keep torque down low enough not to crack surrounding material. It tracks well, is responsive to the pressure you put on it and stays where you want it. When inserted, there is no slippage or wobbling. It is a good setup for attaching application.
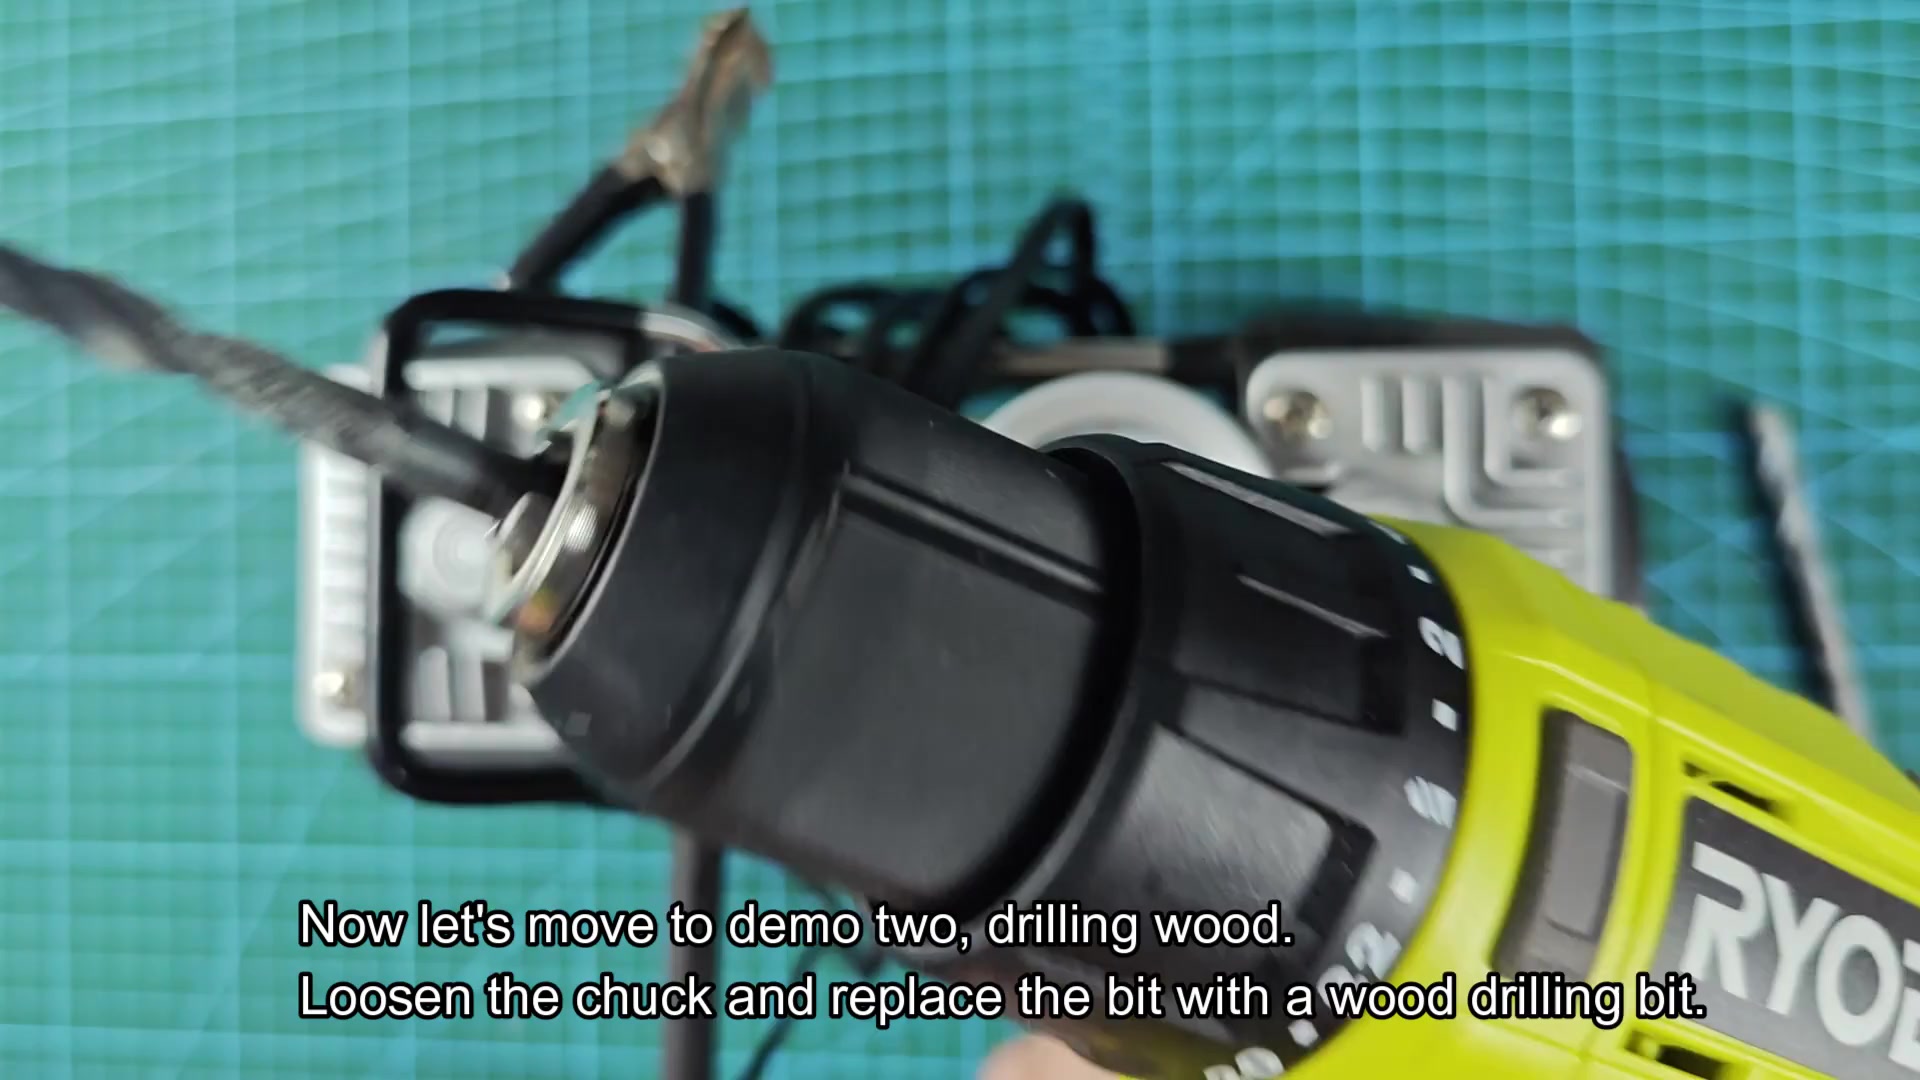
For wood: Change the setup and go to using a regular wood drill bit. Simply back off the chuck jaws (by hand) to loosen them enough to free up screwdriver bit, then swap for a regular wood drill bit (no additional tools needed). Tighten the chuck securely on the new bit to ensure a solid grip even under pressure.
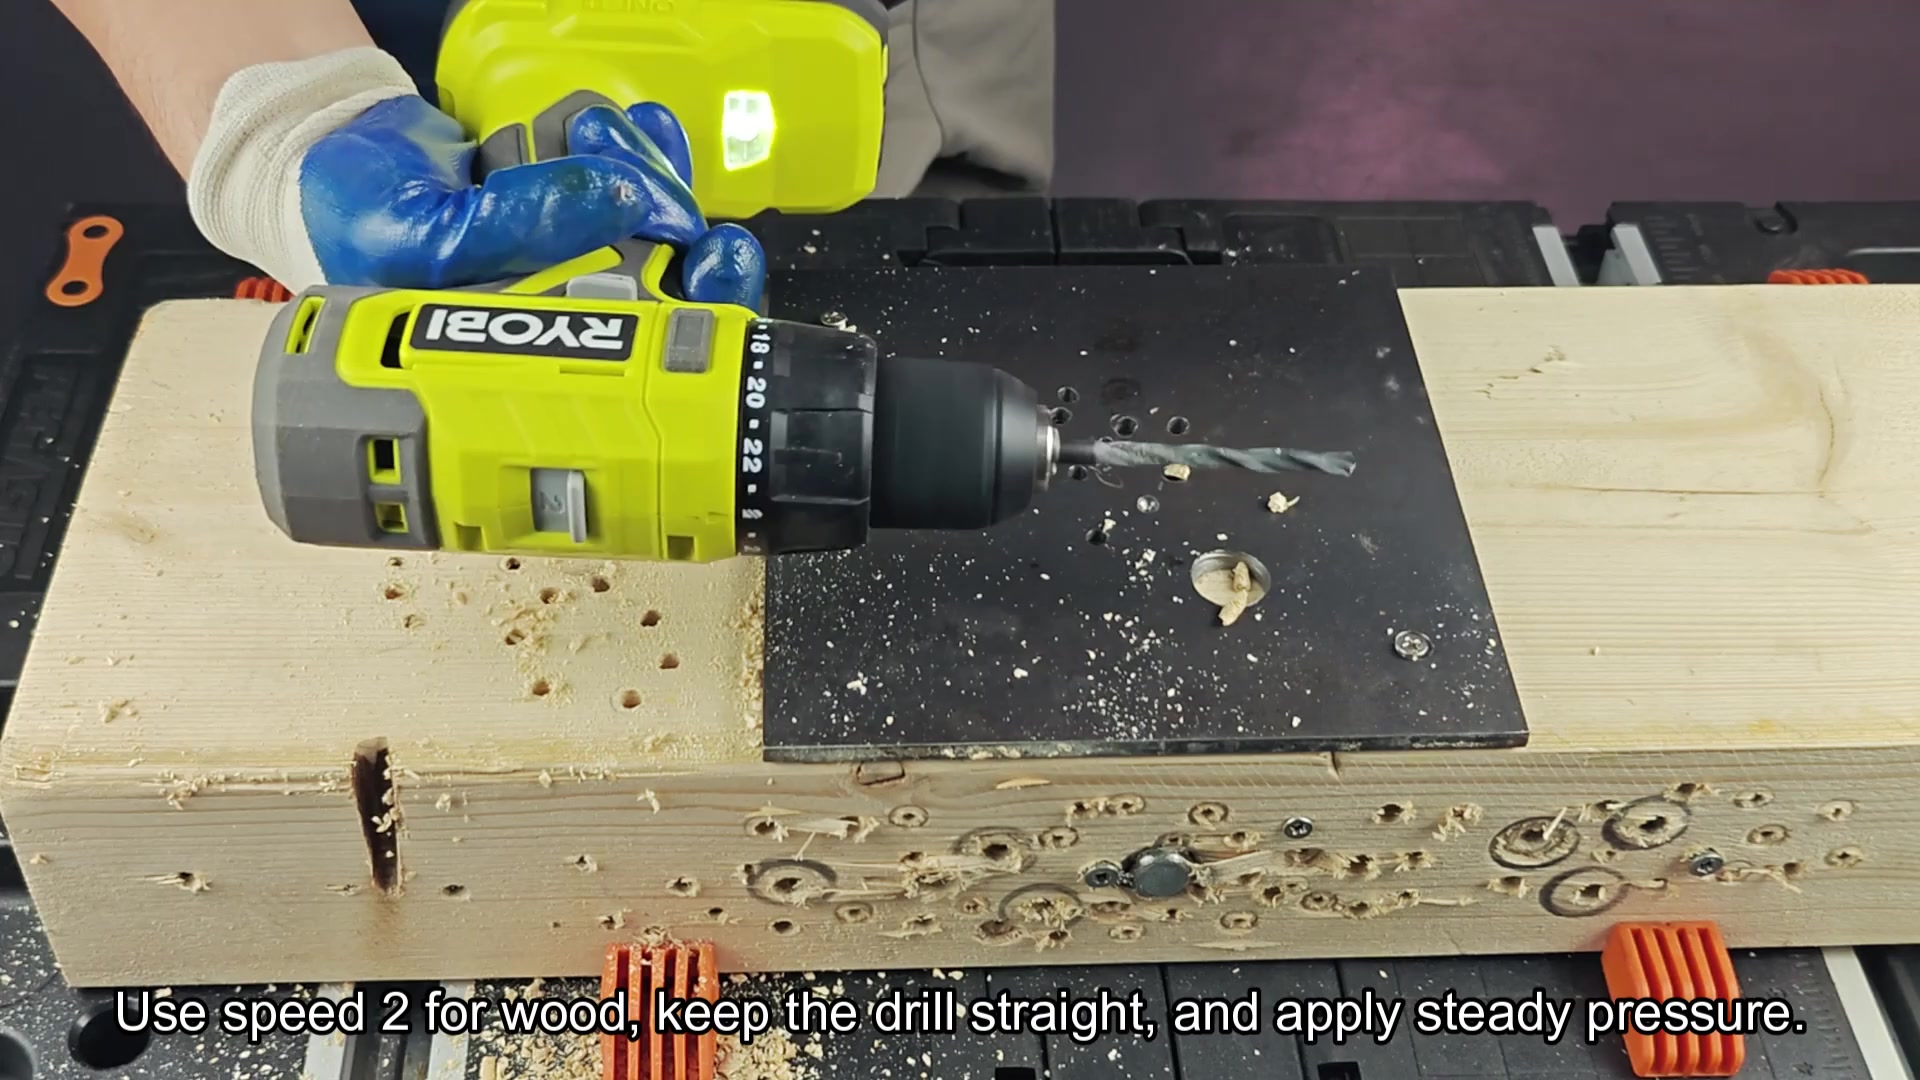
Set your drill on speed 2 (higher gear) when drilling through wood; this gives you more RPMs and will cut efficienty. Hold the drill level to ensure the holes is round and clean. Use even pressure to let the bit do the work. As the drill generates sawdust, it digs deeper fast! This makes a big difference in speed different than hand drilling.
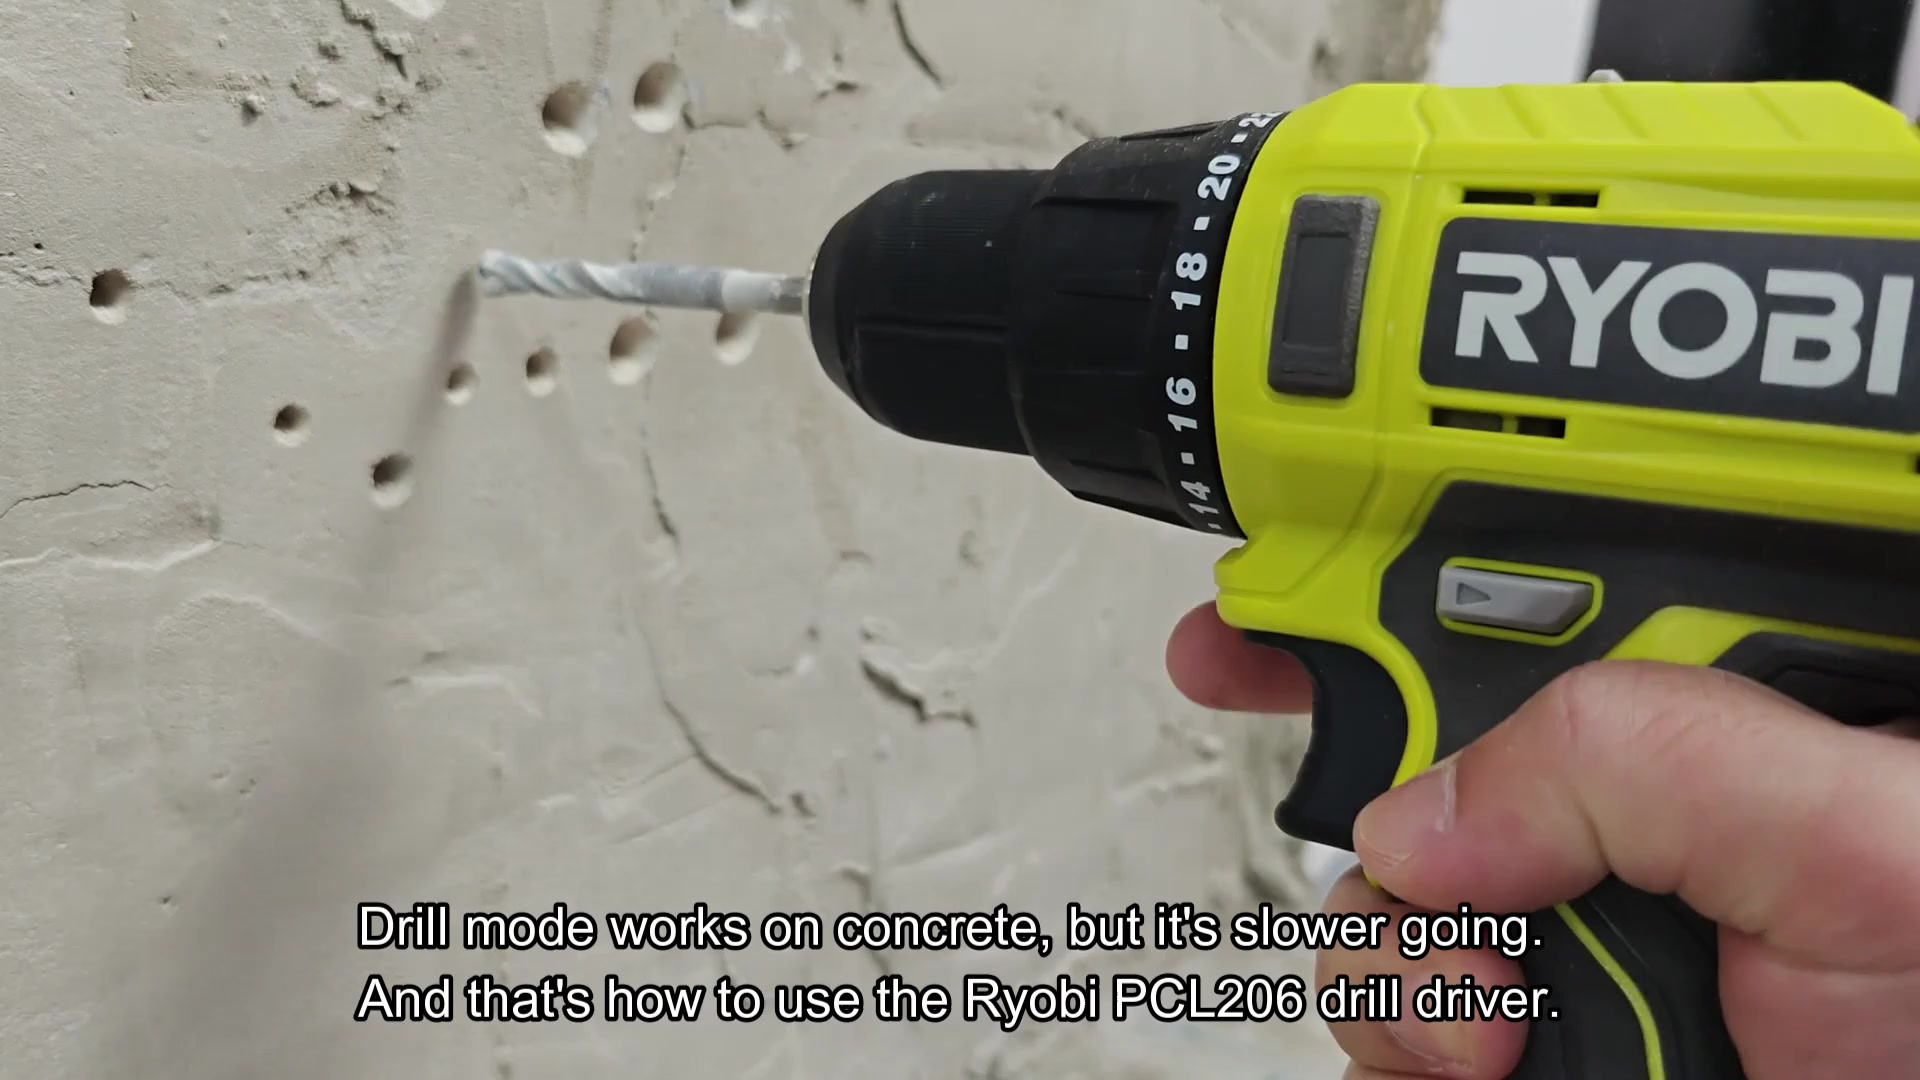
For the ultimate concrete test, slip a masonry bit onto the tool and press it against the concrete surface. Unlike true impact drills, which combine both percussive force and rotation, the PCL206 is strictly a rotational device with no hammer setting. It takes time to get started, and you must press down steadily to begin cutting into hole.
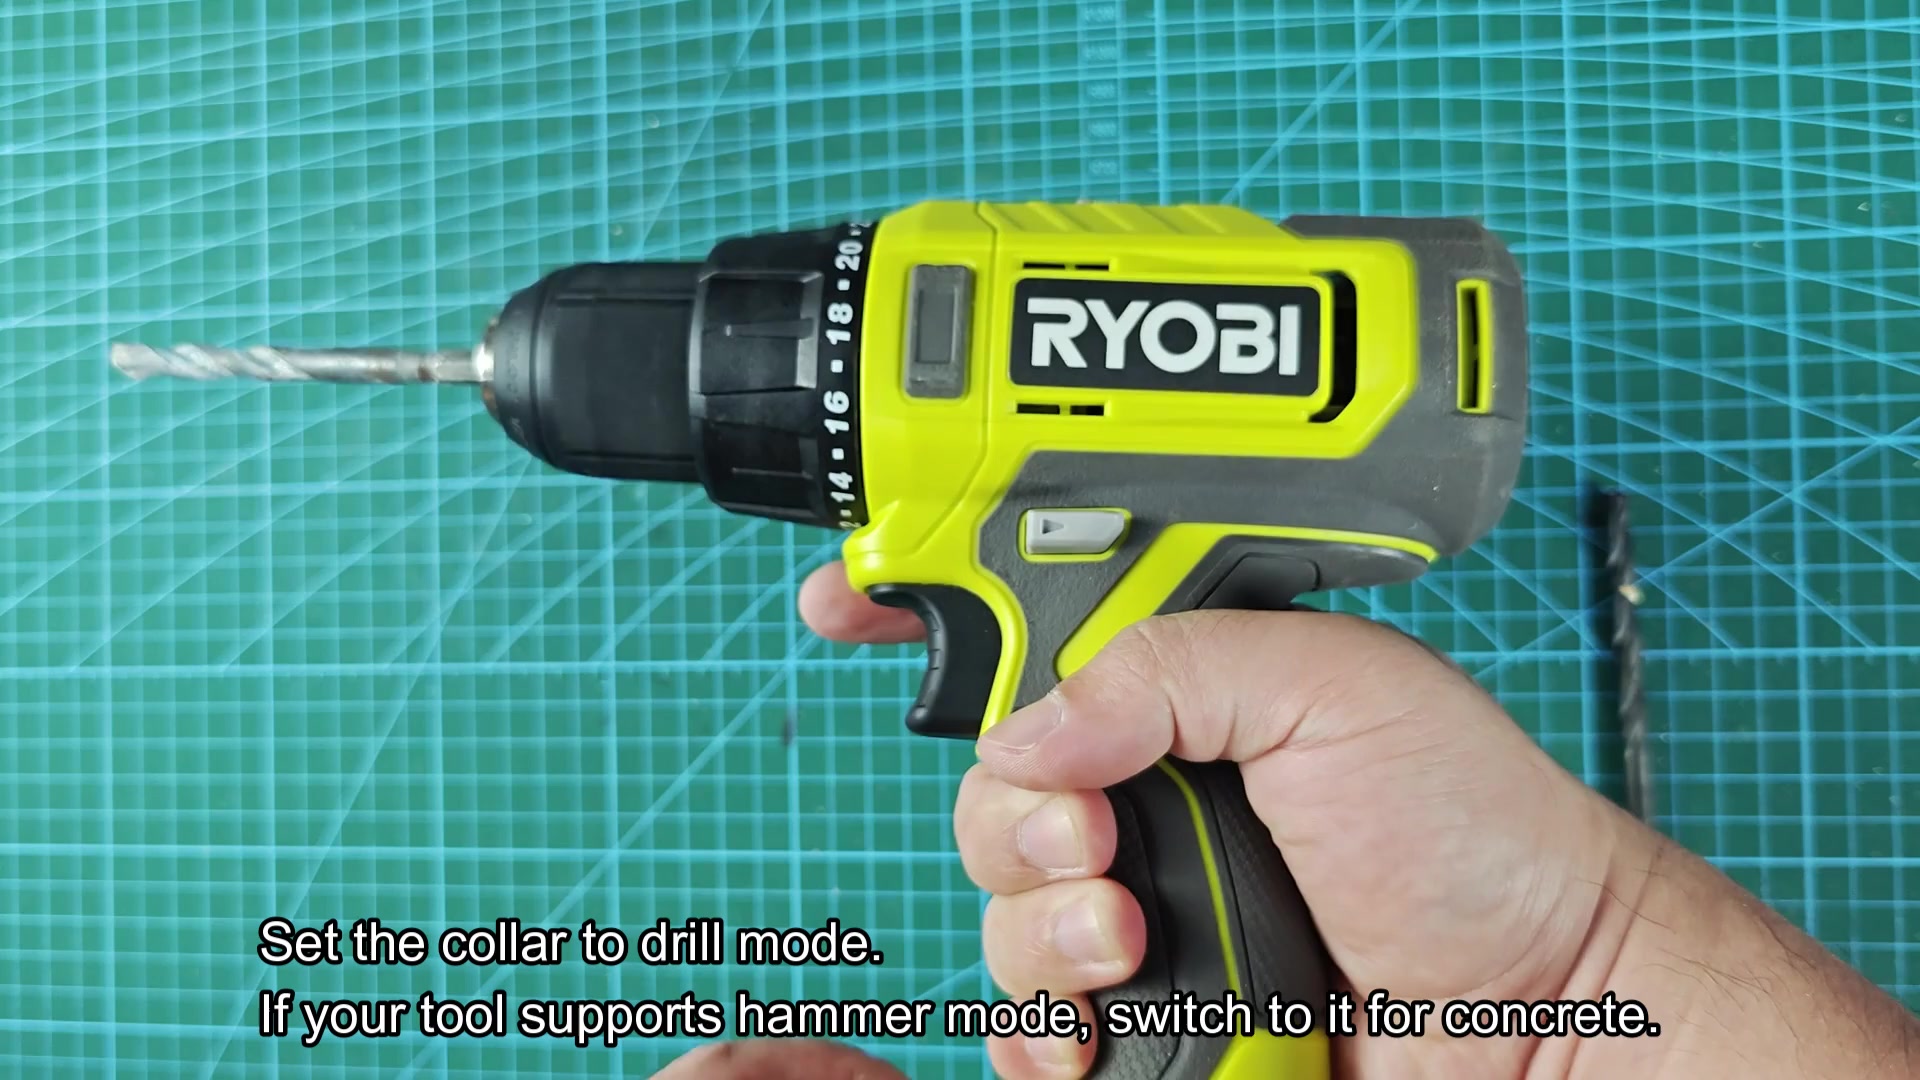
On concrete, drilling mode operate as expected. Although it’s noticably slower then on wood. There is no hammer action to break the material apart; instead, the bit grinds away at the material.
It still performs light duty task around the home. For demanding masonry work, switching to a true hammer drill will save you time. The PCL206 is mainly best for working with wood and screws. This helps clarify the tool’s role in your toolbox.
