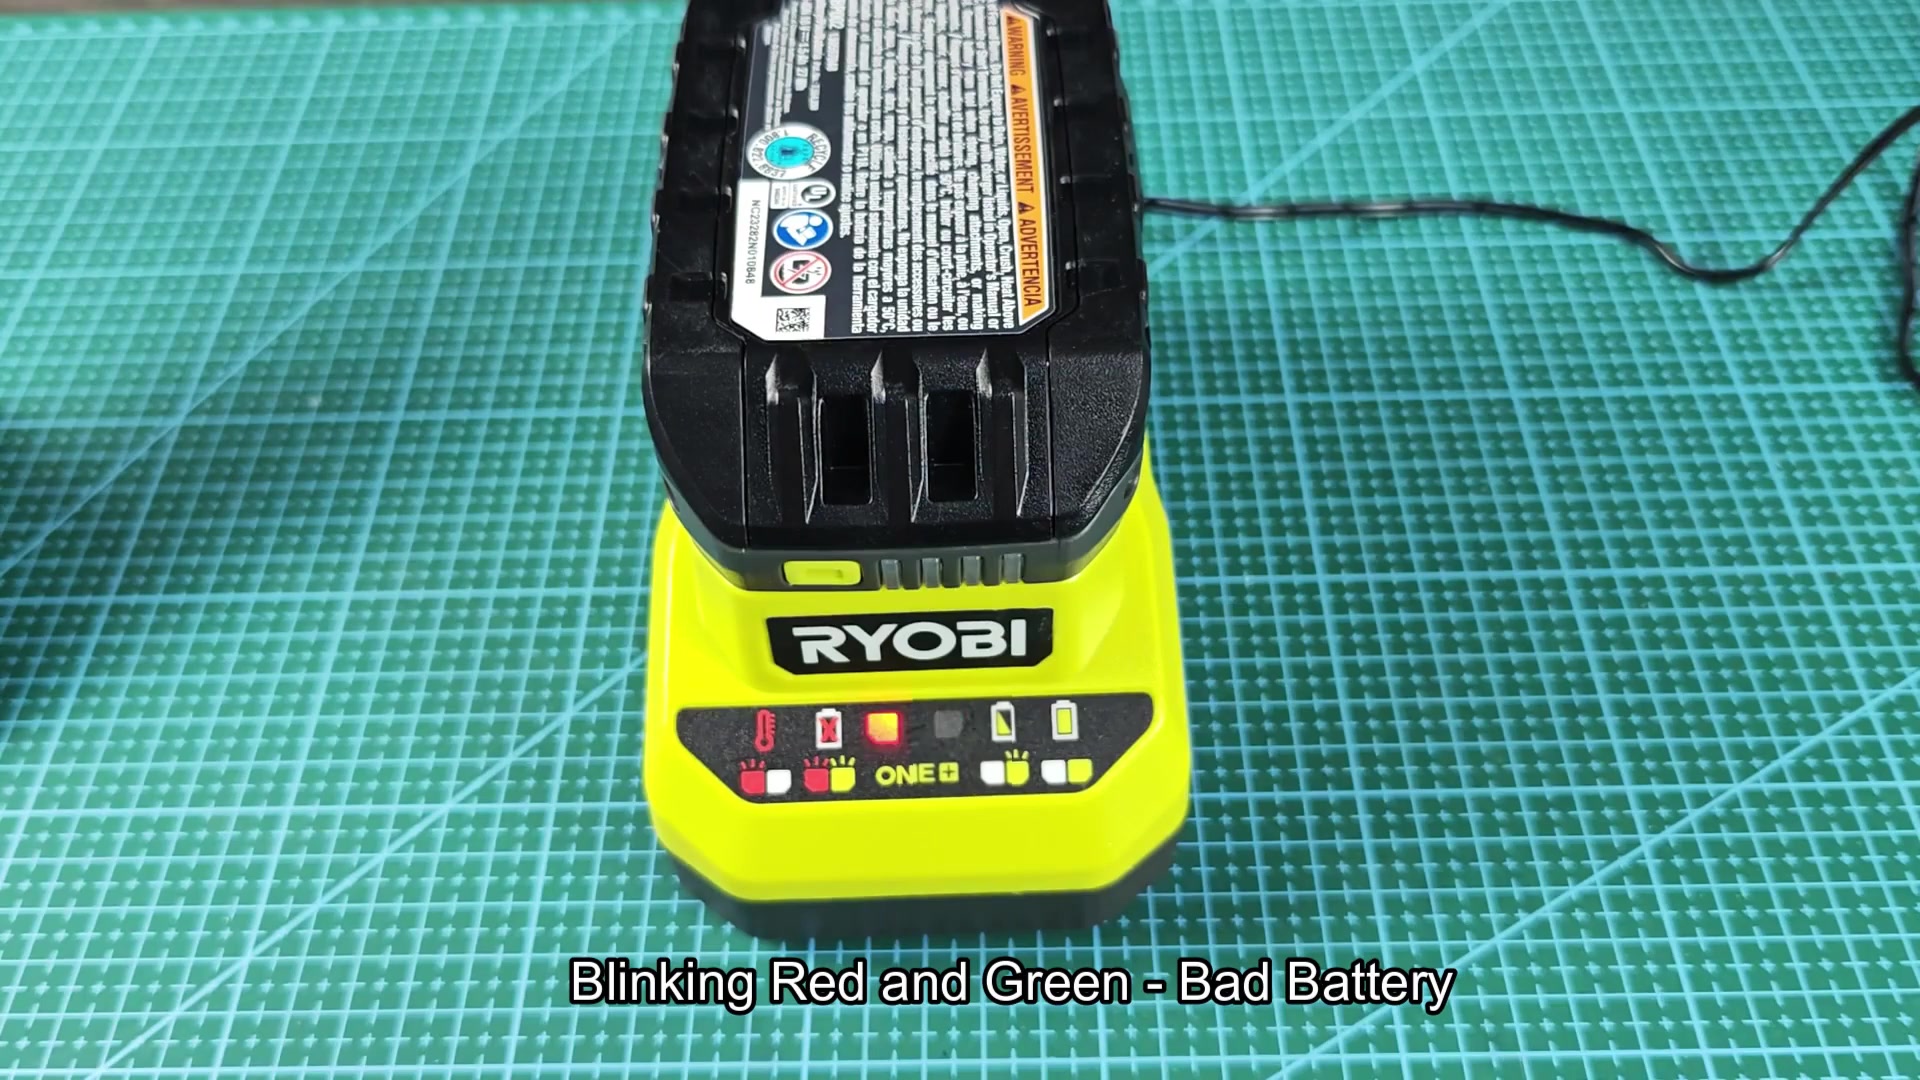
First thing is to take the battery out of your Ryobi tool. Push the release latch and slide it out. It will pop off and feel locked in place. Be sure to read how much power is left before continuing. There’s a button on the side of the pack that instantly shows how much power remains so that will save time down the road.
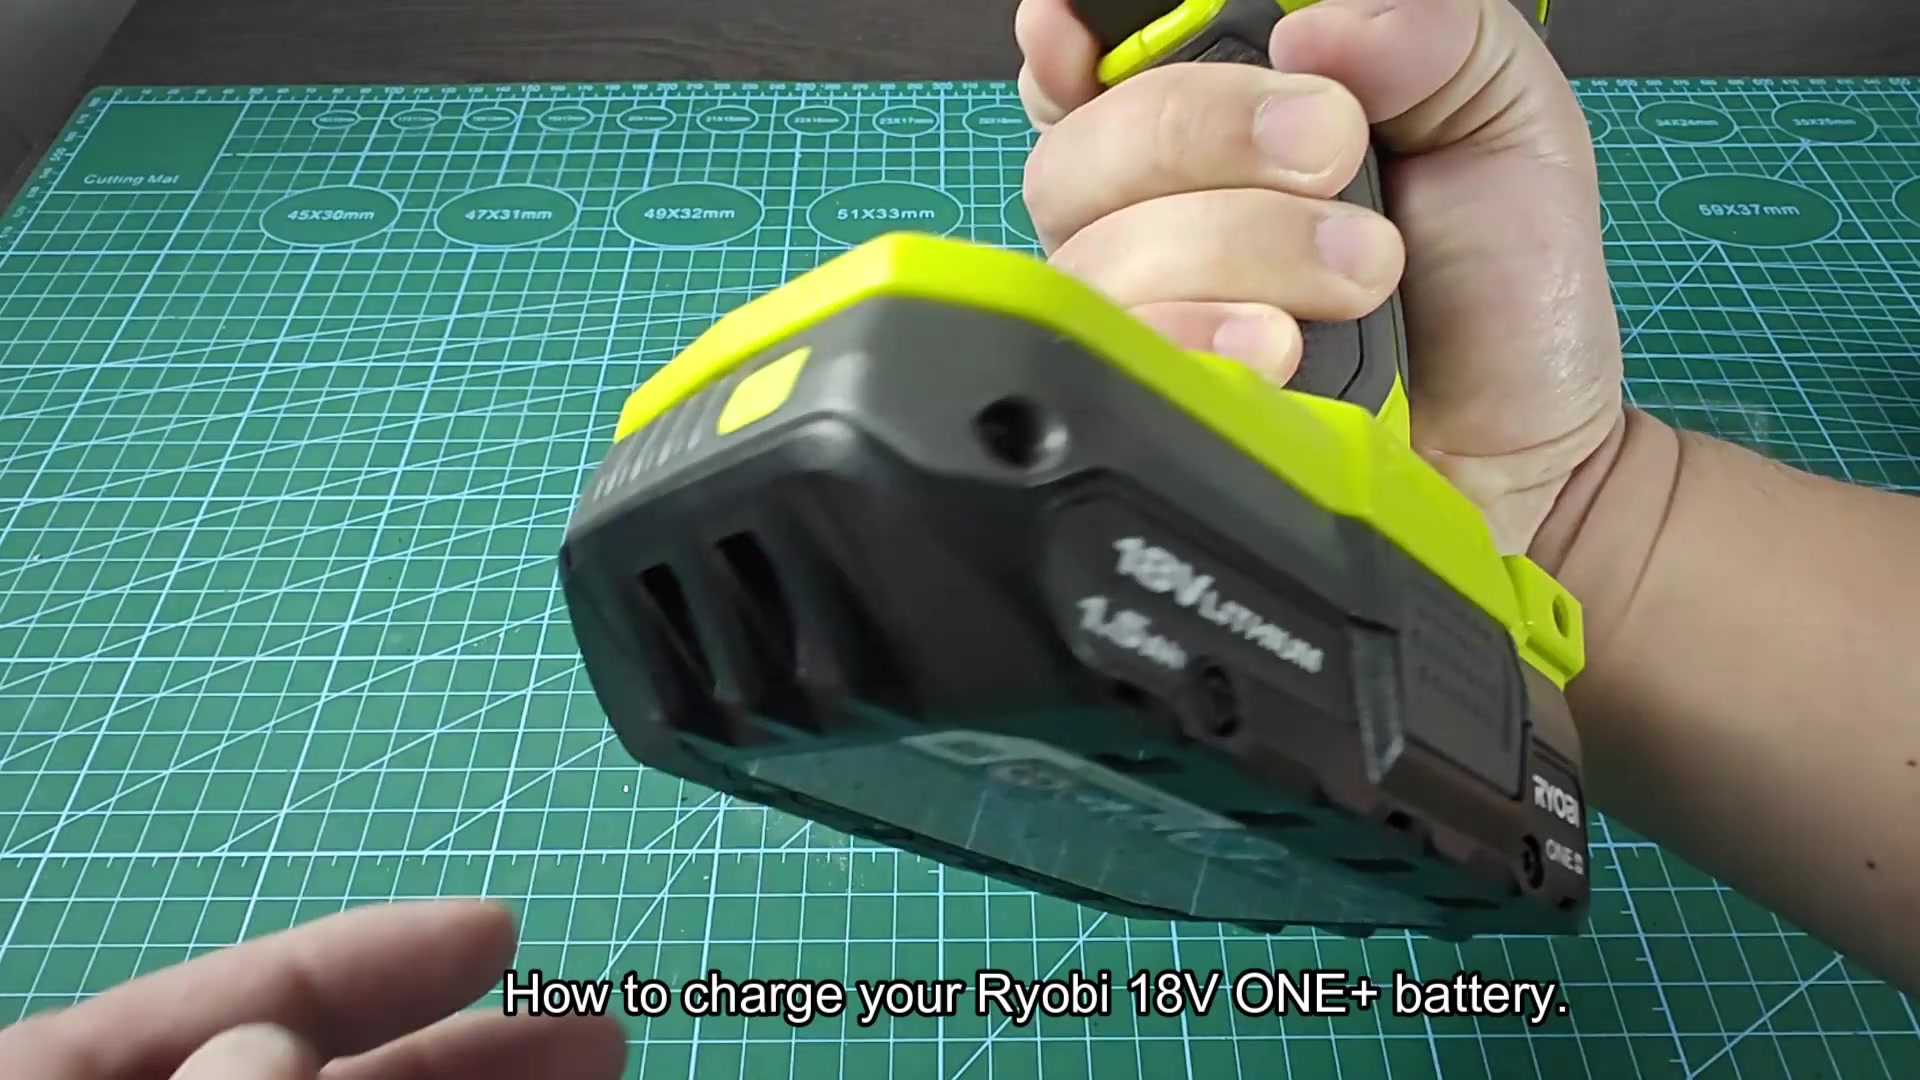
The battery detaches easy with a quick firm press of the release mechanism. The battery slides out without resistance, and this habit of detaching it prevents accidental discharge while storing tool. If the battery doesn’t slide out, don’t try forcing it as that can damage the release mechanism; just make sure the latch is completely pushed down.
Understanding Charging Times
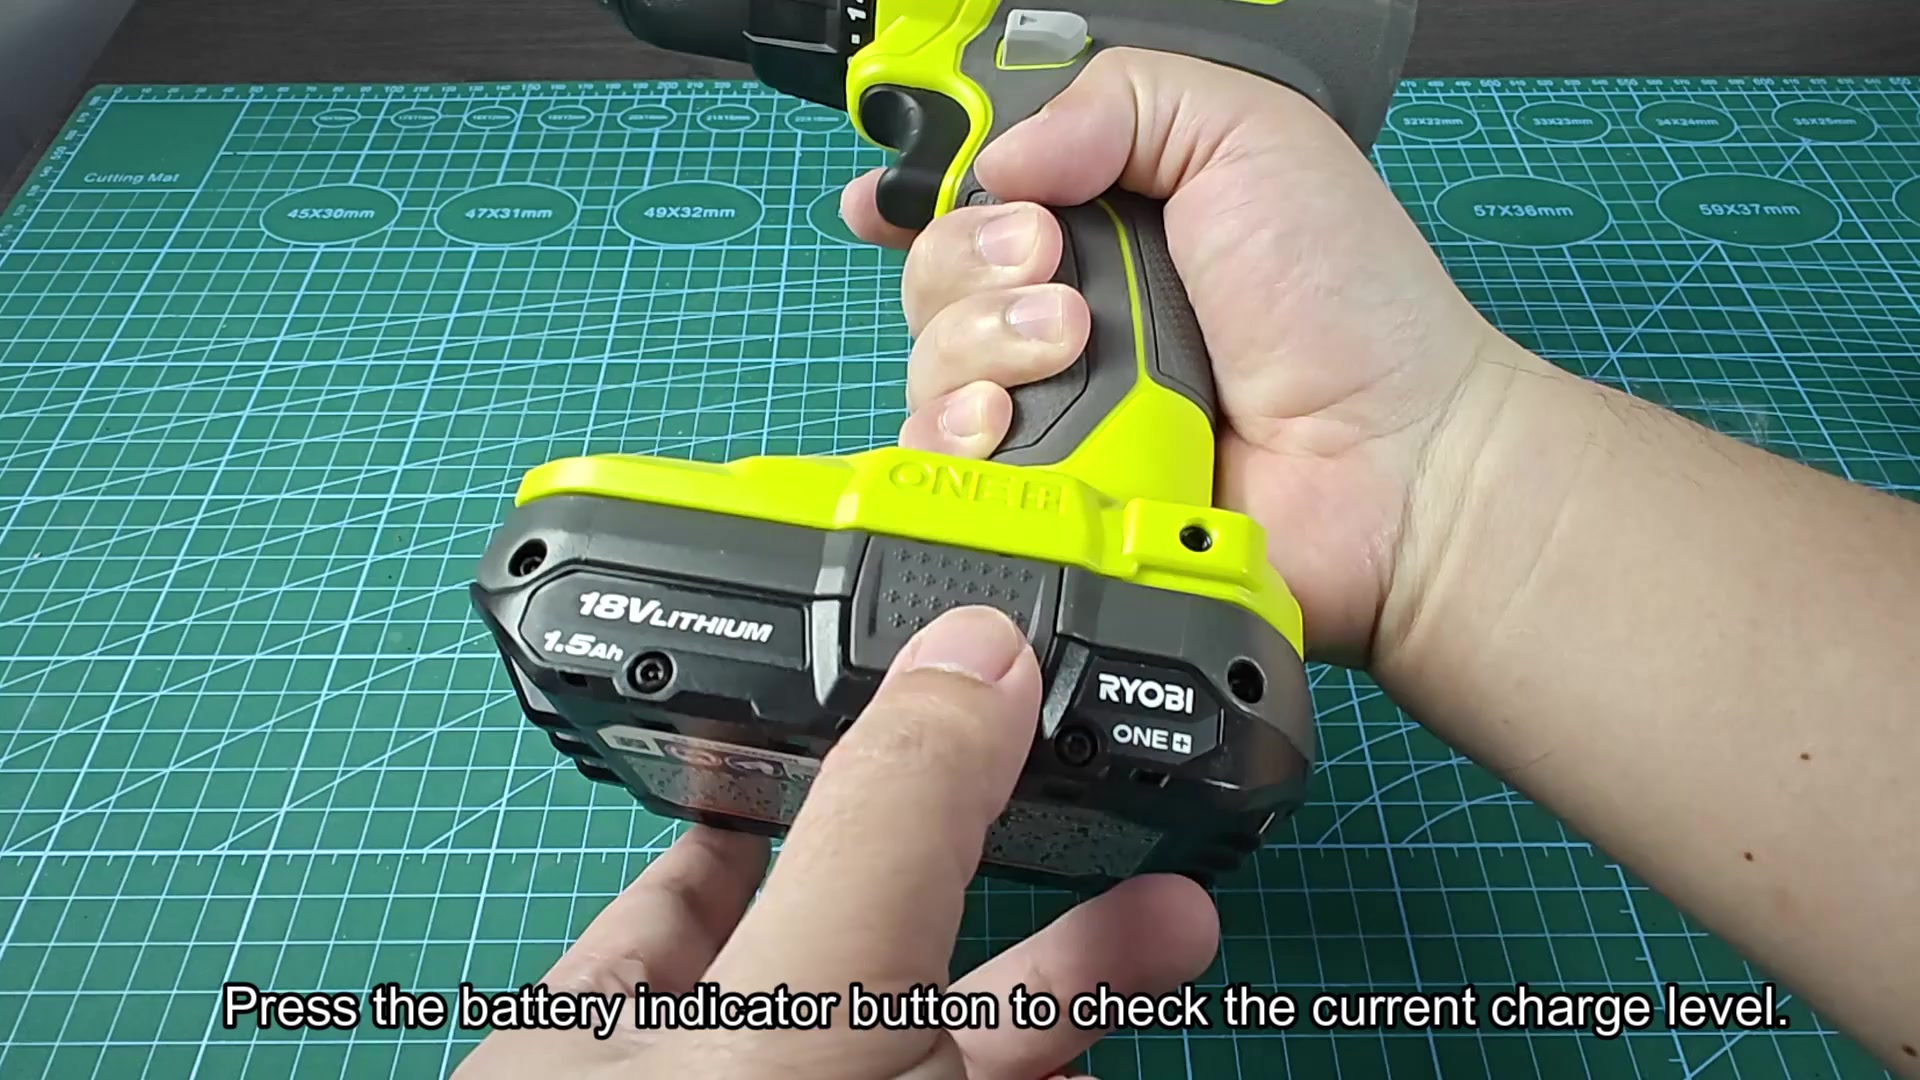
When plugging charger in, be sure to have clean contact areas for best electrical contact.
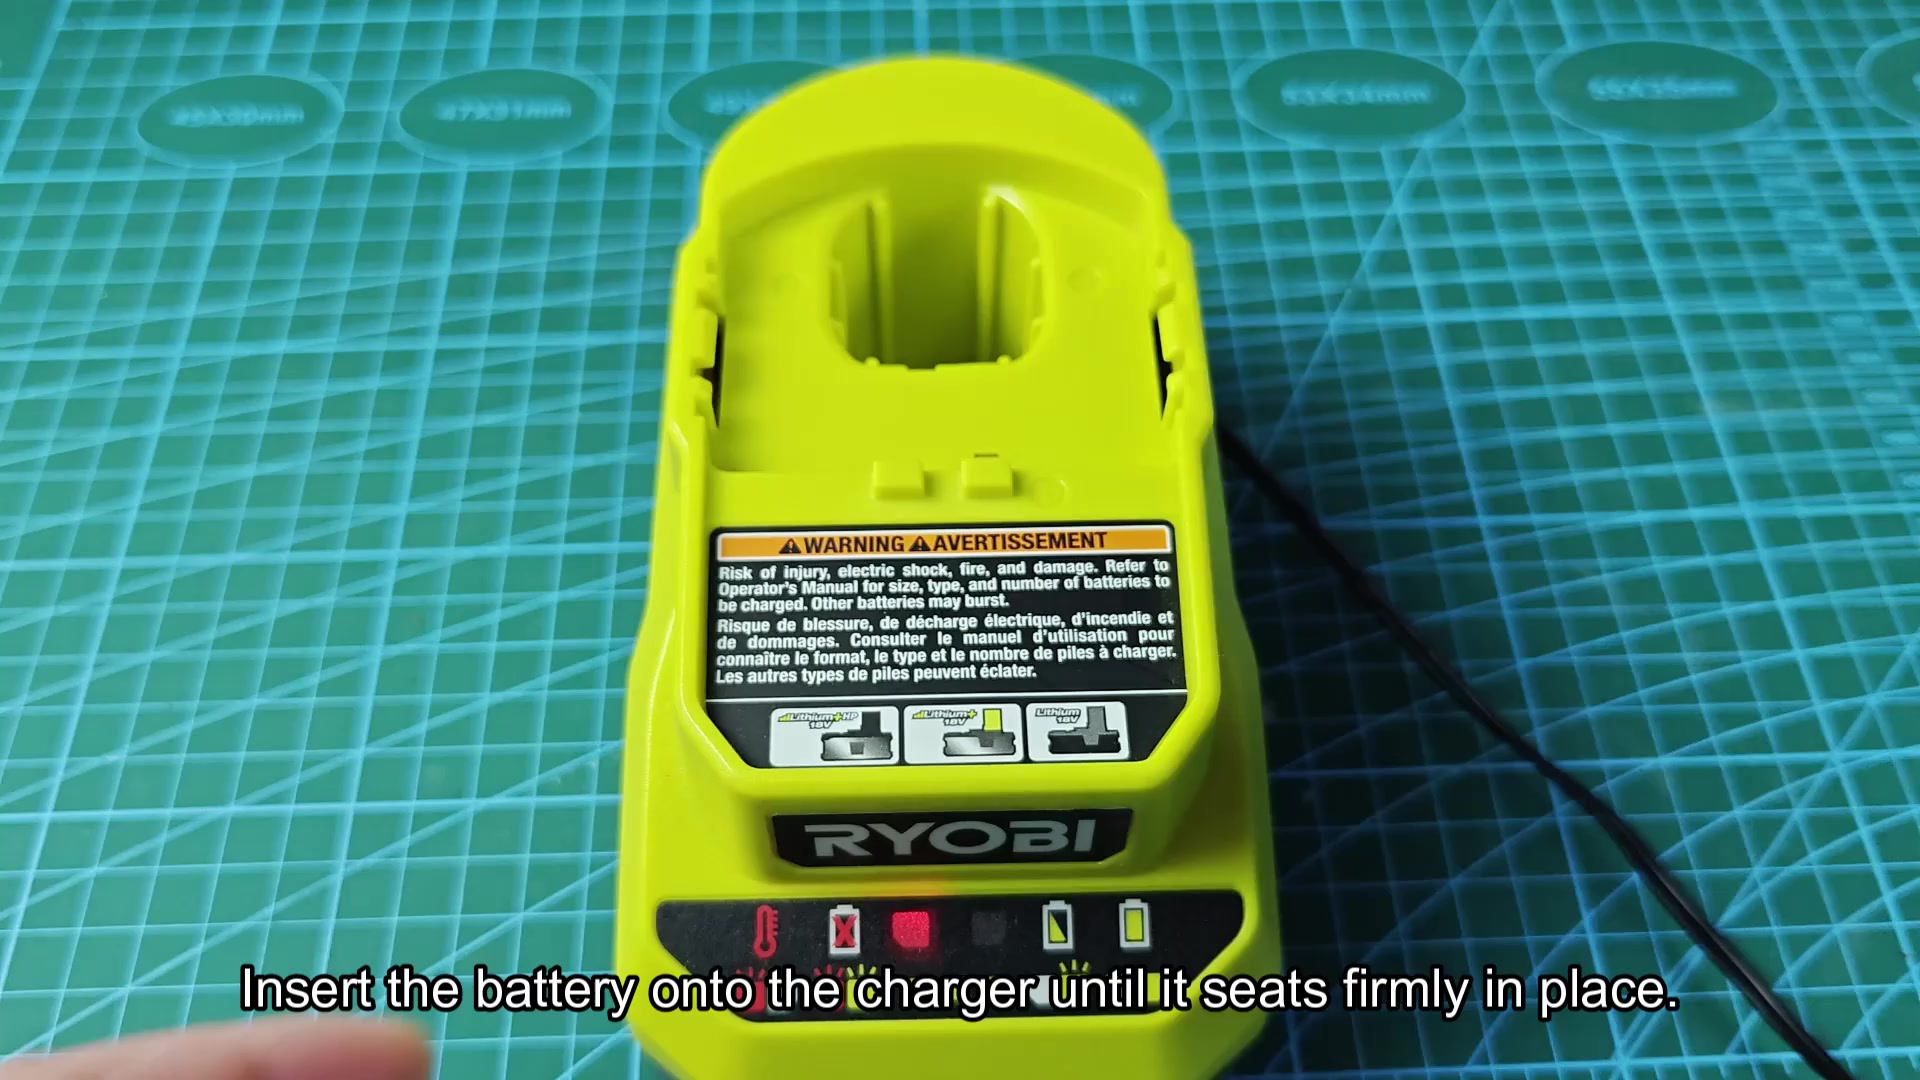
Notice how well the warning labels stand out on this charger, which is laying down on the work bench. It’s easy to see the indicator lights up front without having to dig around to find out what is going on with it later. You know exactly what is taking place within the unit by looking at the icon beside the LED light. You don’t have to guess when something goes wrong.
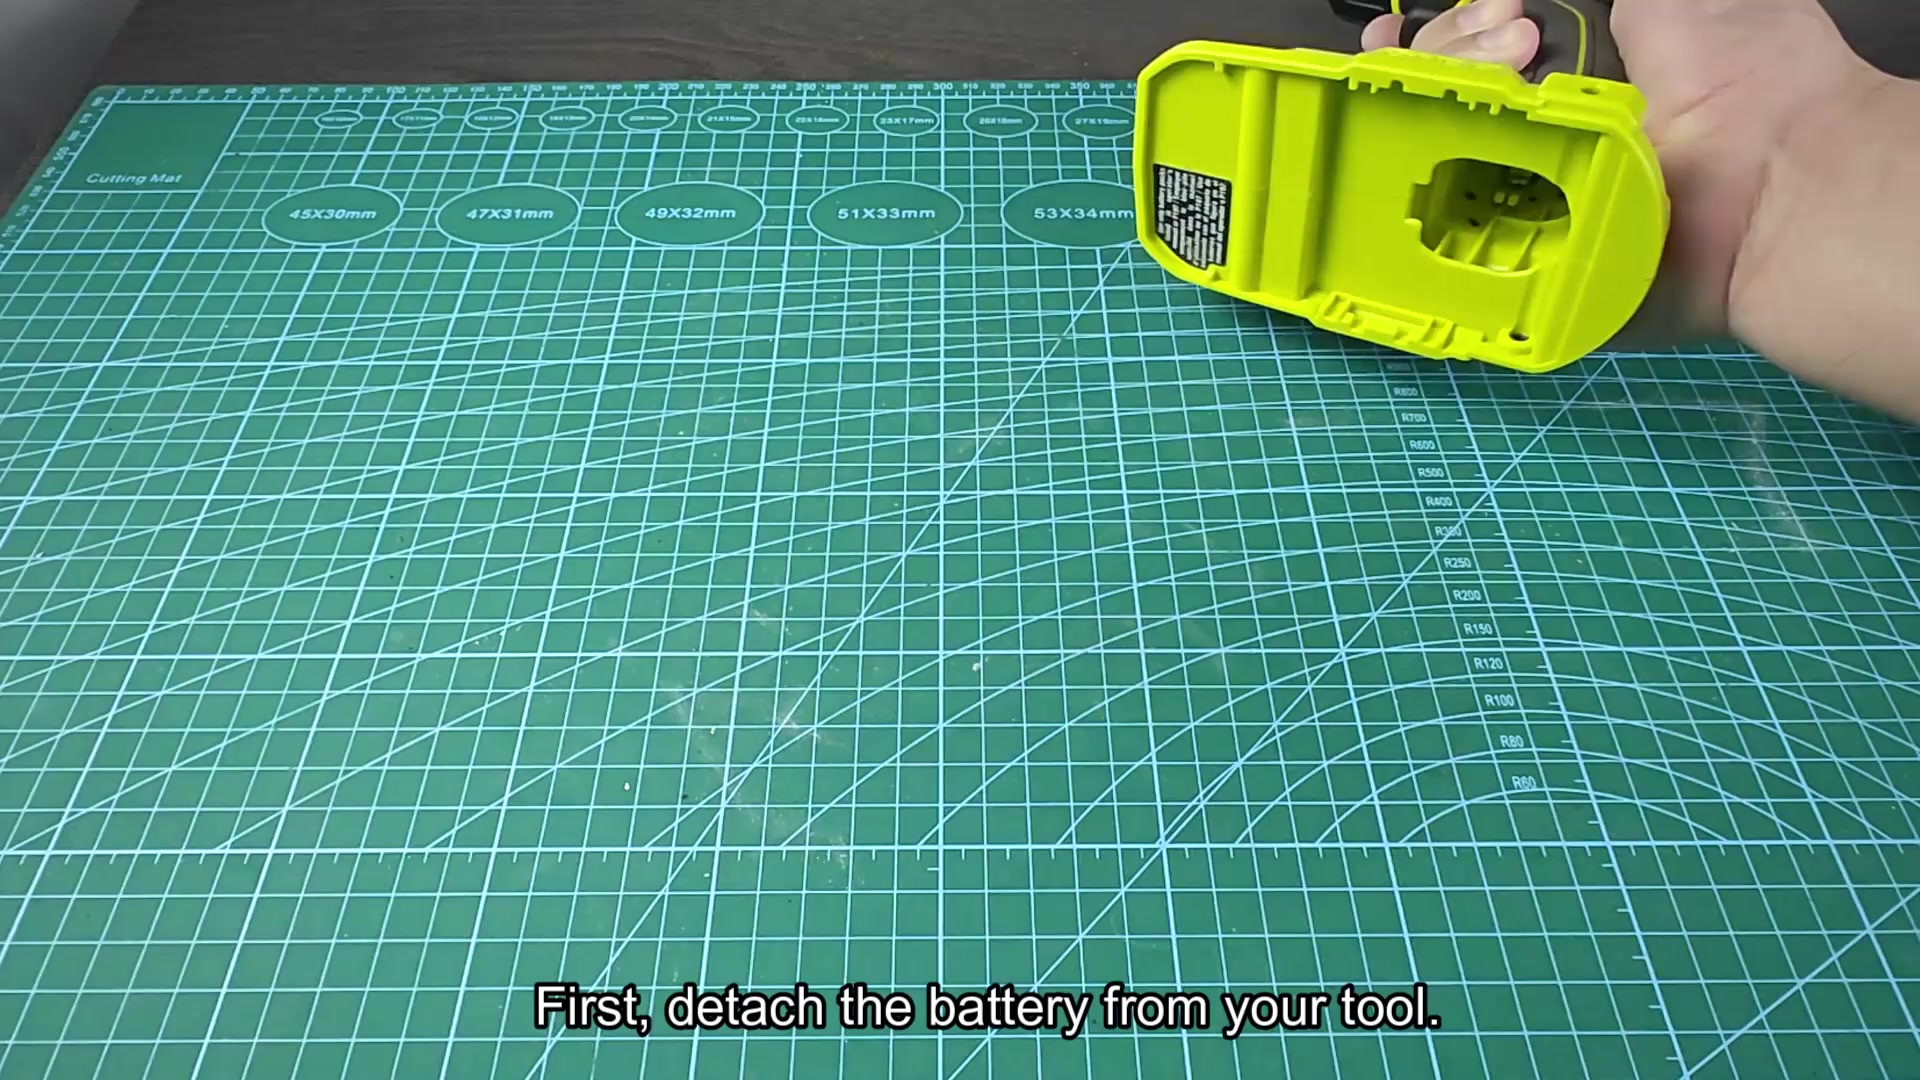
A simple change in colors lets you know what’s up. This doesn’t have to be a bad thing. It is just a way of letting you know about your workflow with less stress.
To insert the battery into the charger, it requires a bit of pressure at first because it must seat firmly (it needs to click so that it seats well). Slide it down until it locks into place. Then, make sure it is all the way in before you leave it alone. If it’s not all the way in, it won’t charge right and can even damage the port. But it’s snug enough that you don’t have to hold it steady once it’s in there. Then it just goes on its merry way and charges up while you’re not touching it.
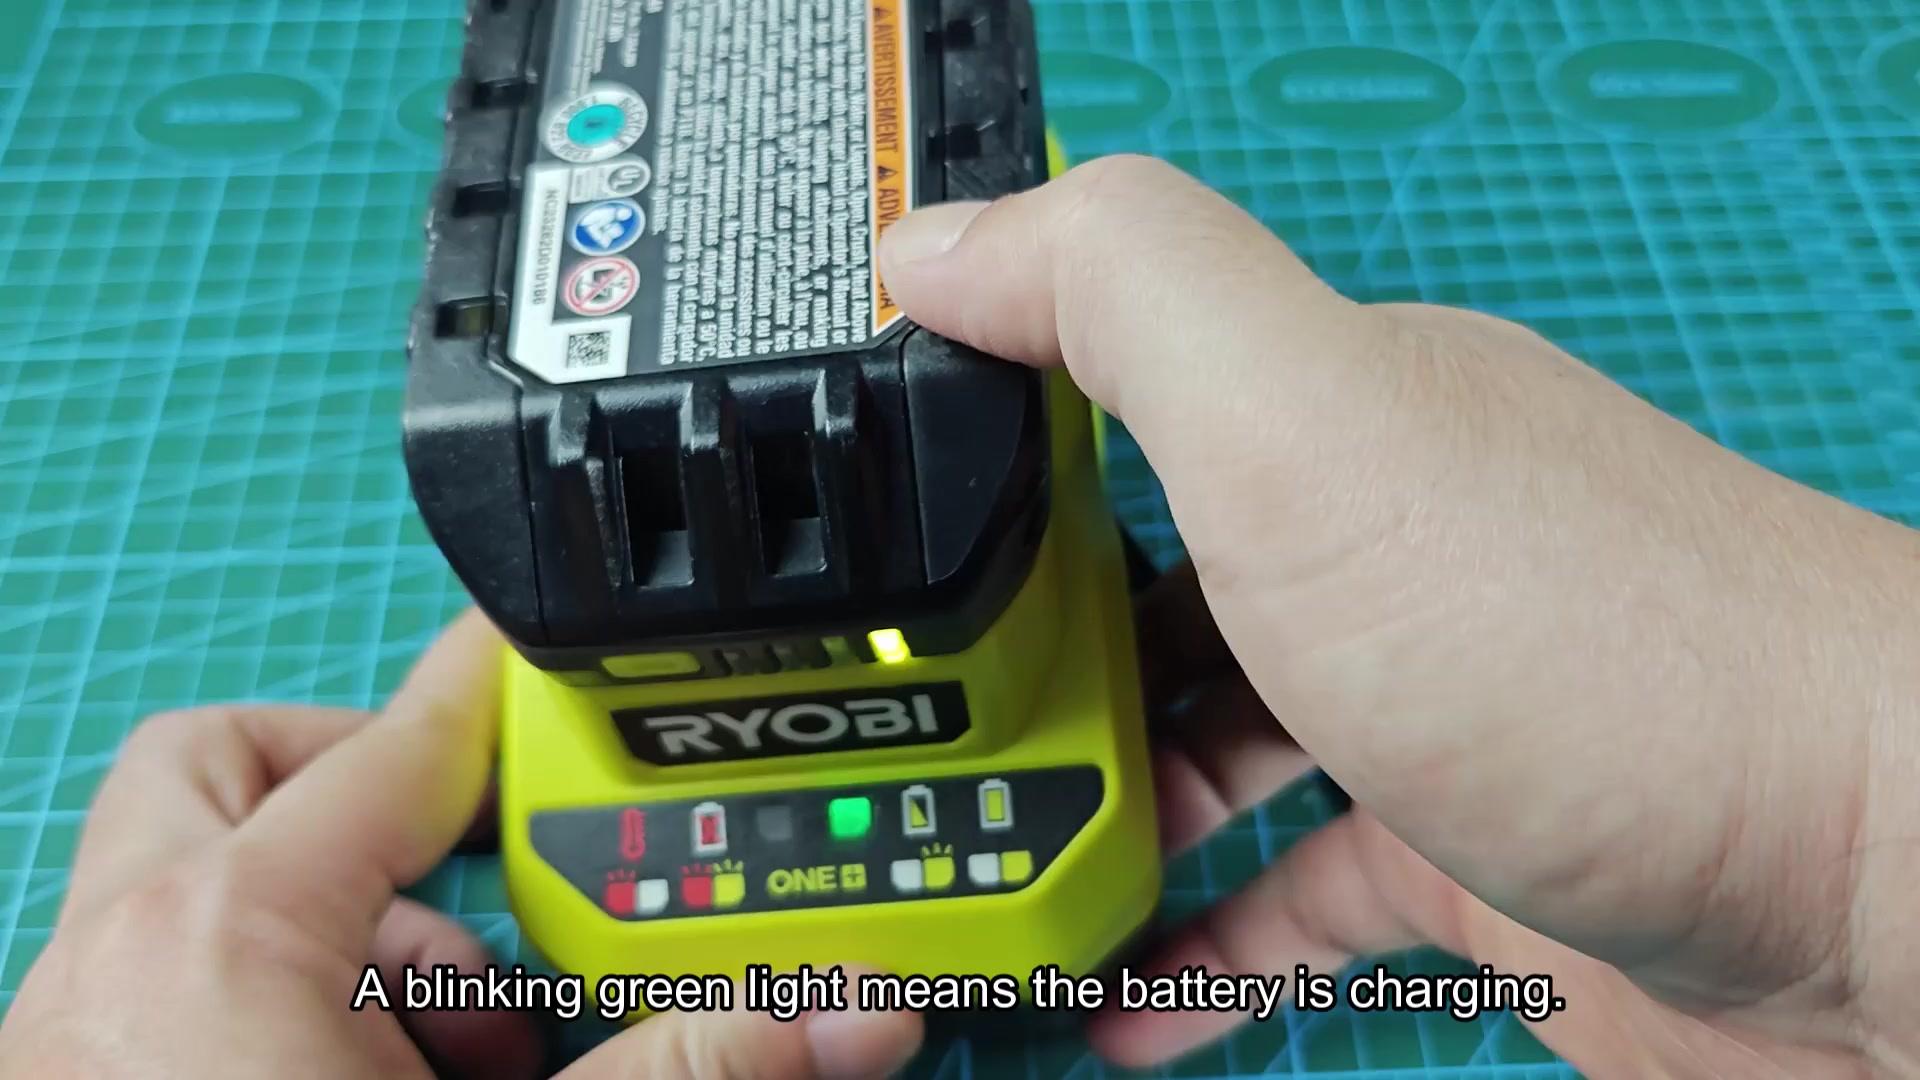
When you start charging it, the little green light will flash real quickly, letting you know power is going into the cells. It’s okay to wait a couple seconds and observe it flashing just to make sure things are alright, otherwise perhaps your cable or outlet isn’t working. In most cases, though, the green pulse lets you know it’s on its way. How fast it flashes tells you how urgent it is; it will blink faster when the battery need filling.
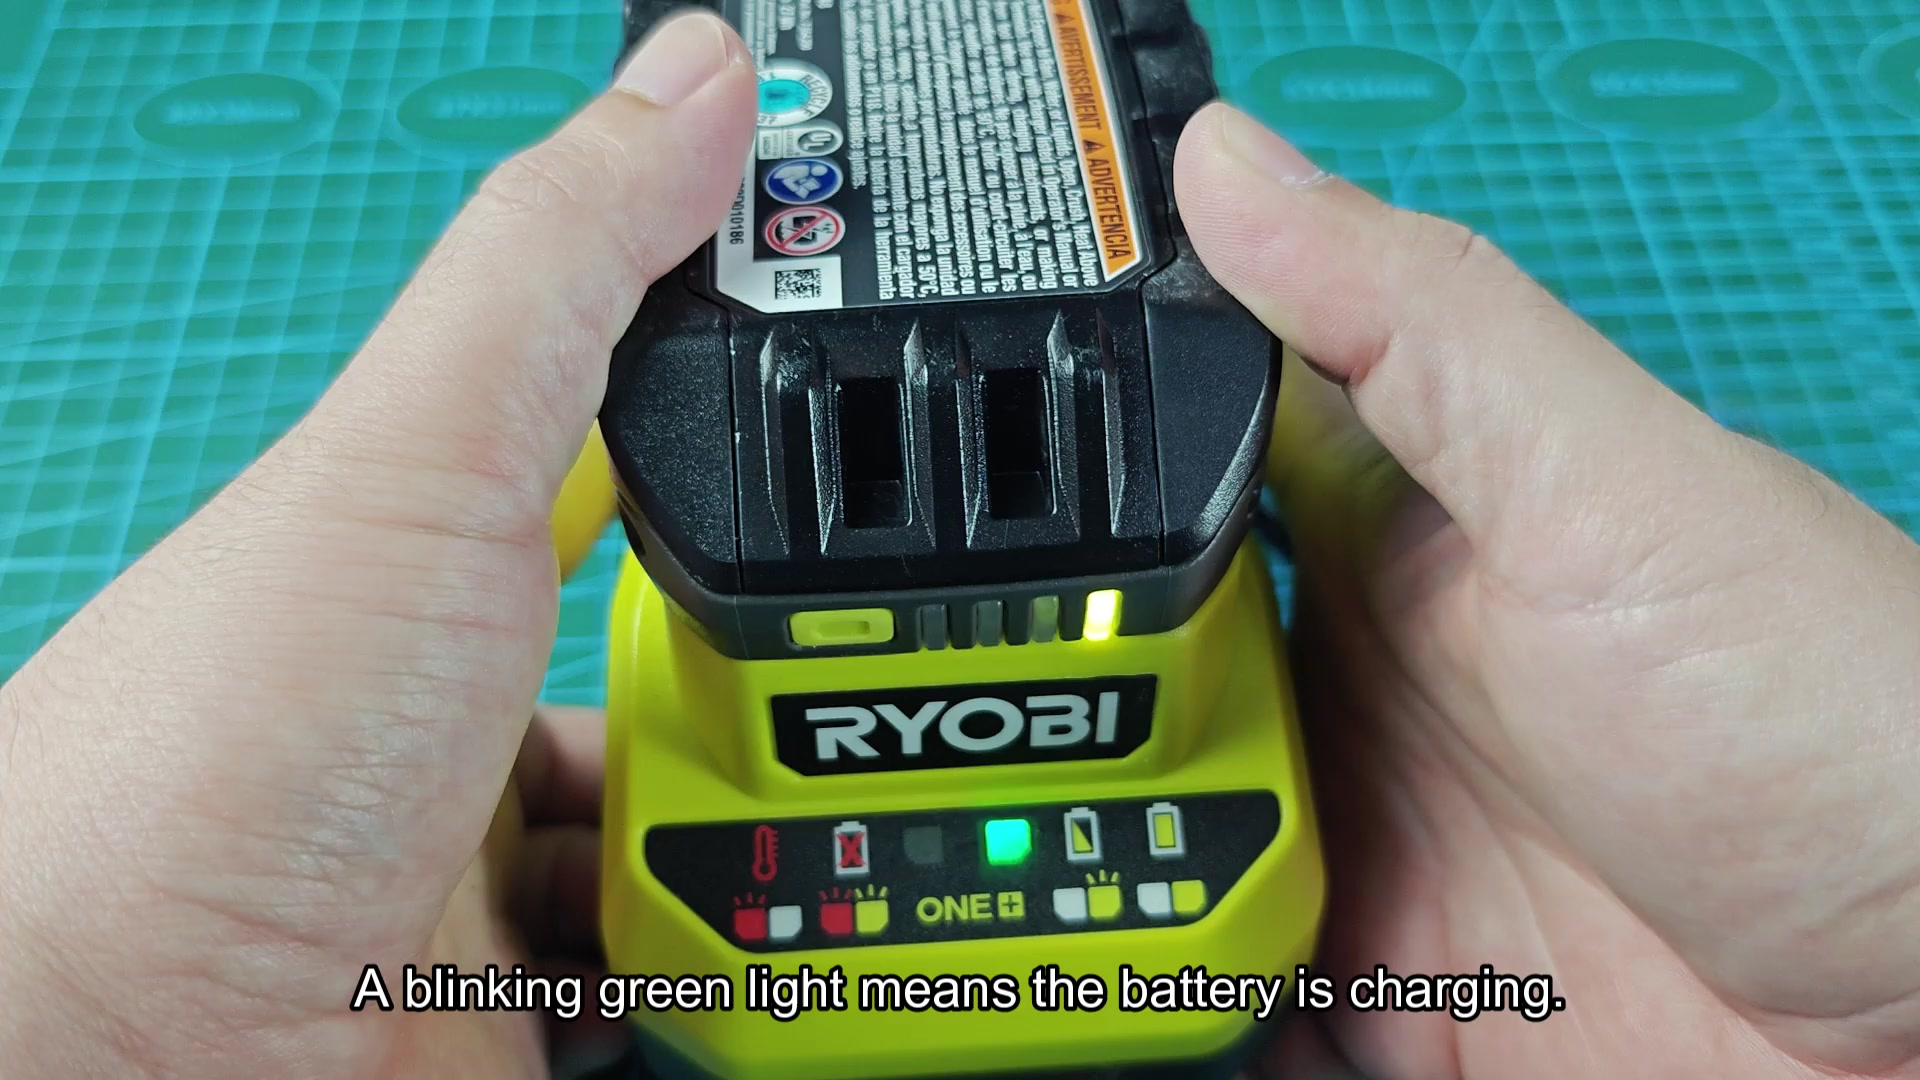
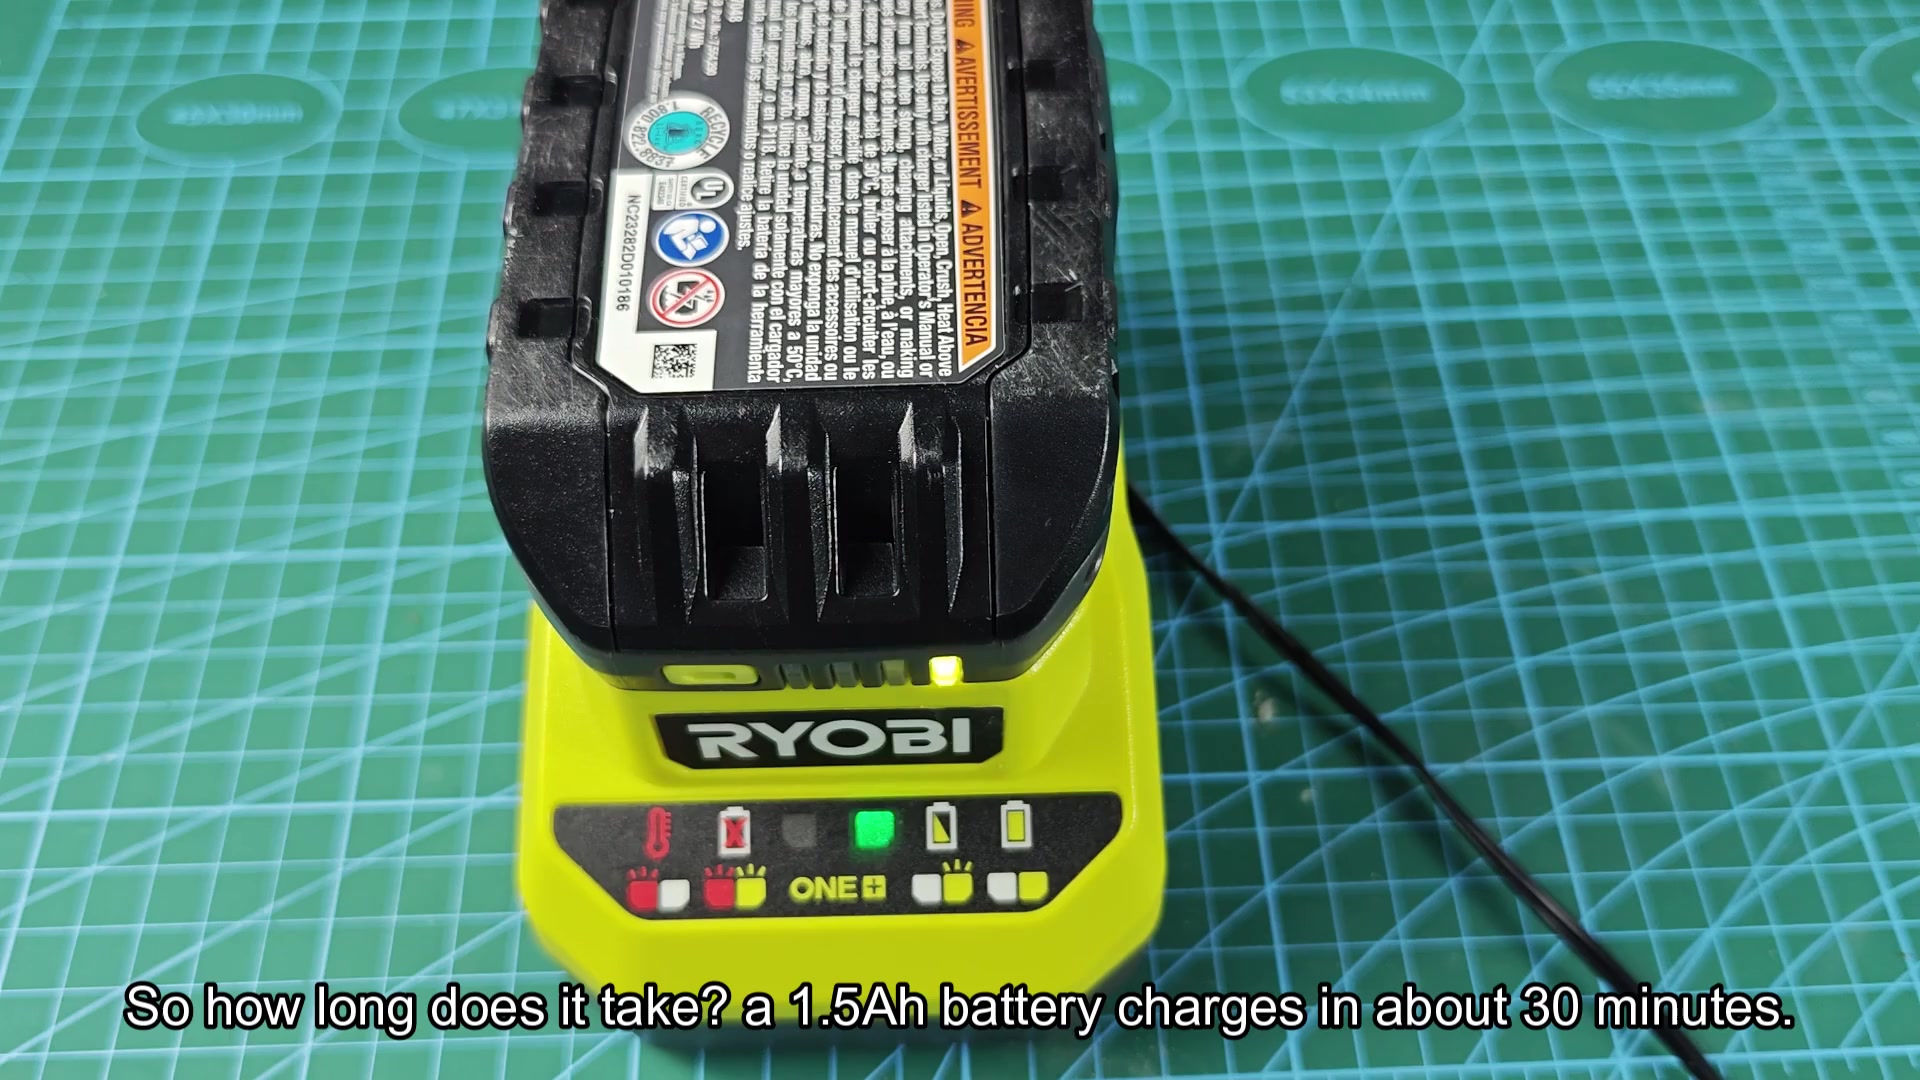
If you have a larger or smaller pack, then it will depend on how fast that charges. For example, my small 1.5Ah pack charges in roughly half an hour from empty to full. This is ideal for those jobs around the house. With a larger one, more capacity means more time filling. Plan ahead and stay on top of your projects when you’re charging up.
A full charge on the mid-level 4.0Ah battery takes between one and two hours, usually taking about an hour. That’s a sweet spot for most jobs: not too long to wait but still enough runtime for most jobs.
The big boy 6.0Ah will take around an hour and a half to charge. That’s about fifteen extra minutes compared to the 4.0Ah option. Usually, you use this bigger battery for heavy drilling or long cuts. Battery life matter more when you’re putting more juice to the drill.
The key though is knowing when not to wait anymore. When the cells are fully charged they stop blinking altogether. At this point take out your battery right away. Moddern lithium batteries don’t need to be left on charge any longer. They give off a solid glow when they’re ready to rock. There is no guessing about whether the battery is eighty percent or one hundred percent full.
Reattaching the fully charged battery to the tool feels satisfying because it slides back into the handle until it locks. Once you’ve got it on there you can feel that click to know it’s locked in place. And you’ll want to pull on it a bit to make sure it is in place correctly.
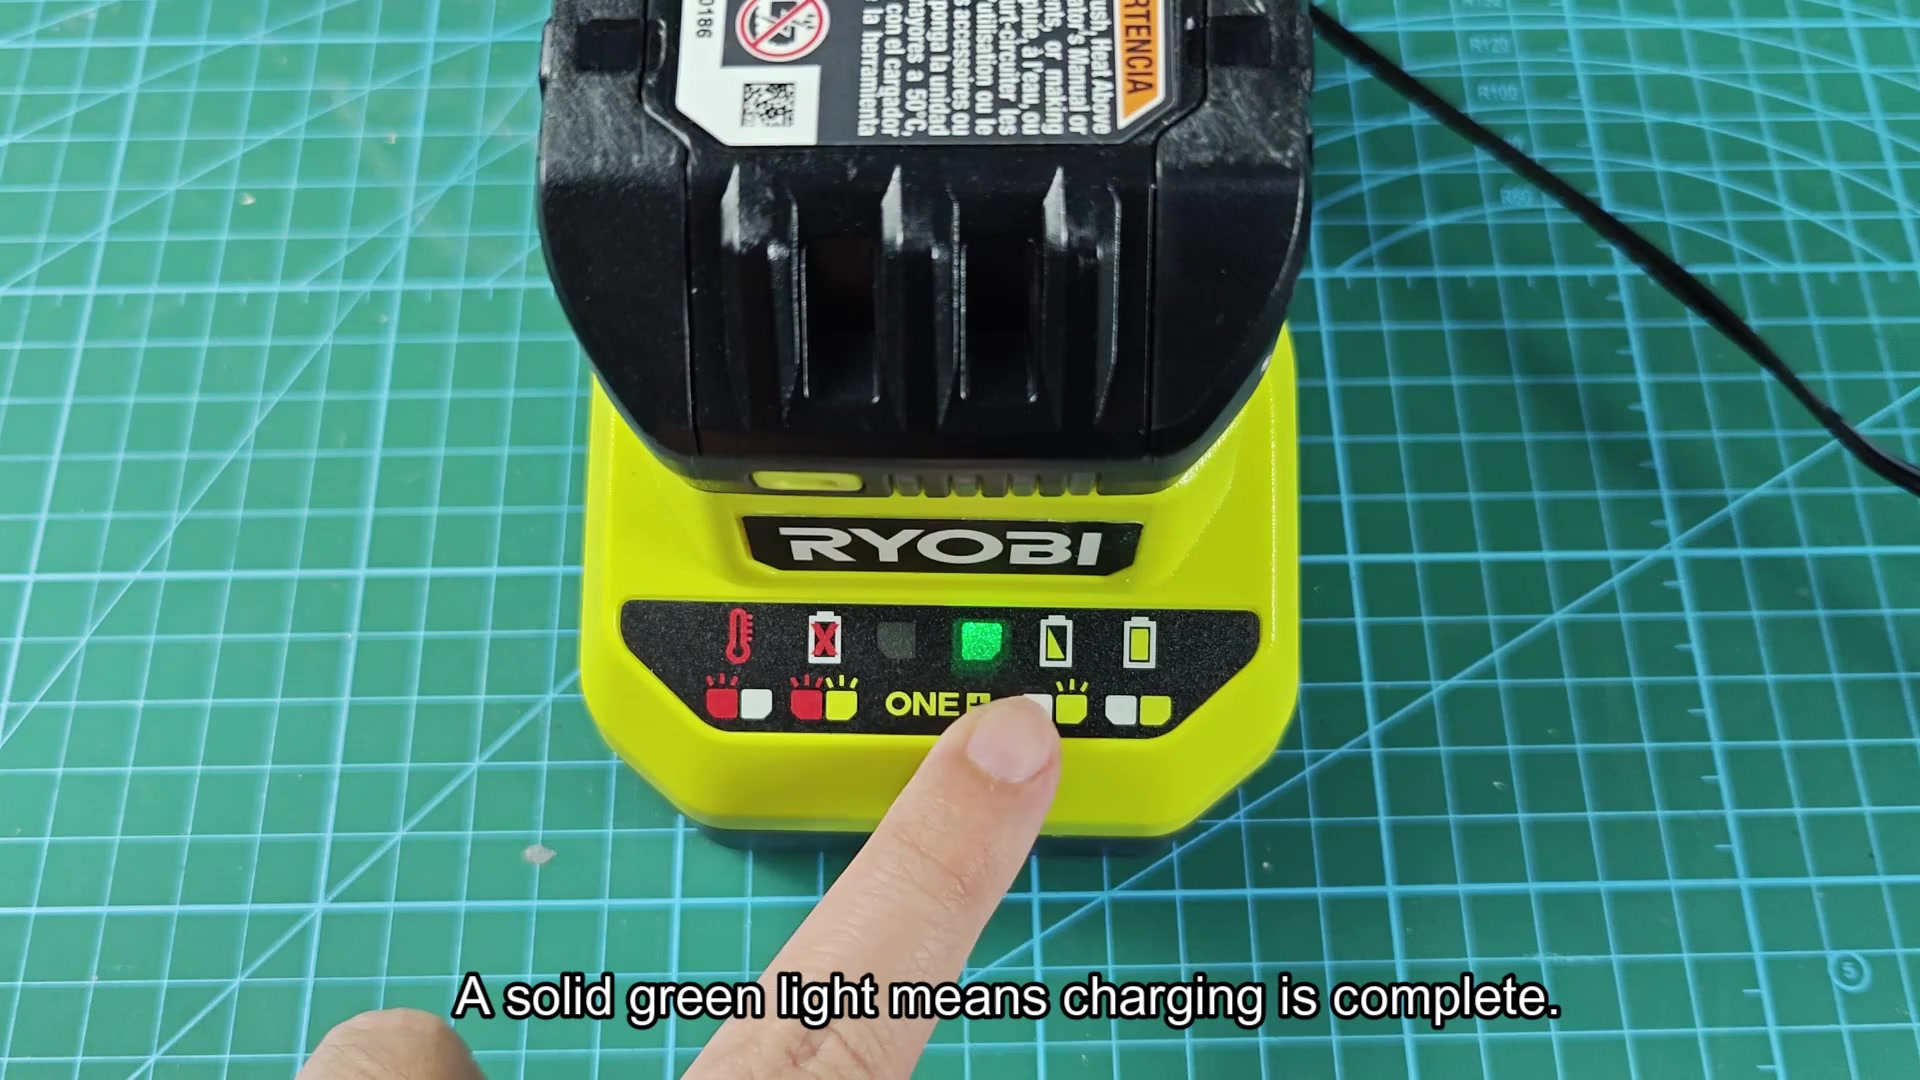
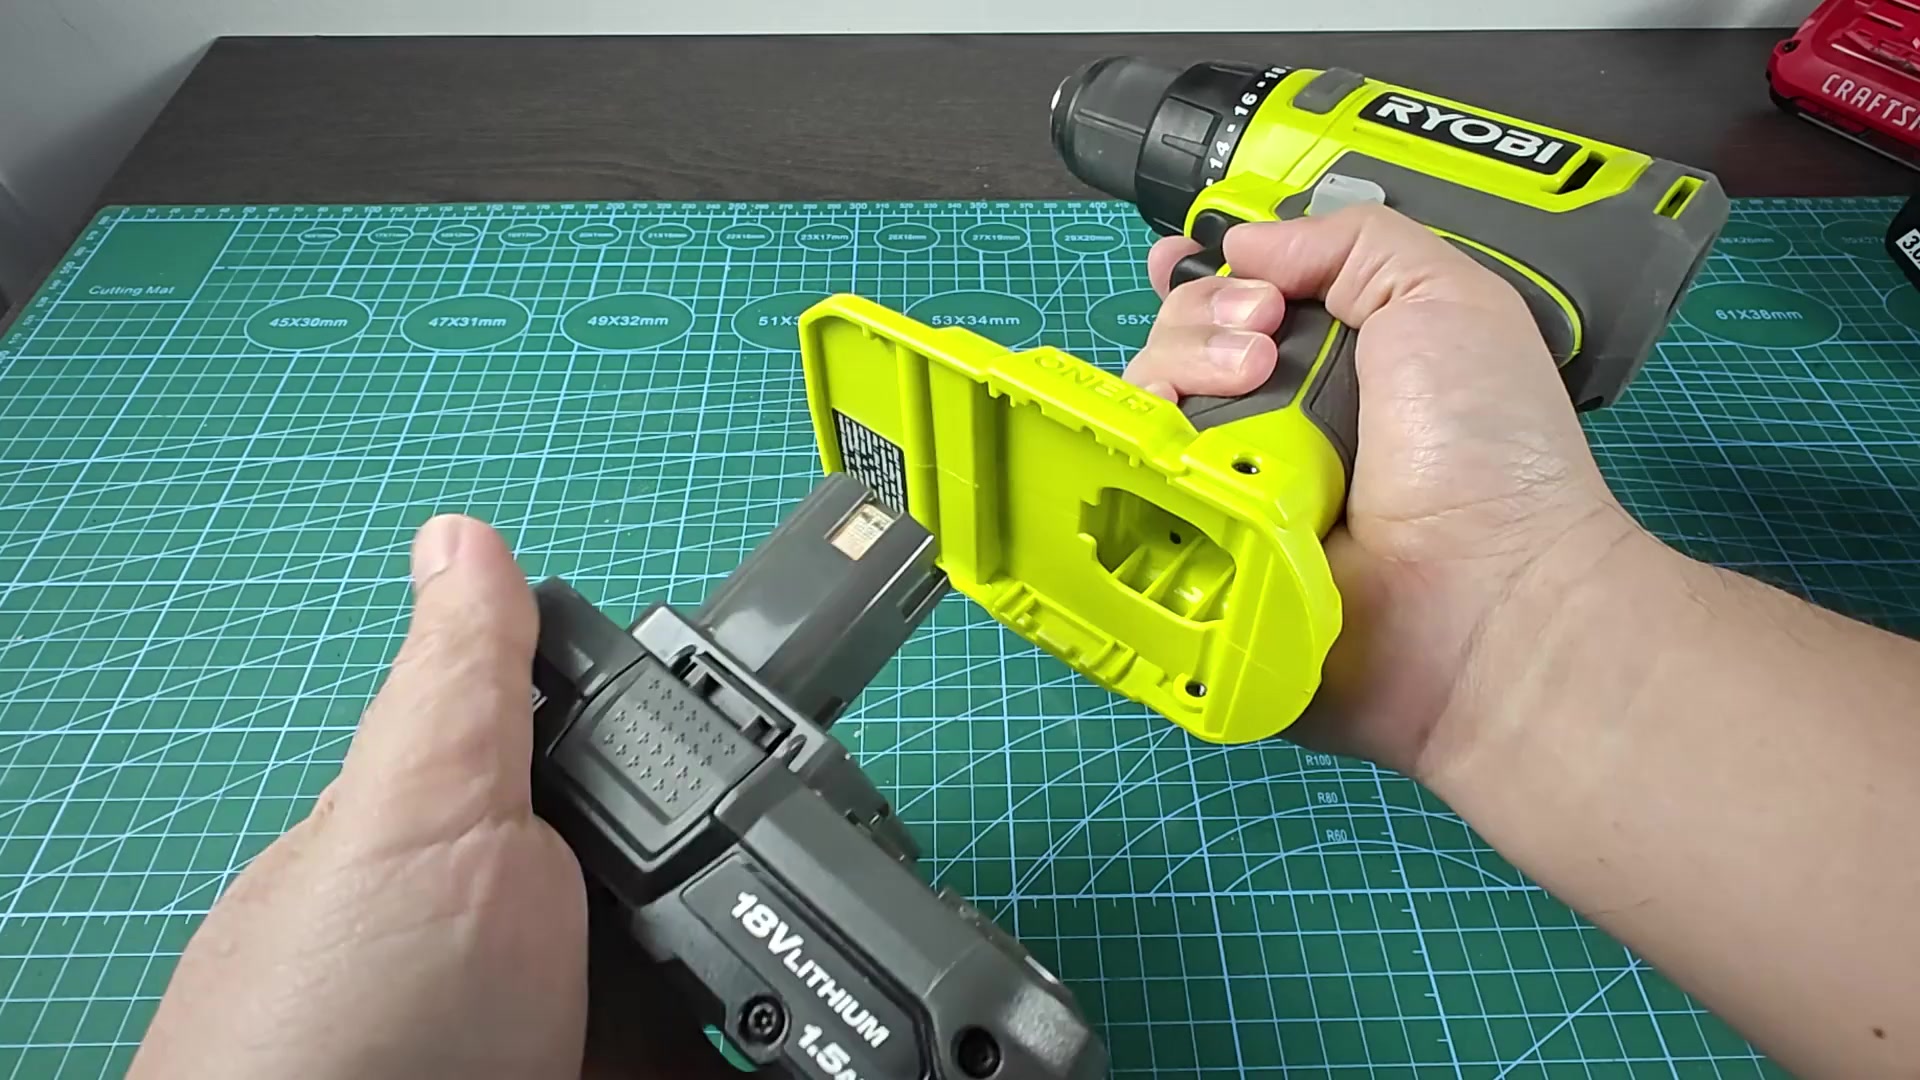
Once you’re used to the process from empty to full, it all flows together smoothly. Being part of the ONE+ system also allows for easy pack switching between tools.
The charger also has built-in warning signals. For example, a red blinking light can indicate a problem, such as a temperature issue. If the battery is too cold or too hot, it’ll throw a signal and stop charging until the pack warms up to ambient temperature. I found that out with a drill left outside in the freezing garage. This is a good thing, because ignoring these signals will damage the internal chemistry and drastically shorten the battery life.
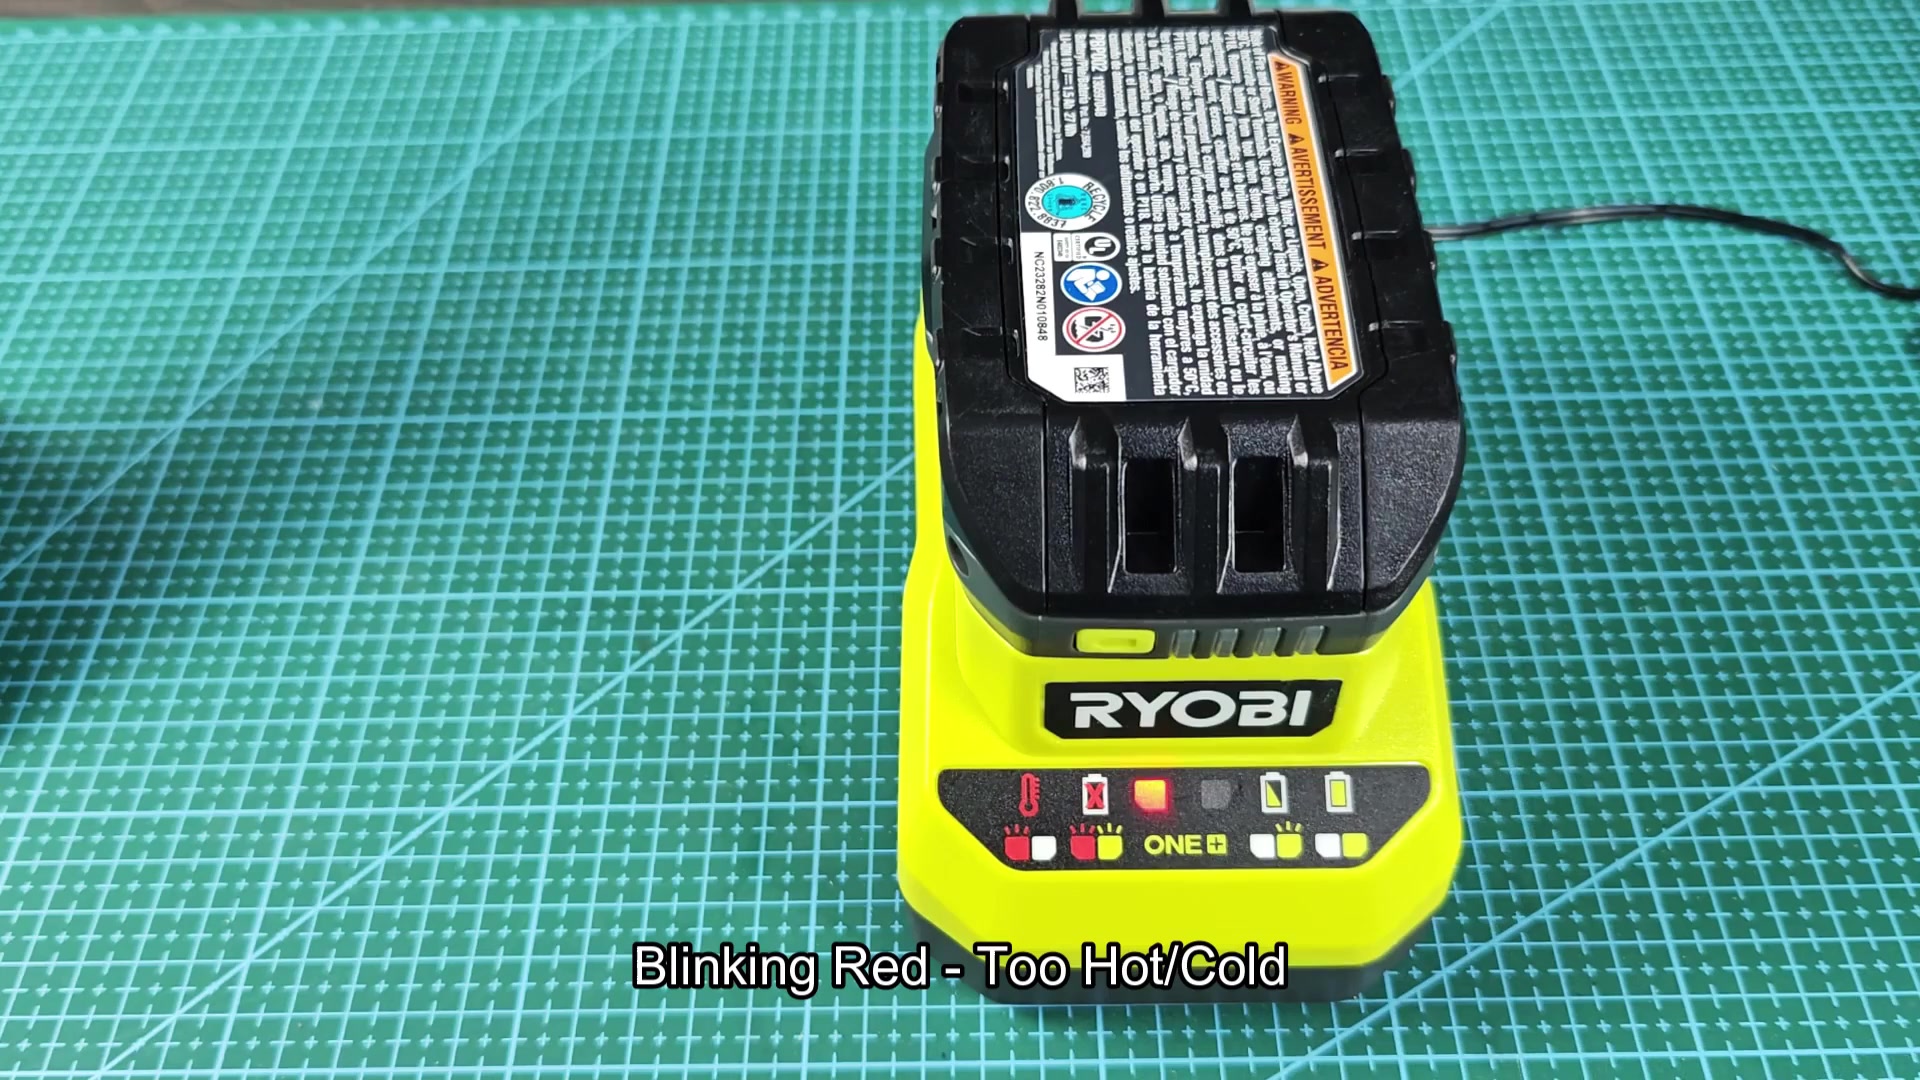
The charger may warn that it is struggling by other means as well. For instance, that red alert can be triggered even if there’s no battery on it (or perhaps even when one IS on it). If you’re certain that nothing outside of the charger is to blame, check your outlet voltage.
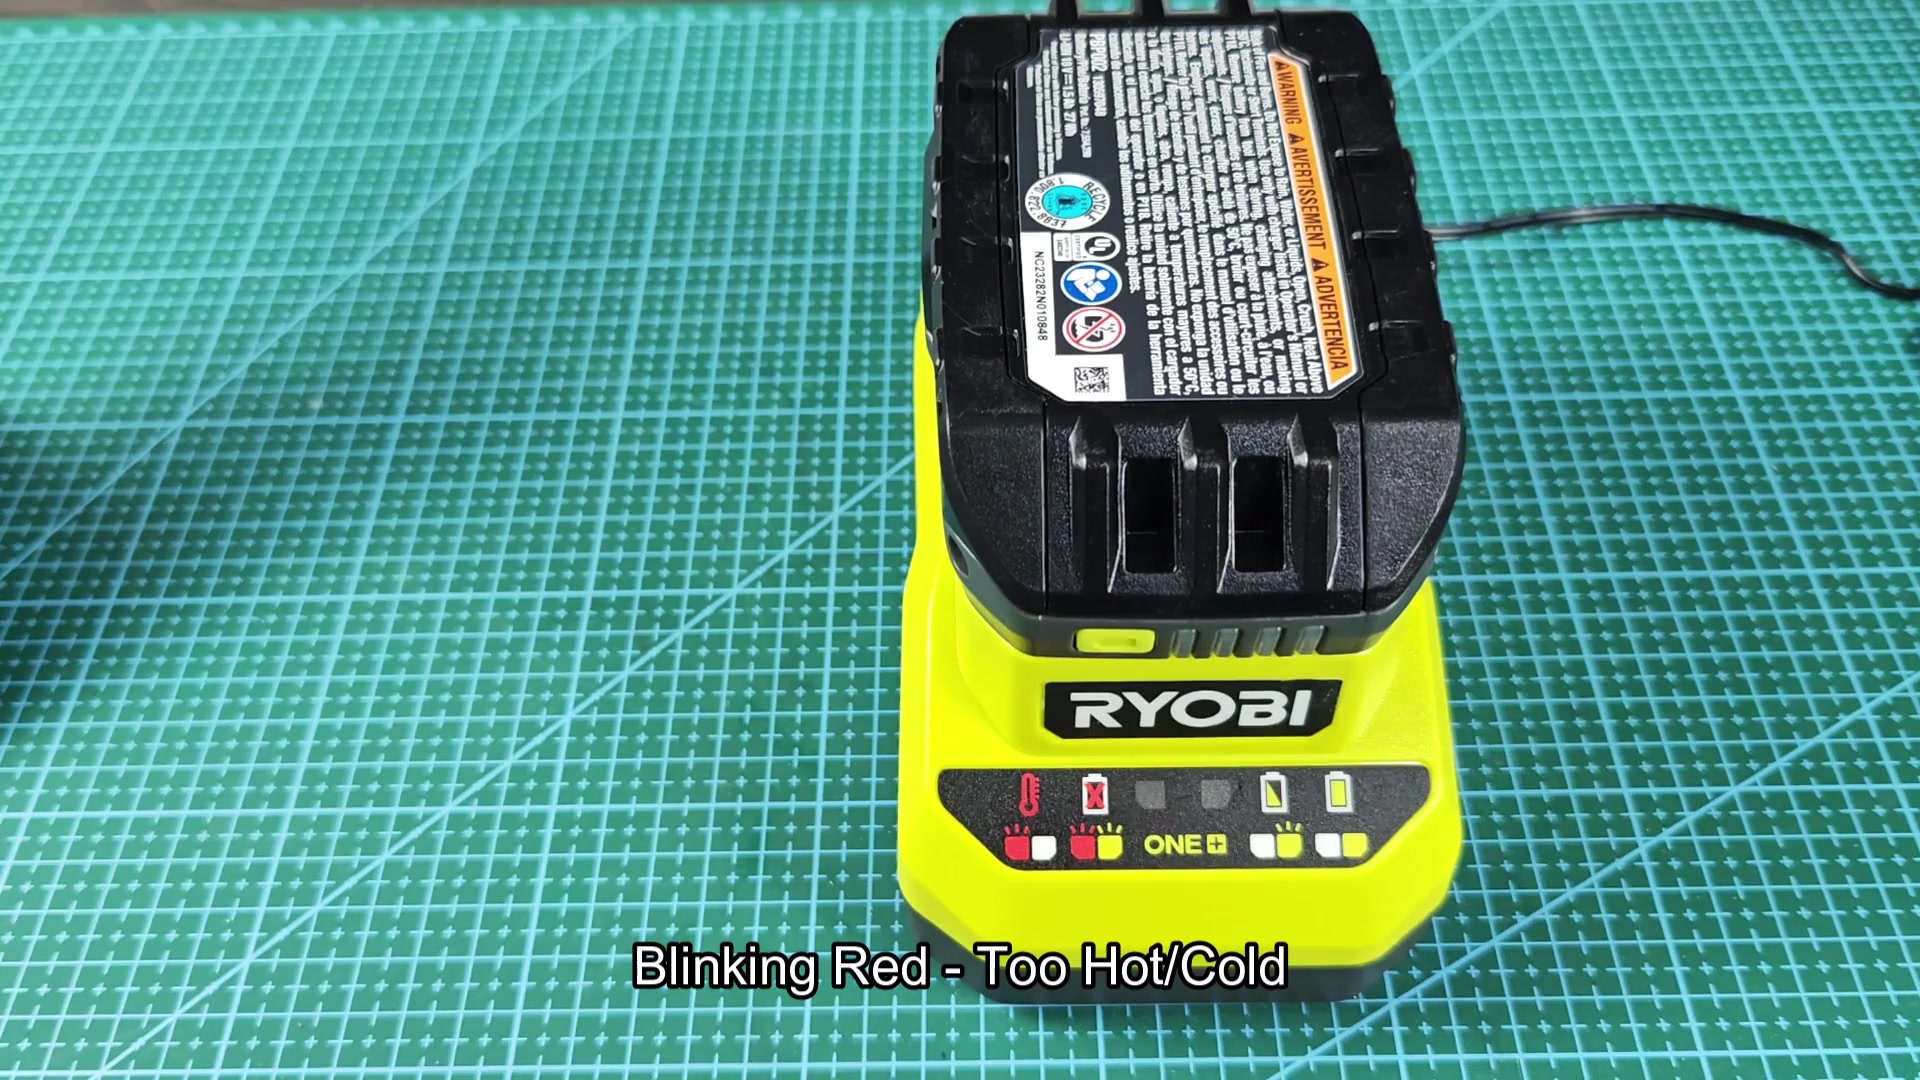
Another thing that will help eliminate such false alarms is storing the charger in an area where the temperature stays consistent. Because garages can vary so much from season to season, keeping it inside during the winter would of kept these alerts from interrupting at all.
There’s also a pattern where you have two blinking light colors, one green, one red (indicating a bad battery). If you get that combo, it indicates that the internal pack is shot, which happened on an older model I purchased several years back. The charger could tell the cell structure wasn’t right and couldn’t be recharged or reset. I simply had to replace the battery. Knowing this pattern helped me avoid wasting time trying to fix dead gear.