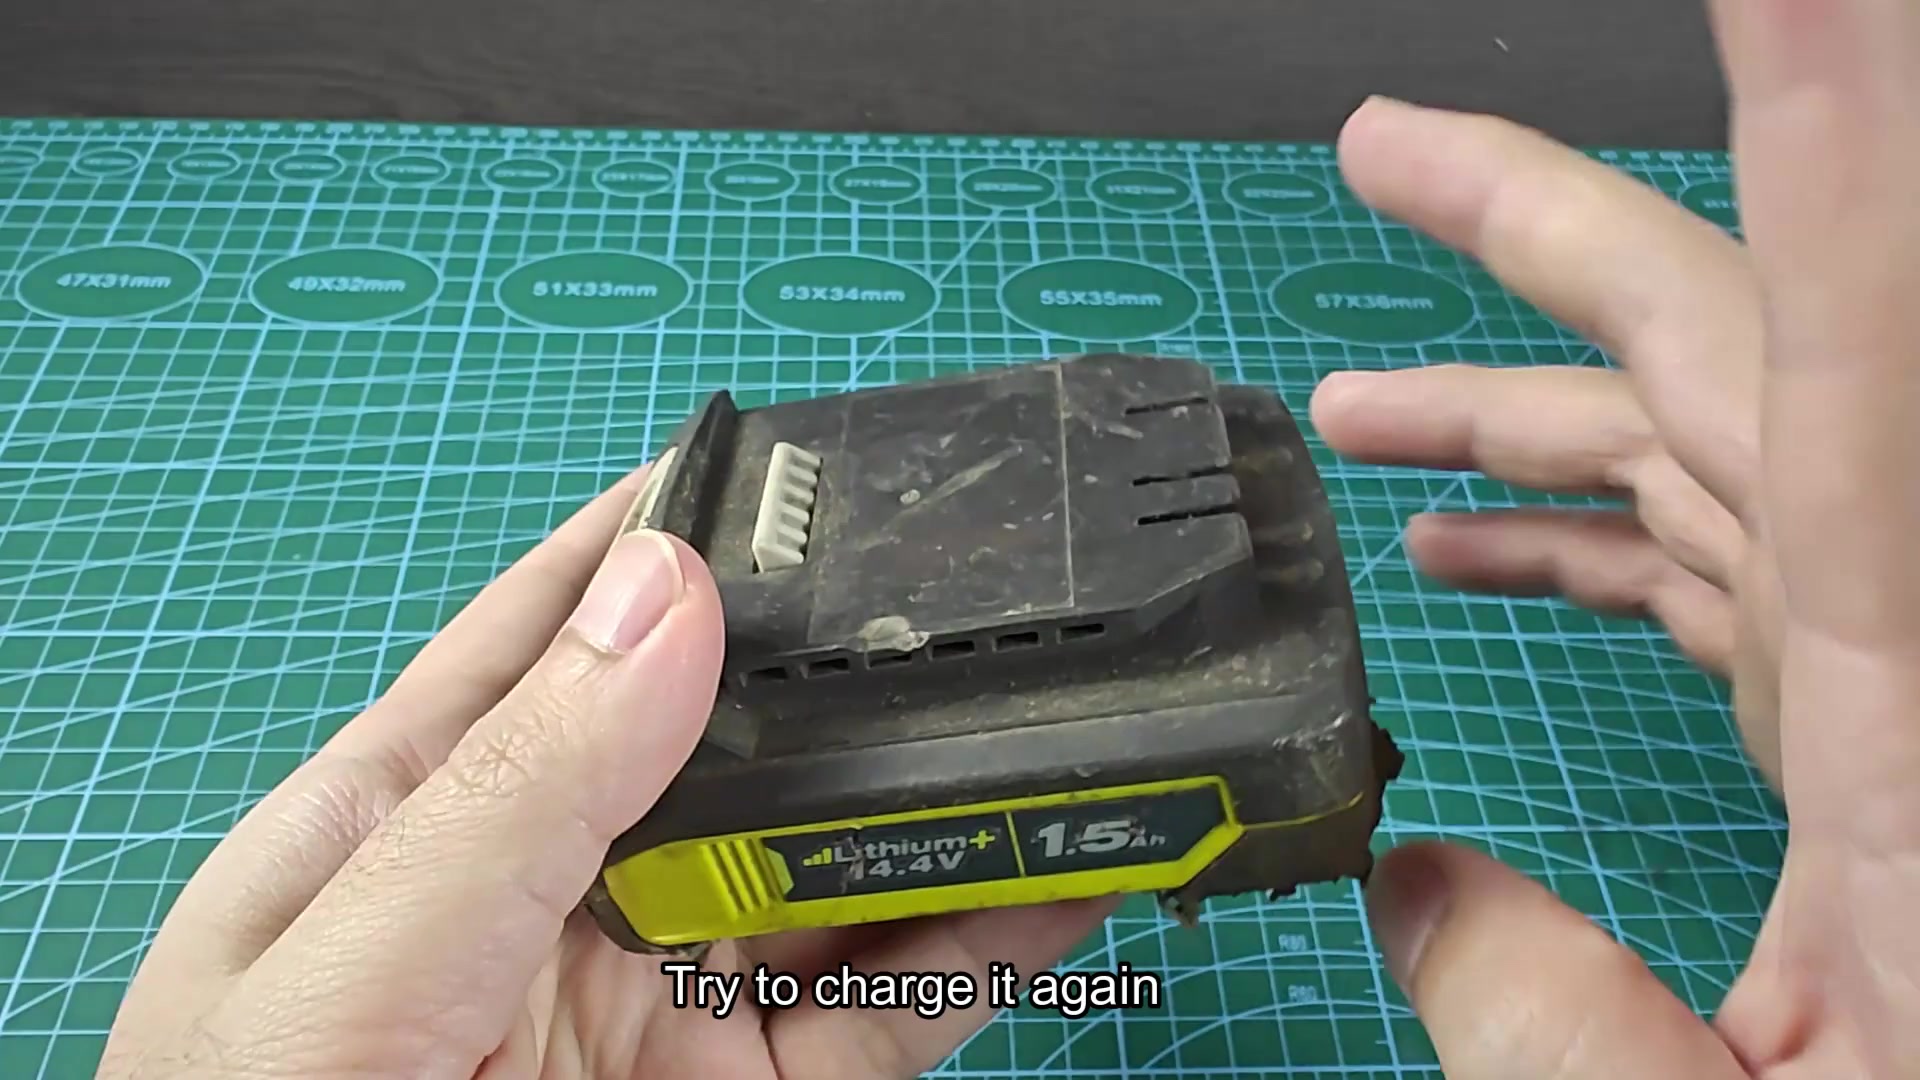
Charger would not even detect my Ryobi 14.4V battery pack and it would not charge. In fact, you don’t have to toss it just yet as it may be resettable. Many times this will work for you.
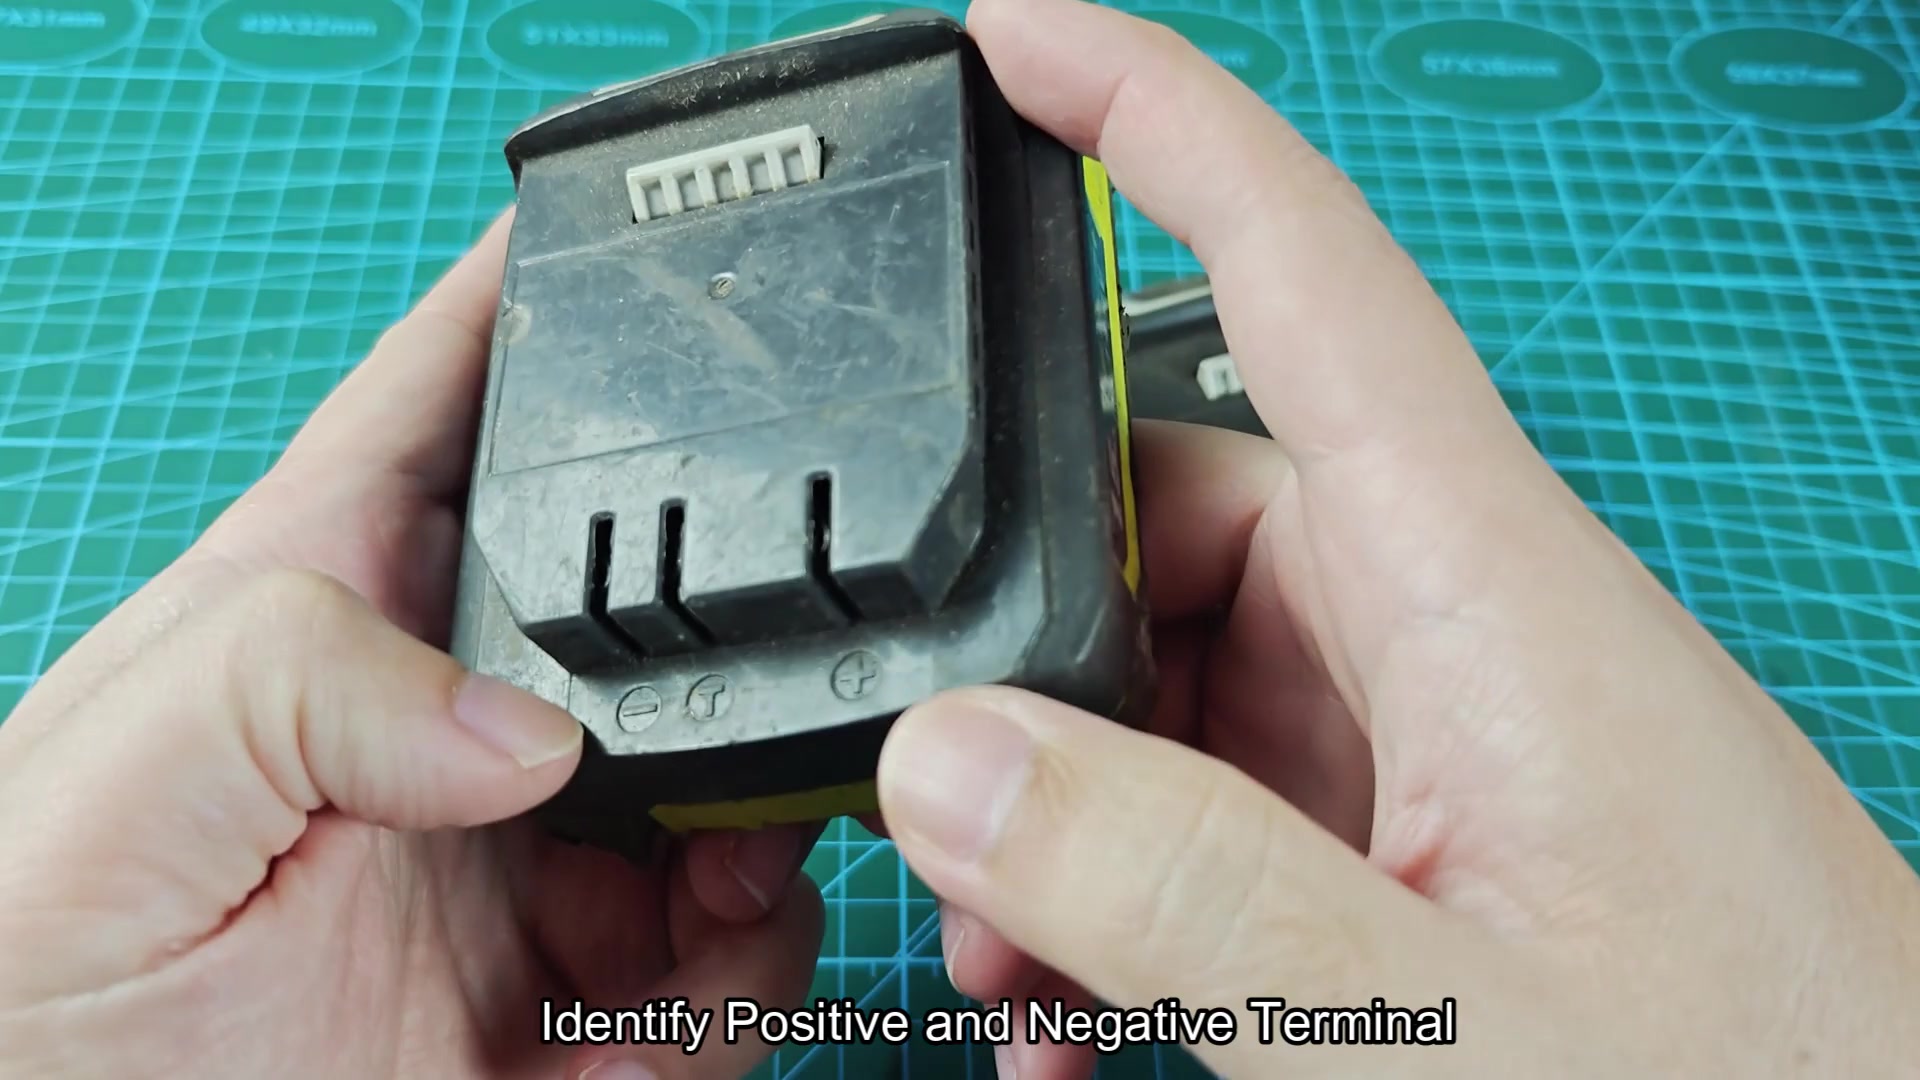
First off find which terminals is positive and negative. They’ll typically be labeled somewhere around contact slots. Once you have identified them clearly proceed. If you don’t get it right here you’re in big trouble. Find out before you do anything else.
Alternative Method Using DC Power Supply
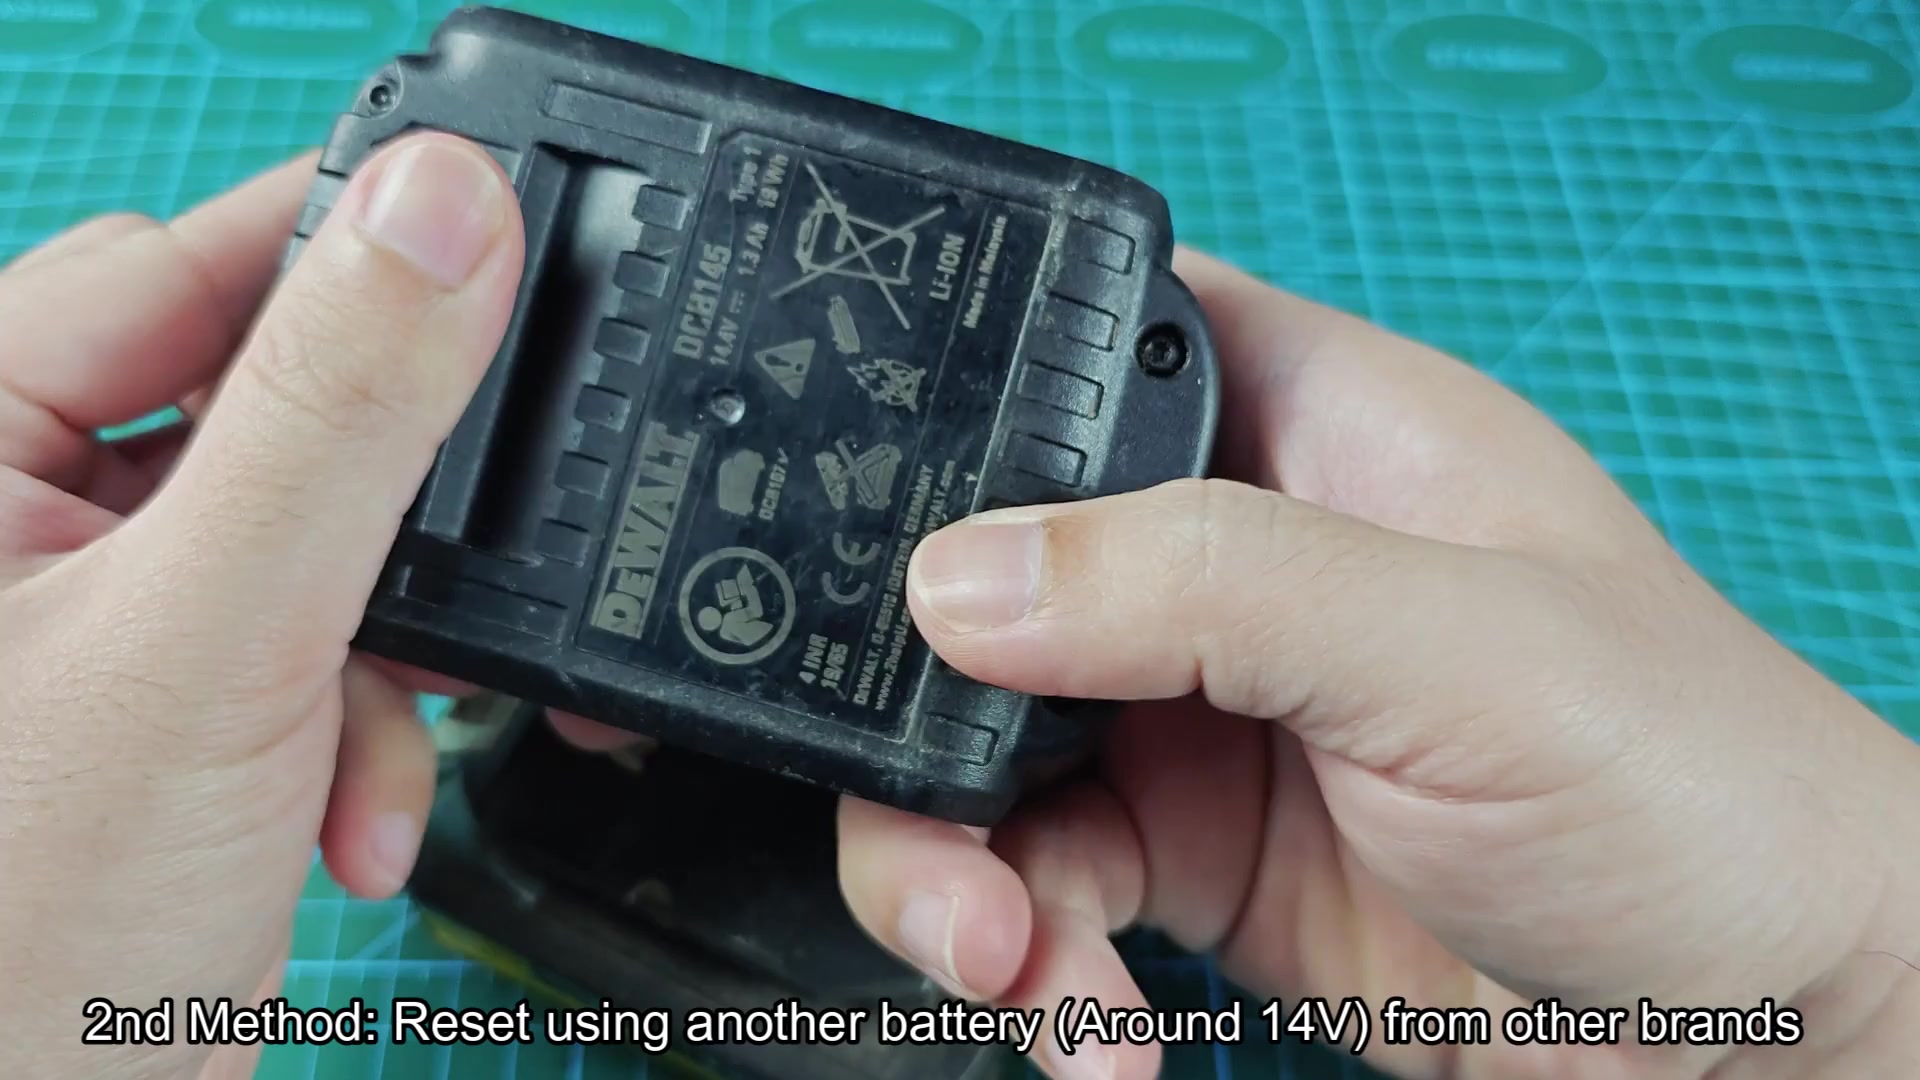
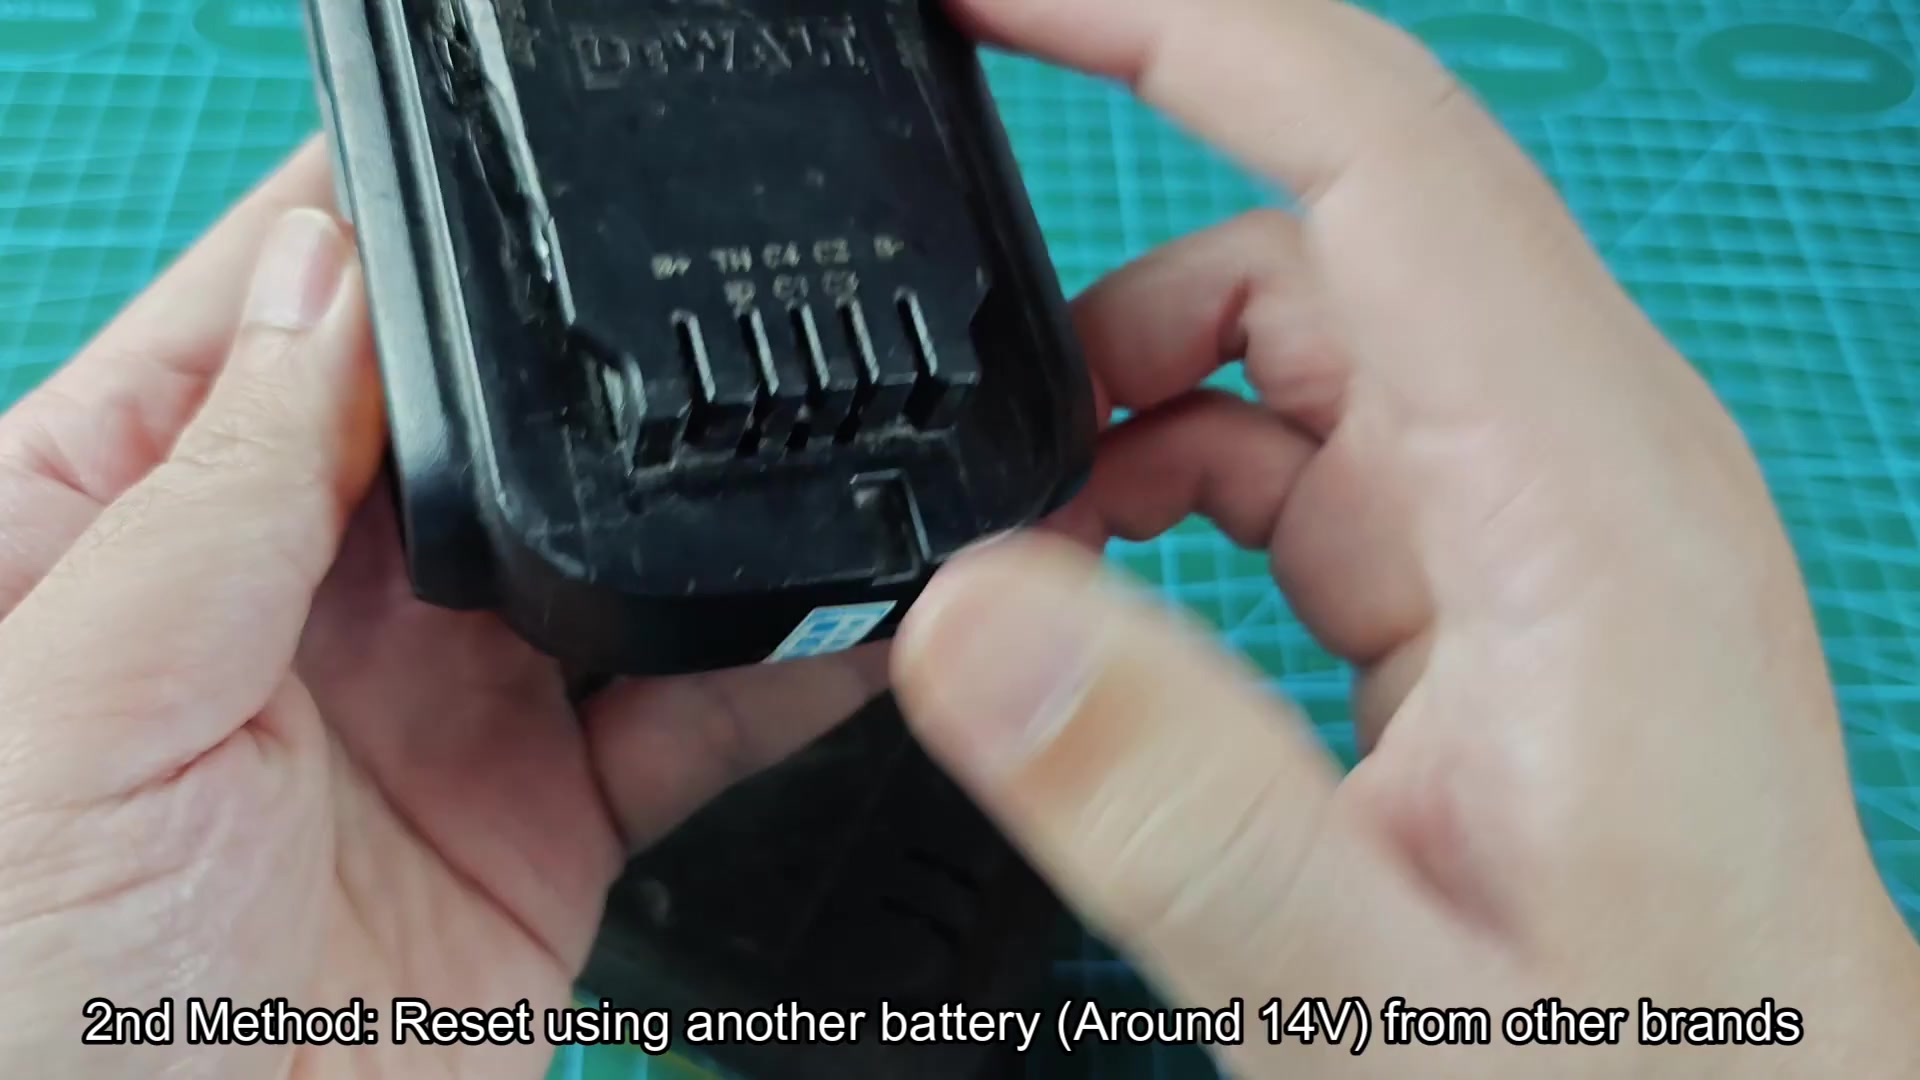
The donor source in this case are a spare DeWalt 14.4V battery. It’s the voltage that matters and it has to be compatible. Though using a rival brand feel strange, having two batteries sitting side by side help you see where they connect. The chemistry is similar enough to make a jump-start possible.
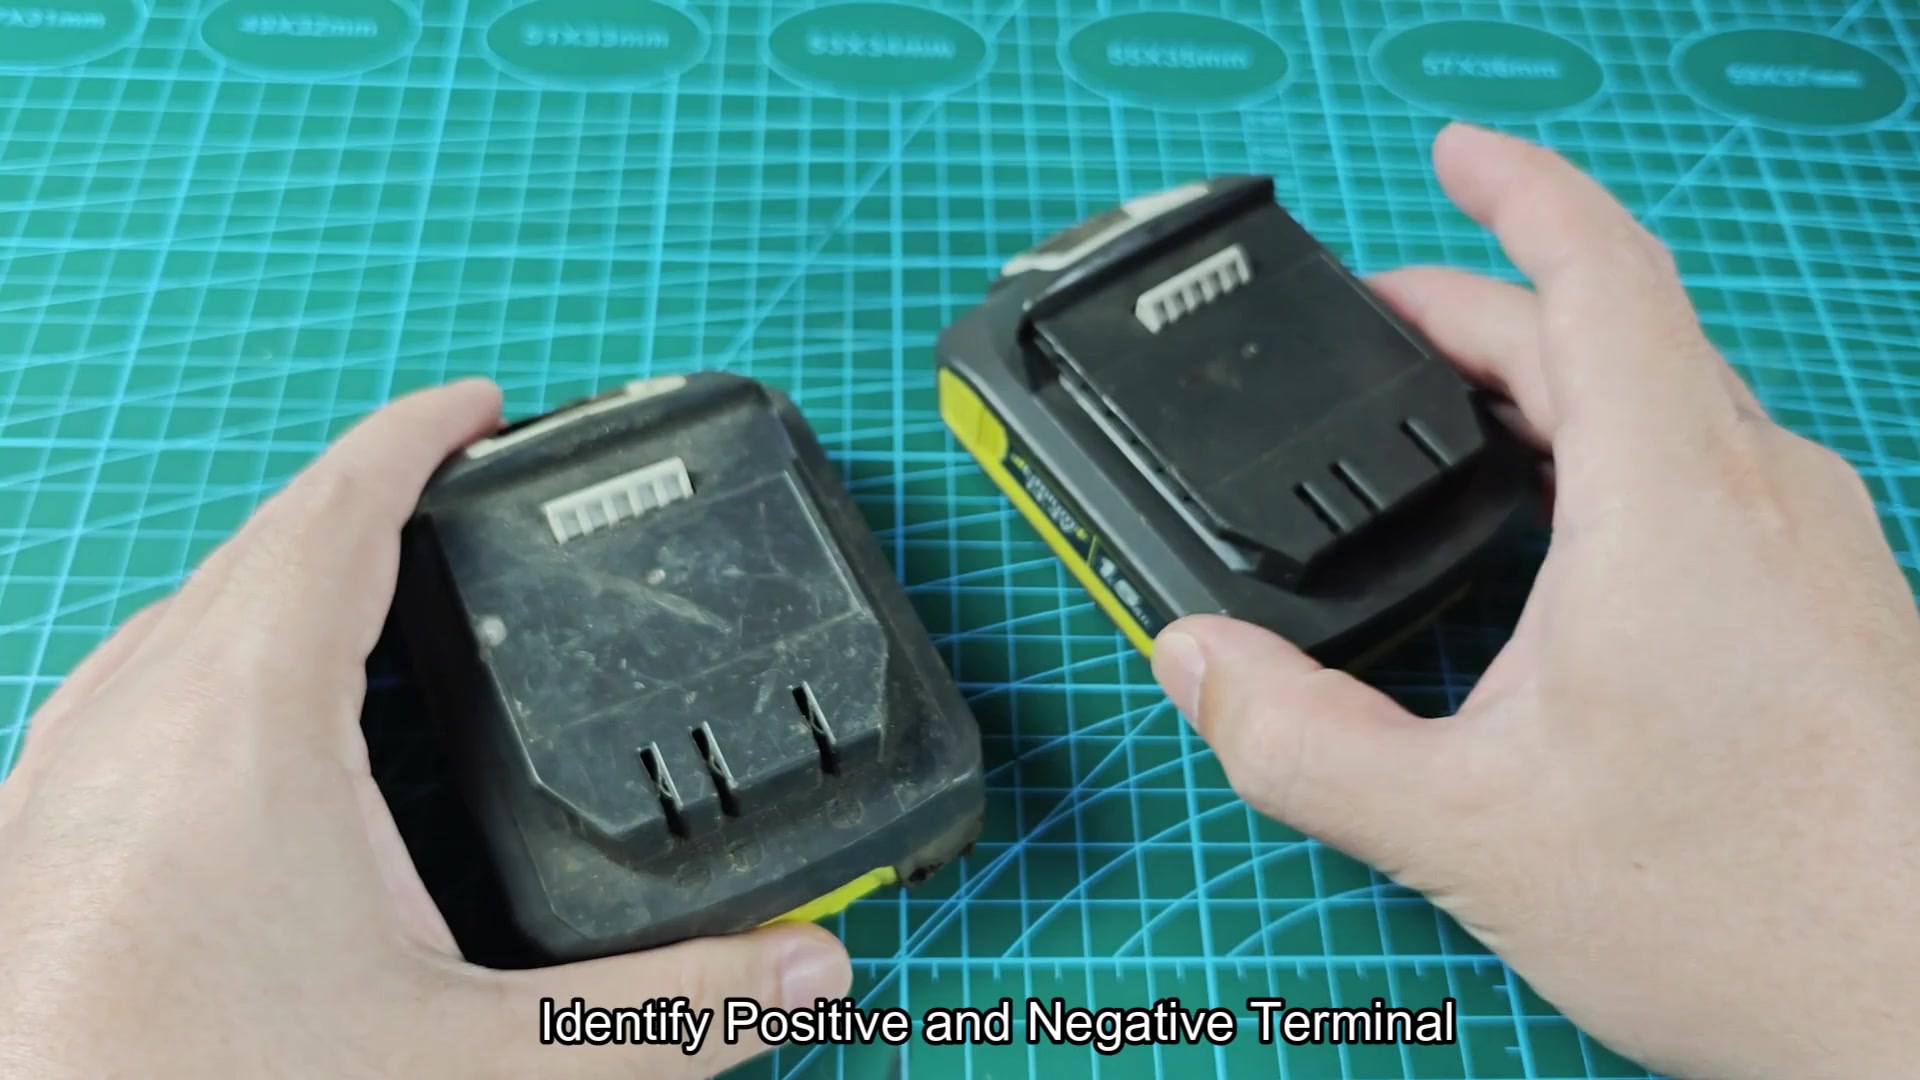
Note that the B+ and B- terminals on the DeWalt pack are printed near the connector pins; locate these with care! Connect positive lead from the donor pack to the positive terminal of your Ryobi. The negative lead connect to the negative terminal. Pay close attention to polarity here; it realy does matter.
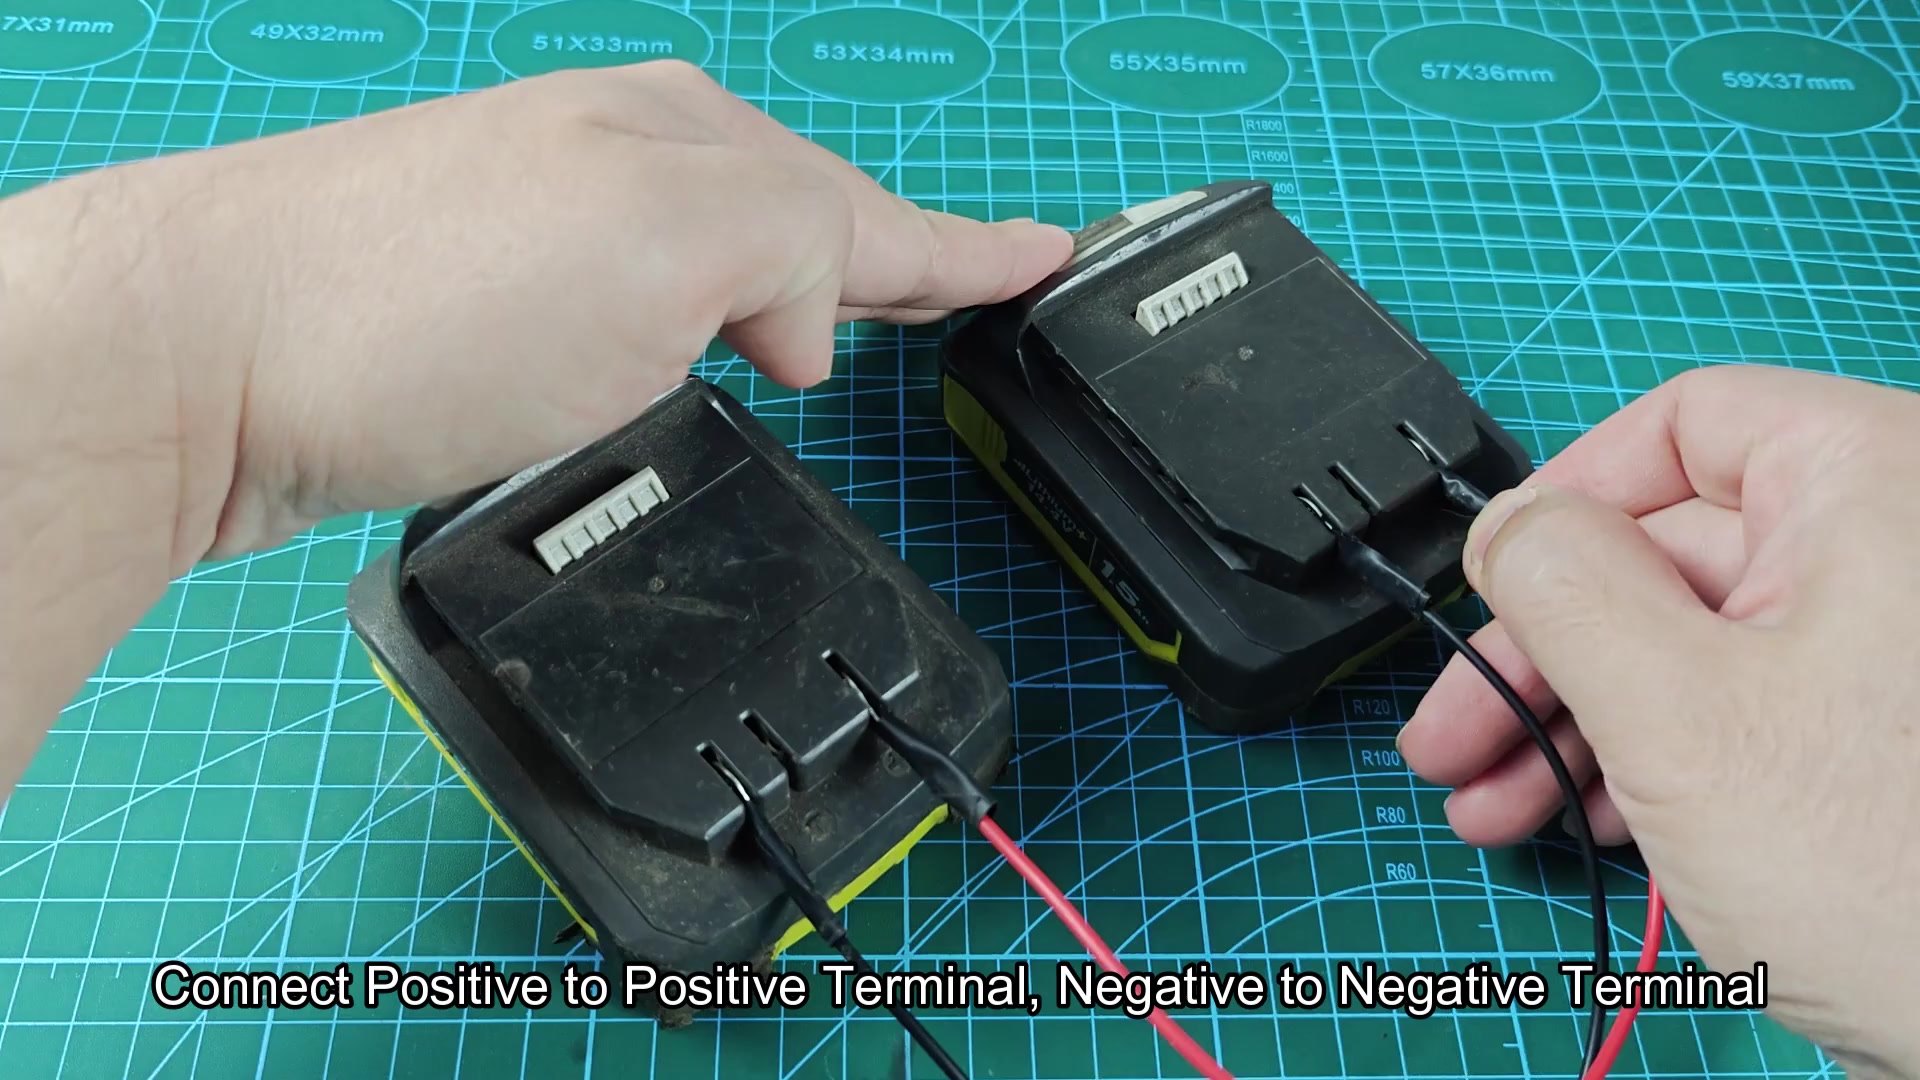
For about 15 seconds you maintain the connections between two battery because that’s all it takes for sufficient current to reach the depleted pack. Watch connection closely; it is just transferring energy.
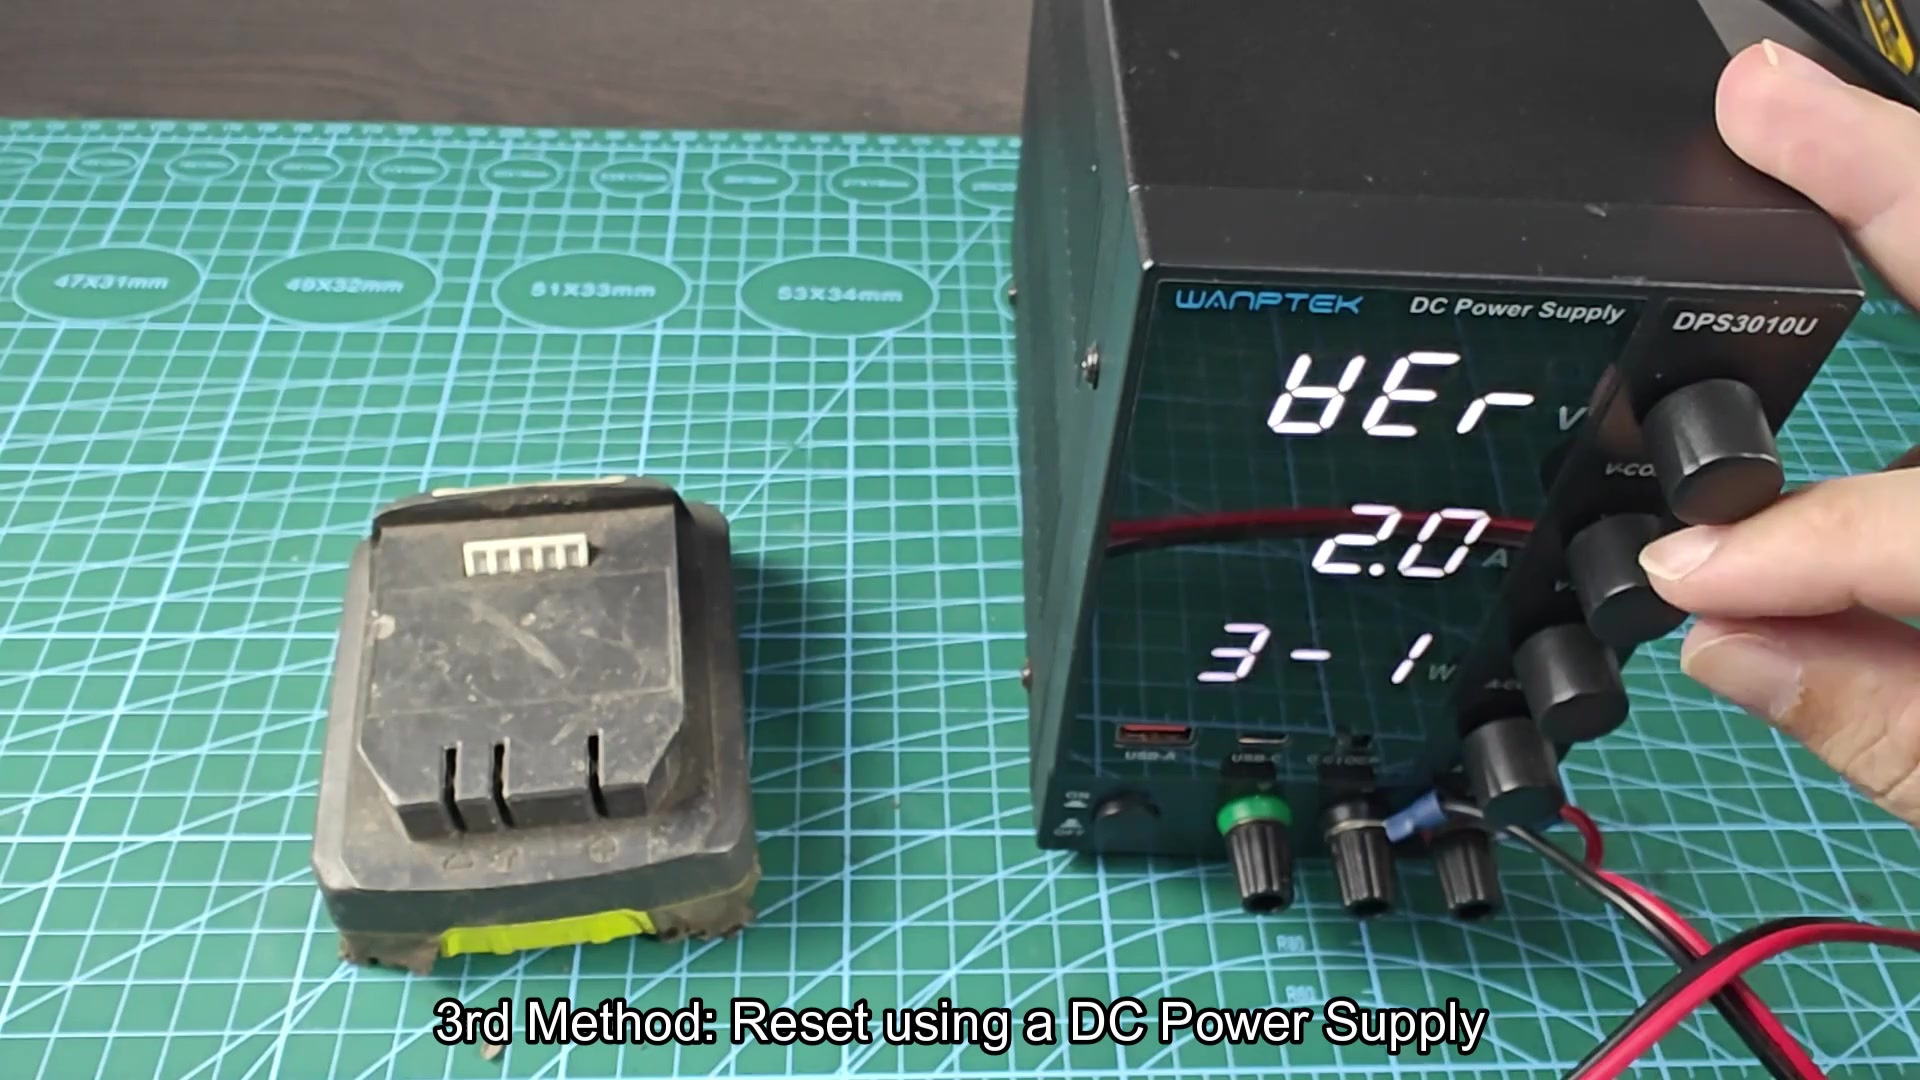
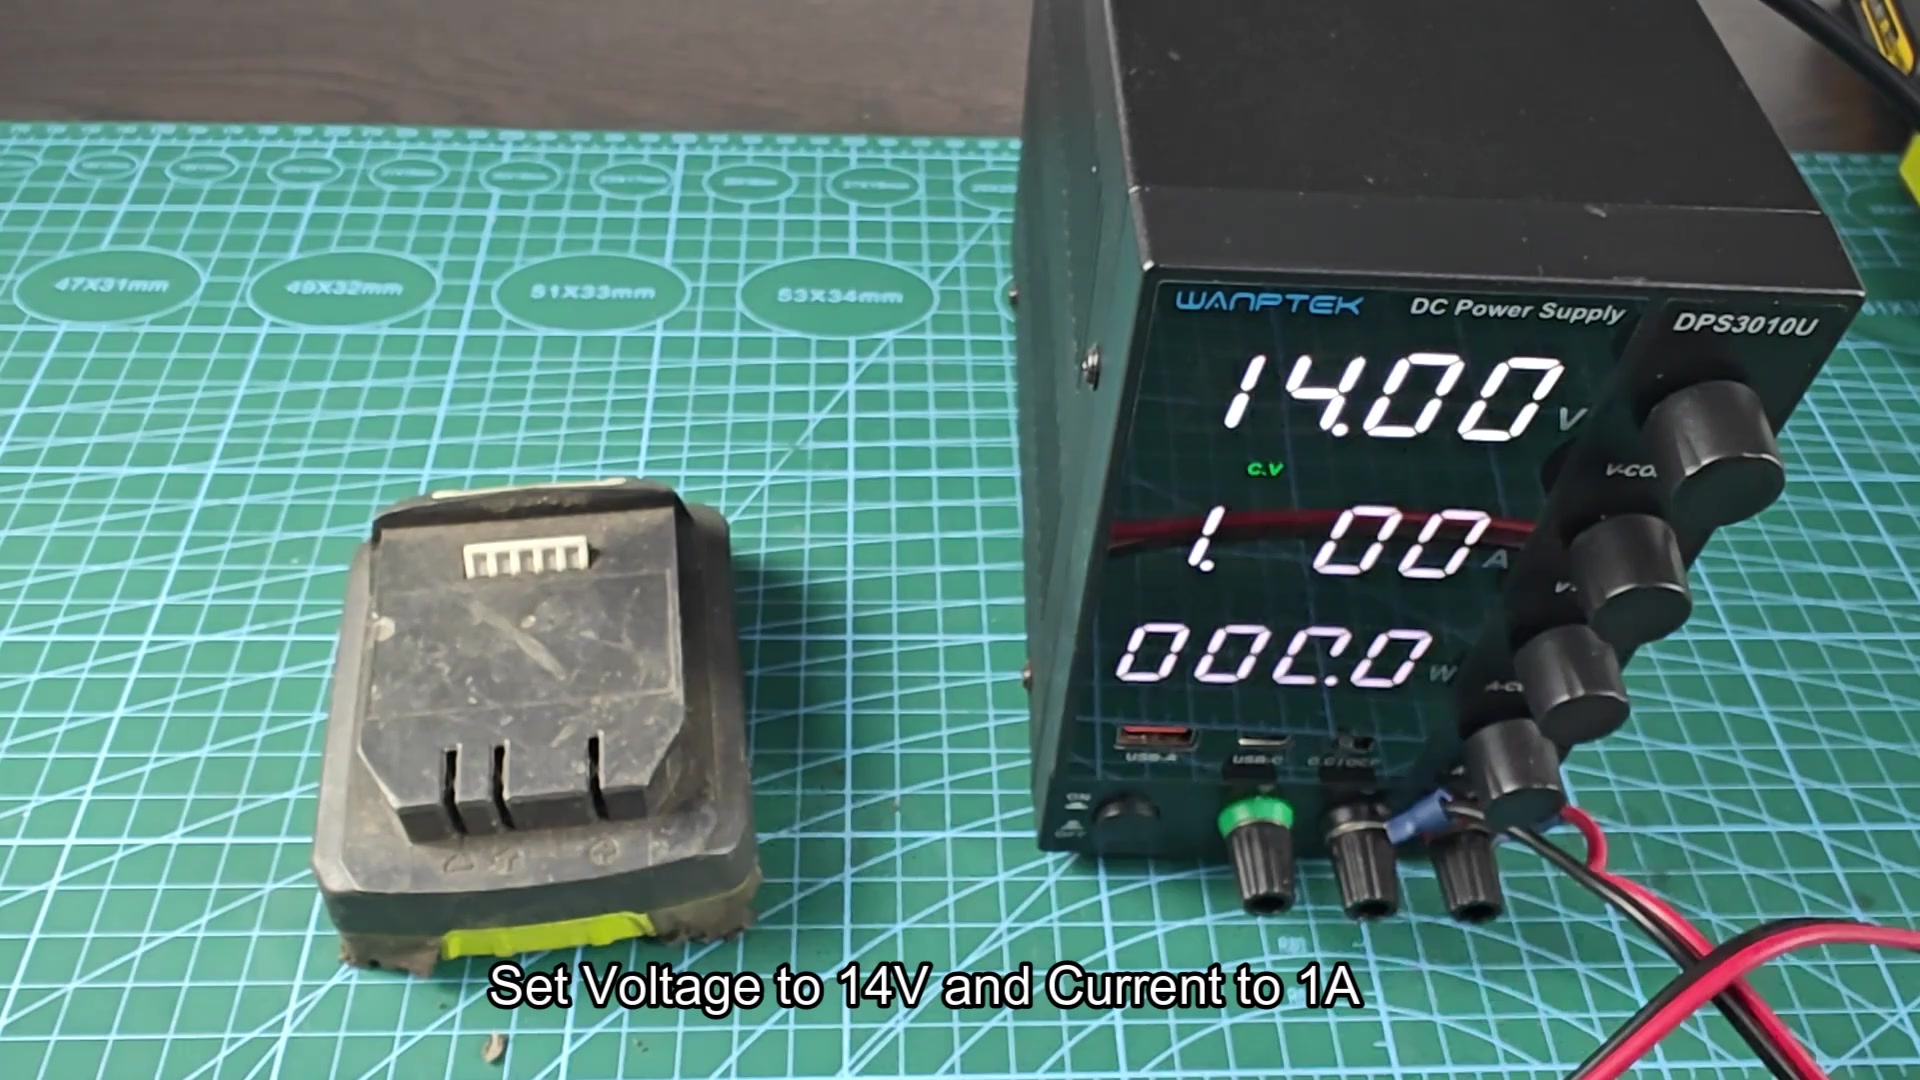
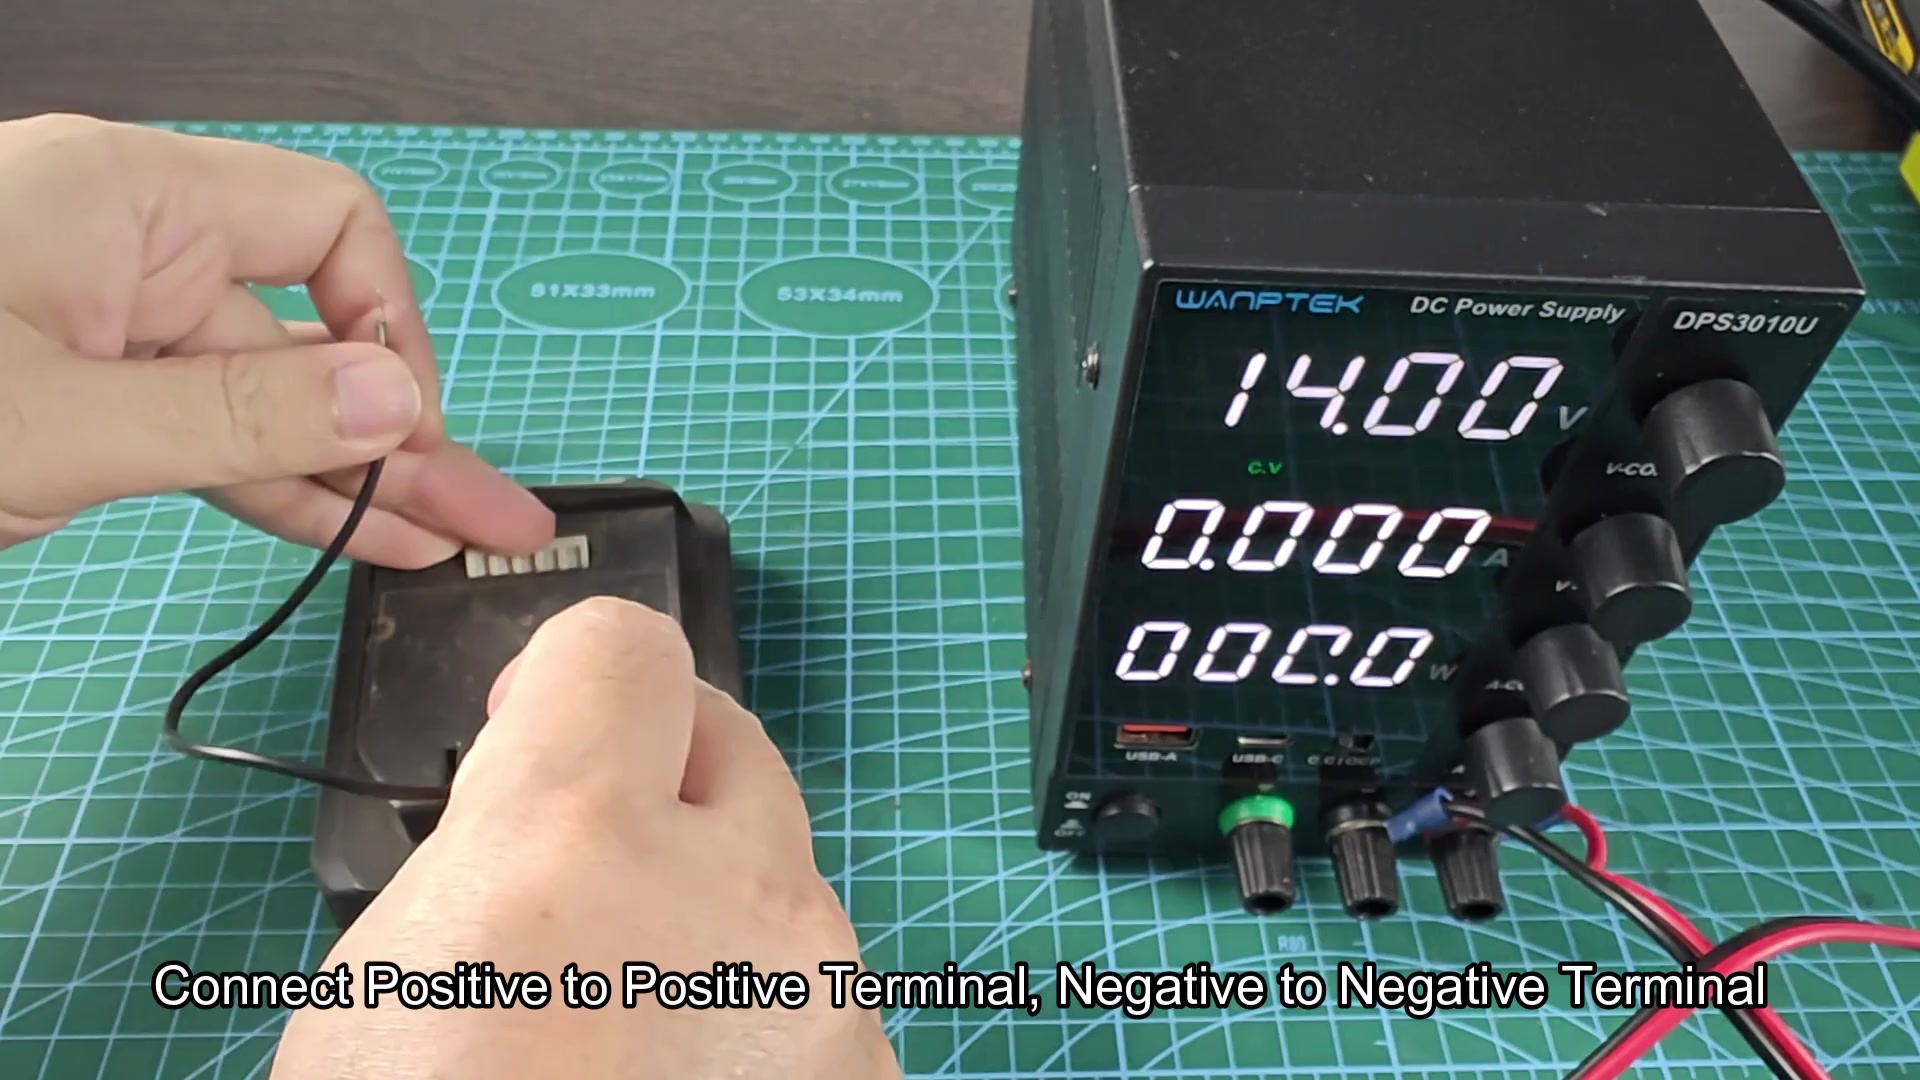
Another option is to use a DC power supply instead of an additional battery. The advantage here is that this give you full control of what’s coming out and you can set the voltage precisely at 14 volts for instance. You then limit current to no more than 1 ampere, which will avoids damaging the cells from an unexpected surge.
After some careful adjustment of the power supply unit‘s knobs, you turn it on. You see settings nicely displayed on screen. Going too high can overheats its internal protection circuitry. You set it to 14V which is like a normal charge voltage. It seems safer than having another battery.
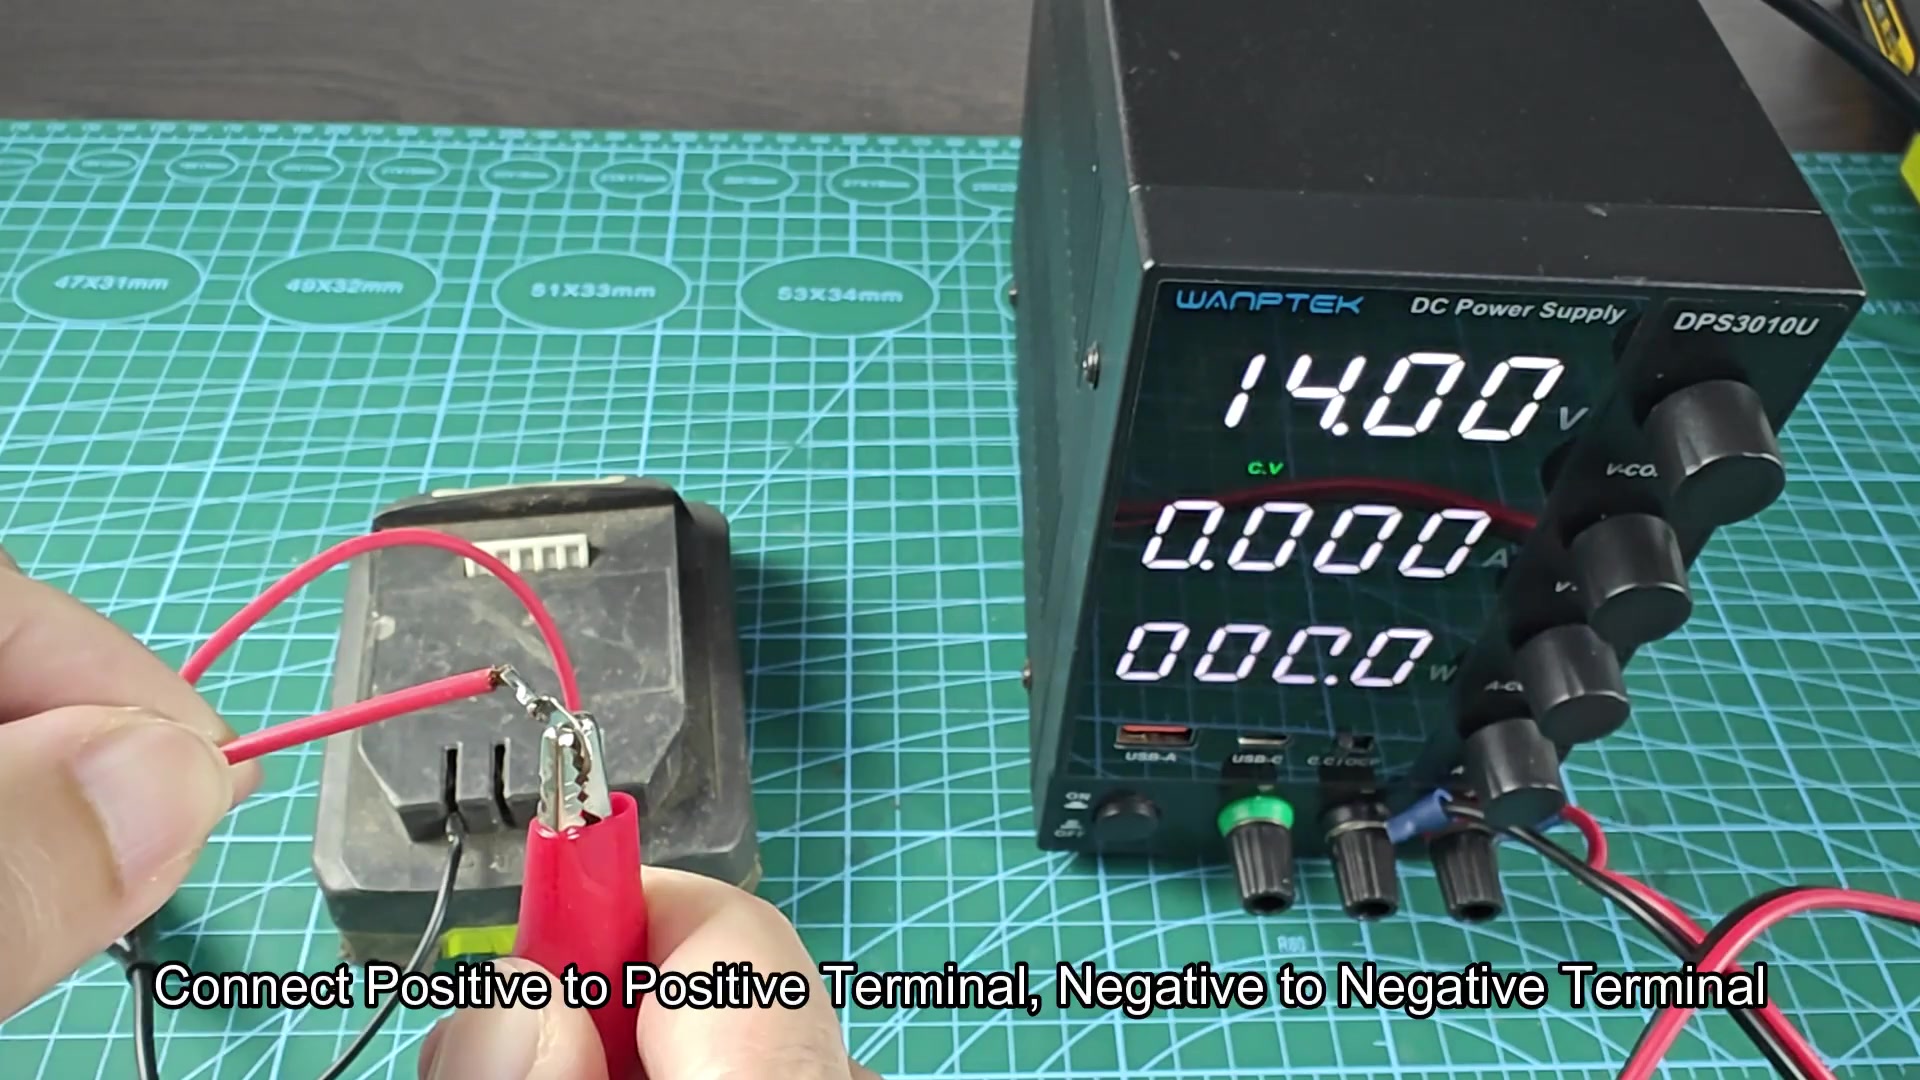
So the positive lead is attached to the positive side of the battery and the negative lead go to its matching spot on the other end. Again you check this twice because if you have it wrong, then it will short out as soon as you turn it on. So you make sure each clip are securely in place and that they is the right ones.
Again, this lasts approximately fifteen seconds. You see a little surge come on, which nudges battery management system awake, and while that happens, you’re looking for any red flags. If there is smoke or melted wires, stop now! Immediately disconnect if something appear wrong.
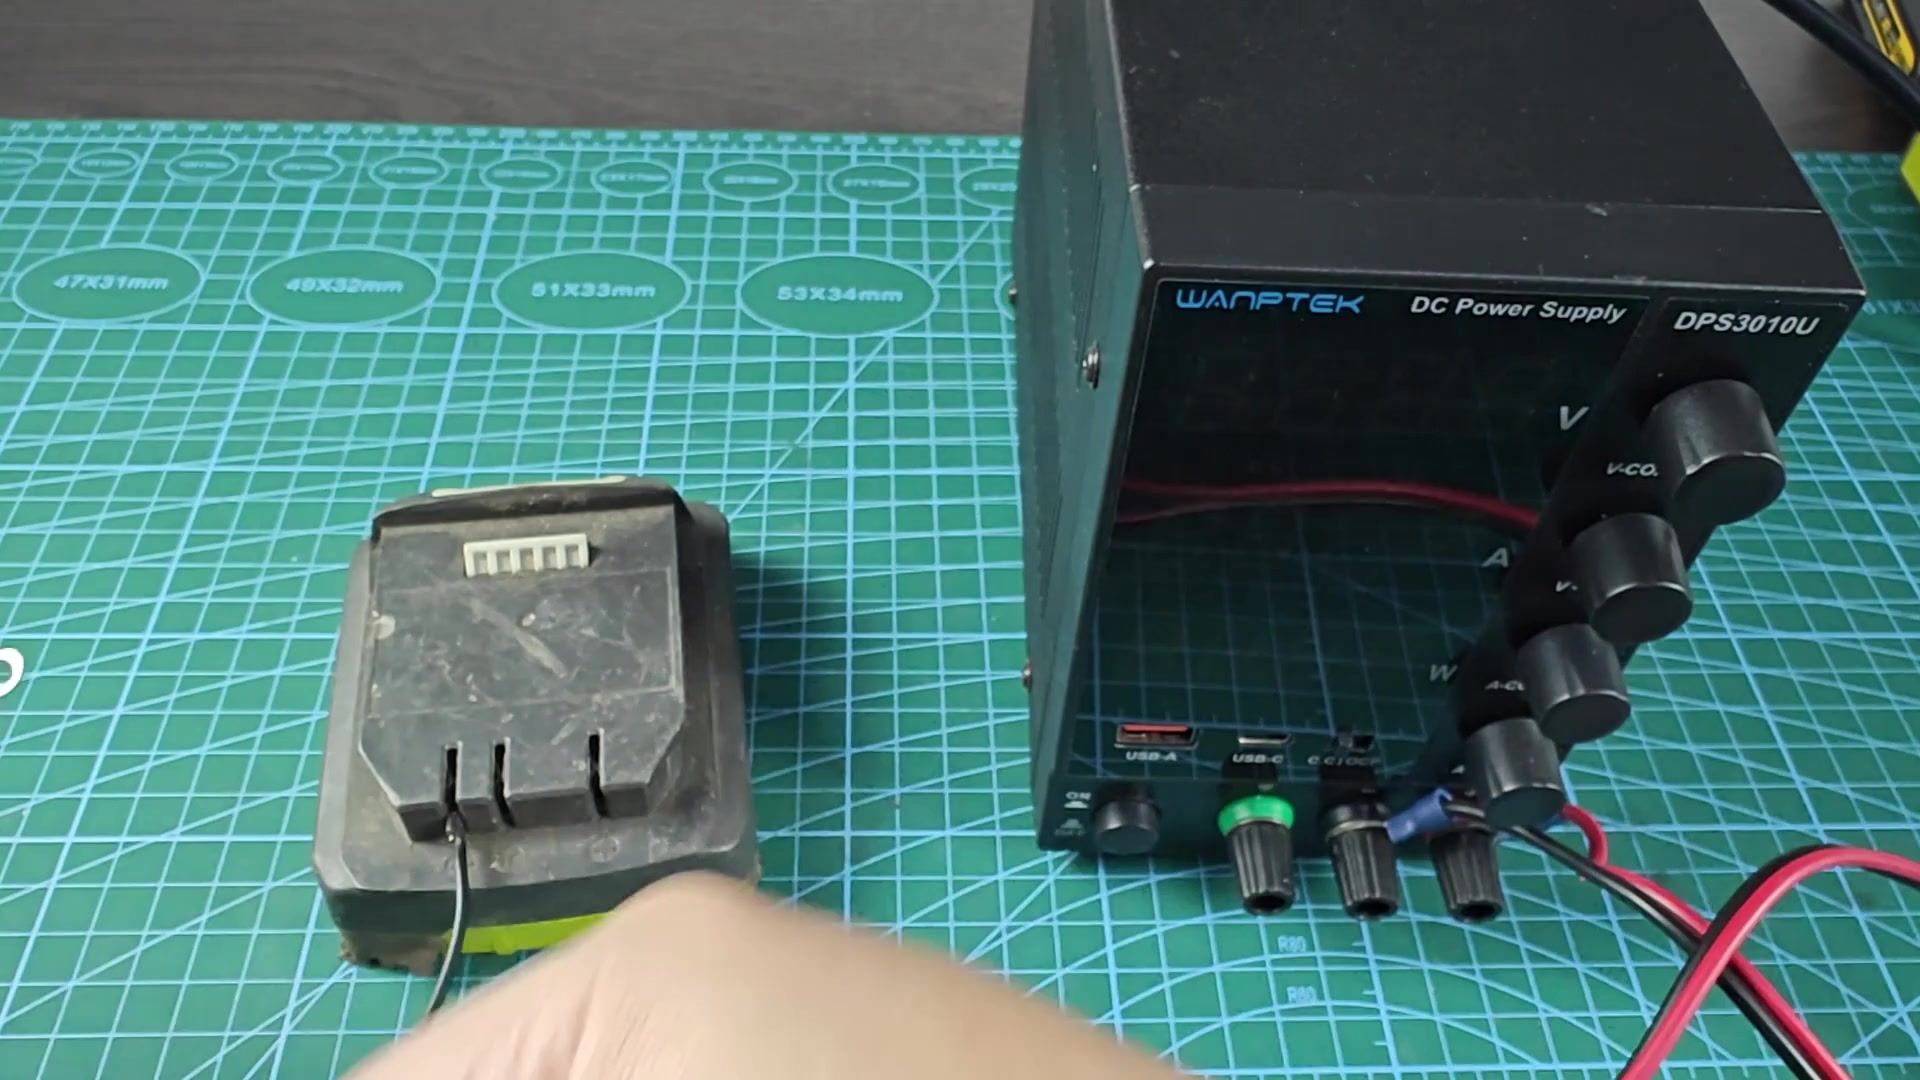
After the allotted time, you disconnect everything gently. Now that jump start process is finished, the battery is resting quietly on workbench. Occasinaly it’s not obvious if anything happened at all. Sometimes results aren’t visible unless you test them and this battery looks exactly like it did prior to the jump-start attempt.
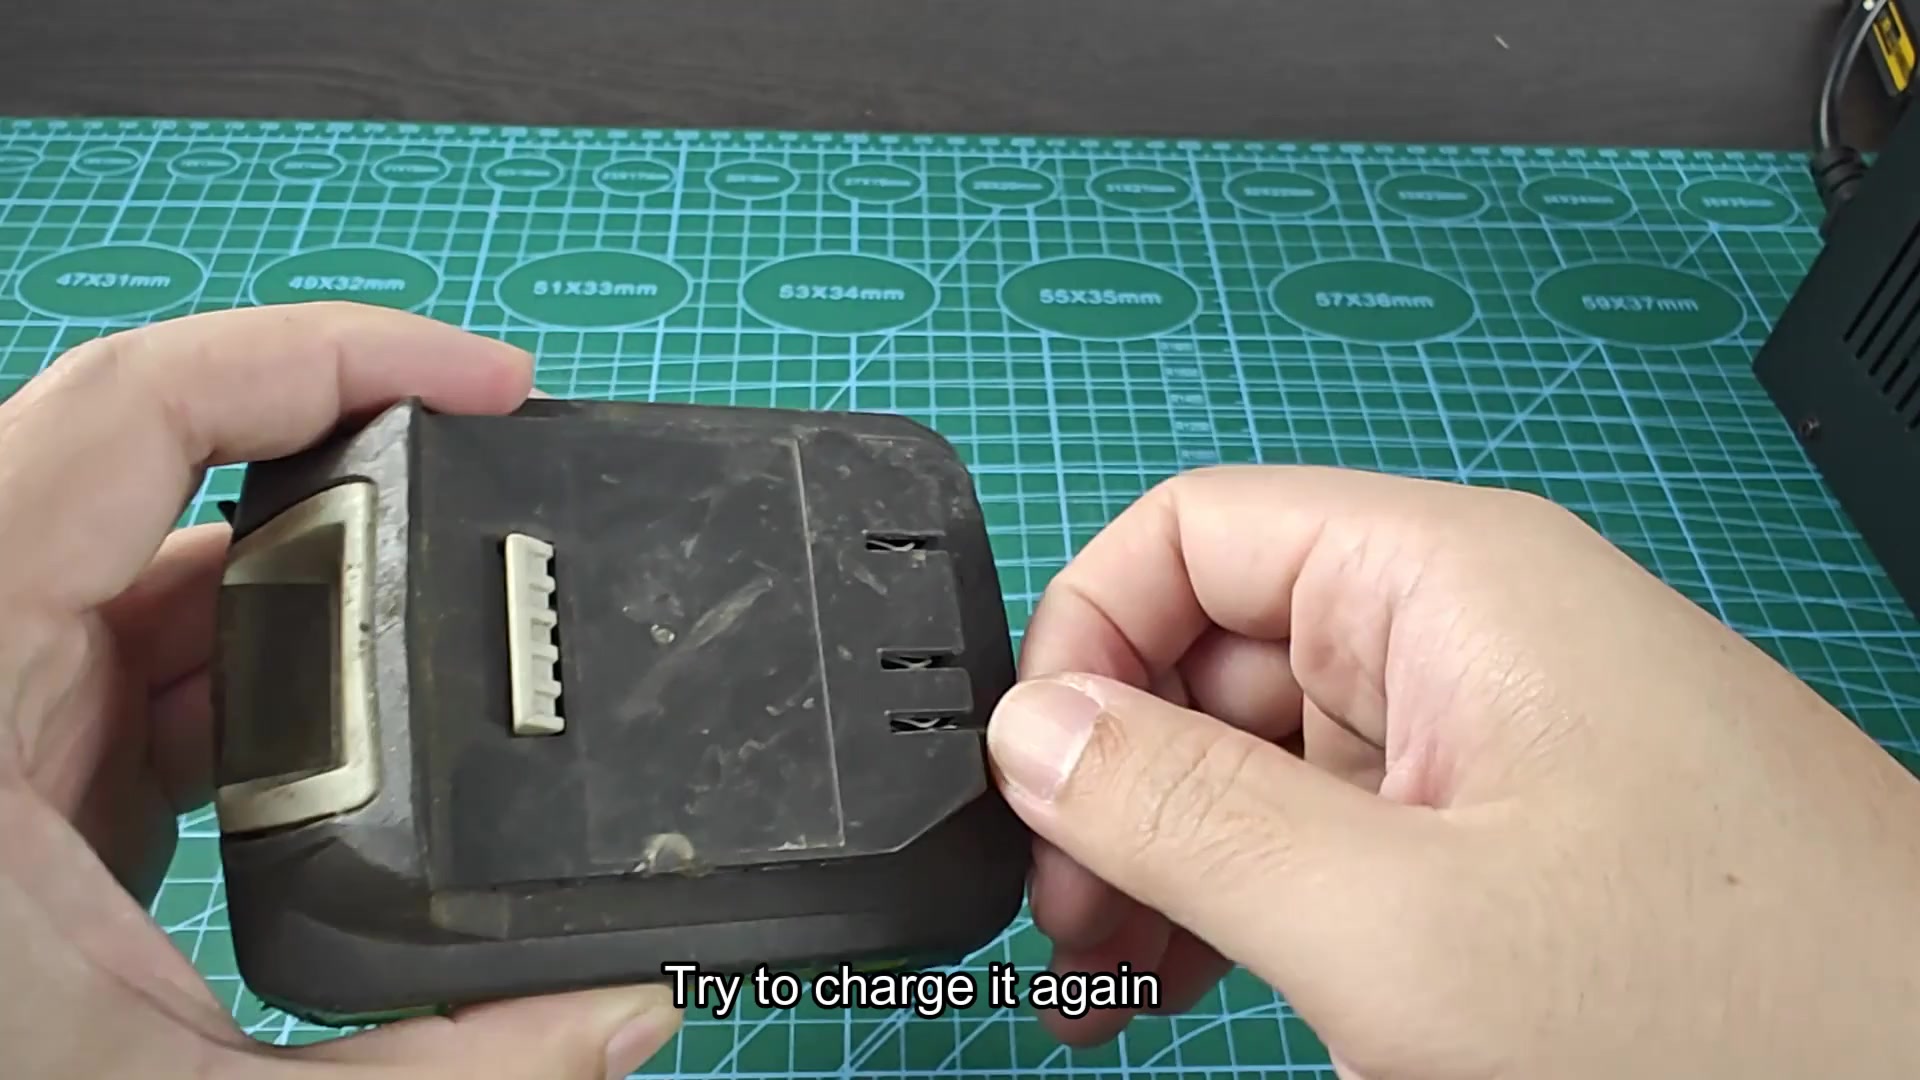
Okay, you take your revived Ryobi pack and put it back on charger. The light blinks briefly, but the pack charges just fine from that point forward. There is no dead weight hanging out in the toolbox anymore. That makes planning projects easier.
This trick breathes new life into a dead unit that would of been completely useless otherwise. If you’ve got the tools on hand, it doesn’t cost anything to give it a go. You save money in the process because you don’t have to buy another one.
Electronics is simple. Sometimes a simple fix is all that’s necessary so you give it a shot before purchasing something new.