Rectangular Tube Bending Calculator
Estimate developed length, bend allowance, springback, section stress, outer-wall strain, and flattening risk for square and rectangular tube bends.
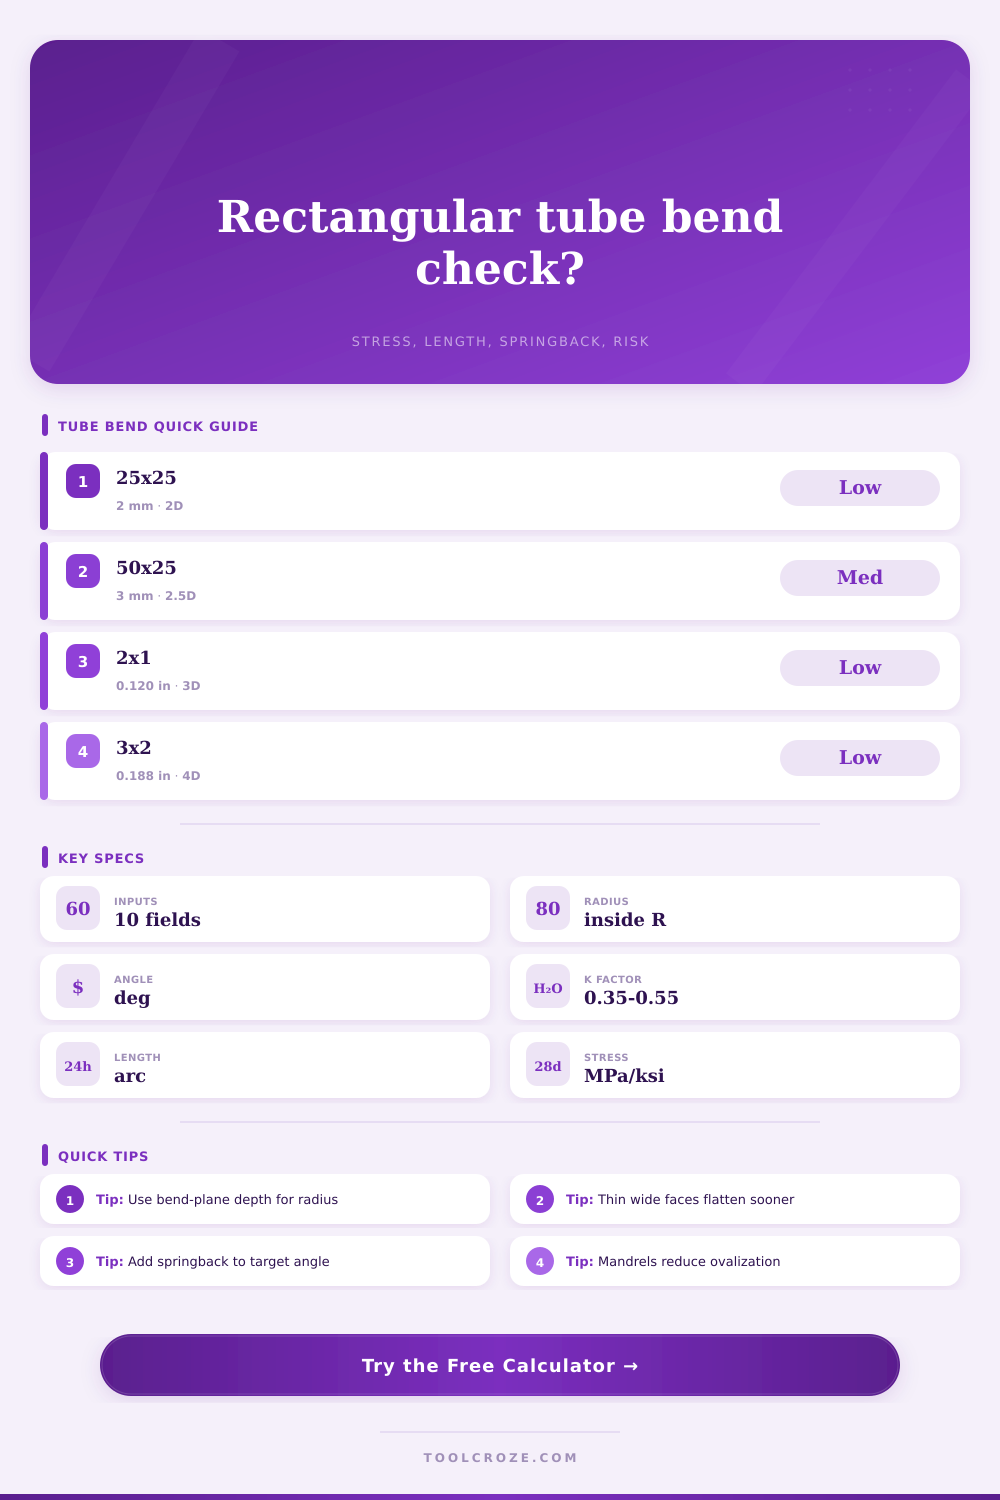
📌Rectangular Tube Presets
⚙Bend Geometry Inputs
Rectangular Tube Bend Results
🧱Tube and Material Grid
📊Rectangular Tube Preset Reference
| Preset | Tube outside size | Wall | Typical bend use |
|---|---|---|---|
| 25 x 25 Handrail | 25 mm x 25 mm | 2.0 mm | Light railing corners and guards |
| 40 x 40 Gate Frame | 40 mm x 40 mm | 2.0 mm | Gate, rack, and shop frame bends |
| 50 x 25 Sign Hoop | 50 mm x 25 mm | 3.0 mm | Rectangular hoop with wide face shown |
| 60 x 30 Bench Rail | 60 mm x 30 mm | 3.0 mm | Furniture rail or guard loop |
| 2 x 1 Trailer Rail | 2 in x 1 in | 0.120 in | Utility trailer rail or bracket |
| 3 x 2 Chassis Tube | 3 in x 2 in | 0.188 in | Large structural tube sweep |
⚒Material Property Reference
| Material | Elastic modulus | Yield guide | Bending note |
|---|---|---|---|
| Mild steel tube | 200 GPa / 29,000 ksi | 250 MPa / 36 ksi | Predictable, forgiving, moderate springback |
| A500 structural steel | 200 GPa / 29,000 ksi | 315 MPa / 46 ksi | Higher yield raises forming force and springback |
| 304 stainless tube | 193 GPa / 28,000 ksi | 215 MPa / 31 ksi | Work hardens; use generous radius and support |
| 6061-T6 aluminum | 69 GPa / 10,000 ksi | 276 MPa / 40 ksi | Large springback; tight bends can crack |
| 6063-T52 aluminum | 69 GPa / 10,000 ksi | 145 MPa / 21 ksi | More bendable than 6061-T6 at similar size |
| 4130 chromoly | 205 GPa / 29,700 ksi | 460 MPa / 67 ksi | Strong tube; tooling fit matters |
📏Bend Radius and Risk Guide
| Inside radius ratio | What it means | Flattening tendency | Practical response |
|---|---|---|---|
| Below 1.5D | Very tight rectangular tube bend | High unless mandrel supported | Increase radius or test a sample first |
| 1.5D to 2D | Tight shop bend | Medium to high on thin walls | Use close dies, wiper, or internal support |
| 2D to 3D | Common fabricated tube radius | Usually moderate | Check wide-face dimpling and angle repeatability |
| 3D to 5D | Generous sweep bend | Low on most practical walls | Springback becomes the main setup correction |
| Above 5D | Roll bend or large-radius sweep | Low, gradual ovalization | Use chord and arc checks for layout |
🔧Bending Setup Reference
| Setup | Support level | Flattening factor | Best use |
|---|---|---|---|
| Mandrel or plug supported | High internal support | Lowest | Thin wall, stainless, aluminum, tight radius |
| Rotary draw, close die | Good outside support | Low to medium | Repeatable shop bends and frames |
| Compression bender | Moderate support | Medium | Moderate wall and radius |
| Roll bend | Distributed support | Low at large radius | Large arcs, hoops, and sweeping rails |
| Press brake or point die | Local contact support | Highest | Prototype bends with generous radius |
💡Tube Bending Tips
It’s just a matter of grabbing a rectangle piece, clamping it in the bender, and pulling the lever until angle looks right, but that guesswork is exactly why people end up with incorrect angles and lengths. Simple enough, right? Not quite.
Bending metal resists bending. Inside the tube, metal compresses while on the exterior surface of the bend, it stretchs. That’s where the battle begins. Why don’t frames always fit together perfect? Because they’re either a degree or two out or the part is too small.
How to Bend Metal Tubes Correctly
The tool (above) takes care of all that math for you when you input your bend parameters and tubing size. No more fumbling with conversions and coefficients. How much material do you realy require? That’s your second choice.
The inside of the tube gets compressed when you bend it and the outside get stretched. Somewhere in the middle is a line that doesn’t change much, called the neutral axis. Finding that line is the difference between a blank that fits and one that leaves you cutting scrap. The calculator calculates the developed length based off the specified angle and radius. It applies a neutral axis factor to move measurement location from the centerline. Typically, you’d like that factor to fall between zero point three five and zero point five five. Too low, and you’ll have some extra material that needs to be ground down. Too high, and your part will come up short.
Another thing to think about is springback. When you apply pressure to steel, it want to snap back into its original shape. If the steel is strong enough, it will actualy do that. Because aluminum is so springy you have to bend it a little too far to get your final angle to set up the way you like it. With this tool they gives you a guess at how much of that correction to make. It will tell you how many additional degrees to add in order to offset material memory. It’s not exact science but it will give you a place to start from. For critical work, I would of still recommend testing a sample piece.
Flattening is a silent killer in tube bending Pushing a square shape around a curve makes it want to become oval (the wide faces) and also thins the walls so the structure lose its strength. Tighter radii and thinner walled tubes is more susceptible to this behavior. The Calculator evaluates the bend radius relative to the depth of your tube. If the radius is too shallow compared to the tube depth, it is more likely to flatten. This results in a ugly looking part that will fail under load, unless you add support inside the bend, such as with a plug or mandrel, to keep the inside from collapsing onto itself.
The material makes all the difference. Mild steel will bend easy and have predictable spring back. Stainless is not as forgiving. It resist bending and will work-harden very quickly. If you try and bend stainless with too tight of a radius, it may crack. Aluminum needs a bigger radius or else it will crack at the apex. Depending on what material you choose, the tool will adjust how it guides the tube. Forty-one thirty chromoly is different than six zero six one aluminum. And you better learn to respect that difference because you can’t treat each tube like mild steel.
Check the stress of the forces. This is a good one to know about because it tells you what kinds of forces is at play. By feeding it the moment arm and applied force, it’ll estimate the section stress to help you verify your tooling can handle the job. You can then see if your tooling will be able to do the job (without breaking or slipping). Also, you can identify if you’re getting anywhere close to the yield point of the material. Bending past this means you’ll bend the tube in unintended ways.
So when you’re trying to bend a rectangle tube, what’s going on? In the end it comes down to controlling deformation. You have a combination of material properties and geometry that will work against each other. The calculator provides the numbers so you can plan out your angles and cuts. It warns you of stress limits and the risk of flattening. It also shows where the neutral axis will be and how much spring back to expect.
But ultimately, in the shop you do a final check. Measure the angle, look at the bend, measure the walls. You know the numbers guide you, but your eyes confirm the results. So start with the math, finish with the feel. That’s how you get consistent bends.