Rebar Ton Calculator
Estimate reinforcing bar quantity by layout, spacing, bar size, lap length, layers, ties, waste factor, and delivery tonnage.
⚒Rebar presets
📏Project inputs
The calculator changes count logic by selected layout.
Used to estimate orderable bar pieces after laps and waste.
Use 2 for top and bottom mats or both wall faces.
Used mainly for cages, columns, and one-way layouts.
For cage/tie layouts, enter one closed tie or stirrup length.
Full calculation breakdown
🧱Selected material/spec grid
📚Reference tables
| US bar | Metric mark | Diameter | Weight | Typical use |
|---|---|---|---|---|
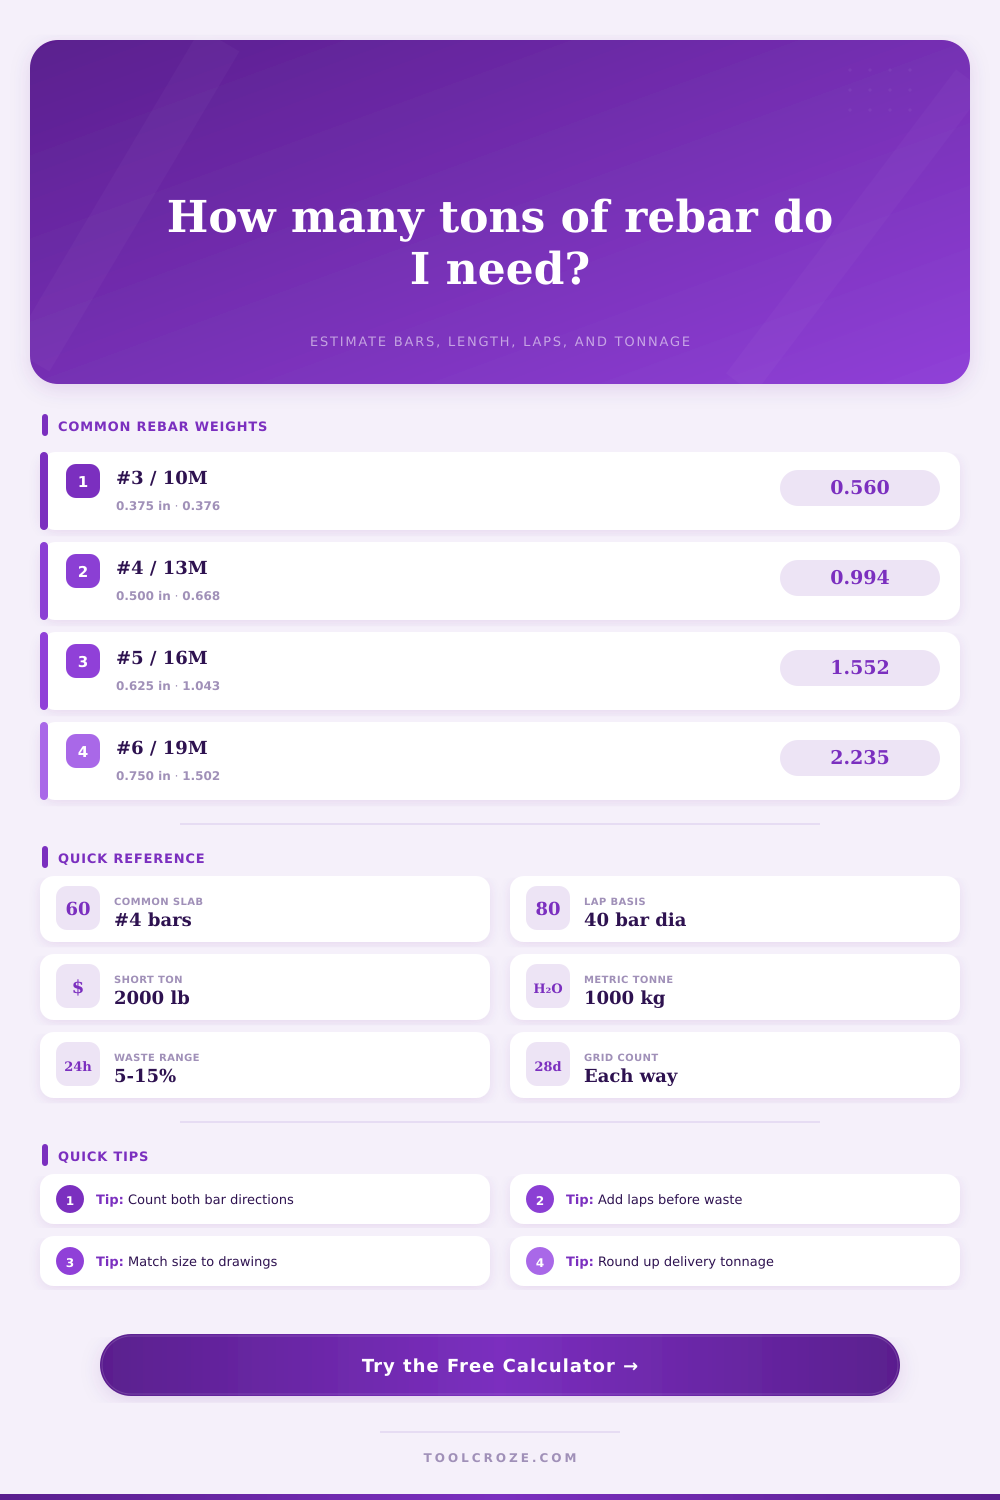
| #3 | 10M | 0.375 in / 9.5 mm | 0.376 lb/ft / 0.560 kg/m | Ties, light slabs, stirrups |
| #4 | 13M | 0.500 in / 12.7 mm | 0.668 lb/ft / 0.994 kg/m | Residential slabs, patios, walls |
| #5 | 16M | 0.625 in / 15.9 mm | 1.043 lb/ft / 1.552 kg/m | Footings, grade beams, heavy slabs |
| #6 | 19M | 0.750 in / 19.1 mm | 1.502 lb/ft / 2.235 kg/m | Columns, beams, retaining walls |
| #8 | 25M | 1.000 in / 25.4 mm | 2.670 lb/ft / 3.973 kg/m | Structural beams and heavy mats |
| Layout | Count formula | Length formula | Best input check |
|---|---|---|---|
| Two-way slab mat | floor(width / spacing) + 1 each direction | each-way count × crossing dimension | Use clear inside dimensions where drawings require cover. |
| One-way bars | floor(width / spacing) + 1 | count × run length × layers | Use run count override for beams or trenches. |
| Footing/beam cage | continuous bars plus ties by spacing | long bars + stirrup cut lengths | Confirm hook extensions and corner bars separately. |
| Column/tie set | vertical bar count plus ties | verticals + tie perimeter × tie count | Use actual story height and lap schedule. |
| Spacing | Bars across 10 ft | Bars across 20 ft | Bars across 30 ft | Planning note |
|---|---|---|---|---|
| 6 in | 21 | 41 | 61 | Dense mats and heavier crack control. |
| 8 in | 16 | 31 | 46 | Common for tighter slab reinforcement. |
| 12 in | 11 | 21 | 31 | Frequent residential layout spacing. |
| 18 in | 7 | 14 | 21 | Light mats where drawings permit wider spacing. |
| 24 in | 6 | 11 | 16 | Often used for temperature steel or light areas. |
| Project type | Common bar | Common spacing | Typical layers | Waste allowance |
|---|---|---|---|---|
| Residential slab | #3 to #4 | 12 in to 24 in each way | 1 | 5% to 10% |
| Driveway slab | #4 to #5 | 12 in to 18 in each way | 1 | 10% |
| Strip footing | #4 to #6 | Continuous bars with ties | 1 cage | 10% to 15% |
| Retaining wall | #4 to #6 | 8 in to 18 in vertical/horizontal | 1 to 2 faces | 10% to 15% |
| Column cage | #5 to #8 | Ties at 6 in to 12 in | Vertical set | 10% |
⚠Takeoff notes
When it comes to bar sizes and slab dimensions, the calculator does the heavy lifting for you; you don’t have to figure out each linear foot yourself. But most takeoff fail because they don’t understand what’s going into these inputs. First things first: count depends far less on the square footage of a slab and far more on the spacing. For example, if I’m using twelve-inch spacing with a width of twenty-four feet, that’s around twenty-one bars whether your slab length is ten feet or fifty. The density of grid dictates how much weight you’re dealing with before adding any additional layers. One layer may suffice for a driveway application, while a warehouse floor would require both a top mat and a bottom mat, immediately doubling material requirements.
By allowing you to define continuous runs, faces, and layers, the tool makes sure you don’t end up ordering enough steel to cover only half of what was designed for. The hidden cost comes in laps. Stock lengths are typicaly only available in increments up to twenty feet; they don’t draw a continuous straight bar across their structural drawings. What do you do when that runs out? You need to overlap your bars to carry the load. A rough estimate is to use a lap length of forty bar diameters, which isn’t all that clear until you do the math. That’s about two feet of overlap on each splice for a number four bar. Do that at every intersection in your grid and now you’re adding hundreds of linear feet into total weight. This accounts for the fact that not everything will be perfectly continuous, which lets you set an average lap allowance per bar.
Key Things for Steel Takeoffs
And then there’s waste. Waste is a silent budget-killer. There are no ways around it: when you cut steel there will be some loss of material. Scraps from straight edges, hooks, bends, and cutoffs all adds up. For simple slabs, a ten percent waste factor can be expected. More complicated footings with heavy rebar congestion and tight corner cuts may stretch to fifteen percent or more.
To help put these numbers into perspective, the reference table on the page gives typical weights per bar size. This can help you imagine why moving from, say, a number four to a number five bar adds about fifty percent to your total tonnage. Not only does it increase the weight, but it also impacts how you handle the bars (heavier bars has to be tied differently and need careful consideration during placement).
This doesn’t mean the output is the bill. It’s an estimate used as a starting point to order stuff confidently… getting within range. Compare this to structural drawings. Be very careful of cover requirements where shifting might change bar position or cut down usable space. You want just a little bit too much steel onsite, not sitting there staring at a truck full of wet concrete hoping it will show up in time to prevent you from pouring dry.
Takeoffs are not meant to be perfect. They are meant to help manage risk so your guys goes home paid and the ground remains dry. If the numbers match the materials everything pours smoothly and you’ll know exactly where you stand again. That clarity directs you to what realy matters: building something solid to last.