Rebar Calculator
Estimate reinforcing bar count, cut length, lap splice allowance, total weight, support chairs, spacing checks, and waste for rectangular slabs, footings, walls, beams, and mats.
🔧 Project Presets
📐 Rebar Layout Inputs
Rebar Estimate
📊 Material and Spec Grid
📘 Rebar Weight Reference
| Bar size | Diameter | Area | Weight | Common use |
|---|---|---|---|---|
| #3 | 3/8 in | 0.11 in² | 0.376 lb/ft | Patios, sidewalks, light slabs |
| #4 | 1/2 in | 0.20 in² | 0.668 lb/ft | Driveways, slabs, walls |
| #5 | 5/8 in | 0.31 in² | 1.043 lb/ft | Footings, walls, beams |
| #6 | 3/4 in | 0.44 in² | 1.502 lb/ft | Grade beams, heavy mats |
| #7 | 7/8 in | 0.60 in² | 2.044 lb/ft | Heavy walls and columns |
| #8 | 1 in | 0.79 in² | 2.670 lb/ft | Structural beams and mats |
📏 Spacing and Cover Reference
| Element | Typical bar | Typical spacing | Common cover | Planning note |
|---|---|---|---|---|
| Interior slab | #3 to #4 | 12 to 18 in | 1.5 to 2 in | Use chairs to hold top position |
| Exterior slab | #4 | 12 to 18 in | 2 to 3 in | Allow more cover near soil |
| Driveway | #4 to #5 | 12 in | 2 to 3 in | Keep bars in upper third if detailed |
| Footing | #4 to #6 | Rows per plan | 3 in soil side | Continuous bars often control takeoff |
| Wall mat | #4 to #6 | 8 to 16 in | 1.5 to 2 in | Count vertical and horizontal curtains |
🔗 Lap Splice Planning Table
| Bar size | 30 diameters | 40 diameters | 48 diameters | Field planning use |
|---|---|---|---|---|
| #3 | 11.3 in | 15.0 in | 18.0 in | Light mats and short runs |
| #4 | 15.0 in | 20.0 in | 24.0 in | Common slab laps |
| #5 | 18.8 in | 25.0 in | 30.0 in | Footings and walls |
| #6 | 22.5 in | 30.0 in | 36.0 in | Heavy slabs and beams |
| #8 | 30.0 in | 40.0 in | 48.0 in | Large mats per engineer |
🏗 Common Layout Reference
| Project | Typical size | Layout | Stock bars | Practical check |
|---|---|---|---|---|
| Patio slab | 12 x 16 ft | #3 at 18 in | 20 ft | Small lap allowance |
| Garage slab | 24 x 24 ft | #4 at 12 in | 20 ft | Splices likely both ways |
| Driveway | 16 x 30 ft | #4 at 12 in | 20 ft | Plan truck access openings |
| Strip footing | 40 x 2 ft | #5 long bars | 20 ft | Count continuous runs |
| Wall curtain | 30 x 8 ft | #4 at 12 in | 20 ft | Two curtains double steel |
💡 Field Tips
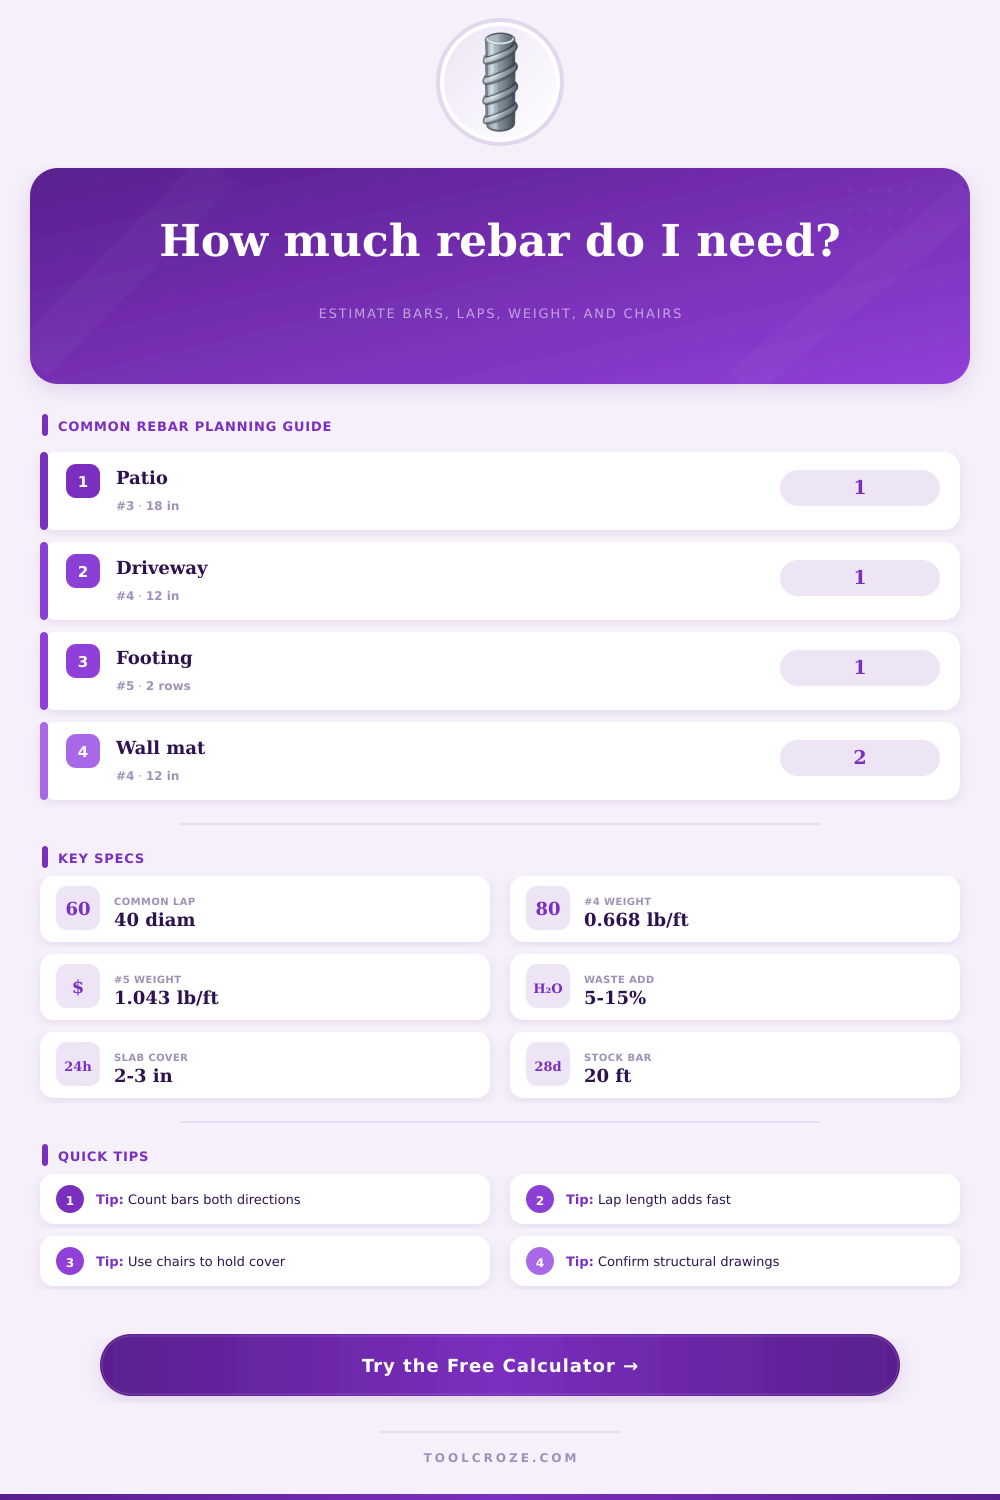
Why Add Steel to Concrete? Because concrete is strong in compression and weak in tension, it relies on reinforcing bars buried within itself to support its strength. Without them, concrete could crack under stress or load. But how do you guess how much reinforcing bar you’ll need? Once you learn that there’s no guessing, it’s really just math; you’re simply creating a layout and defining the spacing between bar. What’s your center-to-center spacing? Enter those dimensions into the calculator above, and it will run the numbers for you.
It takes simple dimensions and produces a shopping list with splice and waste allowances. Save yourself money by not over-ordering steel and bundles you don’t end up cutting. The app begins by having you select your application type. That choice helps establish some reasonable default cover & spacing. For example, you wouldn’t require the same level of reinforcement for a patio slab versus a basement wall resisting soil pressure.
How to Calculate Your Rebar Needs
Next, you’ll select your rebar size (typically #3… #6 for residential applications). Each size has an associated weight per foot. If you change from a #4 to a #5, for instance, that will make a huge difference in overall tonnage with the same amount of spacing. And since steel by the pound isn’t cheap, you want to nail this one.
Then it prompts you for the dimensions of the project (width x length). Then it prompts for spacing (center-to-center) for bars oriented along both axes. This gives it the full picture of the grid pattern needed for strength. Lap splices are something people notice. Rebar is typically sold in 20 foot lengths. If a beam is more than 20 feet long, it must use two (or more) bar with a splice where they overlap and share load.
You specify a splice multiplier depending on bar size so the calculator will tell you how much extra length to allow for the splice. Otherwise your estimate might show fewer bars then you actualy need. That’s bad when you go to place the thing and run short at just the wrong instant. Then there’s waste, which accounts for cut-offs, mistakes, and irregular corners. 10% is a nice sweet spot in the middle, enough to prevent running out without going too crazy spending money.
There are also the little things, like support chairs. These tiny little wire or plastic supports prop up the rebar to the right height above the formwork so it will have enough concrete cover. Concrete cover prevents loss of bond strength between the steel and surrounding concrete and will slow down the rate of corrosion of the steel. The estimator calculates how many chair you need given the grid spacing you specify. This allows you to get an idea about all the other extra materials you’ll need beyond just the primary bars. It is a small detail, but one that makes a difference in the long run.
Below the entry boxes, there are helpful reference tables that put things into context. For example, they explain what the common applications of each size bar are, as well as their typical weight. That explains why driveways use #4 while footings use #5 most commonly. It also illustrates which elements requires closer spacing. An increase in load or the need to control cracking means a tighter grid is required. This allows you to understand the relationship between the variables so you know if the result computed by the calculator makes sense in your application.
In summary, knowing your numbers saves the contractor money by reducing waste and preventing delays. Knowing exactly how many bars you need saves you from having to worry about materials. And you can spend more time worrying about pouring concrete. It becomes a logistical problem that can be planned out in advance. The result? You get a clean job site and a strong structure. No guesswork, just the budget.
Not to mention that if there’s one thing worse than being off the mark, it’s not knowing when or by how much you are. So get the math right before you dig and you’ll save time, money, and stress. You should of checked your measurements twice.