Rebar Cutting List Calculator
Build an optimized stock-bar cut schedule from required rebar lengths, piece counts, saw kerf, lap allowance, hook allowance, bar size, bundle quantity, and waste reserve.
📌Real Project Presets
📏Cut List Inputs
Optimized Rebar Cutting Results
💪Bar-Size Grid
Slab mats and light ties
Footings and slabs
Grade beams and pads
Cages and heavier mats
Light slab mesh
Walls and footings
Beams and mats
Heavy reinforcement
📋Imperial Bar Reference
| Bar size | Diameter | Area | Weight |
|---|---|---|---|
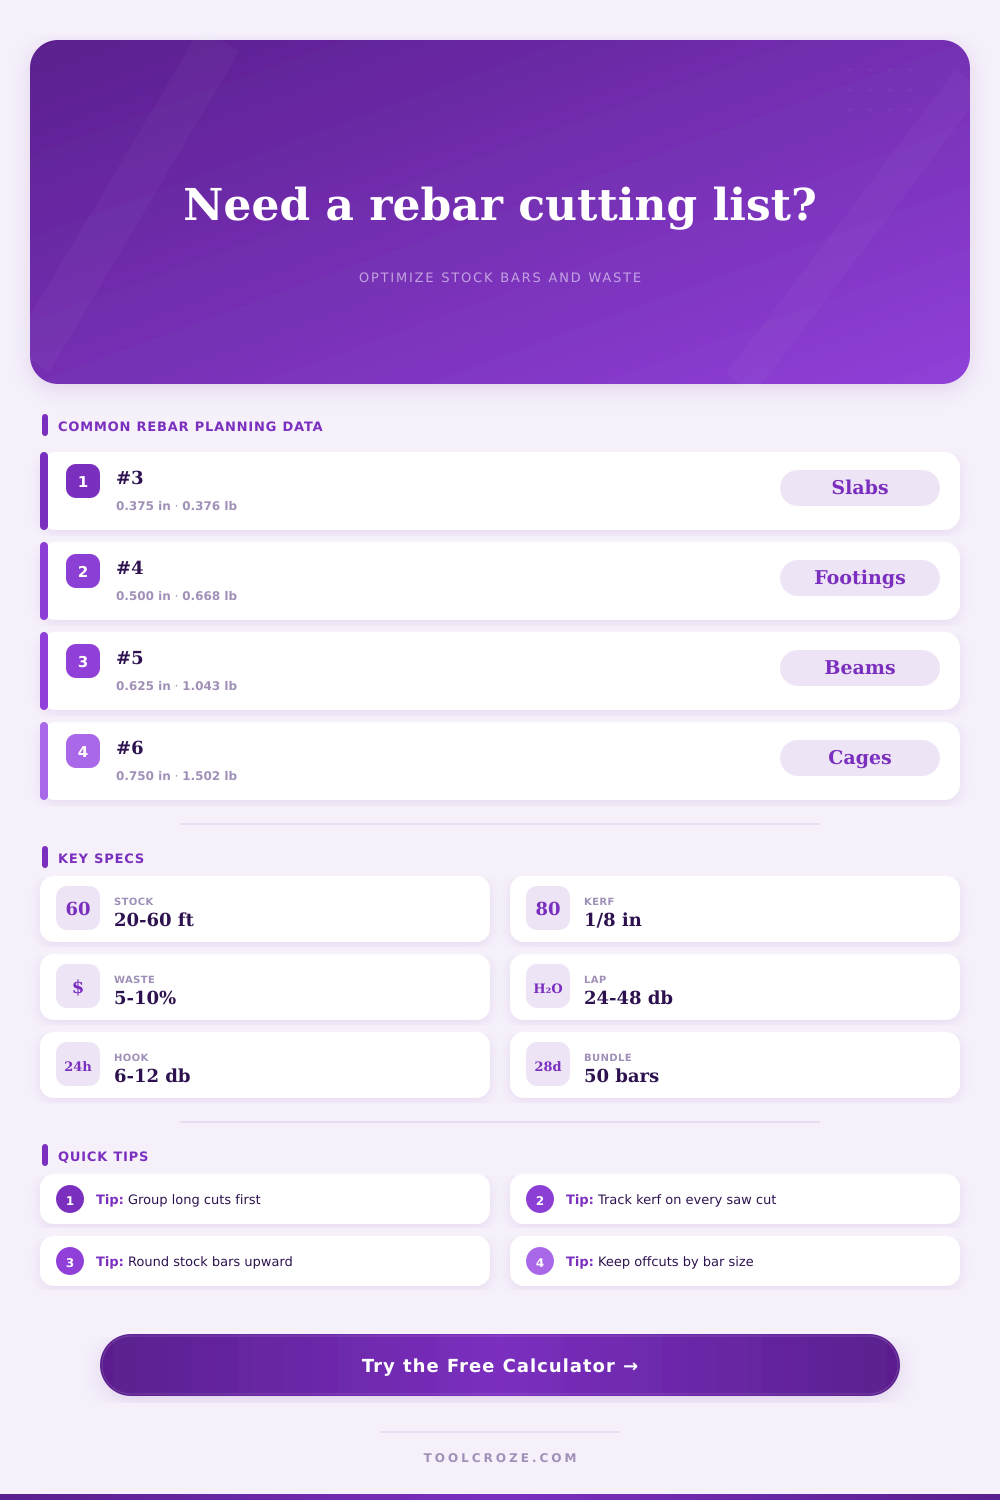
| #3 | 0.375 in | 0.11 in² | 0.376 lb/ft |
| #4 | 0.500 in | 0.20 in² | 0.668 lb/ft |
| #5 | 0.625 in | 0.31 in² | 1.043 lb/ft |
| #6 | 0.750 in | 0.44 in² | 1.502 lb/ft |
| #7 | 0.875 in | 0.60 in² | 2.044 lb/ft |
| #8 | 1.000 in | 0.79 in² | 2.670 lb/ft |
🔢Stock Bar Planning Table
| Stock length | Typical use | Good for | Planning note |
|---|---|---|---|
| 20 ft | Small slabs | Pickup handling | More joints, easier staging |
| 30 ft | Footings | Mixed cuts | Often balances waste and handling |
| 40 ft | Commercial mats | Long bars | Check site unloading and storage |
| 60 ft | Fabrication yard | Large cages | Best yield, hardest handling |
↪Lap and Hook Allowance Reference
| Allowance | Rule of thumb | #4 example | Where it appears |
|---|---|---|---|
| Lap splice | 24db to 48db | 1.0 to 2.0 ft | Longitudinal footing bars |
| 90 degree hook | 12db extension | 0.5 ft | Dowels, starters, cages |
| 180 degree hook | 4db plus bend | 0.25 ft plus bend | Ties and stirrups |
| Field trim | 2 in to 6 in | 0.17 to 0.50 ft | Unknown embed or cover |
🏗Project Preset Reference
| Preset | Bar size | Stock | Cut-list purpose |
|---|---|---|---|
| Patio slab mat | #4 | 20 ft | Two-way grid with short trim pieces |
| Strip footing | #5 | 30 ft | Continuous bars with splice lap |
| Grade beam cage | #5 | 40 ft | Long bars plus stirrup pieces |
| Column cage | #6 | 40 ft | Vertical bars and tie lengths |
💡Cutting Tips
On a job site, having the rebar delivered that’s the wrong size is a special kind of frustrating. It are twenty tons of steel. It does not match the grid in your mind. Somebody is standing there trying to see if an offcut (ten feet) can be used for a thirty-foot stock bar. Or should it go into the scrap pile? The crew sits around until this gets sorted out, then it costs you money by the minute and planning is no longer just a theory.
That becomes a schedule with a cutting list calculator, which converts that chaos back to data. It consumes raw data (from the drawing) and spits out a schedule of exactly how to cut the stock bars you ordered and how many of each bar you need. It’s not rocket science, anyone can use it, but it does require some understanding as to what all this input data actualy represents.
How to Use a Rebar Cutting Calculator
Typically, most folks begin by entering the piece lengths. That makes sense. Enter number of marks needed and where they should go on the bar. The thing that trips people up are the allowances. Ignore the kerf and you’ll have bars that comes up a fraction of an inch shy of being long enough. And that’s where people make mistakes.
Now we get to the tricky part: the kerf. Kerf refers to amount of material removed by an abrasive wheel or saw blade. Yes, it’s small but it does add up. A 1/4″ loss per cut across fifty pieces amounts to inches of missing steel. To account for this, the tool takes it out of length of stock available.
And then there are the laps and hooks. Bars has to be overlapped when they’re spliced. That overlap is critical to the strength but represents dead weight in terms of span. So you need to tell the calculator how much extra length to add for those laps or the hooks on stirrup ends. Otherwise, the optimizer will pack the bars as tightly as possible and you’ll find yourself shorting the joint.
The length of stock is significant, how long should I order? It is more than you think. Most suppliers offers standard bars in 20′, 30′ or 40′ lengths. Longer stocks typically create fewer leftovers, but they’re harder to handle. There’s a balance there, and the page has a reference table that shows where you stand (pun intended).
On one hand, if you need something short like a small patio slab, it’s simpler to stage a 20′ bar. On the other hand, if you’re tying a mat of footings across a whole building, fewer joints can be made with 40′ bars. The calculator adjusts its packing strategy based on which length you choose. But it takes into account logistics based off your choice of length. Pick the strategy for your site; it will do the math.
Weight is determined by the bar size and affects how the steel move. Number four bundles are manageable with two guys. Number eight bundles requires a forklift or a crane. The tool figures out weight of the bundle allowing you to plan for what lifting equipment will be needed. It is a small detail, but it keeps you from buying the stack you order only to figure out later you can’t lift it.
Waste, In addition to considering waste. It’s common practice to add an additional 5% reserve. This is for the bars that may get bent out of shape, have damaged threads, or have bad cuts. This covers all the messy stuff that happens in construction and acts as insurance.
Run the schedule and check out the waste percentage. High? You may be making too many different bar lengths and having some awkward gaps in your stock bars. Run the same job again grouping similar lengths. That way the optimizer can work better by nesting large cuts together and filling in the rest with small ones. Think of it as a puzzle but one that has no room for error and the pieces is expensive and heavy.
They’re all going somewhere. Not only are they going somewhere; they have to be in the right place. Cutting a good list saves time, it eliminates unnecessary trips to the saw. It cuts down on scrap. When you set aside time with the calculator, imagine the crew lifting those bars off the truck and carrying them to the formwork. Imagine the time.
If the list has some organization, things flow. If it’s a mess then that project will drag. Your inputs determine the output. This is where the tool works for you, but your input determines the result. Make sure you get the allowances correct and everything else will fall into line.
Everything fits together, the joints align and the budget remains intact. That’s how you would of avoided the frustration of the pour.