How Much Pea Gravel Do I Need Calculator
Estimate pea gravel cubic yards, tons, bags, delivery loads, edging, landscape fabric, base layer volume, and waste from real project dimensions.
📌Project presets
⚙Calculator inputs
Pea gravel estimate
🧱Material and spec grid
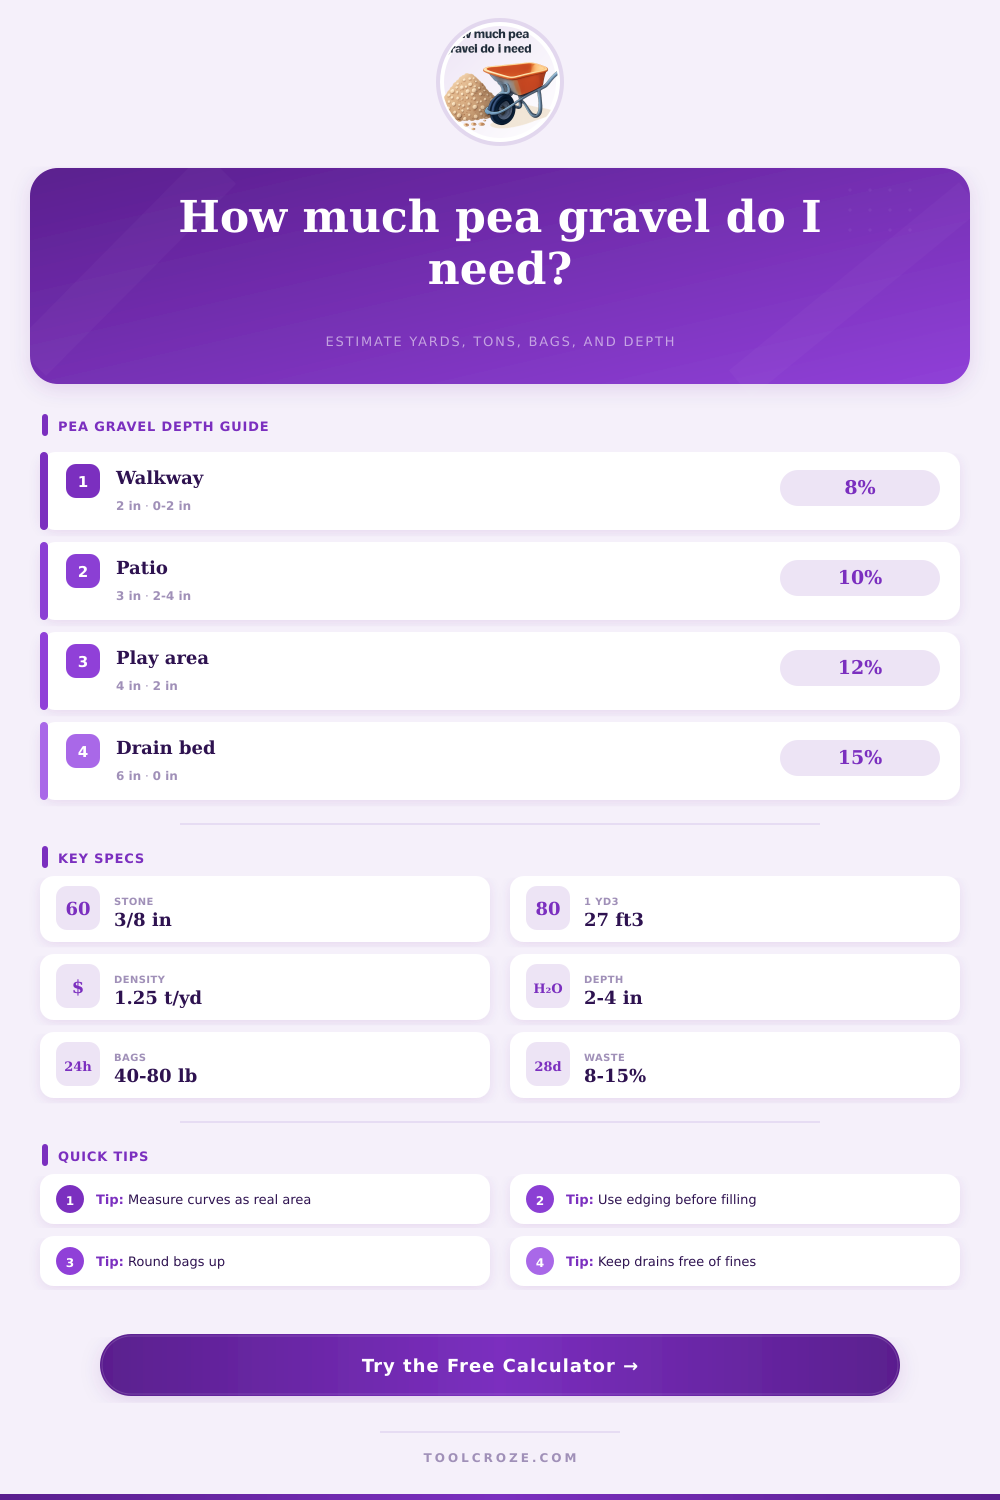
📏Pea gravel depth reference
| Use case | Pea gravel depth | Base depth | Notes |
|---|---|---|---|
| Decorative garden bed | 1.5-2 in | 0 in | Use fabric under stone to reduce mixing with soil. |
| Walking path | 2-3 in | 0-2 in | Use edging so round pea gravel does not migrate. |
| Patio sitting area | 3 in | 2-4 in | Use a compacted base where furniture will sit. |
| Dog run | 3-4 in | 2 in | Allow more waste where repeated raking is expected. |
| Play area | 4-6 in | 0-2 in | Check local play surface guidance before relying on depth. |
| Drainage swale | 4-8 in | 0 in | Use washed stone and drainage fabric where fines are present. |
⚖Density and bag conversion table
| Pea gravel type | Typical size | Density | Approx bags per yd³ |
|---|---|---|---|
| Washed round pea gravel | 3/8 in | 1.25 tons/yd³ | 50 bags at 50 lb |
| Mixed pea gravel | 1/4-1/2 in | 1.35 tons/yd³ | 54 bags at 50 lb |
| Mini pea gravel | 1/4 in | 1.20 tons/yd³ | 48 bags at 50 lb |
| Open drainage pea gravel | 3/8-1/2 in | 1.30 tons/yd³ | 52 bags at 50 lb |
| Decorative dry pea gravel | 3/8 in | 1.18 tons/yd³ | 48 bags at 50 lb |
| Damp stockpile gravel | 3/8 in | 1.40 tons/yd³ | 56 bags at 50 lb |
🚚Bulk load planning table
| Order method | Typical capacity | Best for | Rounding rule |
|---|---|---|---|
| Small bags | 0.5-0.8 ft³ each | Touch-ups and small beds | Round to full bags. |
| Half-yard pickup load | 0.5 yd³ | Short path or border strip | Check vehicle payload. |
| One-yard bulk scoop | 1 yd³ | Path or compact patio | Round to the next scoop. |
| Dump trailer load | 2-4 tons | Patios and dog runs | Round tons upward. |
| Single-axle truck | 5-8 tons | Large beds or drives | Confirm access and dump spot. |
| Tandem truck | 10-15 tons | Large landscape areas | Split loads if spreading by hand. |
🗺Common pea gravel project sizes
| Project | Typical dimensions | Depth | Estimated pea gravel |
|---|---|---|---|
| Front walkway | 3 ft x 40 ft | 2 in | About 0.9 yd³ before waste |
| Side yard path | 4 ft x 55 ft | 2.5 in | About 1.7 yd³ before waste |
| Round fire pit pad | 14 ft diameter | 3 in | About 1.4 yd³ before waste |
| Patio sitting area | 12 ft x 16 ft | 3 in | About 1.8 yd³ before waste |
| Garden border | 2 ft x 80 ft | 2 in | About 1.0 yd³ before waste |
| Dog run | 8 ft x 24 ft | 4 in | About 2.4 yd³ before waste |
💡Calculation tips
If you go shopping for smooth stones at your local landscape yard, chances are you envision yourself creating a tidy path through your garden, but chances are good that when you buy in bulk, you don’t measure first. That’s where math meets vision, then things go awry. Next thing you know, there will be more rock than you need on your driveway, or none left over to fill the last corner.
Because of its cost; and its weight, getting the volume correct are important; after all, lifting it around once it’s down to ground level can be hard work. If you input your dimensions into the above calculator, it’ll do the math for you, but knowing where that number comes from will keep you from making common errors.
How to Calculate the Right Amount of Gravel
Gravel has depth, yet most folks just measure the surface area and call it good. To be solid enough to walk upon without sinking in the mud beneath, it takes about two to three inches of stone. There’s also the matter of settlement, the pea gravel is round, meaning it tend to roll around. When raked smooth or walked upon, the stones will find their own level, settling down into one another. Calculating for the exact two-inch mark without accounting for settlement means your path will quick appear patchy. The tool includes some wiggle room here to account for compaction, which allows the finished layer to maintain its desired thickness even after use.
The other thing that makes a big difference is which stone you choose. For example, washed round pea gravel (with all its clean-looking softness) are not as dense by the cubic yard as say crushed stone, since the smooth rounded balls of rock take up more space with air pockets between them. That’s why I include “density” in the reference table, so you’ll know, for instance, that five tons is what a dump truck should of deliver…which could be nothing but crushed rock, but if instead they delivers crushed and screened fine, that’s fewer tons…or perhaps you ordered dry stone, rather than the wet stuff, so it’s heavier. You want to know these things if you’re getting a bulk delivery.
If you are hauling it in a pickup bed or your driveway has a weight limit, you don’t want to end up over-estimating by ten percent and have a ton too much to cram into the garden bed. You will end up with more hard work then you can manage. Many people wait until they’re stuck to prepare, but this is something you should do ahead of time.
Before pouring any stone, you must put down some kind of edging (or nothing will stay in place). Pea gravel wants to spread thin with time, or move right off the path onto your lawn. Use the calculator to estimate how much edging or landscape fabric you’ll need, as these things is easy to forget but important. Edging holds the stone in place where you put it; fabric prevents the gravel from sinking down into the ground. A little money spent on these materials now pays off later in how long they last.
Irregularly shaped beds and beds that curve present challenges to the straight-line formula. For these, estimate by measured square footage rather than length times width to get a more accurate picture. Walk around the bed if its outline has been sprayed or stringed off, and estimate from the amount of edge, which is where things spill out the most. There is always some waste, hence the waste allowance. No pour is ever exact; there will be some overfilling at the corners and some dropped stone. A reasonable waste percentage avoids having to run back to the store after hours and being frustrated.
Guessing never works; planning always does. Remember that filling in an area with rock isn’t your goal, it’s about having a surface that both looks good and stays there for years. First off, make it clear where things stop and start. Next, consider the rounding out of your rocks as they settle. Lastly, be mindful of what you’re buying (i.e., don’t skimp on your material because it weighs too much). Do this right the first time and when you’re finished you’ll have a nice, solid surface. If not, then you get to deal with some leftover regret.