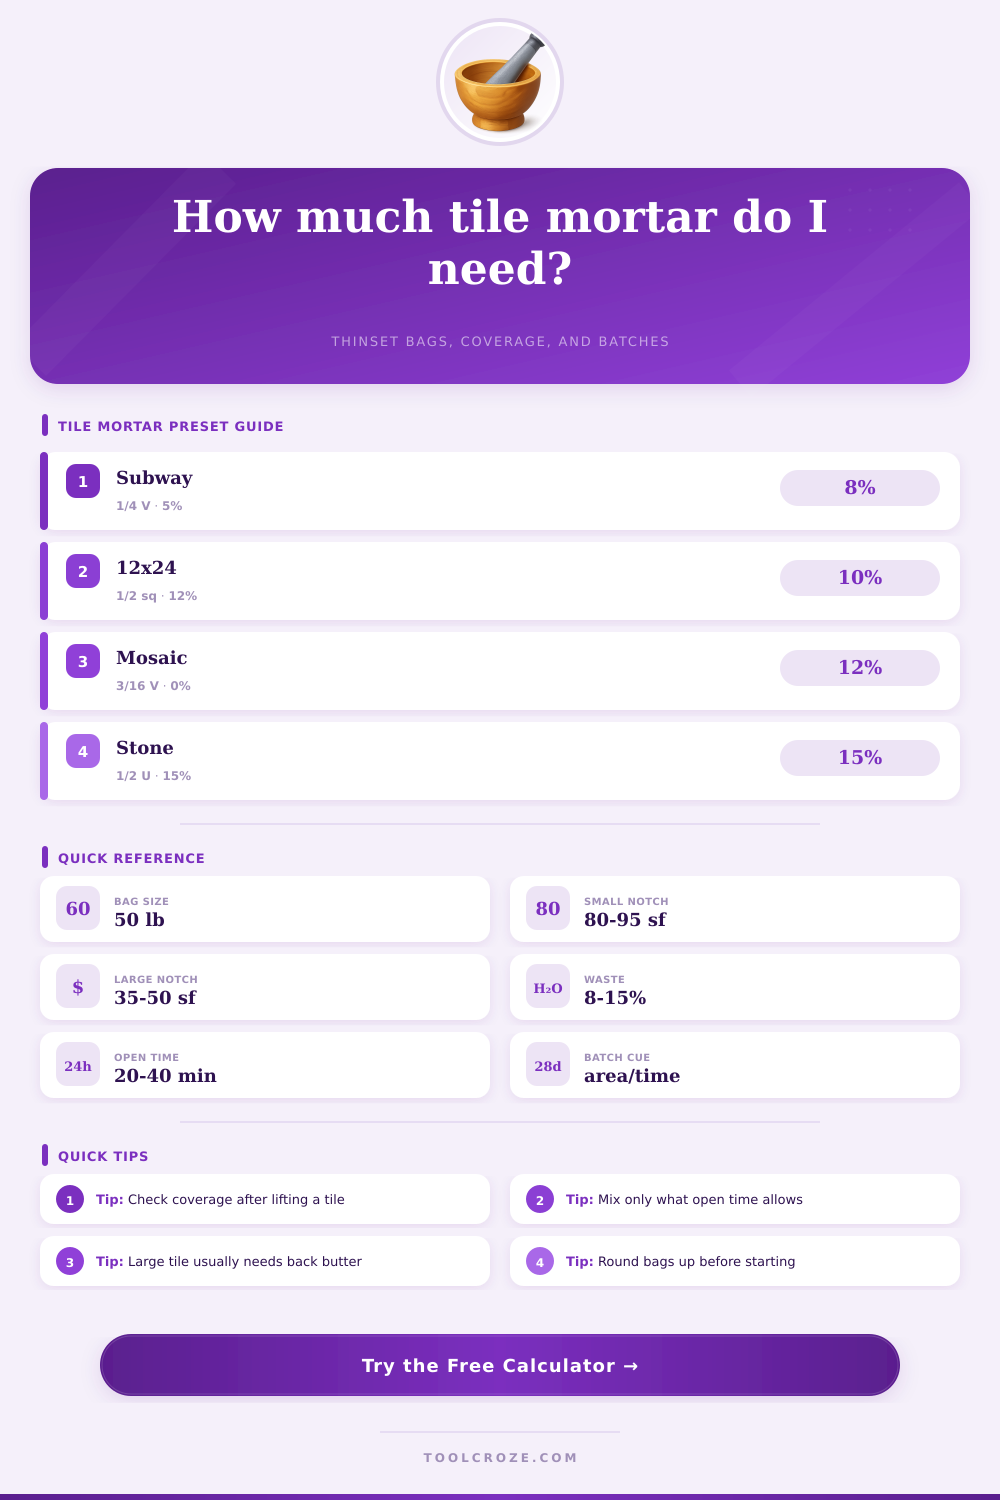
Mortar Calculator for Tile
Estimate tile mortar bags from area, trowel notch, bed thickness, tile size, back-buttering, waste, substrate demand, bag coverage, and open-time batch limits.
🎯 Tile Mortar Presets
📏 Project Inputs
Tile Mortar Estimate
🧱 Tile and Mortar Spec Grid
📋 Trowel Coverage Table
| Trowel notch | Typical tile | Collapsed bed | 50 lb bag coverage |
|---|---|---|---|
| 3/16 in V-notch | Mosaics and sheets | 1/32 to 3/64 in | 90 to 100 sq ft |
| 1/4 in V-notch | Wall and subway tile | 1/16 in | 75 to 90 sq ft |
| 1/4 x 1/4 in square | 8x8 to 12x12 tile | 3/32 in | 60 to 75 sq ft |
| 1/4 x 3/8 in square | 12x12 to 12x24 tile | 1/8 in | 45 to 60 sq ft |
| 1/2 x 1/2 in square | Large porcelain | 3/16 in | 35 to 45 sq ft |
| 1/2 in U-notch | Stone or uneven backs | 3/16 in | 38 to 50 sq ft |
| Euro slant notch | Large format panels | 1/8 to 3/16 in | 40 to 55 sq ft |
🗂 Real Tile Mortar Presets
| Preset | Tile size | Notch | Coverage cue |
|---|---|---|---|
| 3x6 subway wall | 3 x 6 in | 1/4 in V | 85 sq ft/bag |
| Mosaic backsplash | 2 x 2 in | 3/16 in V | 95 sq ft/bag |
| 12x12 ceramic floor | 12 x 12 in | 1/4 square | 68 sq ft/bag |
| 12x24 porcelain | 12 x 24 in | 1/2 square | 42 sq ft/bag |
| 24x24 large format | 24 x 24 in | Euro notch | 45 sq ft/bag |
| 6x36 plank tile | 6 x 36 in | 1/2 square | 40 sq ft/bag |
| Marble stone floor | 18 x 18 in | 1/2 U-notch | 38 sq ft/bag |
| Shower wall tile | 12 x 24 in | 1/4 x 3/8 | 52 sq ft/bag |
| Shower pan mosaic | 2 x 2 in | 3/16 in V | 88 sq ft/bag |
| Exterior porcelain | 16 x 16 in | 1/2 square | 38 sq ft/bag |
⏱ Substrate and Open-Time Factors
| Condition | Factor | What it means | Batch cue |
|---|---|---|---|
| Smooth membrane | 1.00x | Least drag on mortar | Can mix larger |
| Cement board | 1.05x | Normal backer demand | Watch dryness |
| Dry backer | 1.10x | Absorbs moisture faster | Shorter batches |
| Rough slab | 1.14x | Fills texture and dips | Expect more mortar |
| Exterior tile | 1.18x | Fuller coverage target | Use conservative open time |
📐 Tile Size and Back-Butter Guide
| Tile type | Typical area | Back-butter cue | Coverage target |
|---|---|---|---|
| Mosaic sheets | Under 0.25 sq ft | Usually none | Good ridge collapse |
| Standard floor tile | 0.5 to 1 sq ft | 0% to 8% | Lift and check |
| Large format tile | Over 1 sq ft | 10% to 15% | High coverage |
| Stone tile | Varies | 15% to 20% | Fill uneven backs |
💡 Mortar Takeoff Tips
DIYers screw up their tiling projects in one way: They miscalculate their mortar math. It’s not just a matter of mortar on a flat surface versus a bag of thinset. It is about bed thickness, how porous the surface is and how long you have to work with it (open time). Underestimating amount required for adequate adhesion mean less coverage than expected, which translates into either lipped tiles or empty spaces that shatter when bumped. Avoid both by looking beyond what is written on the bag and considering specific conditions of your installation site.
After entering your space size and type of trowel used, the calculator do the rest. You will no longer have to guess difference between a quarter-inch V-groove and a half-inch notch. Stop here with the trowel decision, as it will determine the rest of the steps. When pressed into place, those ridges compress, resulting in whatever amount of mortar remains beneath tile. That’s why a shallow notch produces scant mortar and is fine for flat wall tiles, but a nightmare if you’re laying large format porcelain which must be fully covered to avoid any cracks.
How to Calculate Your Tiling Materials
But what’s below the mortar? That also matters. A smooth membrane that is also waterproof doesn’t suck up mix water, meaning thinset goes farther and remains workable longer. Dry cement board or rough concrete slab soak up moisture from adhesive almost immediately. The effective coverage per bag are significantly affected. In fact, if you’re tiling on a dry backer board, your mortar may harden before you’ve spread all of it onto floor. Demand of substrate does matter for accuracy.
This section covers batch size and open time. Mortar isn’t paint; you can’t just throw it in the bucket and do things on your schedule. Polymer-modified thinset has an open window from about 20 to 40 minutes (and will start to skin over if unused). You’ll need to know how much to mix, two full bags? What happens if you lay down 30 square feet per hour, but mixed up two full bags? The answer is a rock hard lump in your bucket.
The tool helps measure both your installation rate and the open time of the mortar, and gives you guidance on when to mix a half-bag vs. A full-bag. No more frustration, no wasted mortar.
The other thing that throws folks off is Back Buttering. If you’re using large format tiles (greater than 12″ on any edge), they’ll rarely get fully covered by just the substrate. Those ridges don’t always extend all the way across back surface of a big tile. Putting down a small layer of mortar straight onto the tile helps fill in any voids. Sounds like an extra step, but it avoids problems later. Water will collect in those voids and cause freezing and white salt stains. This extra layer also affects the calculations, so you won’t be surprised when you run out of bags halfway through the room.
With tile work, there will be waste. You’ll end up cutting around the edges, corners, and even holes for things like outlets, which creates scraps that get thrown away. People usually add 8-10% when figuring your areas. However, if you have a lot of fixtures or a very complicated layout with a lot of diagonals, it could be even more. Better to go a bit extra than run out of glue in the middle of a project. Unlike most home projects, where you can simply purchase additional paint and pray it comes close enough, precision beats guesswork here so the tolerance is smaller.
In conclusion, there are no guessing games here. When you’re hanging big things from walls and floors, accuracy is more important then sloppy guesses. Use the correct sized trowel notch. Take measurements and make sure they add up. Don’t push the materials beyond their limitations. Those things will separate a clean, professional job from a big ole’ mess.
The number-crunching portion of the equation provides the numbers, but the careful attention to detail applied at install-time anchors everything permanently in place. Measure once, mix sparingly, double-check progress early-on. The effort you exerted toward accurate planning will appear in the finished product long after the glue hardens. You should of planned better for the mess.