Mortar Calculator for Paving
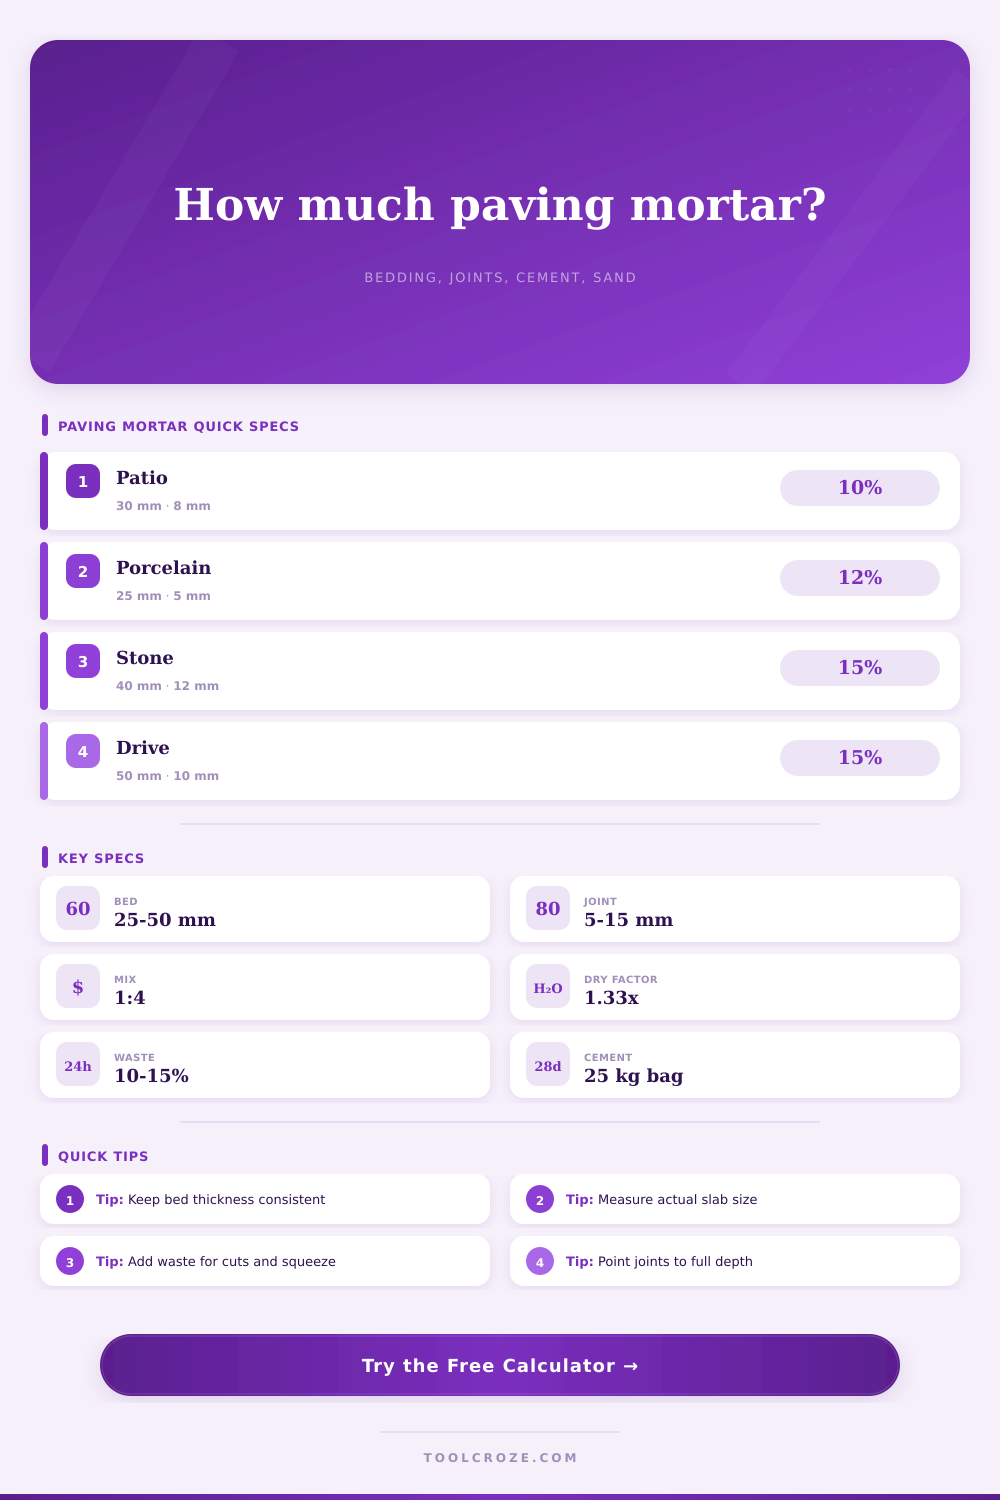
Estimate mortar for a paving project by combining patio area, bed thickness, slab format, joint width, joint depth, mix ratio, and waste allowance.
⚙Paving presets
📏Project inputs
Calculation breakdown
🧪Mix and material grid
📋Paving mortar reference tables
| Paving preset | Typical bed | Joint width | Suggested mix |
|---|---|---|---|
| Concrete patio slabs | 30-40 mm | 8-12 mm | 1:4 cement to sharp sand |
| Porcelain paving | 20-30 mm | 3-6 mm | 1:4 bed, fine pointing |
| Natural stone flags | 35-50 mm | 10-15 mm | 1:4 or 1:5 depending stone |
| Garden path | 25-35 mm | 8-12 mm | 1:5 general paving mortar |
| Light driveway paving | 40-50 mm | 8-10 mm | 1:3 or engineered bedding |
| Slab size | Slabs per m2 | Joint length pattern | Use case |
|---|---|---|---|
| 300 x 300 mm | 11.1 | Many short joints | Paths and small patios |
| 450 x 450 mm | 4.9 | Moderate grid joints | General garden paving |
| 600 x 600 mm | 2.8 | Fewer wide joints | Patios and terraces |
| 900 x 600 mm | 1.85 | Long staggered joints | Large format slabs |
| Mix ratio | Cement share | Sand share | Typical paving use |
|---|---|---|---|
| 1:3 | 25% | 75% | Stronger bedding or traffic edge areas |
| 1:4 | 20% | 80% | Common patio bedding and many joints |
| 1:5 | 16.7% | 83.3% | General pointing and garden paths |
| 1:6 | 14.3% | 85.7% | Weaker pointing where specified |
| Joint size | Depth | Mortar per 10 m joint | Calculation note |
|---|---|---|---|
| 5 mm | 20 mm | 0.001 m3 | Narrow porcelain-style gap |
| 8 mm | 25 mm | 0.002 m3 | Common patio slab joint |
| 12 mm | 30 mm | 0.0036 m3 | Wider flagstone joint |
| 15 mm | 40 mm | 0.006 m3 | Large uneven stone joint |
💡Practical tips
There is a specific kind of heartbreak reserved for the homeowner who buys too much cement. That’s the problem if you purchase an excess amount of cement for a patio job. You lug extra-heavy bags all around your yard in the pouring rain, you stack ’em up beside the shed. Then you look down and see three bag that is going to be there forever, like stone.
What if you don’t purchase enough cement? It is even worse. Half way through the patio you’re out of material and you has to dash off to the hardware store as the wet mortar skins over and turns rock hard back on-site.
How to Use the Cement Calculator
There’s no getting away from it: purchasing the correct quantities isn’t simply arithmetic. It’s also controlling your sanity and your effort. The calculator do the volume conversions for you. This spares you from worrying about whether a cubic meter is bigger or smaller than you imagined, or what coefficient you should of guessed at.
Everyone thinks of slab when thinking of pavers. How many six hundred millimeter squares do I need to make this space? It’s only when the truck pulls up that anyone think about glue that holds it all together.
Mortar volume is deceptive. It sneaks around hiding under thin layers. A thirty millimetre bed doesn’t sound like much. However, once you spread it over a twenty square meter patio, you are dealing with a serious amount of wet material.
And therein lies the trick: what exactly are you measuring? It is not cement. You use sand with a little bit of binder, but the ratio make all the difference. The tool’s Mix Ratio setting isn’t quite as easy to use as you’d think; but that’s okay, because it does matter. Most garden patios will be laid using a one-to-four mix (more cement to less sand). This mix are strong enough to keep the slabs from moving while drying but also flexible enough not to crack and shrink during drying time.
For a driveway or where there will be a lot of foot traffic, a slightly stronger mix, say, one-to-three. Will provide even greater strength, since you has less sand and more cement. When you vary this setting, the number of bags of cement changes instantly on the calculator; no need for mental arithmetic. Just understand what weight the intended surface needs to support. Walking shoes are a far cry from a surface under parked car.
The other thing that drives up volume is joint filling. Wide rustic joints makes nice looking floors. They will hide any irregularities in the stone, but they requires lots of mortar. Moddern slick looking narrow joints (narrow) work well with porcelain slabs, but don’t give you much margin for error. An eight mm wide joint pointed to full depth adds up fast over a big space.
The table on the page spells this one out and shows how joint width contributes to overall material requirements. This one can be easily under-estimated…you may fill the bed, lay the slabs, and realize that you never bought pointing mix.
There should of waste built in, though. You’re going to get some mix all over yourself, you’ll cut a slab or two while learning the process, and you’ll overwork a section and need to scrape it off. Plan for ten to fifteen percent above what’s needed; this is standard operating procedure, and it accounts for how life happens when building things in the real world.
The calculator also includes a factor for dry materials. Because dry sand takes up more room than compacted wet mortar, there’s a conversion factor between the number of bags you purchase and the amount of volume you spread. A tiny detail but one that helps avoid an embarassing run-out at the end of the last row.
Get it right from square one: Don’t guess at how thick you need to build the bed; if your subbase isn’t flat, you’ll adjust the thickness as you go which messes up all your math. Also make sure you know exactly how big your slab will be; don’t rely solely on the nominal dimensions on the package! Measure it out yourself. Before you begin, check the width of the joints.
From there, it’s basic arithmetic. You don’t want to run back to the store or have a pile of leftover concrete at the end of the day. A bit of advance planning ensures a finished product instead of a hole in your budget or your back.