
The first thing you do is slide in the M12 battery, then check your charge level. It’s always nice to be charged up for work.
Before laying hands on any material, it help to know how to use controls. First, read through them. Then turn collar around the front of tool and learn what each setting does.
Testing Screw Driving Capabilities
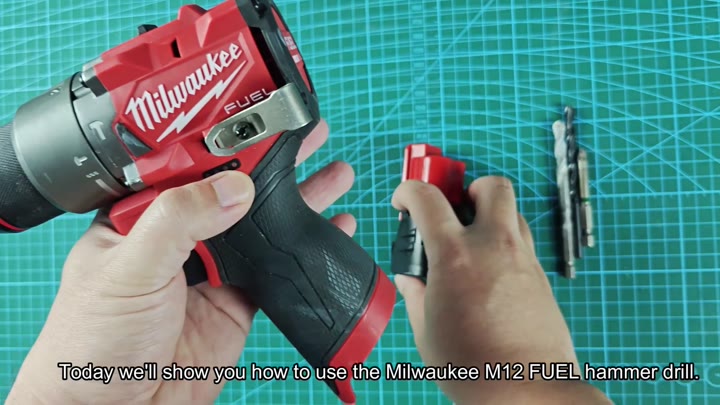
Here’s the beauty of it.
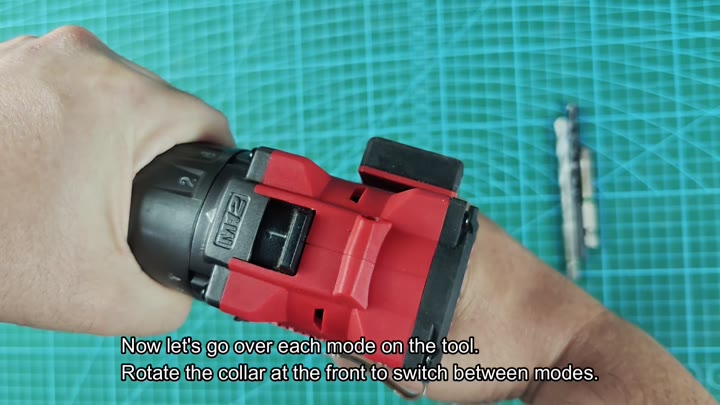
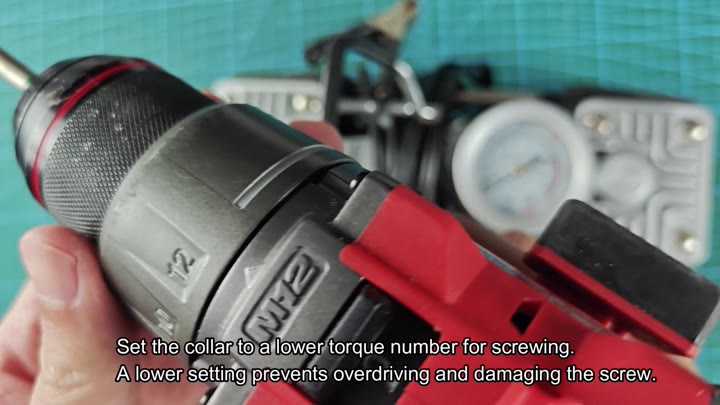
That collar has numbers for screw-driving purposes. Those determines how much torque you’ll get while driving a screw. And they’re essential for avoiding stripped heads or damaged surfaces.
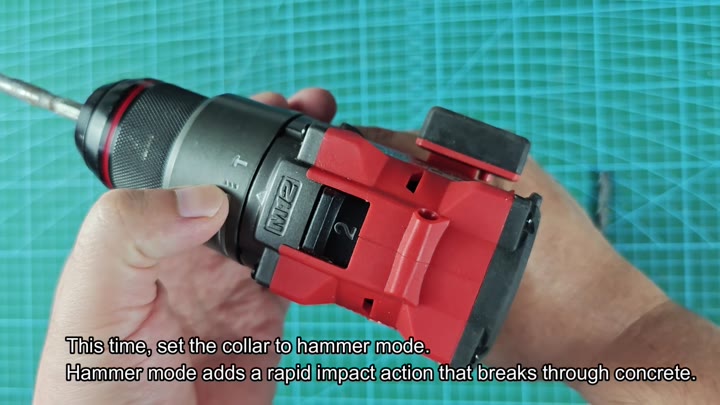
One side shows a drill symbol, meaning it will only rotate, ideal for metal and wood applications. The hammer symbol mean you should turn on the impact mechanism for masonry.
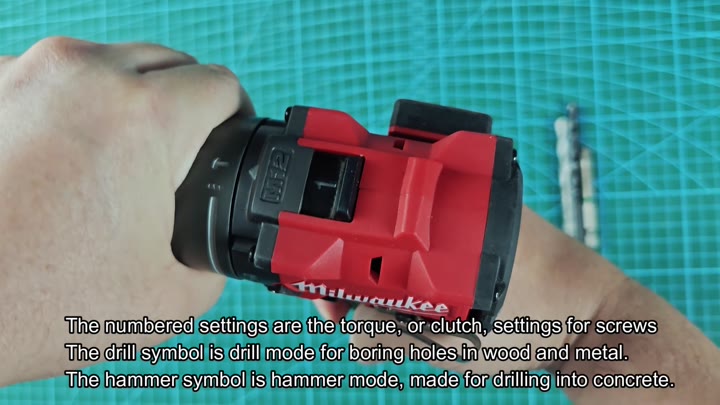
They all serve their own role in your workflow.
The two-speed selector switch are behind the chuck. This determine its performance with speeds one offering max torque for driving applications of all kinds. Speed two offer faster RPMs for drilling clean holes quickly.
Flip it back and forth and you will notice the power delivery difference between each. It might not make sense at first why speed matter so much, but just wait and you will see what I mean.
First thing you do is start screwing into some piece of machinery. Pop in your screw bit, turn chuck counter clockwise to open the jaws, and go to town.
You want a nice clean finish that doesn’t mar the surrounding area. For this, adjust the collar down to a lower torque setting. That way if it’s a soft material, you won’t crush it, and you won’t snap off screws by overdriving them.
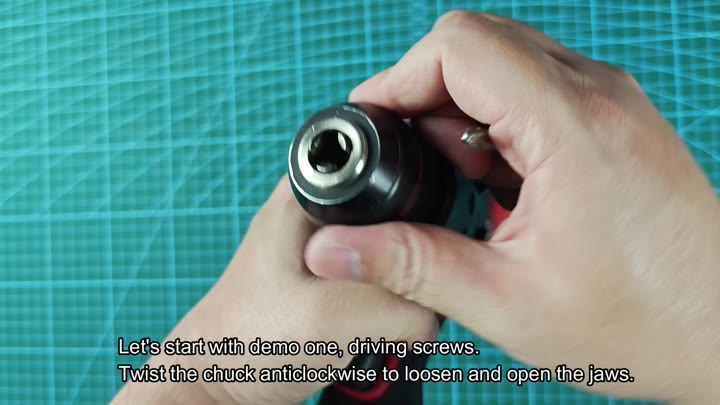
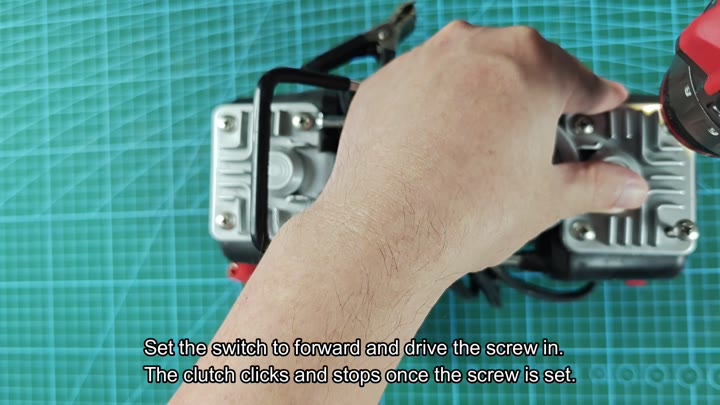
Flip the switch back to forward, then push it against the piece you’re working on.
Once it’s screwed in far enough and it starts to click (which is audible), it will stop spinning completely. This is nice because now you are not going to strip head off of a screw.
And I know you’re probably like me: You take a few screws out to see if they come back in backwards. And yes, it’ll pull ’em right on through with no fuss.
Next, switch to drill-only mode to make some holes in a piece of wood. This is where you’ll want to use speed two since it will get through the material faster.
With steady pressure and keeping tool straight, you can easily create round holes cleanly. It moves the wood fast as the bit goes through. I tried different torque settings before but they would bind and not work very well.
Now for some masonry punching with a masonry bit. Set the collar to the hammer mode, which starts the hammering fast action. The added pounding action crush solid brick and other stone surfaces.
You’ll be able to notice when the hammer mechanism engages because you’ll feel it vibrating different. It drills much more quickly than just rotating would, which saves a lot of time when anchoring in walls.
Don’t let its small footprint fool you, as it’s still packed with same punch.
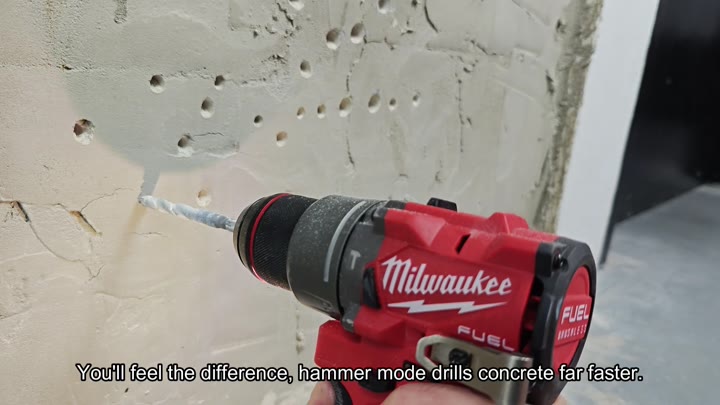
Screw, drill into wood, break through concrete, it’s all possible with one tool. And it’s so easy to go back and forth.
No need for multiple kits. No confusing menu systems. No obscure settings you’ll need to learn. Straightforward mechanics. When you’re working on tough stuff that resists normal bits, the hammer assist perform like a champ.
Overall impressions of this mini drill are very good. As you can see, there is many applications it will tackle easily and more accuratley than a bigger drill may perform.
All three tests demonstrate that battery life won’t diminish; no heating or jamming occurs while in use. And the forward and reverse switch work flawlessly in each situation.
For those odd jobs you need to get done fast, this little guy should of gets a place on your workbench permanently. Worth it.
