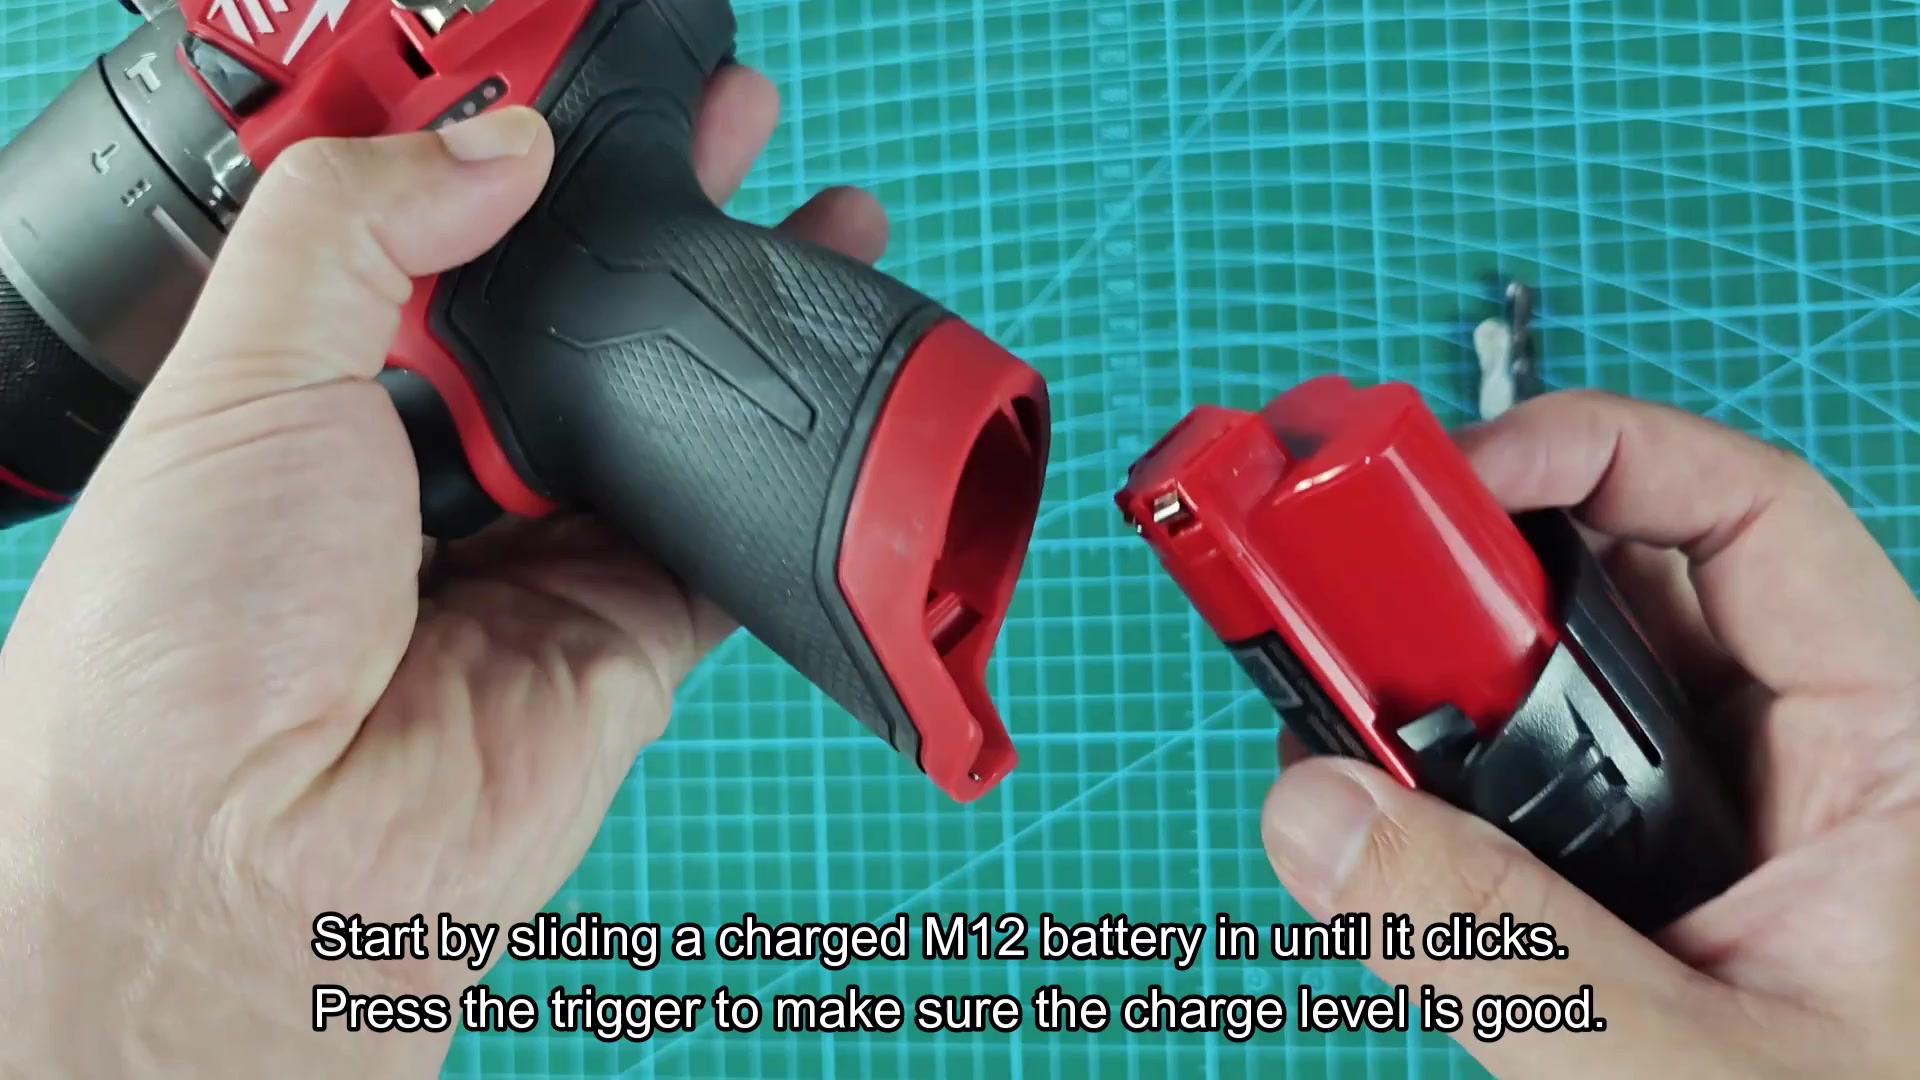
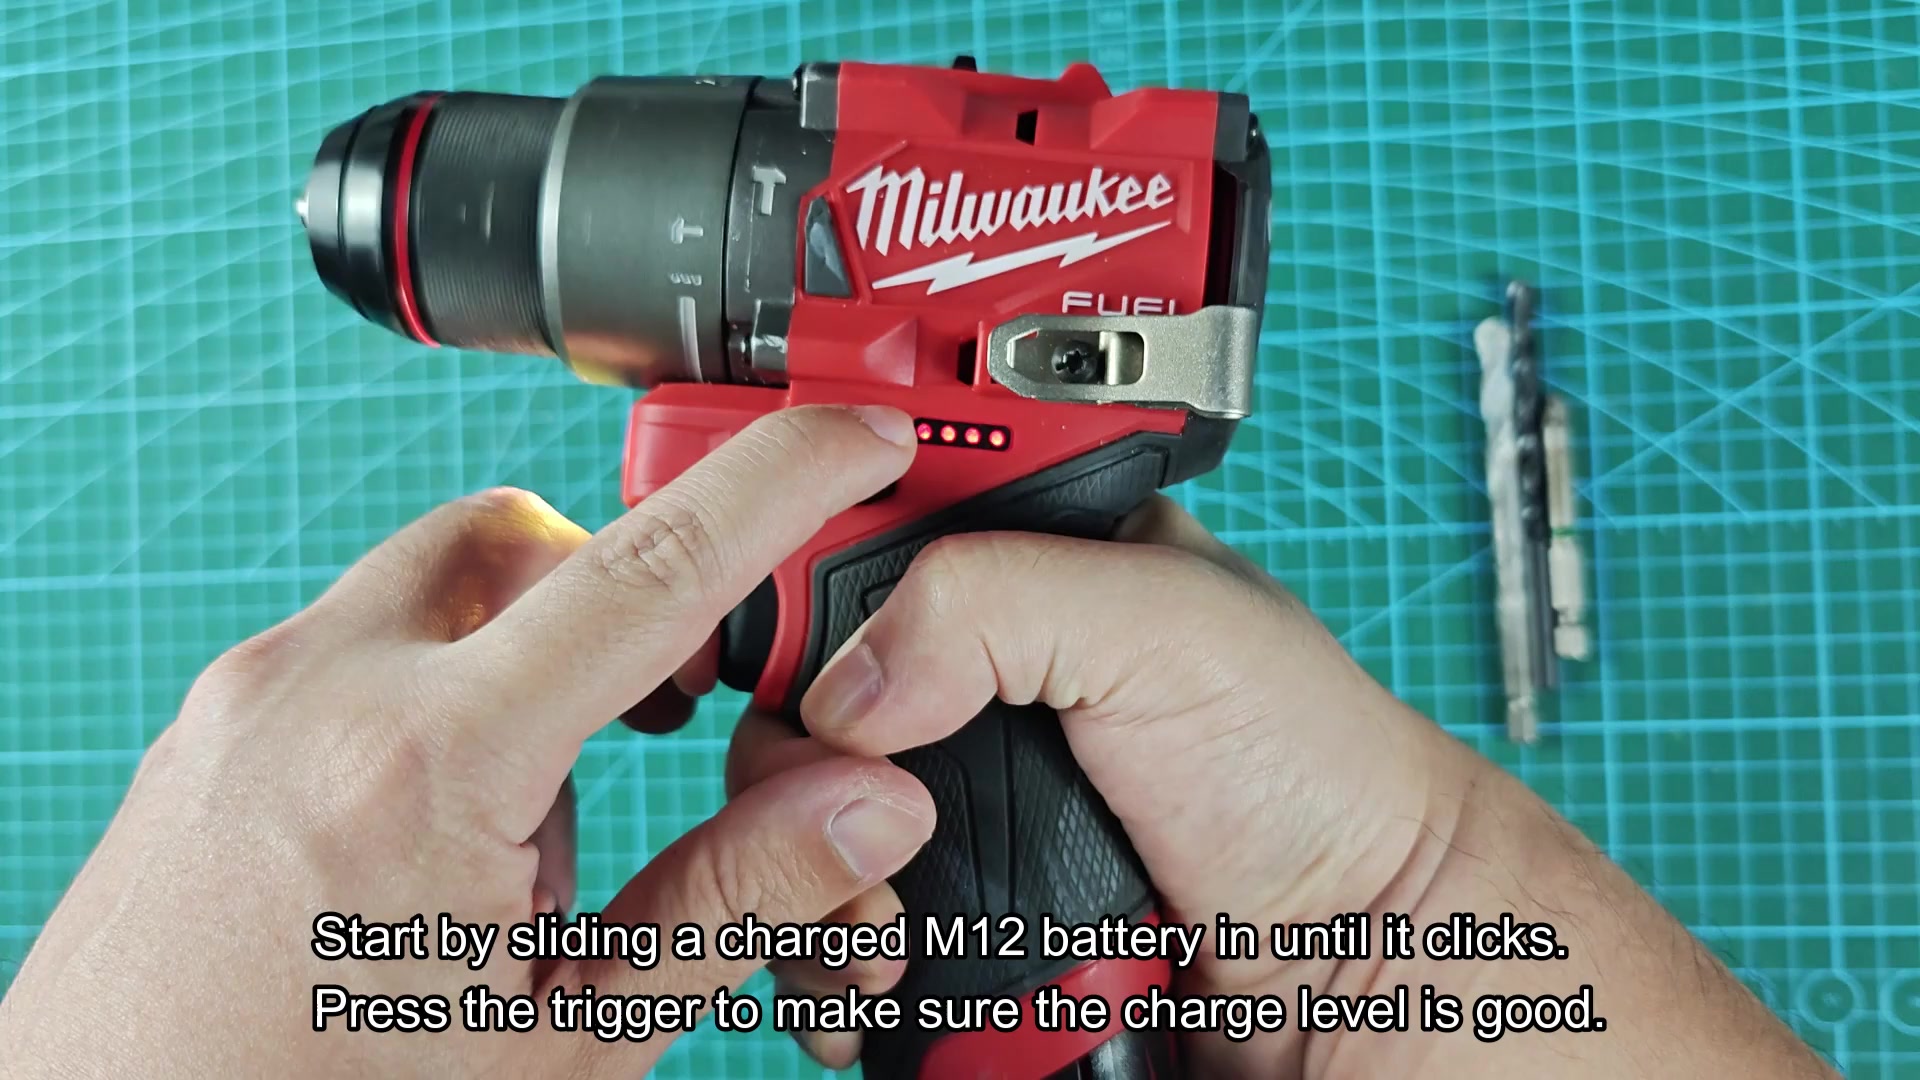
You press the trigger to check how much battery charge remain. You put the M12 battery in bottom and click it into place.
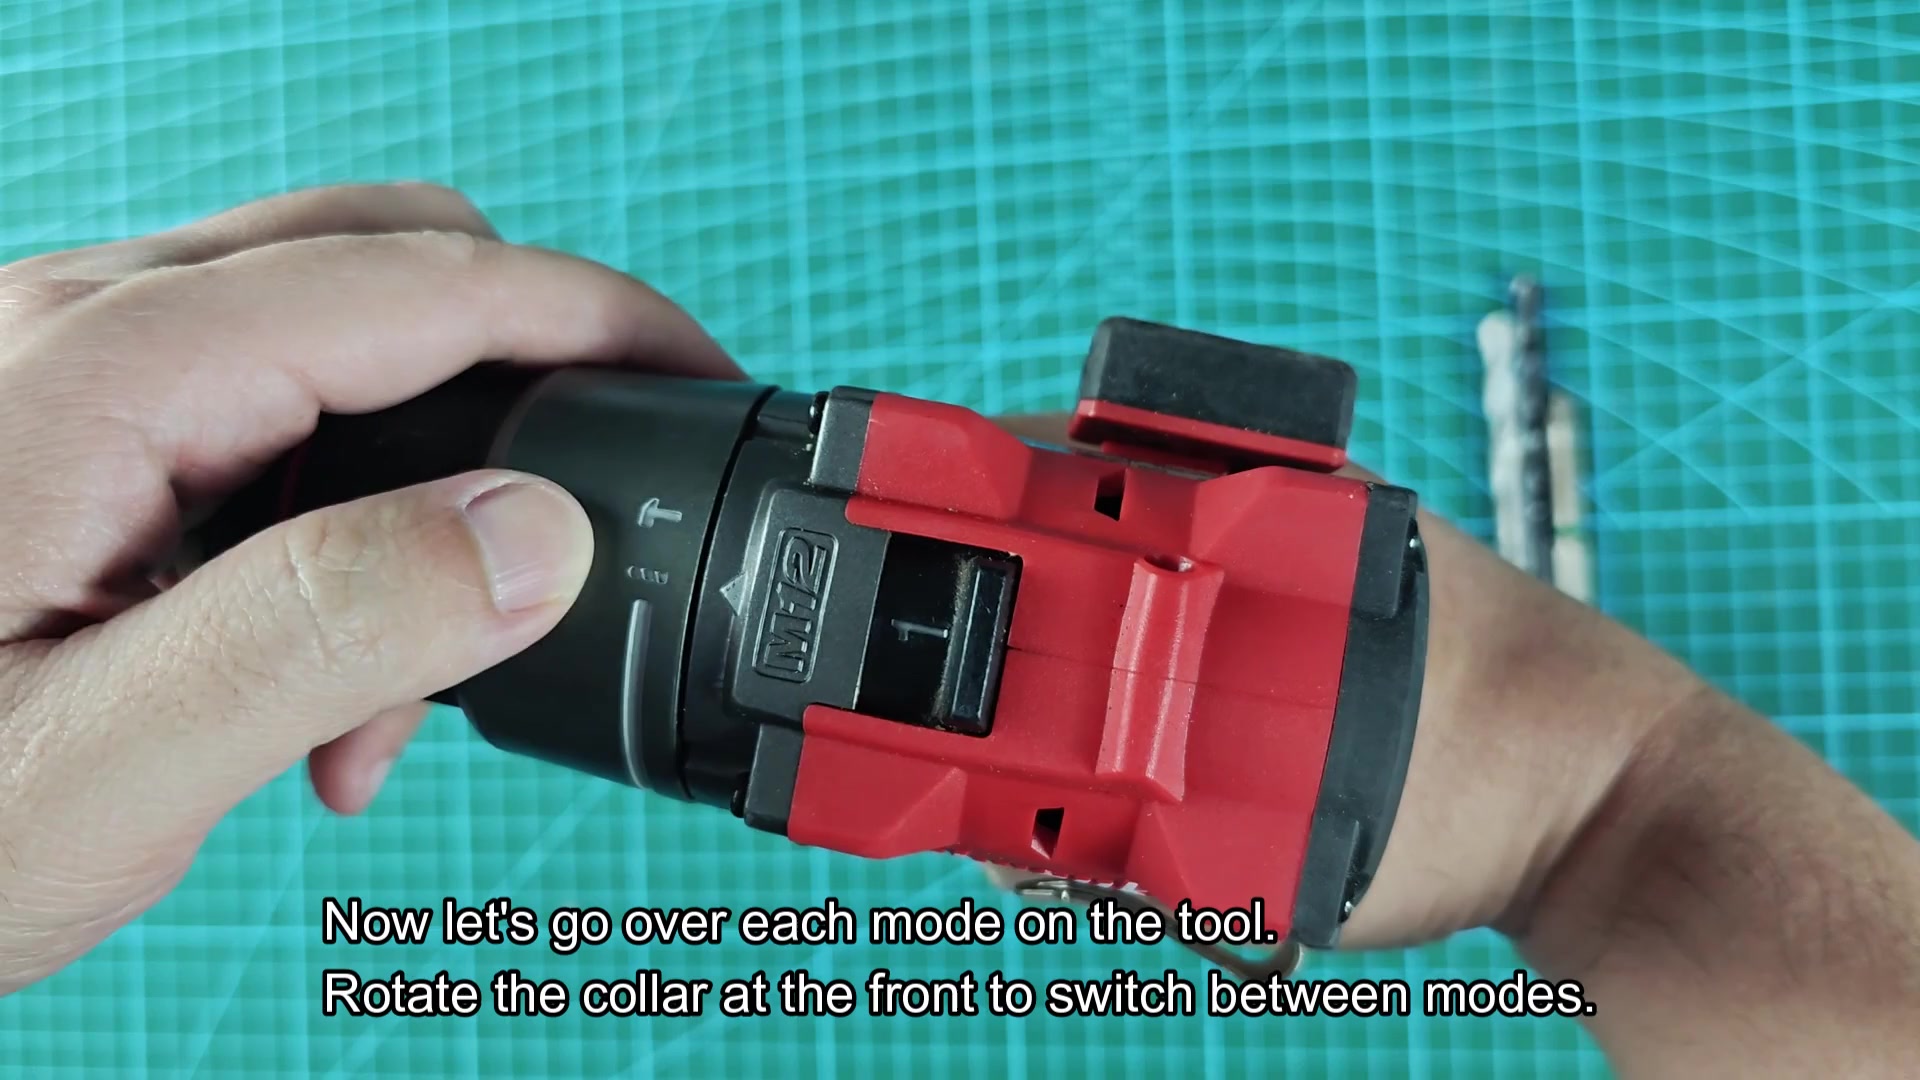
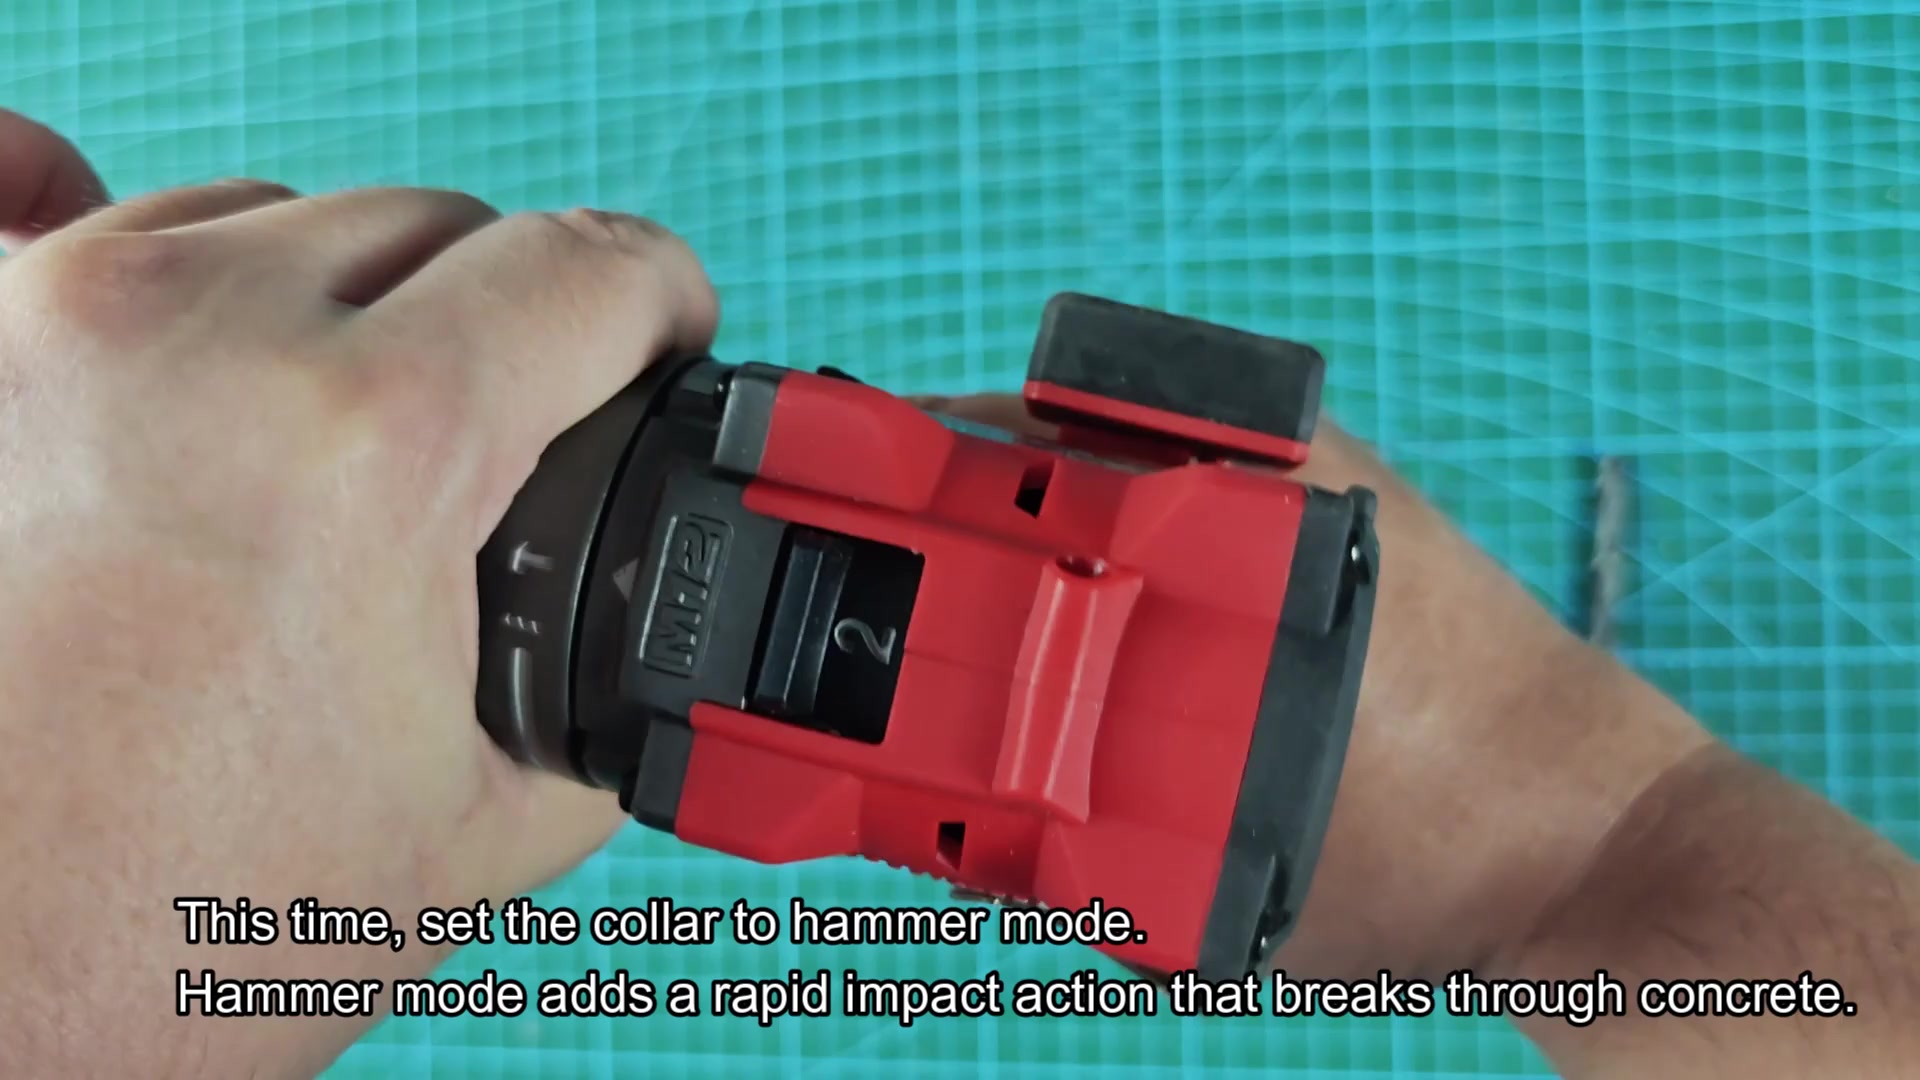
The indicator lights shows a full charge, which provides plenty of power for the tests ahead. It’s nice knowing you won’t run out mid-task when using it. There is a few different modes you can select from which takes a little bit of getting used to. Each one has a collar with numbers representing the torque clutch settings for screwing things in. Each also have a corresponding mode, like a hammer symbol for beating through concrete or a drill symbol for drilling through metal and wood.
Testing Drilling Capabilities
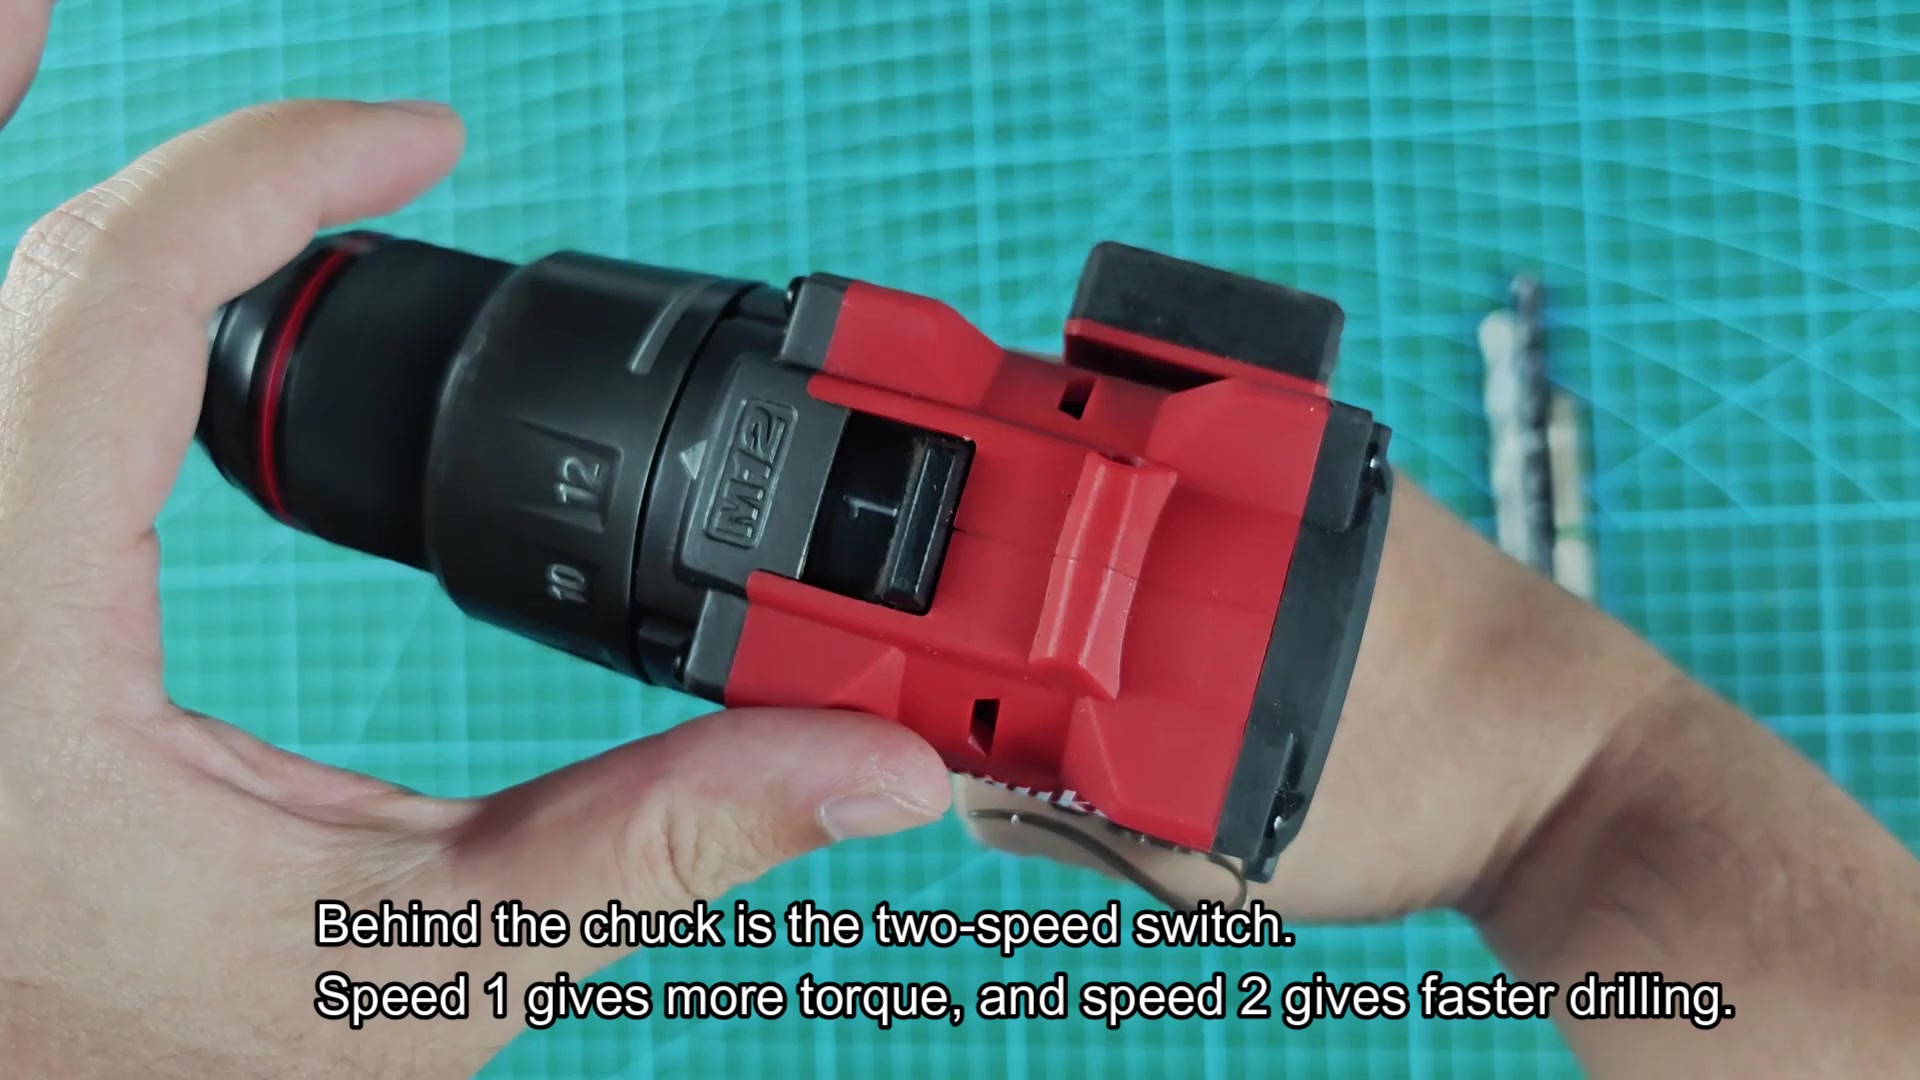
The symbols stand out and once you get the layout down it won’t take long. Behind the chuck is a two-speed selector switch that adjust the output of the motor. There are two speeds; speed one gives you a little more torque if you’re working with something denser and more stubborn, while speed two have higher rotation rates for softer stuff.
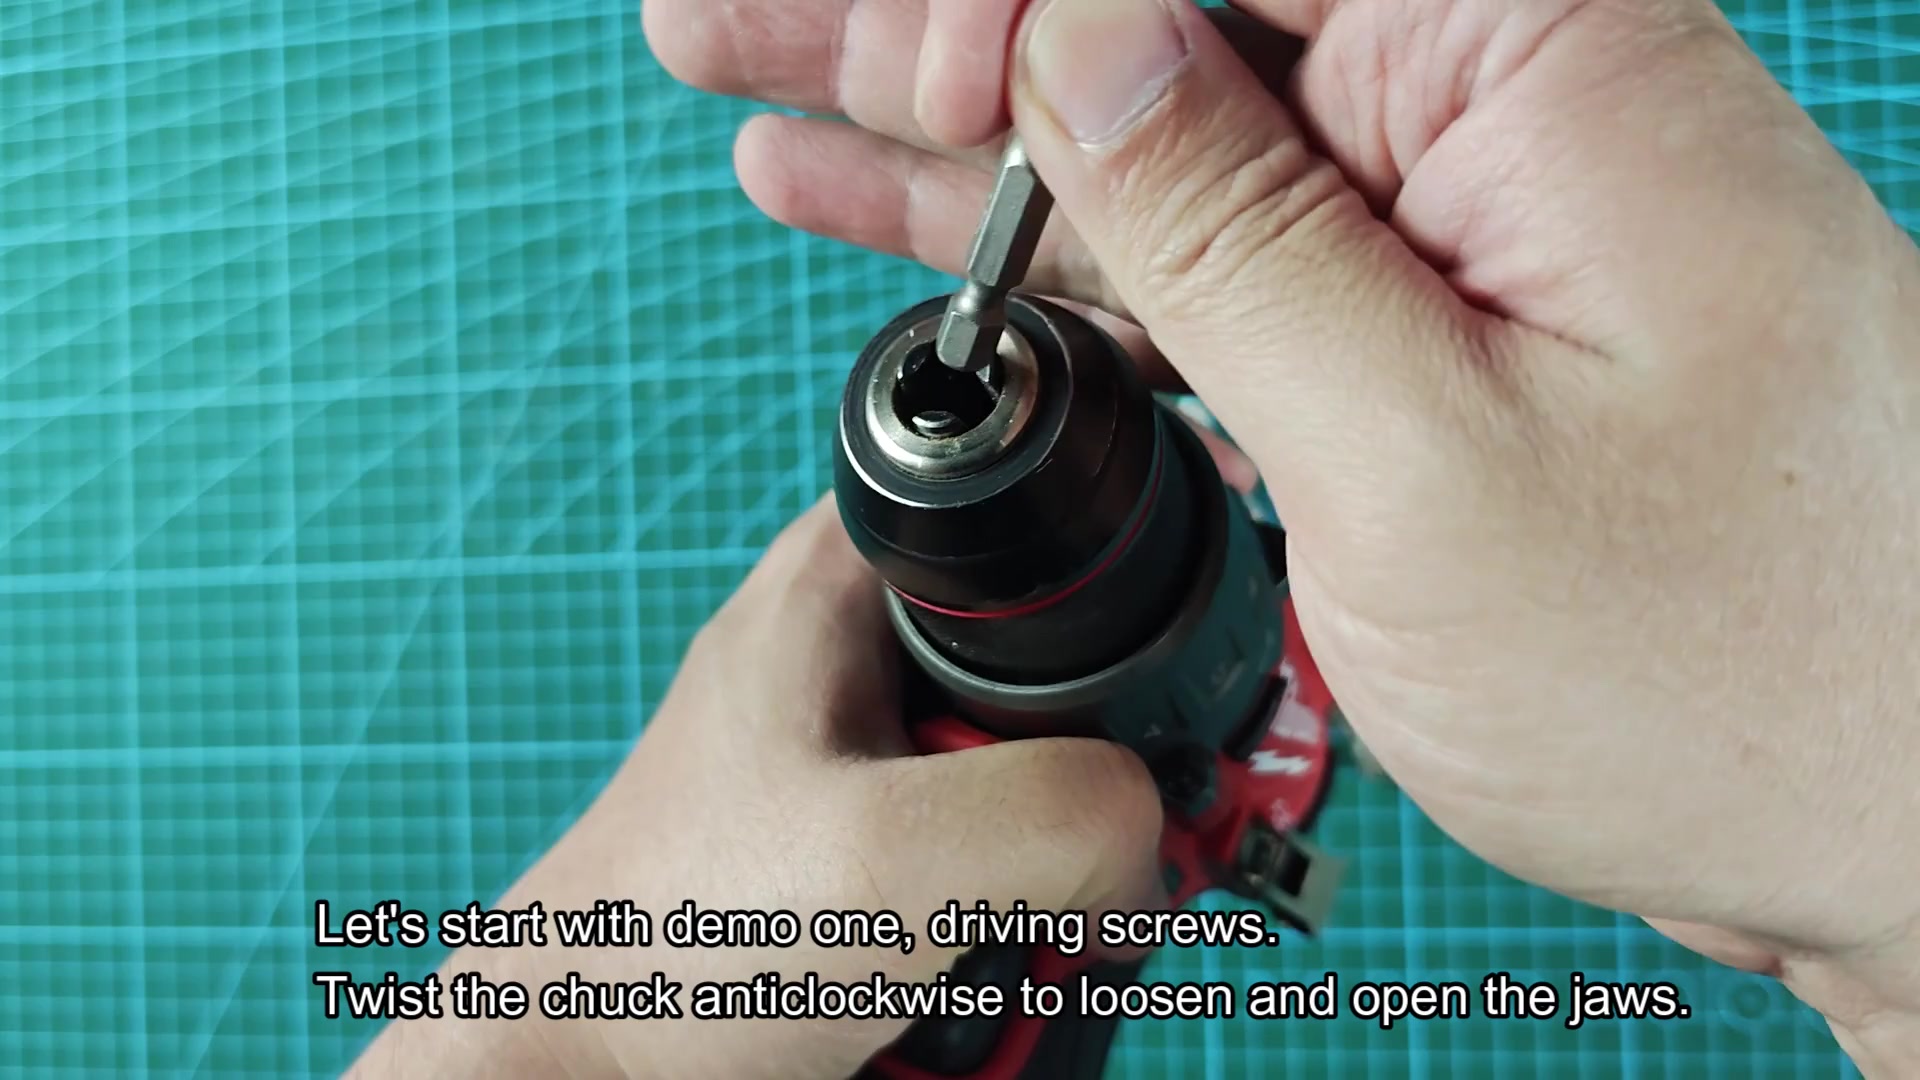
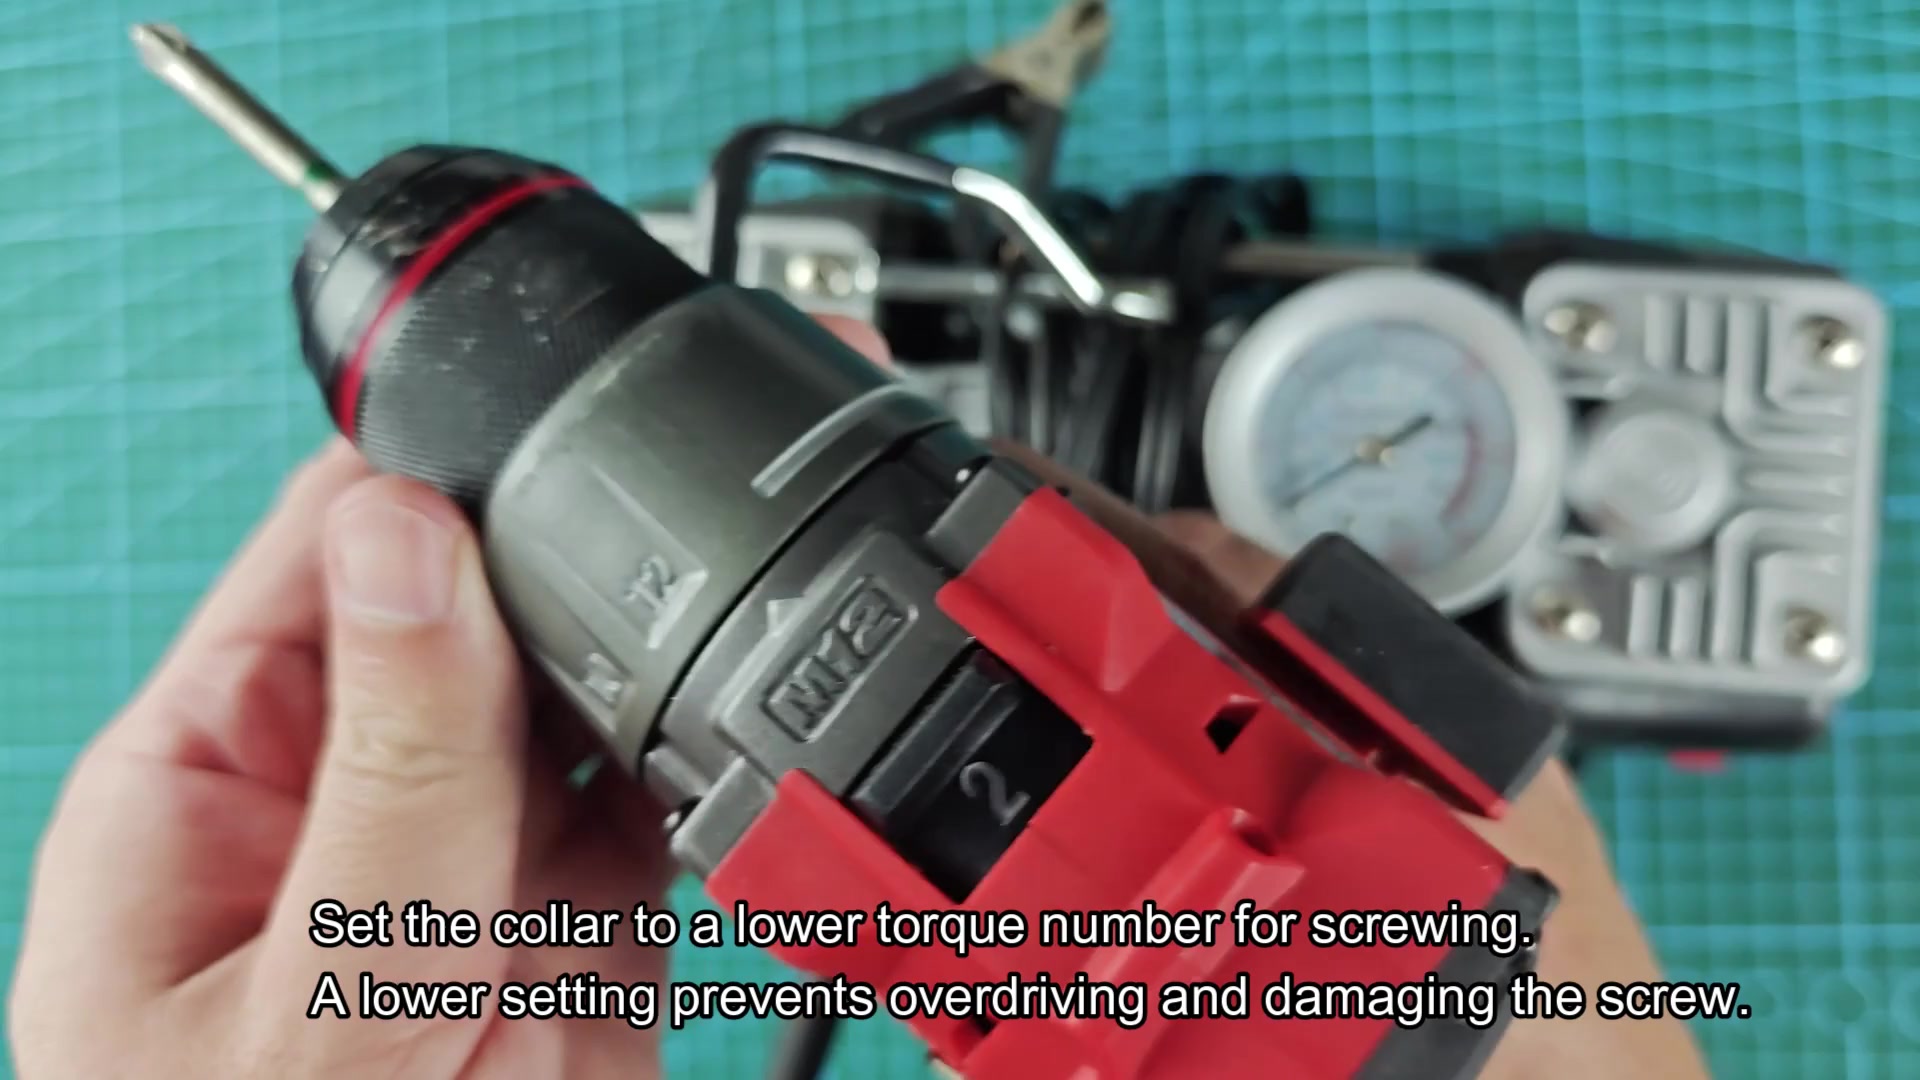
You can switch back and forth to see the difference and change in power is obvious. The Phillips screw bit fit snugly into the chuck. This holds the screw tightly in place without slipping as you turn the chuck clockwise. Loose bits can be disastrous for your project or even cause a stripped screw head. No more screwing up what you’re working on! When driving screws, it’s important to adjust the collar to a lower torque number where it won’t damage the screw or cause it to be overdriven. So first you would of chosen a low setting on the clutch ring, then start driving screws.
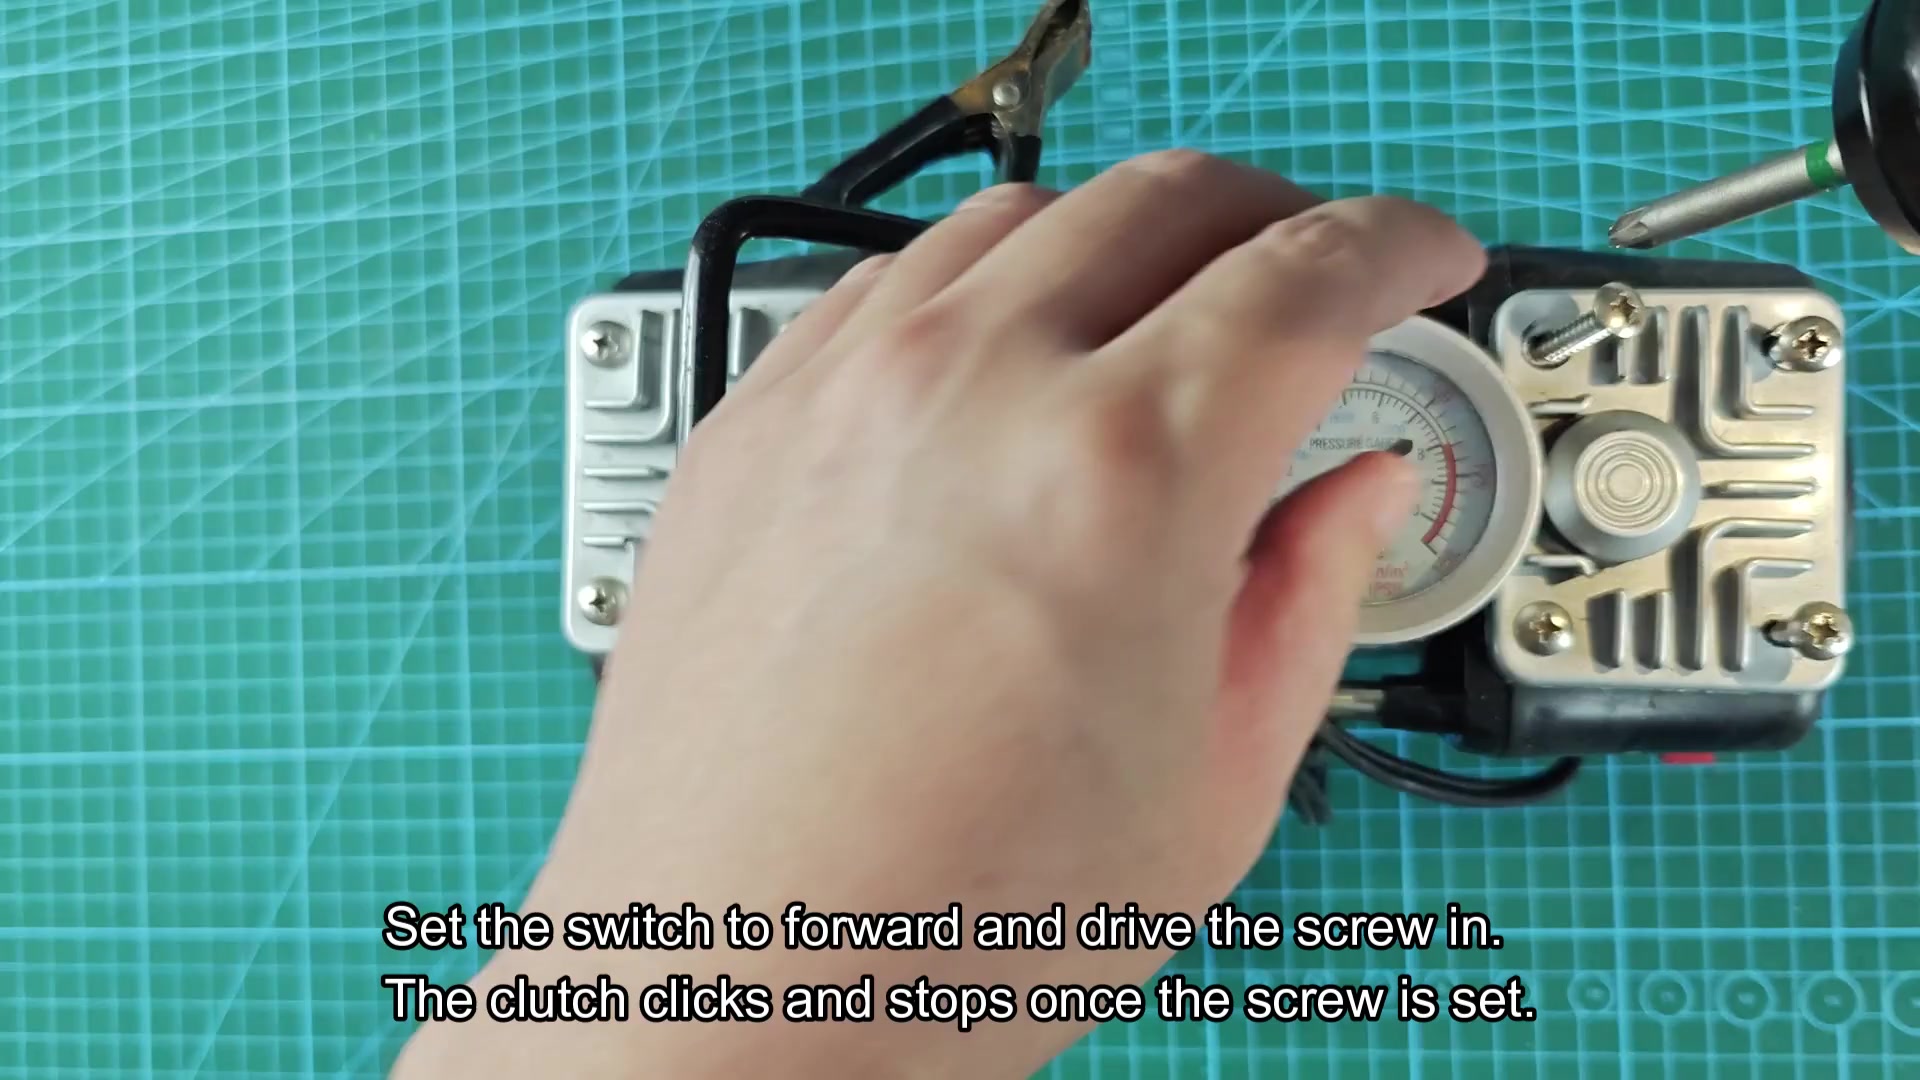
The drill will kick out when the screw is well set and not damaged, which is nice.
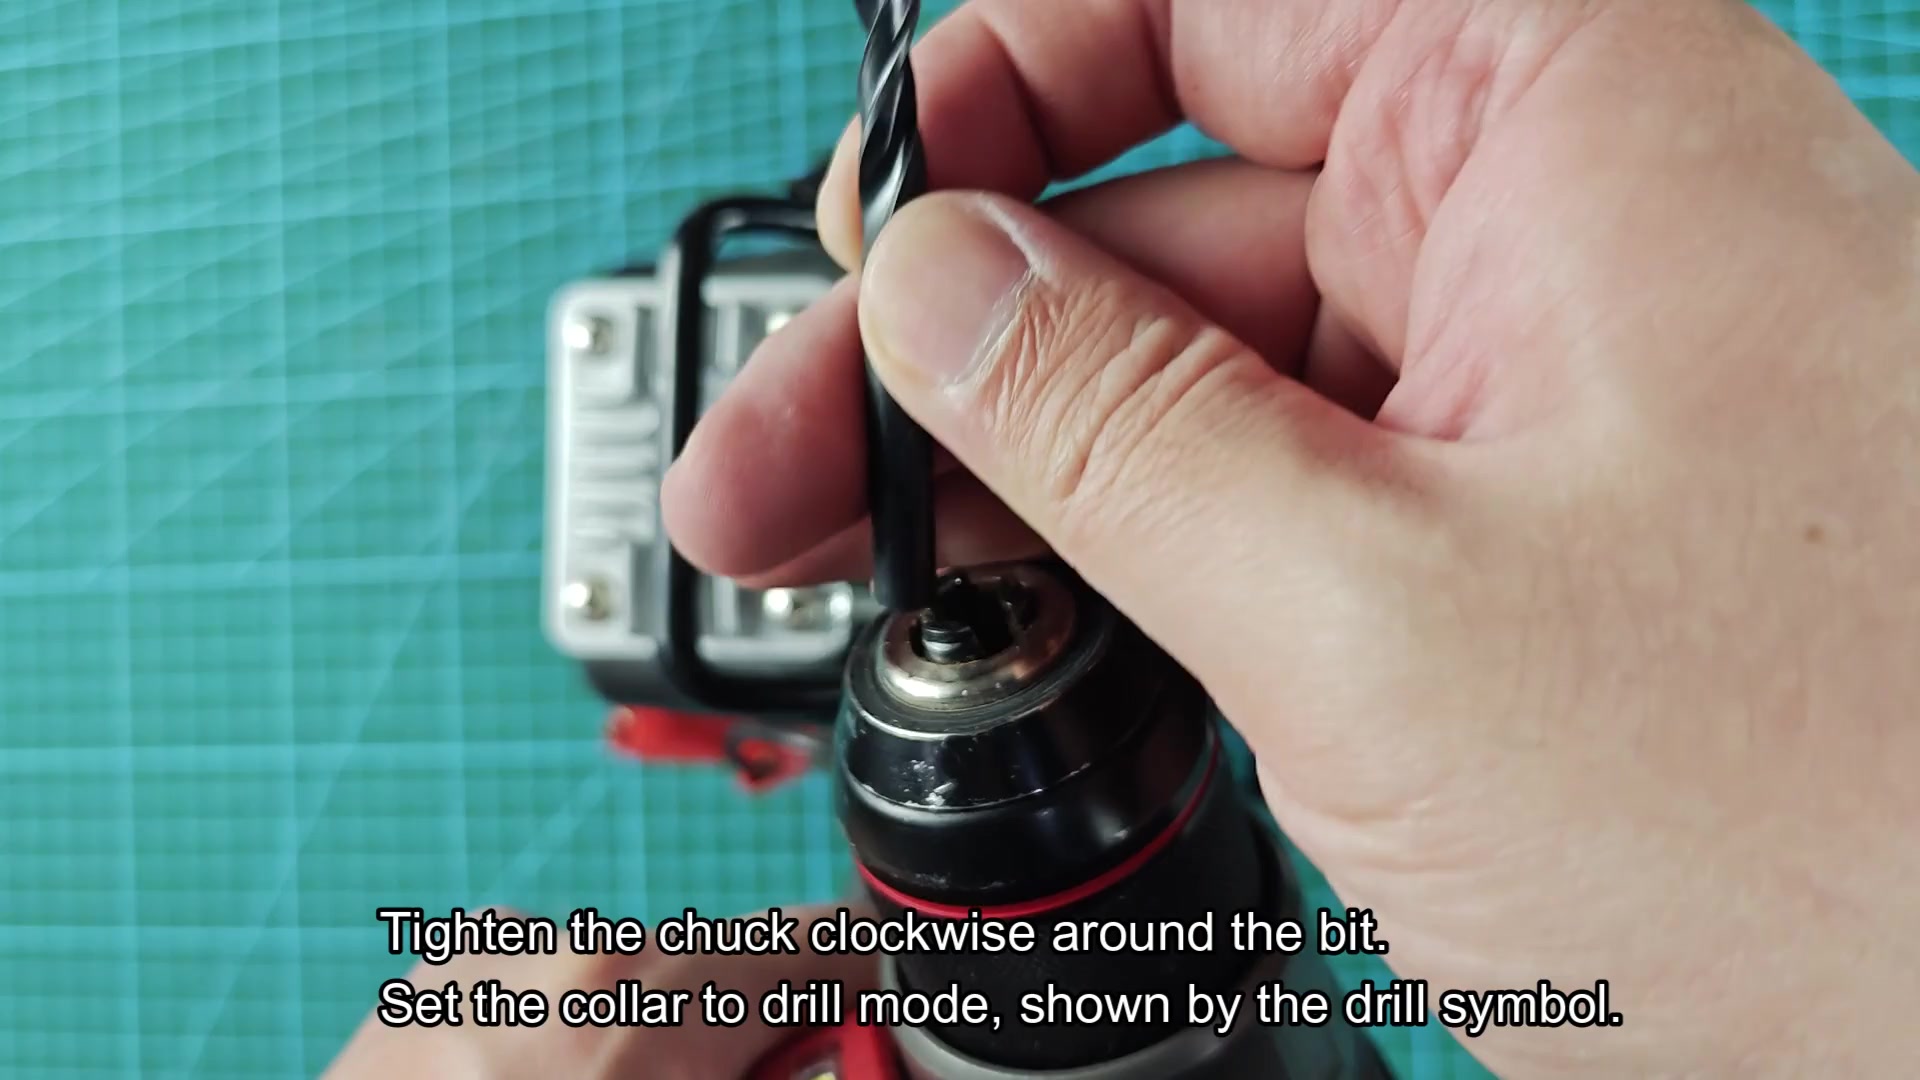
When you flip the switch to forward, it drive the screw in until it hits the final depth, then the clutch engages and stops. No more sunken screws, no more stripped heads. You get a clean, scratch free finish on your project’s material surface. Clean. To test out the boring abilities, you remove the bit and replace it with a wood drill bit. Tightening the chuck clockwise onto this new bit is fast and simple.
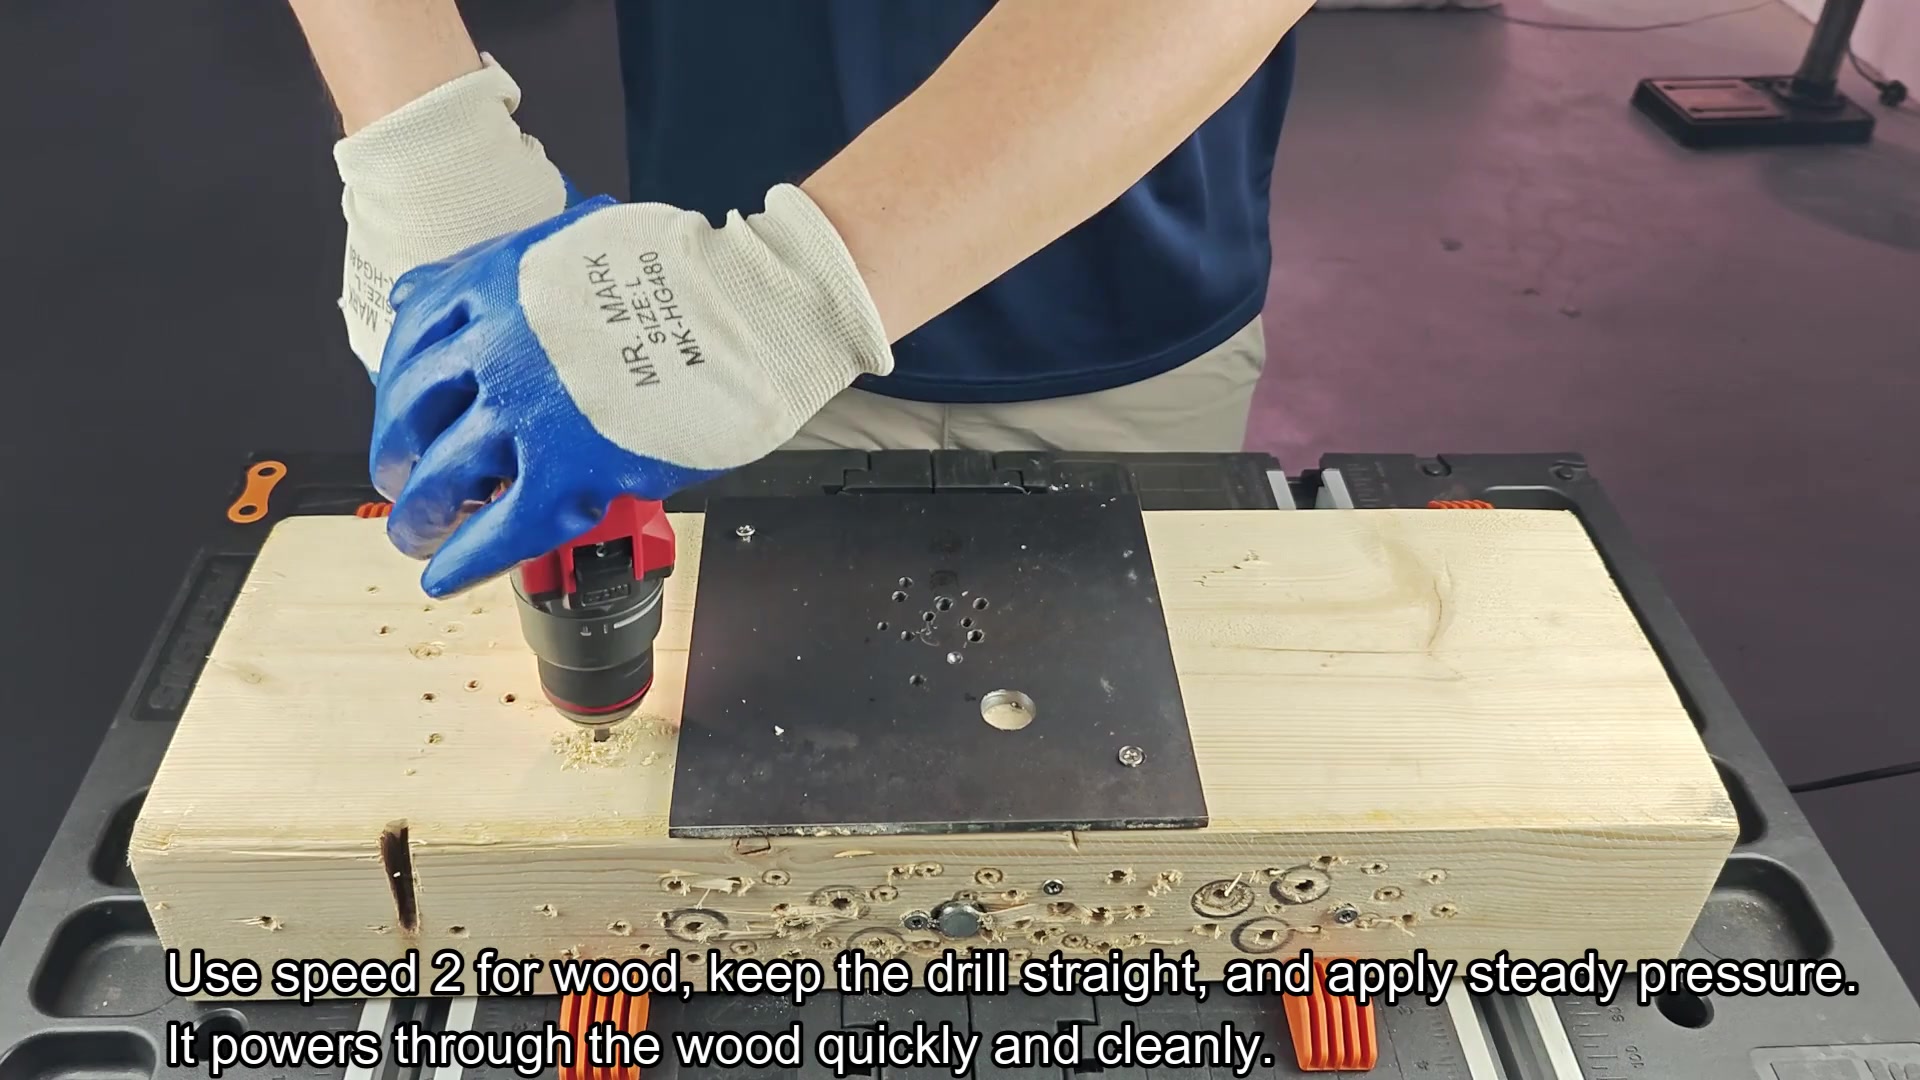
Switching the collar to drill mode, you engage pure rotary force with no hammering action. This single flip ready the tool for woodworking tasks. To keep it simple, holding down constant pressure while making sure your drill stays straight makes all the difference. The tool bores into wood and produces sawdust around the hole as it’s going.
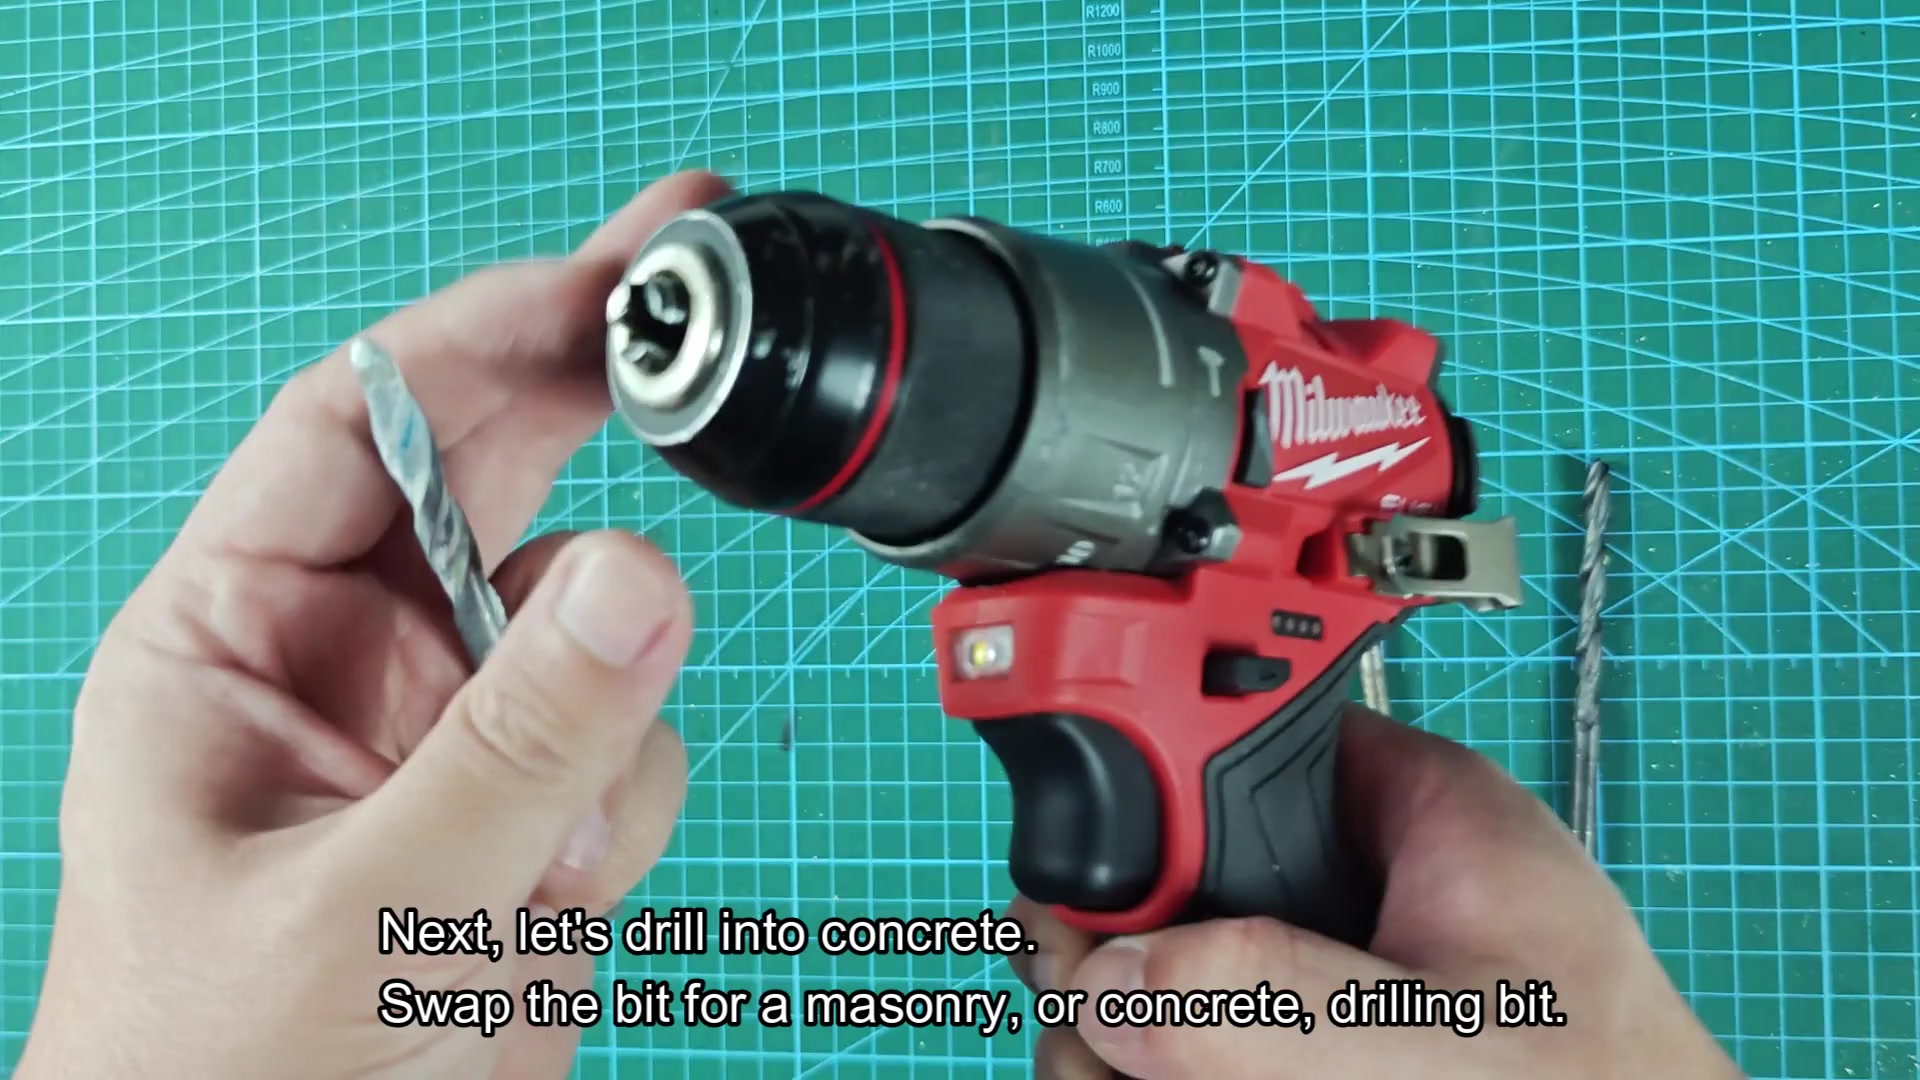
It does not bind or hesitate; it just makes nice clean holes you are looking to create when doing some sort of woodworking task. Great tool. Next you change out that bit for one made for masonry, specifically a drilling bit for hard surface materials like concrete. Concrete needs more than just pure rotation force to break it down effectivly.
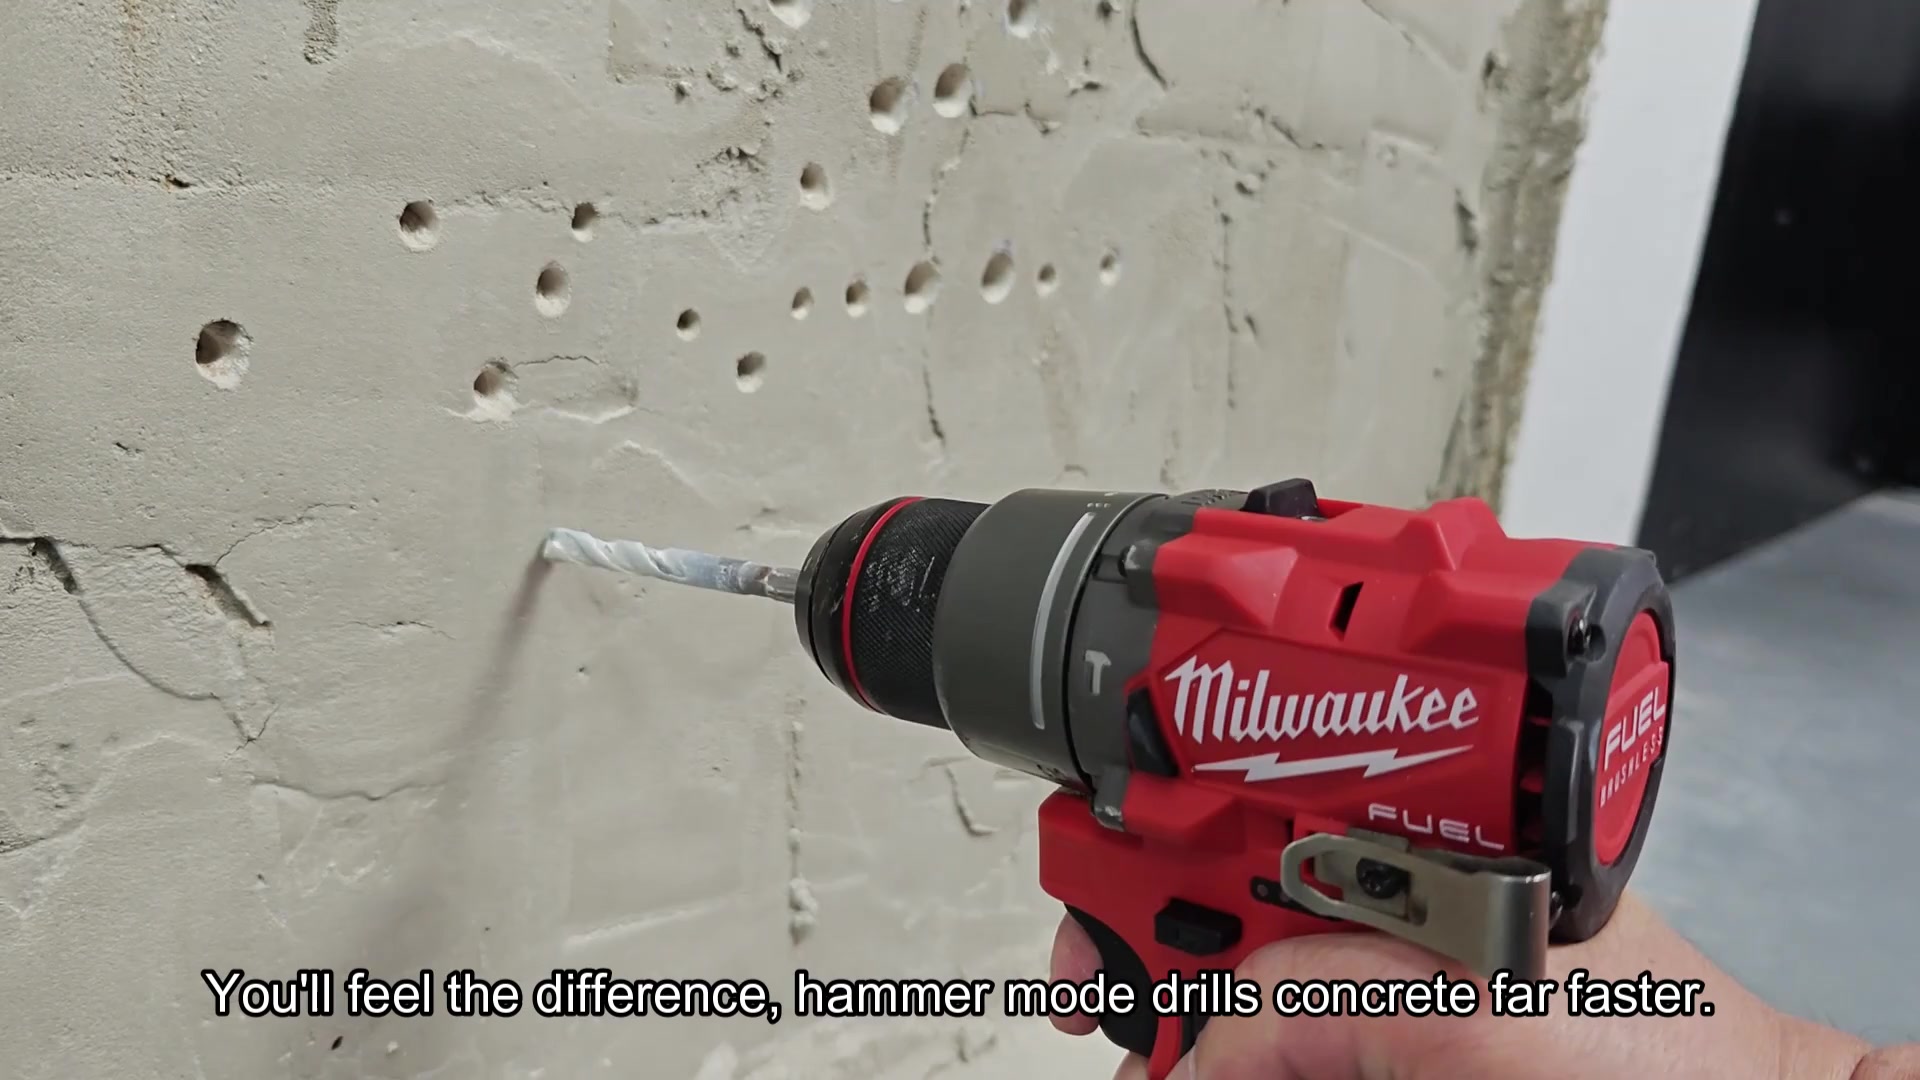
Your previous bits would have had an extremely difficult time with this material. It’s a different animal altogether and call for something differenter. To activate its quick striking effect on mortar and concrete, you put it into hammer mode by setting the collar. When you push the trigger, you can feel how hard the tool work to break up the solid stuff. It has a powerful feel. You notice the impact of the hammer function versus the regular drill mode as it starts punching through the concrete wall at a rate far quicker then expected.
In harder substances, fast hits greatly increase your drilling pace, which is shown by how much it can absorbs in such a small 12-volt hammer drill package. The speed is impressive. Here is a walkthrough of the M12 fuel fpd2 and its various uses with real world examples including mode changes and battery status. Drilling into wood was easy, straight rotary power made for nice clean holes. The screws were delicate, so low torque settings prevented damage to screw heads. Hammer action was needed to add percussion blows to break through concrete efficienty… Good all around tool.
With forward and reverse switches for driving in and getting screws out again, and a dual-speed selector that lets you choose between rotation rate and torque depending on what’s required, it is an equally good all-round performer, switching from masonry to metal to wood during each test shows how well it accommodate the material you are using. It is a solid performer.
The torque clutch keeps screws from getting stripped and the hammer mode takes care of concrete, but it’s all much more manageable when you know what each mode should be used for.
Having multiple speeds helps improve performance depending on the type of job, and this compact unit have some serious capability packed into a small frame. Definitely worth the investment.