It’s always nice to have your drill bit securely in place before using an impact tool like the Milwaukee M12 drill. But, sometimes, it can be a little “too” in place, and too much of anything is bad.
Users want a secure bit, but not one sticking to a single point. Does your Milwaukee M12 drill have a bit stuck in its drill chuck? It’s really easy to get it out if you just do the things I’ll share below!
I also have a short video about the two things you can do when the Milwaukee drill bit gets stuck in the chuck. You can watch it below.
The first method is to use a oil filter plier wrench to tightly grab the chuck. Set the drill speed to 2, in drilling mode and in reverse direction. Now, press the drill trigger to release the stuck drill bit.
The second method is more useful if you do not has a plier wrench. Just grab a water hose and use it to surround the chuck. Press the trigger and use the friction between water hose and the milwaukee drill chuck to release the drill bit.
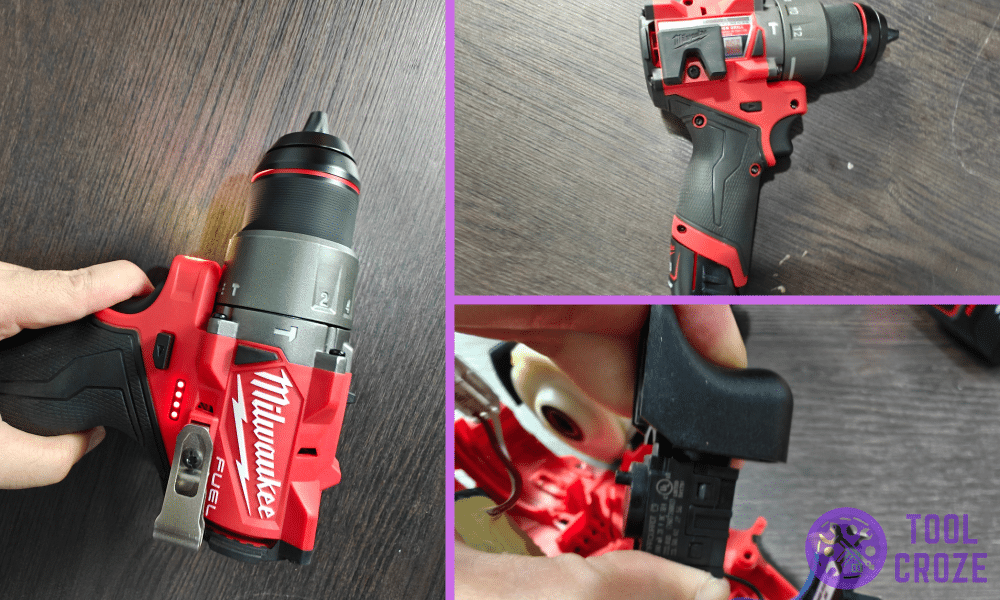
Dealing With A Milwaukee M12 Drill Bit Stuck In Drill
- Force Can Release The Bit
Did you ever smack the controller when you were younger to get it to work when it was acting up? I know I did, and I’m sure a lot of others did as well. Well, that trick can work in this scenario too.
Some force may be all that the drill bit inside your Milwaukee M12 drill needs. Sometimes, it’s just stuck in a corner and can’t find its way out. Something may be holding it back.
Doesn’t matter what the reason is, though. Because if you smack the drill bit a little towards the side using a small tool, that might help it get away from whatever is holding it back.
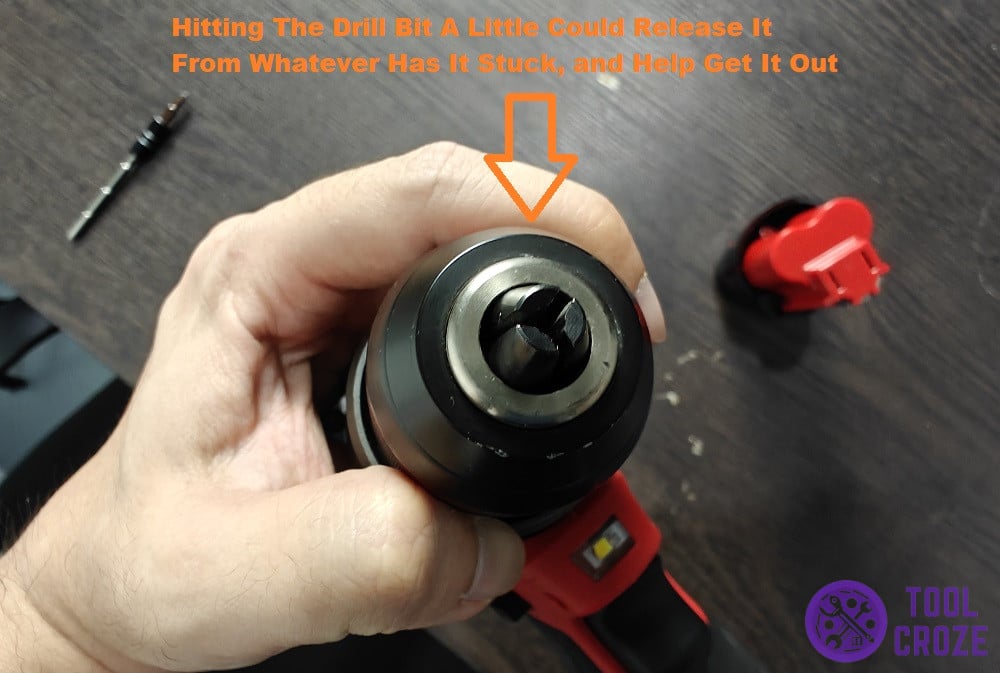
If there’s debris or chipping holding the bit in place, blunt force like that will help get it out. So, use a tool to smack the bit carefully towards the right and the left.
After the impacts, you can use your hands to see if that made it easier to wiggle the drill bit around. Try to pull it out to see if that did the trick.

But before we go through the other ways to fix this problem, I would like to share to you a video about the different types of drill bits that are used to drill different types of surface. You can watch it below.
To drill concrete I use a concrete drill bit and switch into hammer mode on my drill to penetrate through hard surface easily.
For wood, using drilling mode is more suitable with wood drill bit.
For metal, the drill bit used is similar with the wood drill bit but it has slight difference which can be identified easily through its edge.
The ceramic drill bit is designed differently. It has a sharp drilling head to drill through the ceramic without breaking it.
- Use Grease To Make It Loose
Grease is great for getting your drill bit free if it’s not coming out of the Milwaukee M12 drill. It’s the easiest thing to try to, since all you need is some machine-safe grease to use.
Pretty much all you have to do is follow the steps from the first fix. But, this time, apply some grease around the drill chuck thoroughly to get the bit nice and slippery.
You’ll want to apply it in the area highlighted in the image below. Apply enough of it that it seeps inside the drill chuck and reaches toward the parts of the bit that aren’t moving.
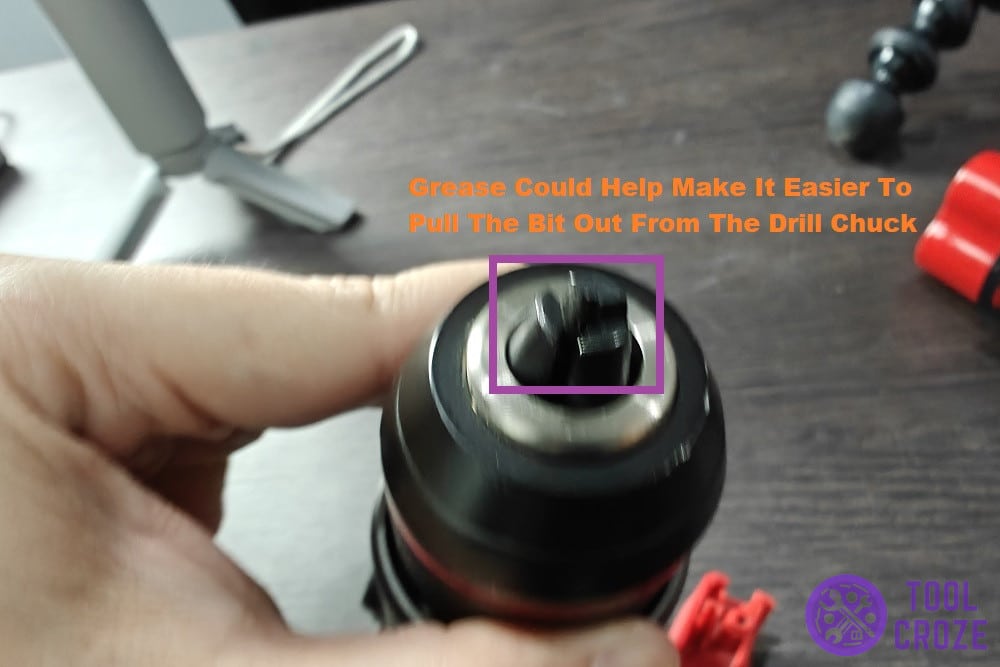
After that, start hitting the bit with a tool to push it left and right, or maybe just try twisting it with your hands. Either way, the grease should be making the job a lot easier.
- Force It To Twist Off
Can your Milwaukee M12 drill still spin despite the drill bit being stuck? Even if the bit itself isn’t spinning, all you need is for the drill chuck to be moving around.
As long as the chuck is spinning, that means this solution is possible. For this, you’ll be using the force of the tool against itself to forcefully twist the drill bit out of its place.
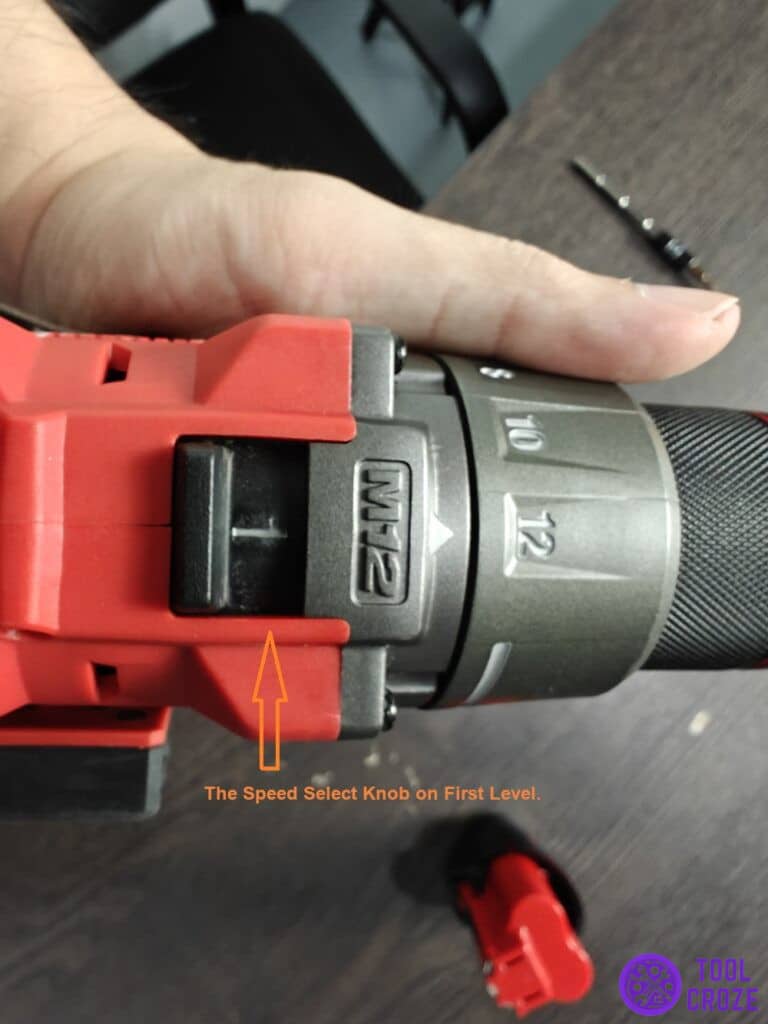
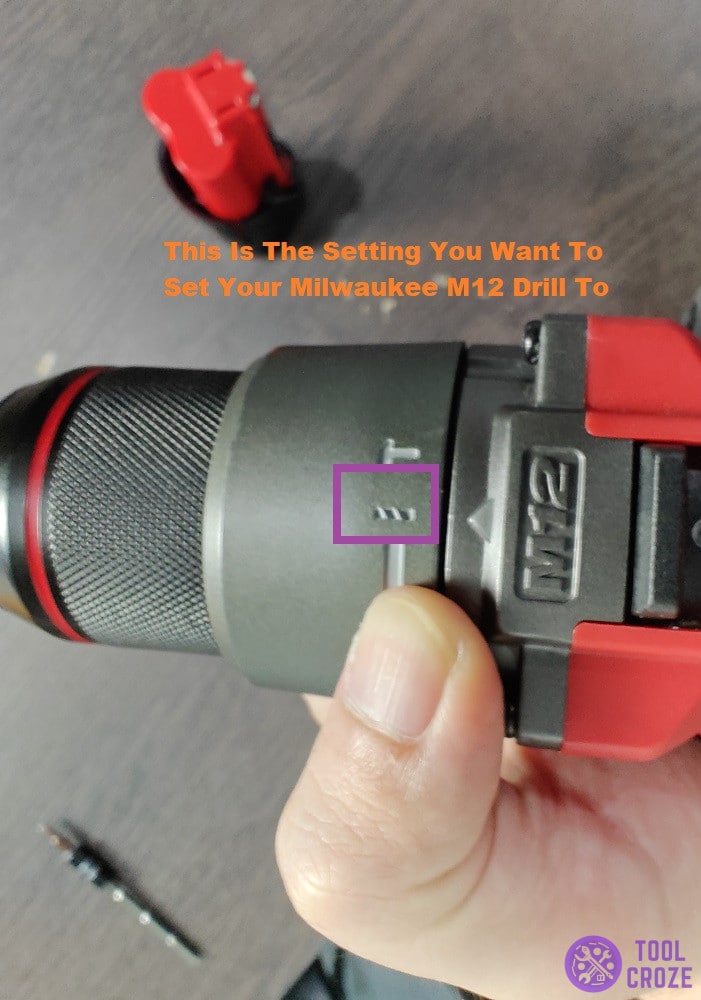
Start by turning the Milwaukee M12 drill to speed setting 1. After that’s done, you’ll want to put the tool in reverse mode, because you need the drill to spin in the opposite direction.
Once you do those things, the last thing left to do is setting the tool on drill mode. That’s the setting I’ve set my tool to in the picture down here if you’re confused about what I mean.
With all those conditions in place, wrap your hand firmly around the drill chuck. Ensure a tight grip, and don’t let your hand get close to the drill bit to avoid injury.
Run the tool after setting your hand on the drill chuck. With a nice grip and all those settings I mentioned earlier, the high speed should force the drill to twist out of the tool and be free!
- Activate The Forced Release Feature
Milwaukee has a failsafe in place for this scenario. While that failsafe can damage the drill chuck or bit if not done properly, I think it’s your best shot if the other fixes don’t work out.
It involves hitting the drill bit once again. However, this time, hit it directly towards the drill chuck. This means you’ll be hitting it deeper into the tool.
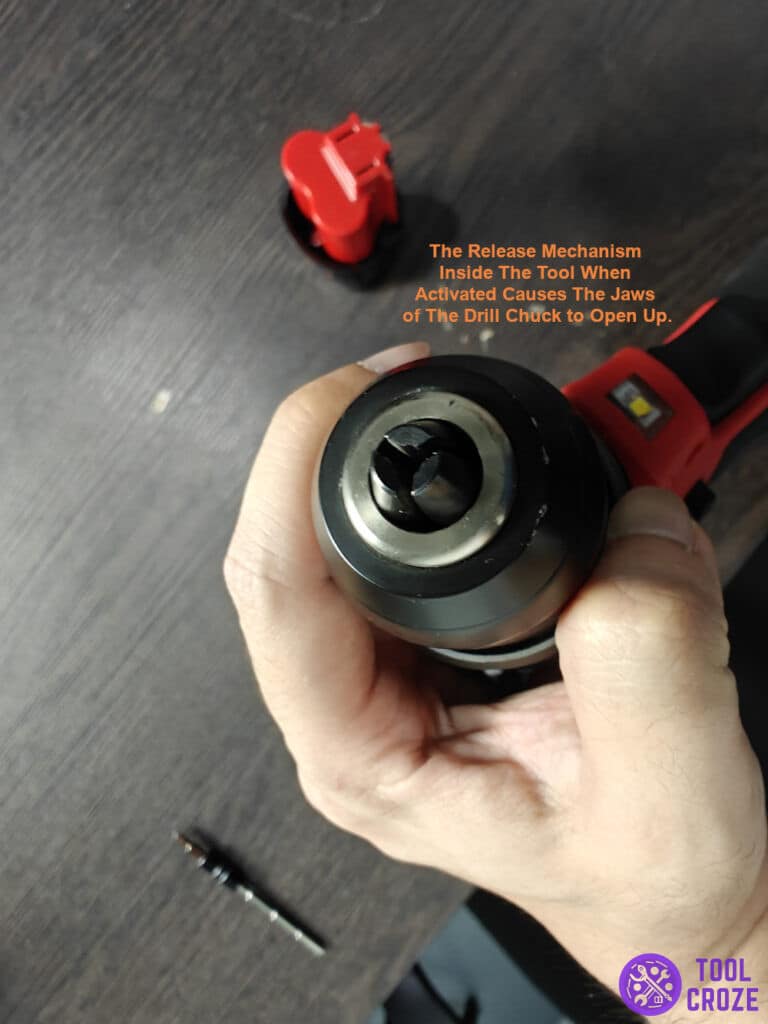
While that may sound like it makes the situation even worse, that’s not the case. Doing so activates a release mechanism inside the tool, which causes the jaws of the drill chuck to open up.
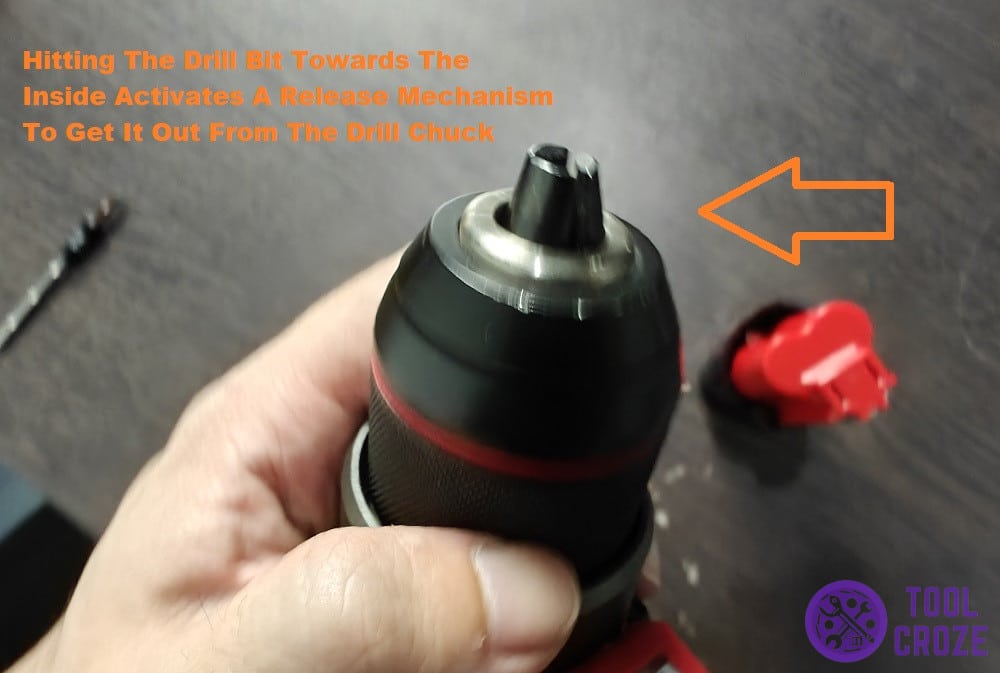
Small hammers or something similar will be good enough for this. Use it to hit the top of the bit gently but forcefully enough to push it towards the inside.
Be careful not to break the drill chuck or bit, because too much force might do that. If users do this properly, that will release the jaws and your drill bit should fall right out of the Milwaukee M12 drill.
