Convenience in small jobs: For those who use Milwaukee M12 tools they will be familiar with the convenience of these tools but need to know how their batteries behaves to keep them powered.
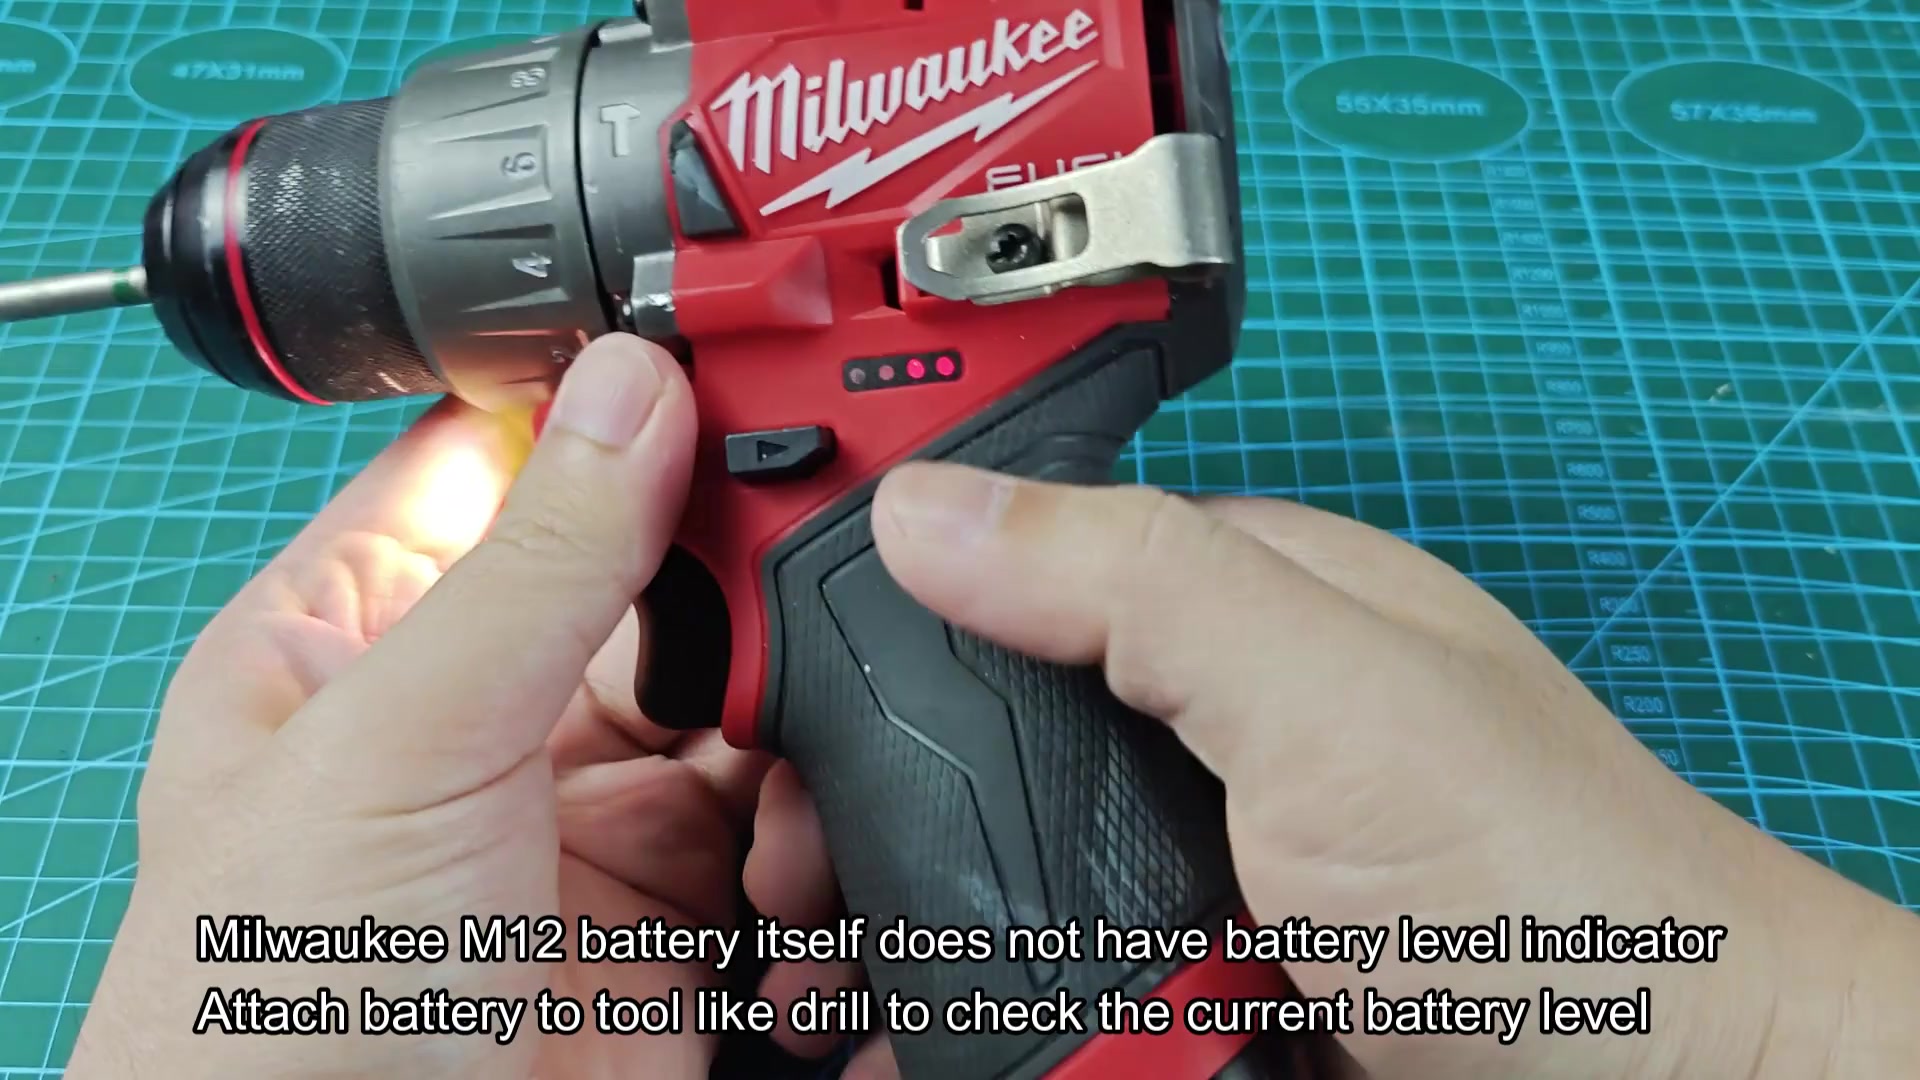
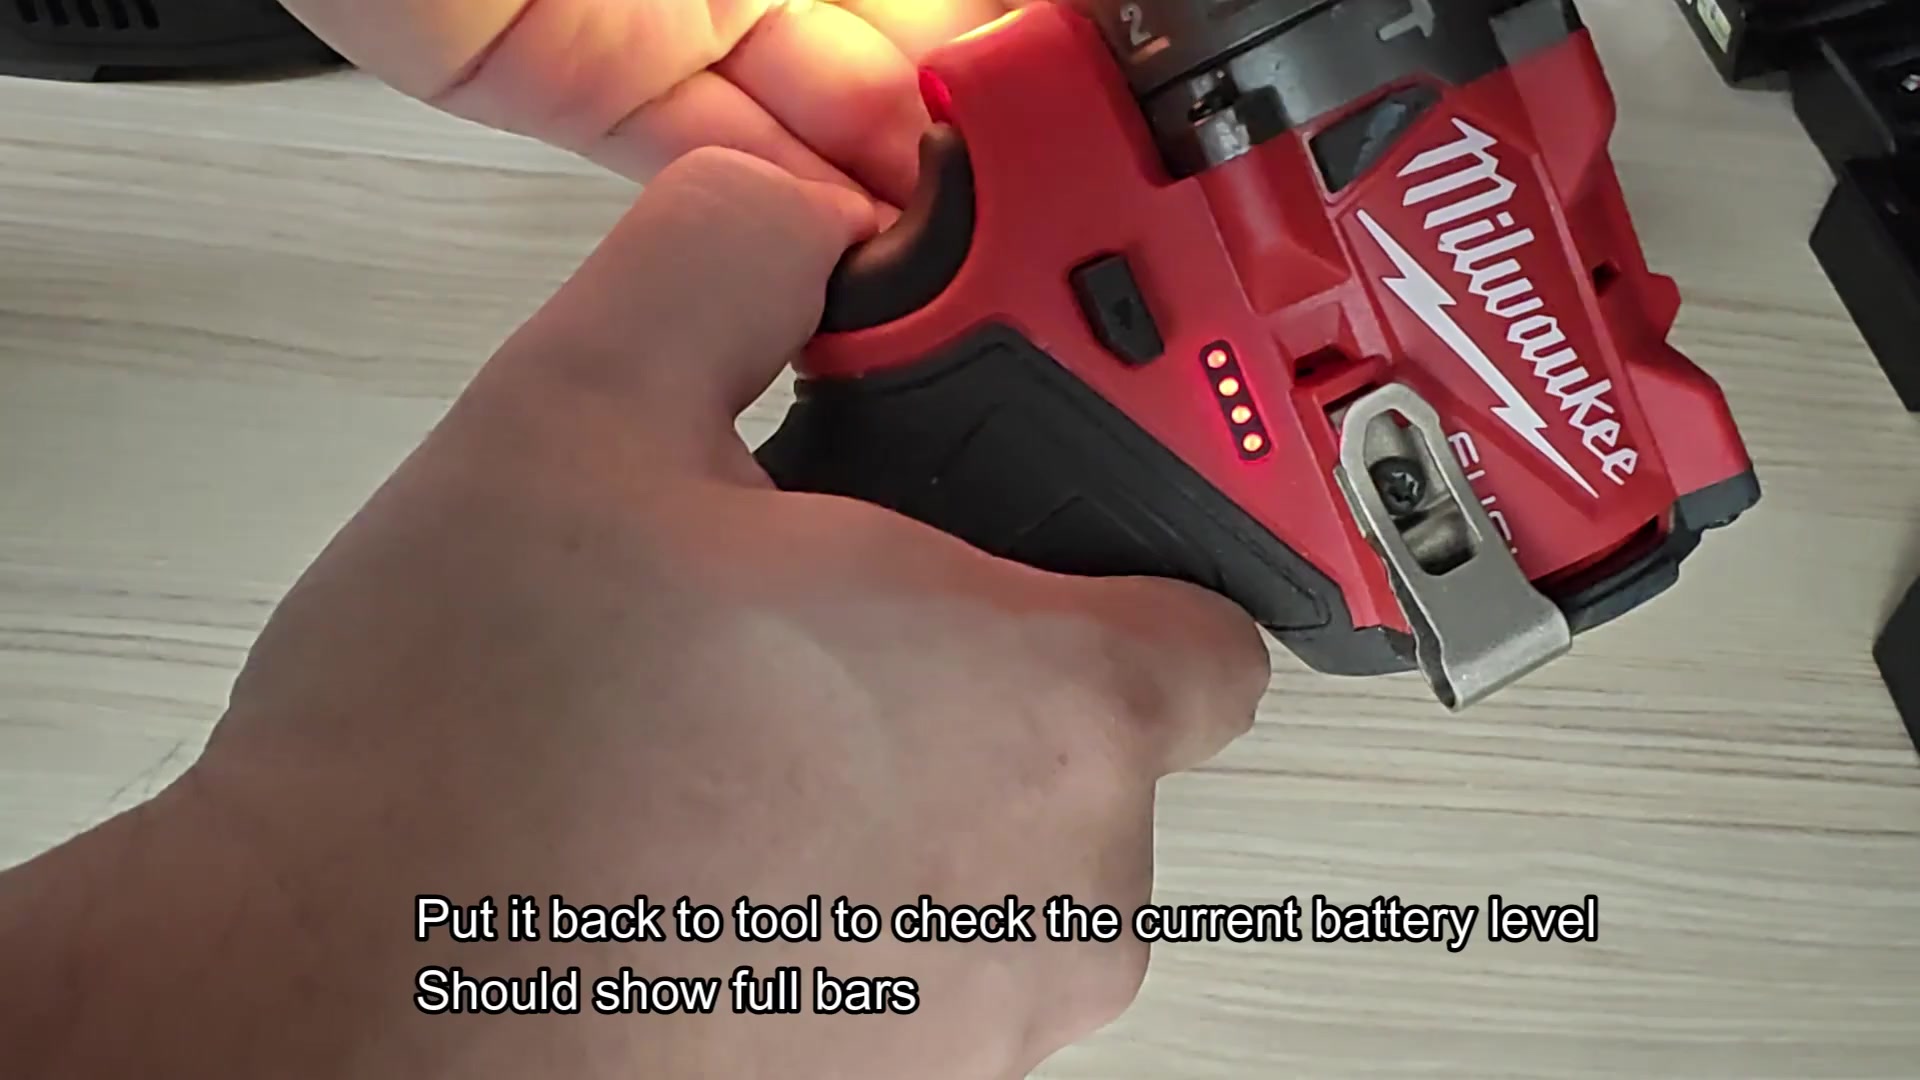
Their batteries do not display the charge level on the actualy battery housing. It requires that the battery be connect to one of your tool like a drill to view the charge. A quick press of the indicator button on the tool will reveal current state of pack to avoid confusion later. So what’s next? You want some juice, so how do you charge?
Understanding Charging Indicators
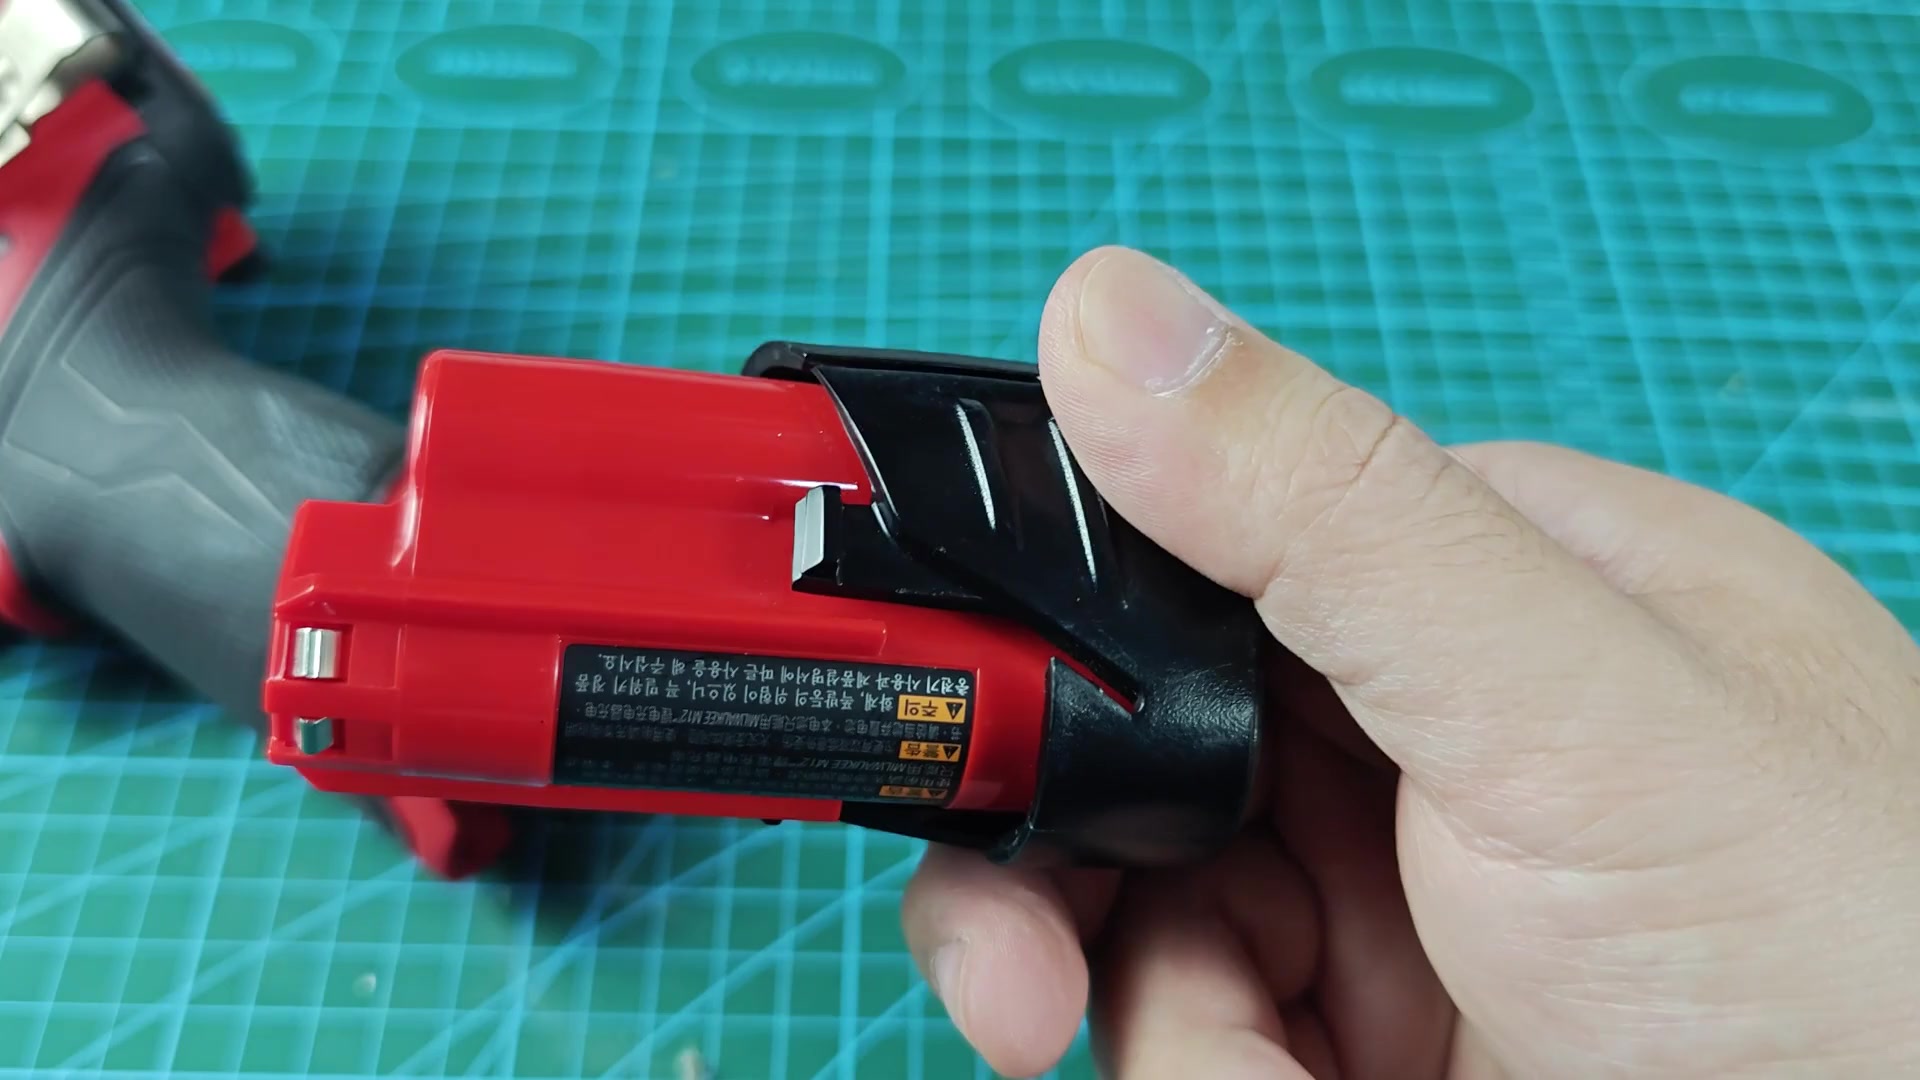
The first step is to remove the pack from whichever tool it was in. Then plug the battery into a Milwaukee charger. Simply line up the battery with the port and slide it on tight. It will then lock on secure. That click means that it is connected correctly for current to flow between two parts. Just snap it on and go about your business. There’s also some very basic visual feedback from the charger throughout the charge process. While charging, there will be a small red led light on the unit that lights up.
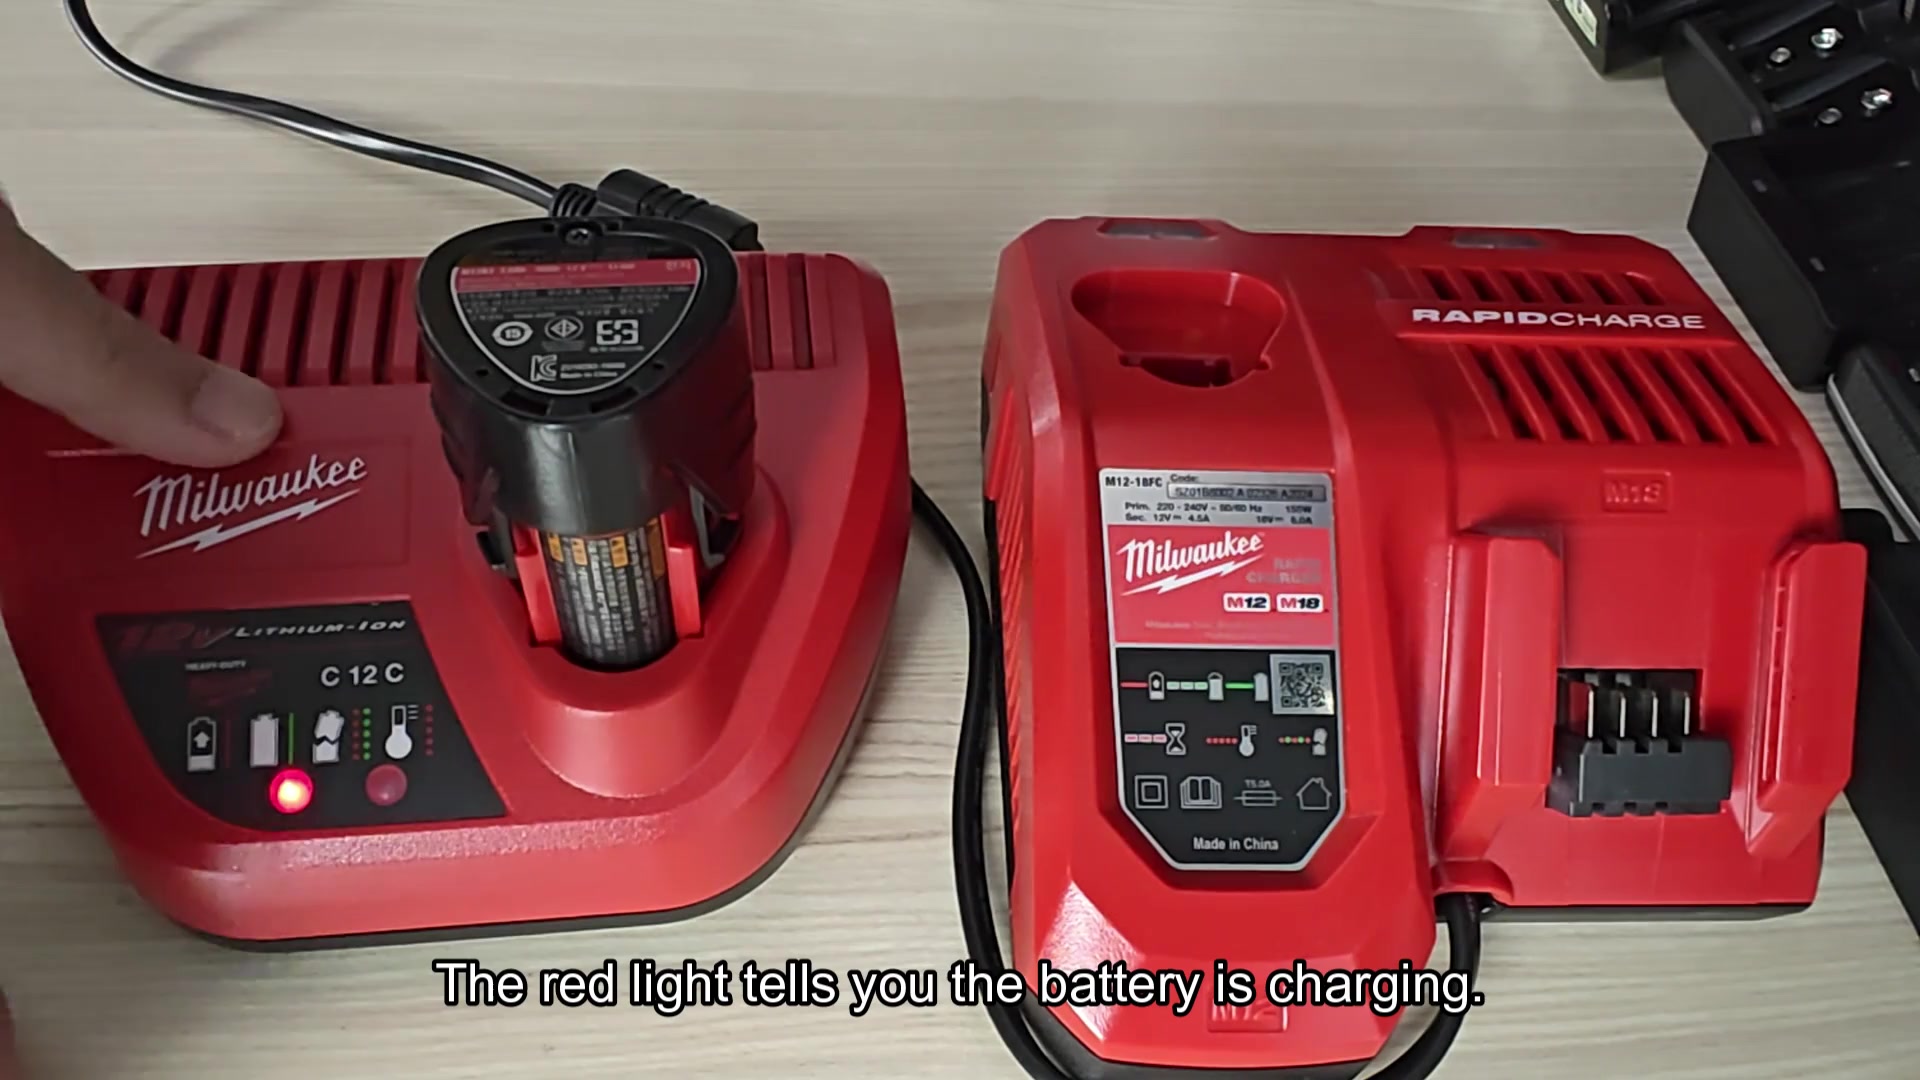
Just make sure this light is on and you know it’s doing its thing. The red light mean the battery is taking in juice. There’s no guessing here. How fast it will charge depends off the charger itself. Your work area may have a rapid charger or a regular charger.
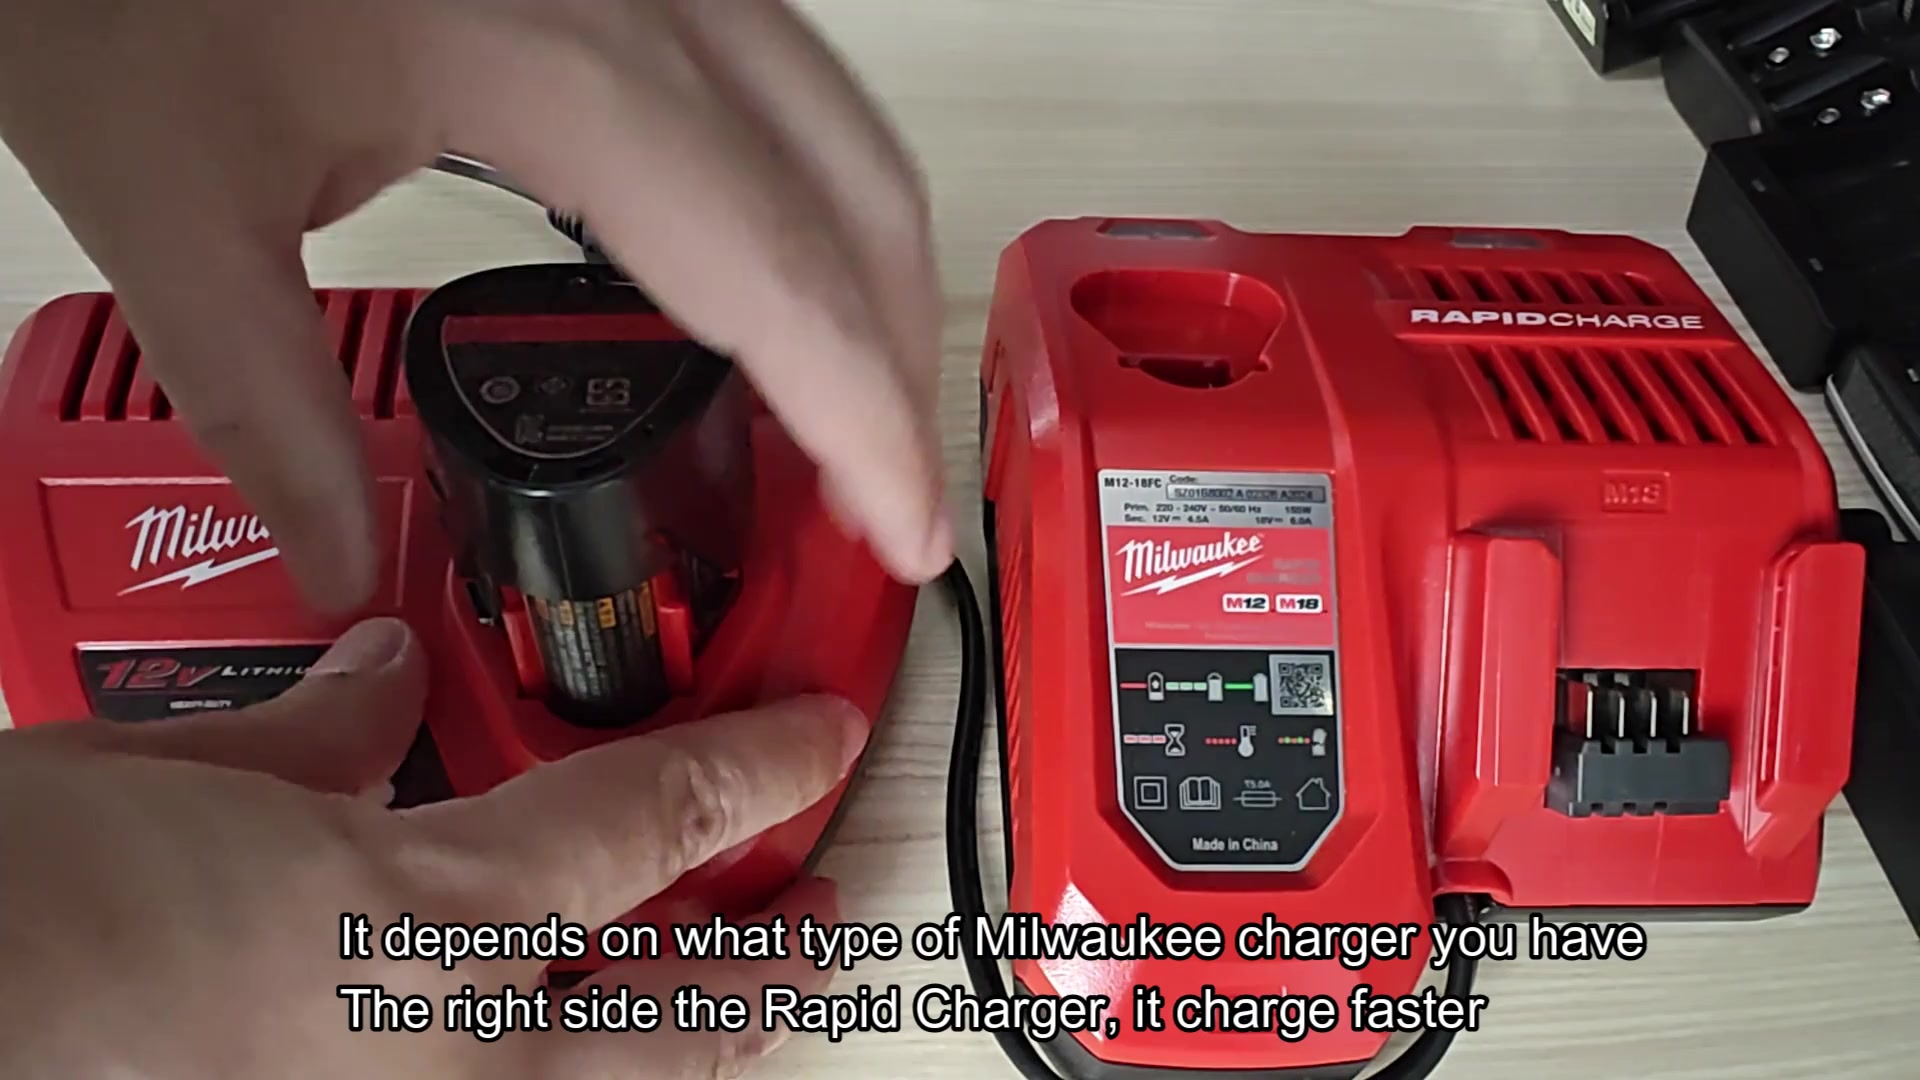
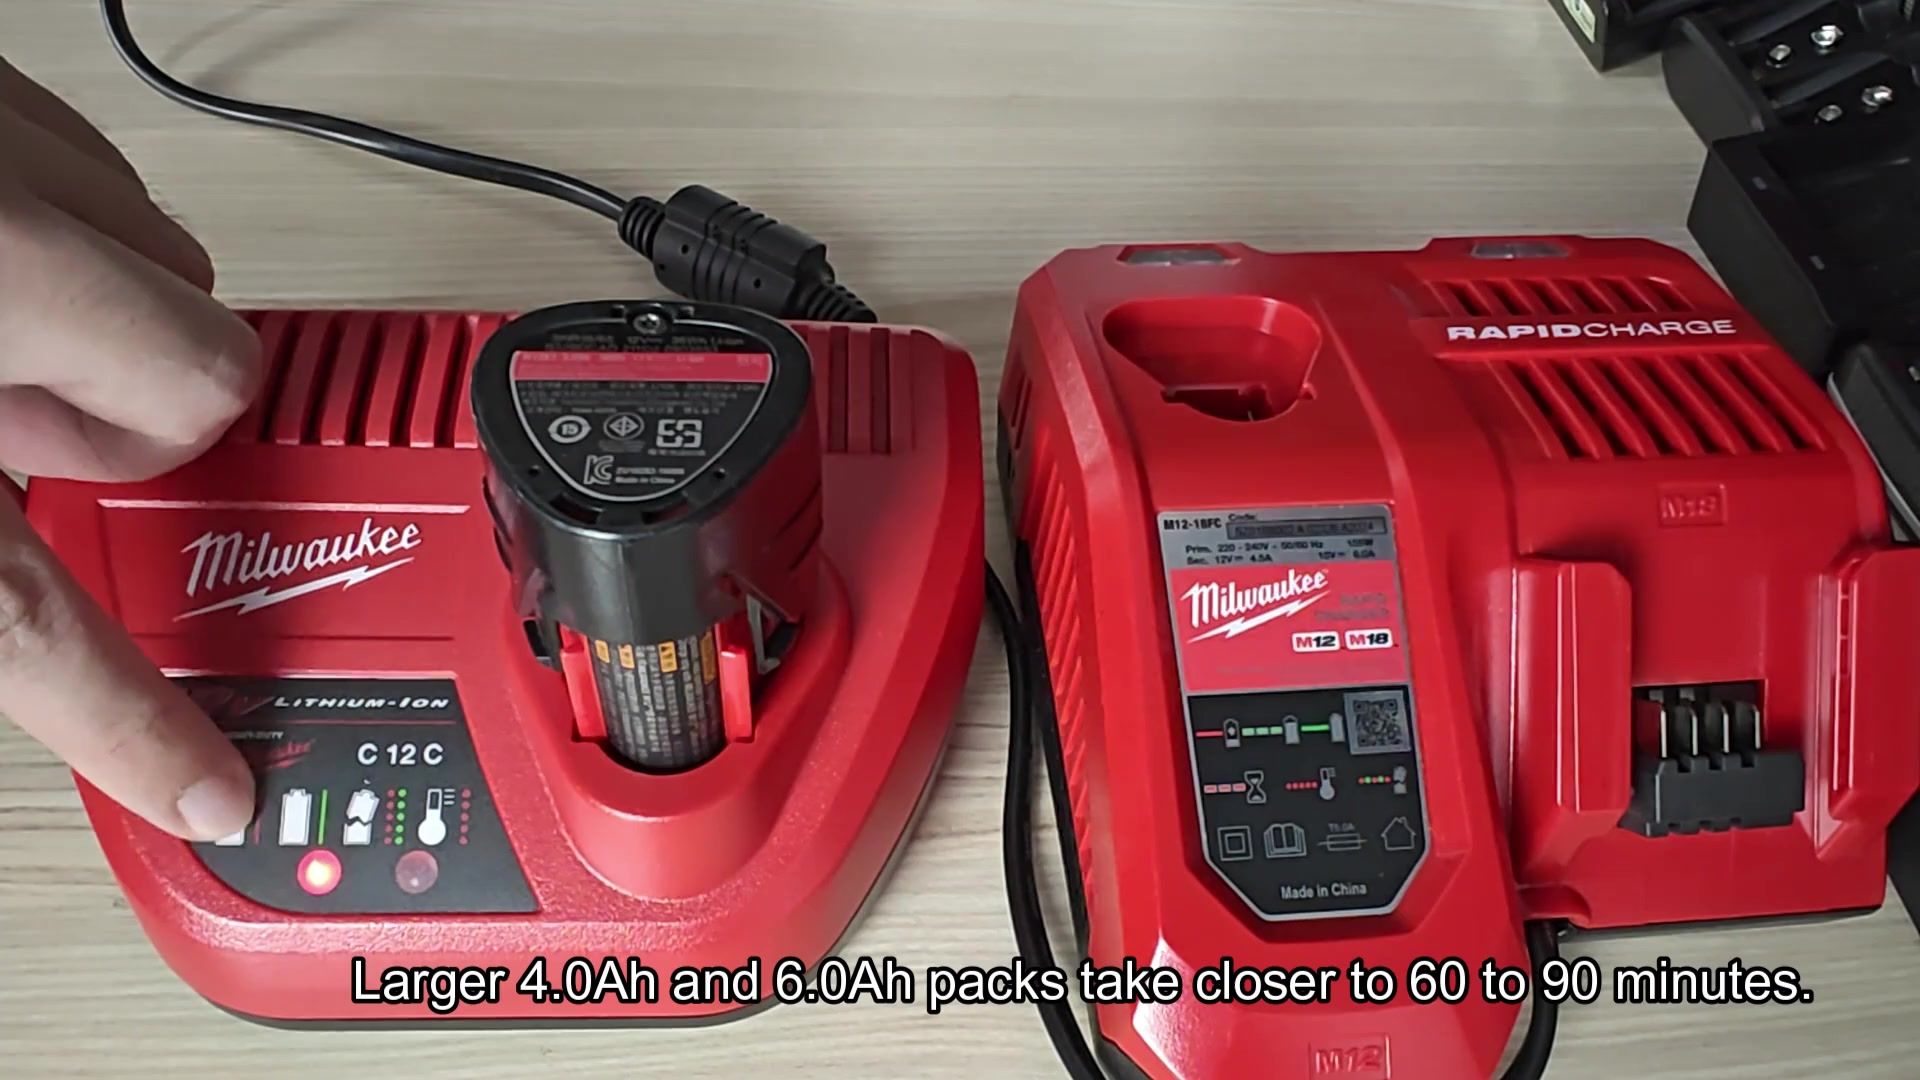
Having both make it easier to juggle the workflow if several tool need charging at once. It gives you the freedom to run them both interchangeably as needed in a jam-packed shop. For example, smaller jobs will use 2.0Ah battery pack which charges up in roughly half an hour on a standard charger. This is right around length of a typical lunch break.
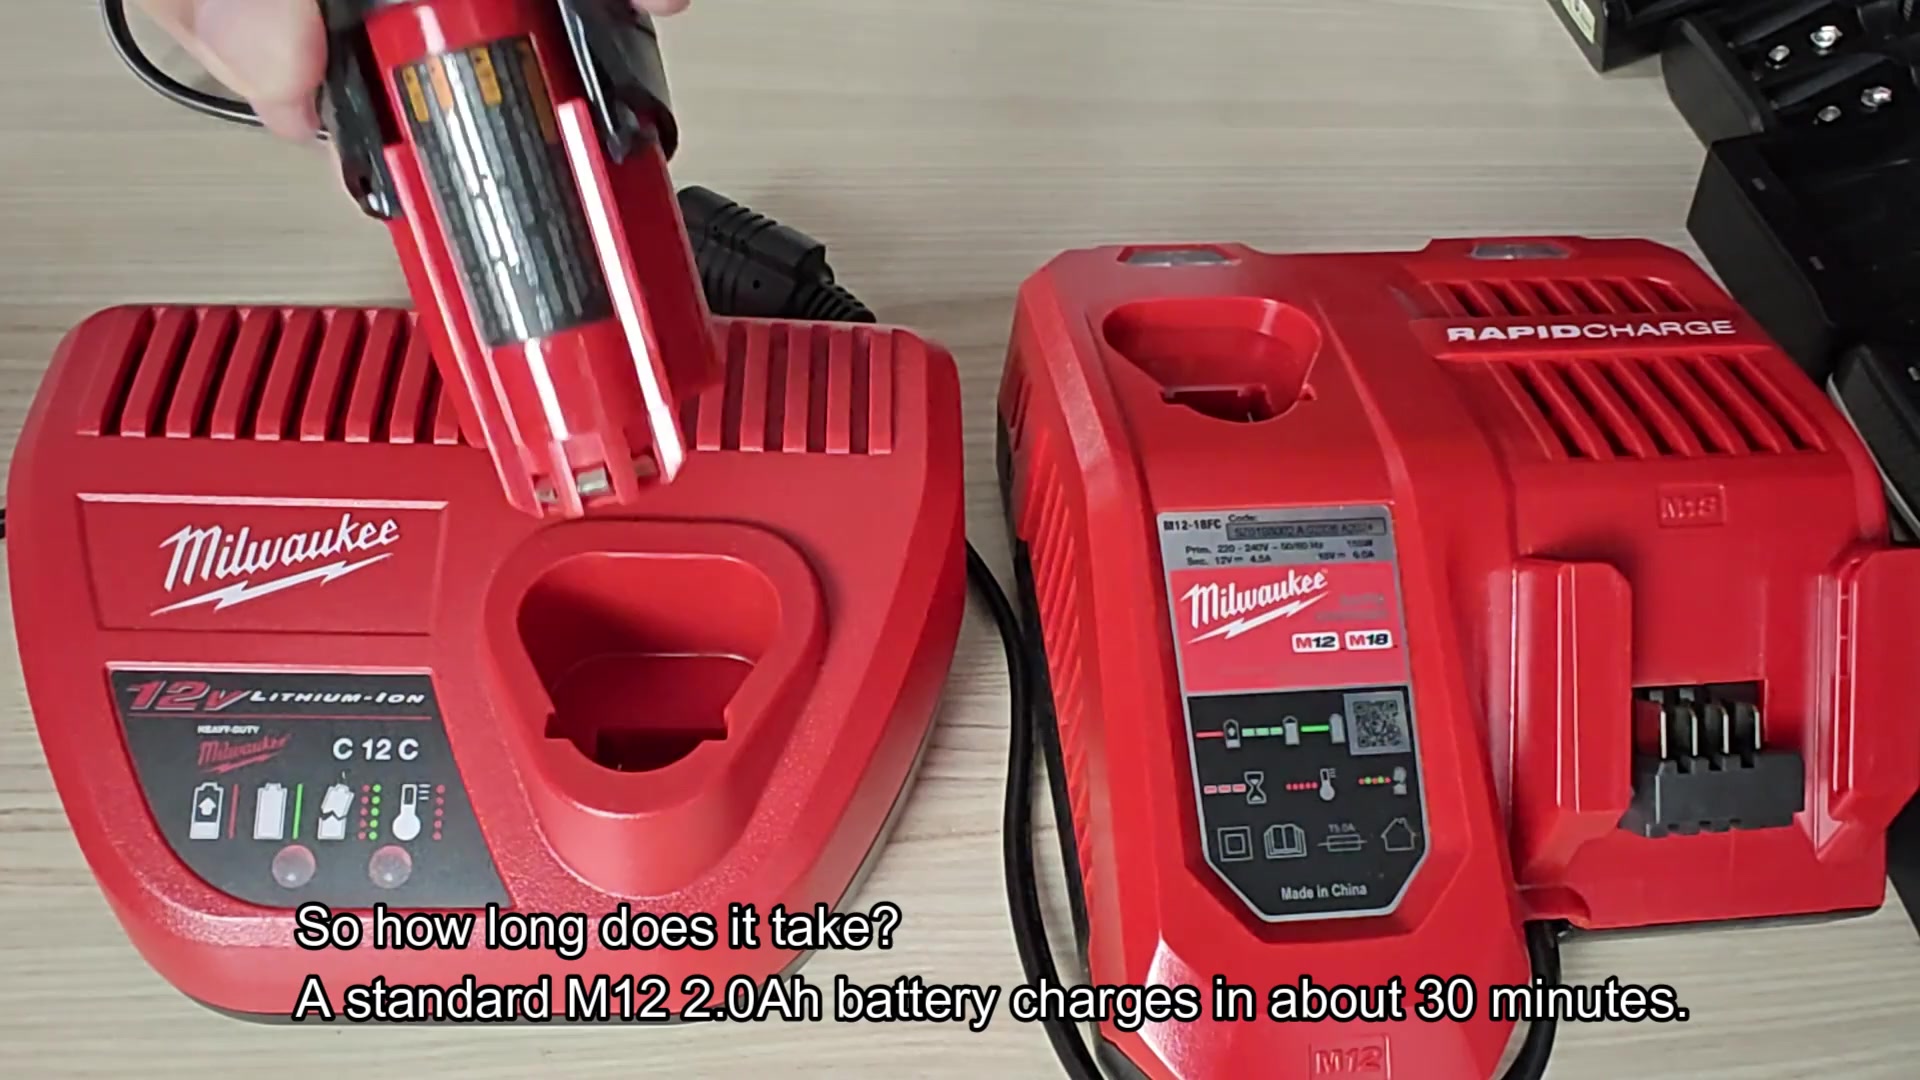
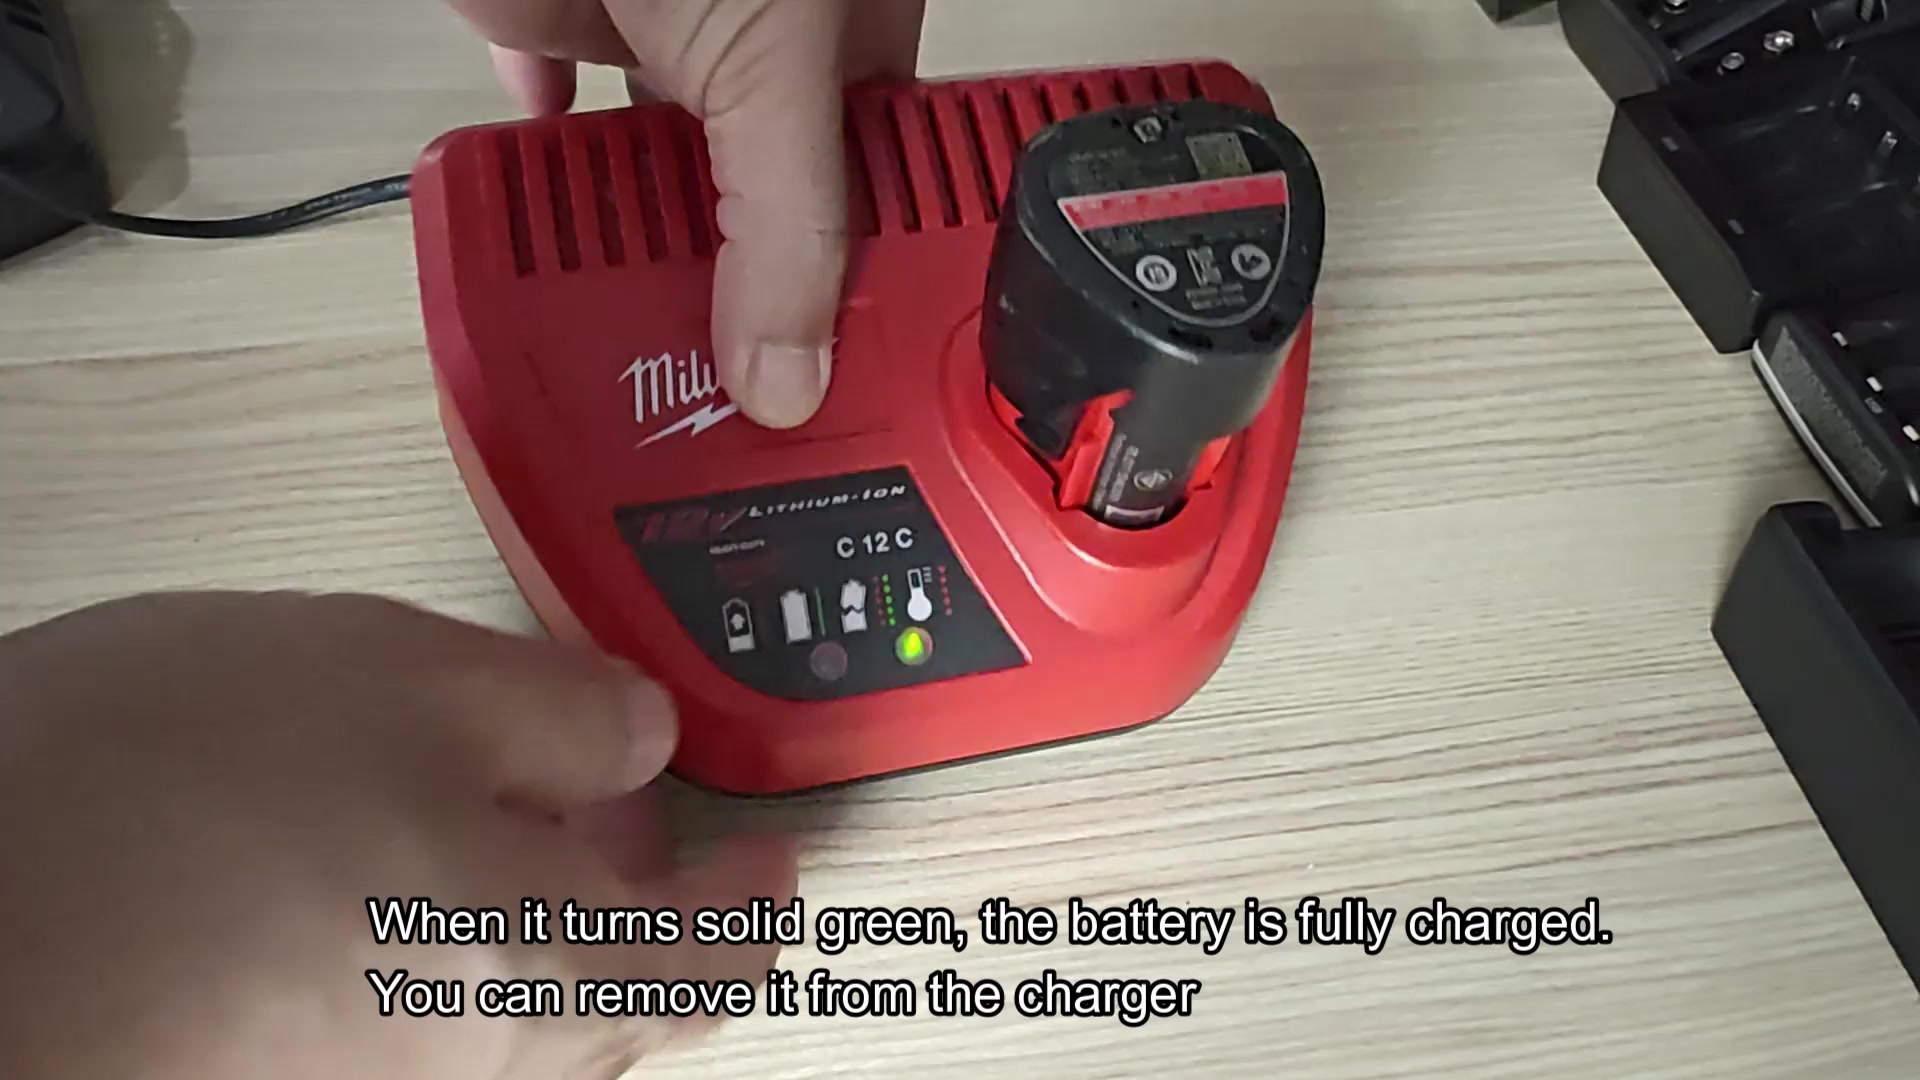
Meanwhile, the larger 4.0Ah and 6.0Ah batteries will need anywhere from an hour to an hour-and-a-half to fully recharge. You’ll spend more time charging them up but get to spend more time using them on big projects. You won’t need to swap packs constantly. The bulk of the deal is waiting for the light to turn green. Once your batteries are charged up they will show a solid green indicator, that tells me it’s time to roll.
Immediately unplug when you see that green light glow. It’s not bad to keep it on the charger longer than needed but you should of save some electricity by unplugging it. So once it’s charged, do you see that green light? Pick it up and get going. Sometimes the lights behaves in odd ways and not quite as expected. Other charger indications are also common and each one has its own meaning.
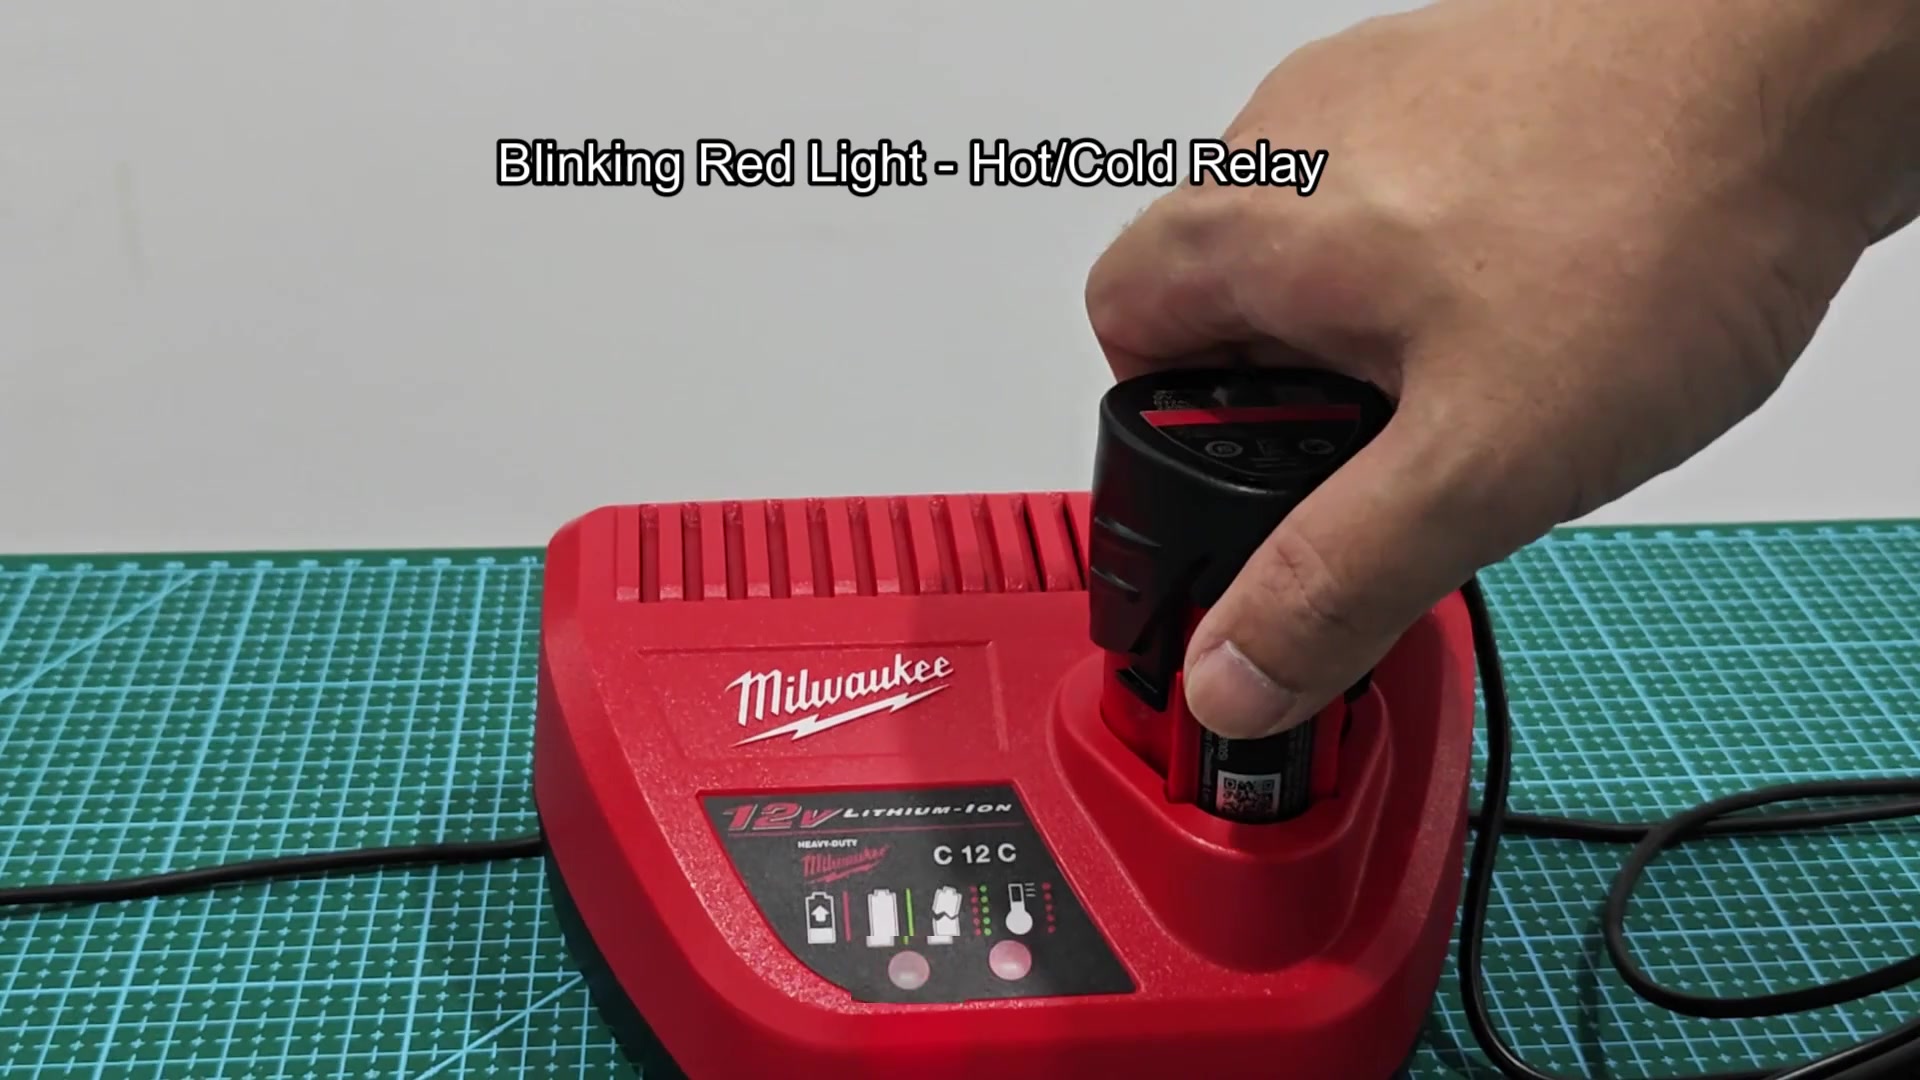
If it is a red light blinking, it’s typically caused by a problem with the cold/hot relays. Perhaps the battery was just used and is still warm, or maybe it sat outside and is now too cool. The charger prevents damage to the battery’s cells. Let the battery reach room temperature then attempt charge again. The other situation is when both green and red are blinking together. That shows a bad battery condition.
What’s happened is an old battery refuses to take a charge well. As a result, the charger senses something wrong and flashes back the dual blink code. In other words, the cell is most likely shot and won’t be repaired. Time to toss it in the trash. These are the little things that tell you everything. Knowing them will save you time and frustration.

If it’s a large pack then it takes longer, that’s why the red light stays lit for a while. When the green comes on that is your confirmation of completion. The blinking patterns can help you diagnose an issue before it becomes a bigger problem. Just paying attention to the little stuff tell the whole story.