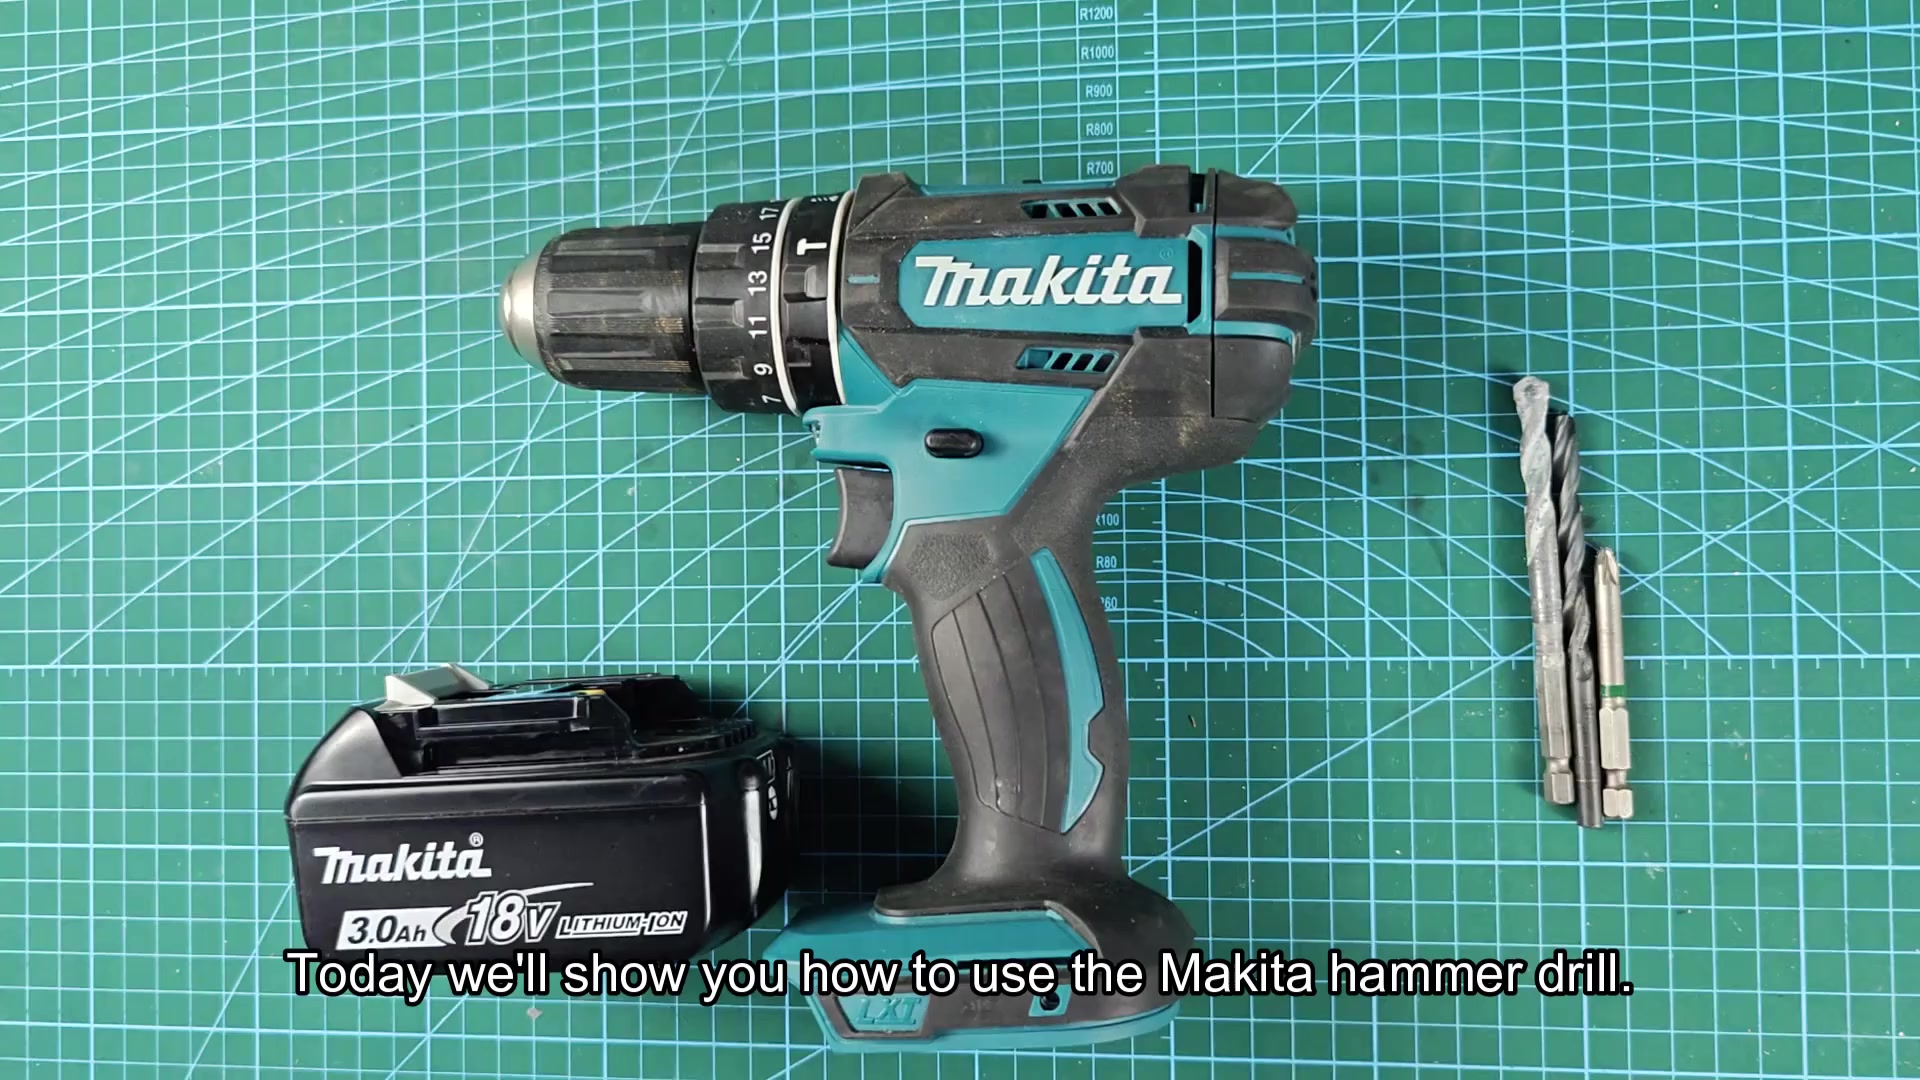
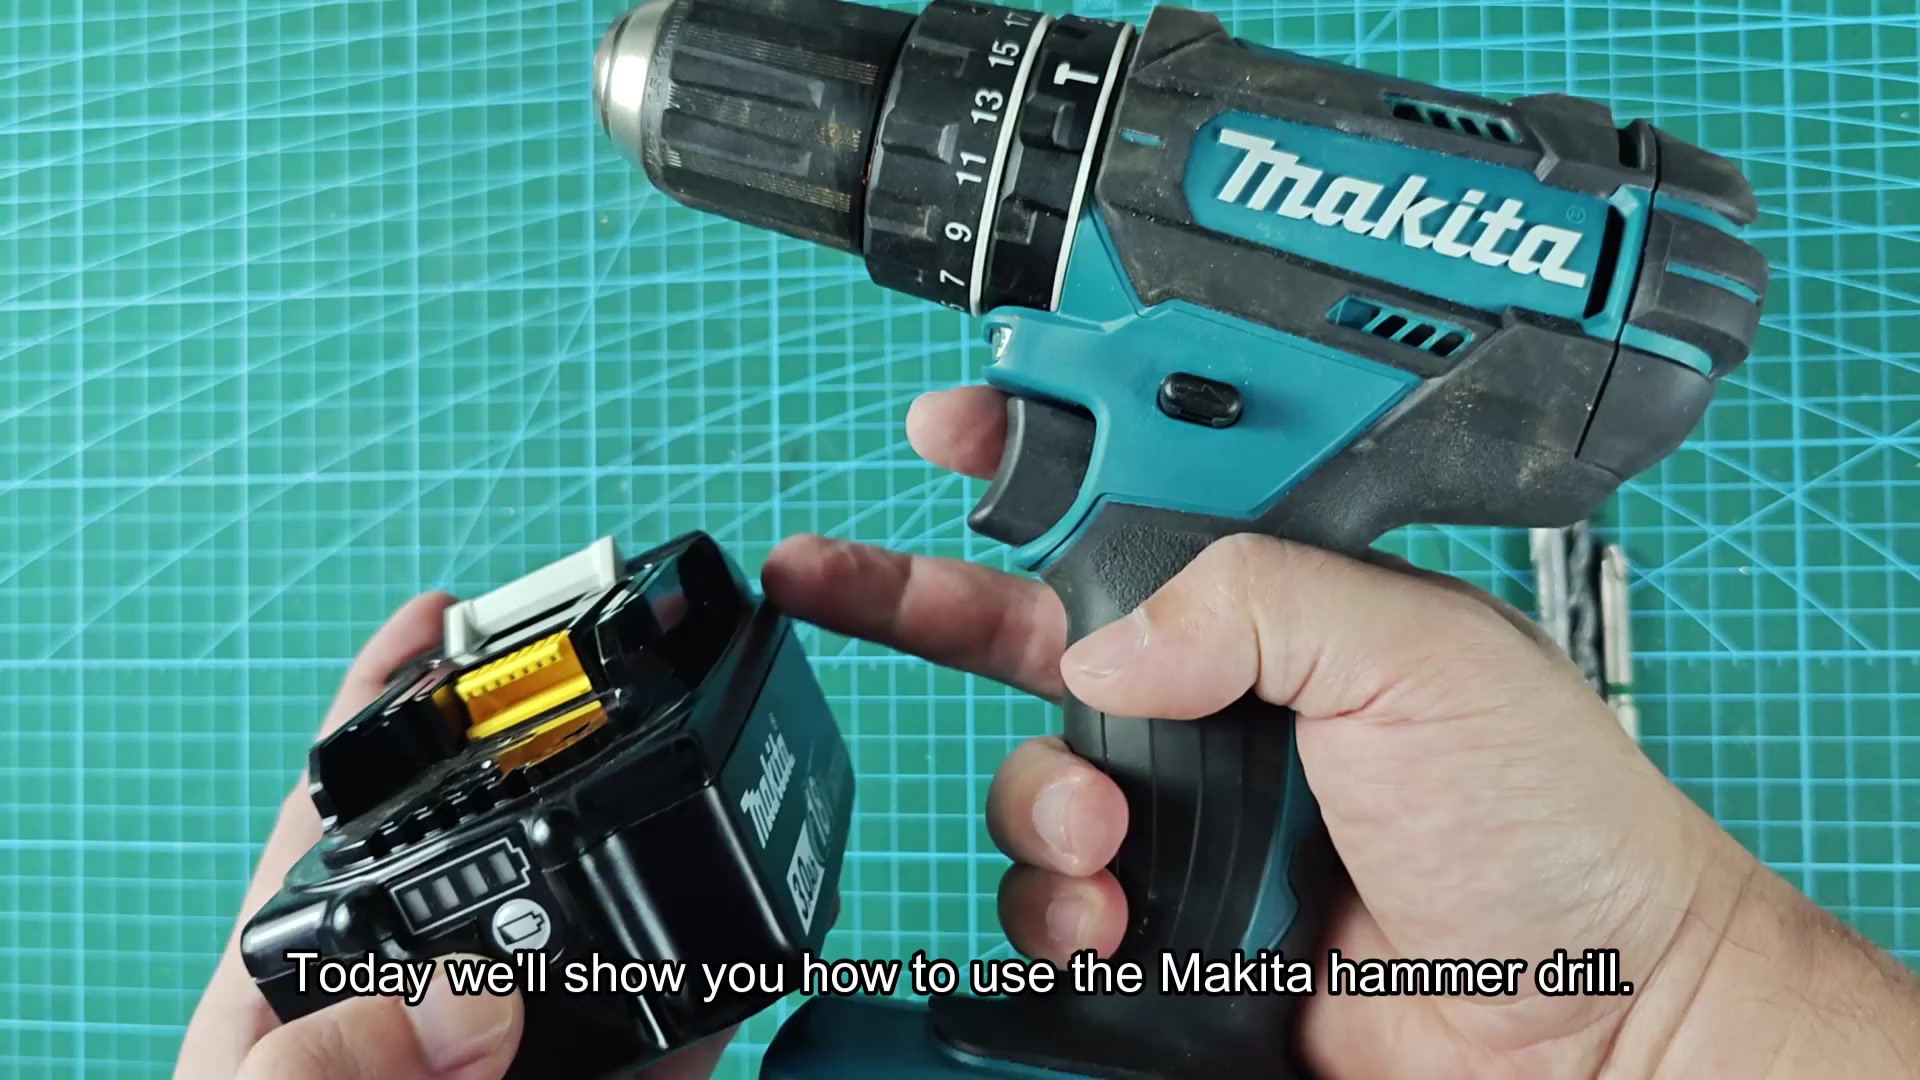
Inserting the 18V battery into the Makita DHP482 is easy; you just slide it on and lock it in place by clicking firmly. Then you push the indicator button to see how charged it is. Plenty, the bars light up red LED style.
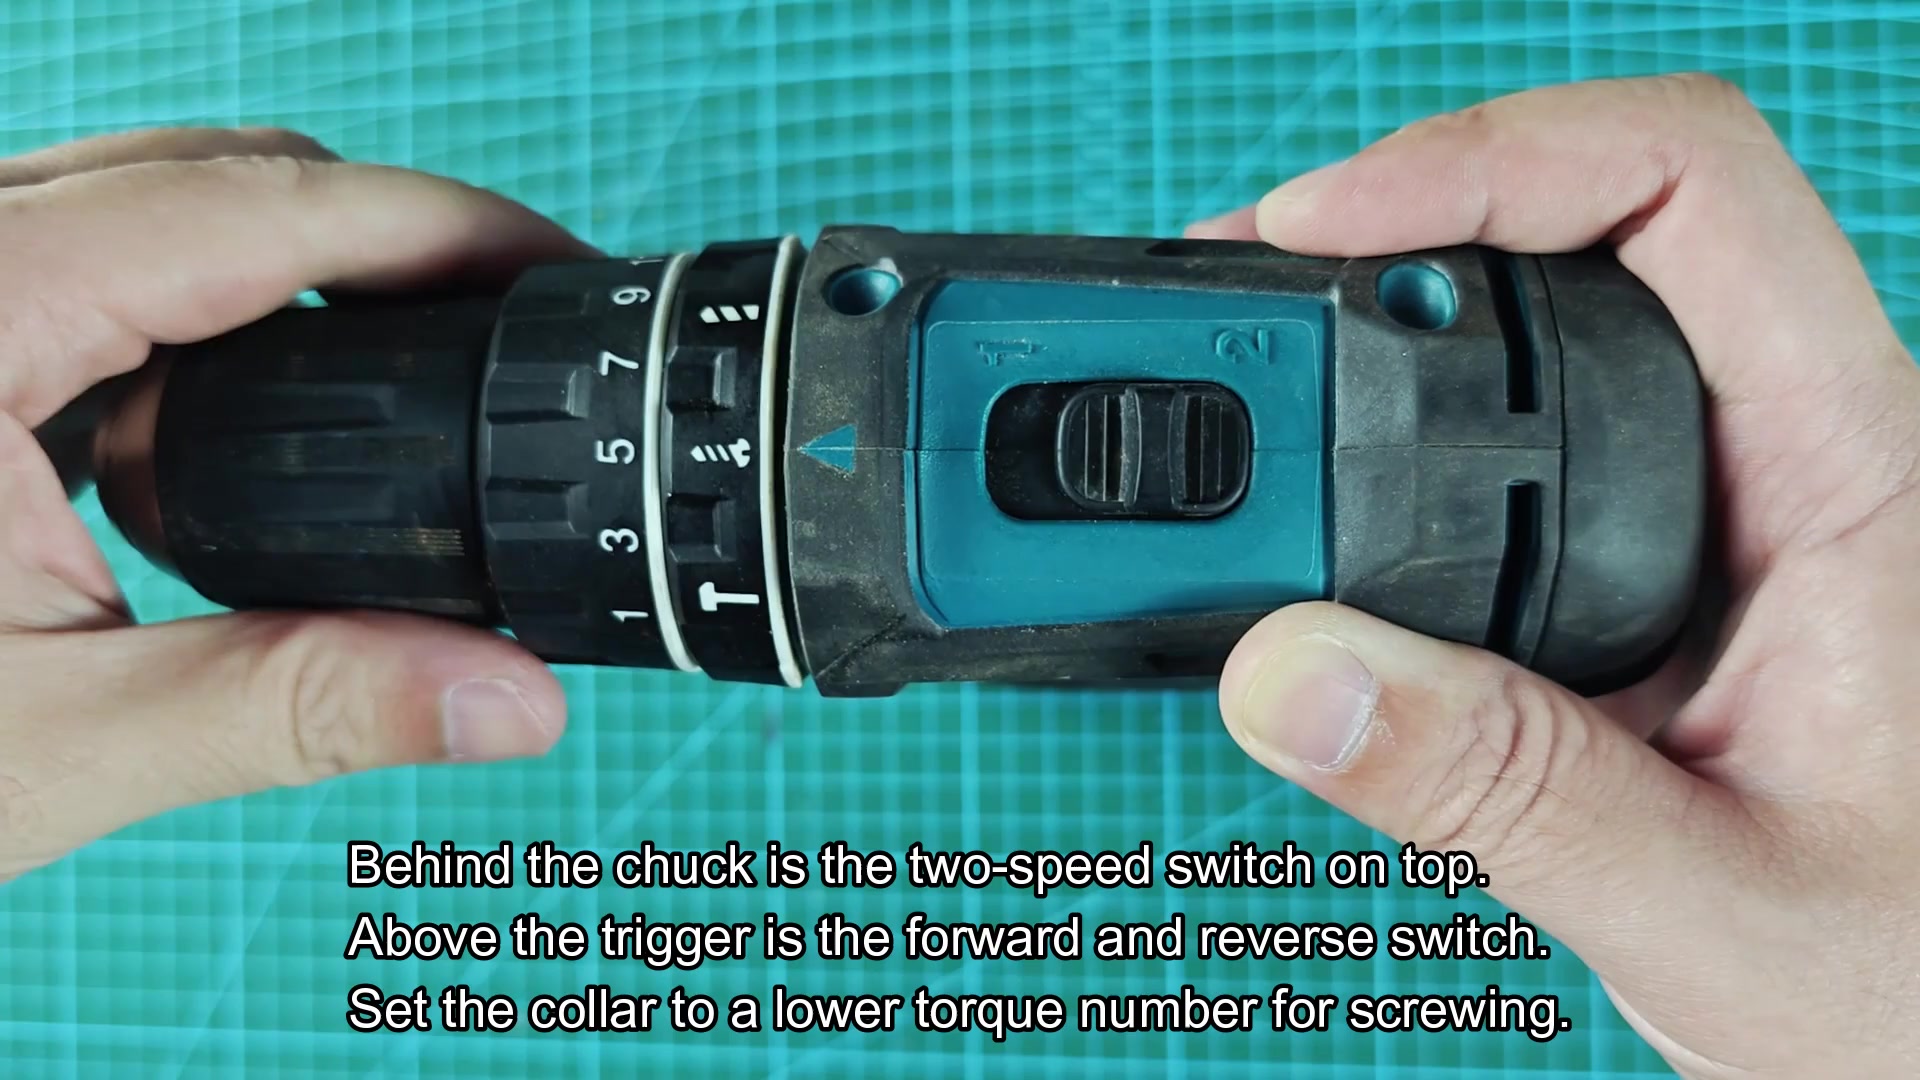
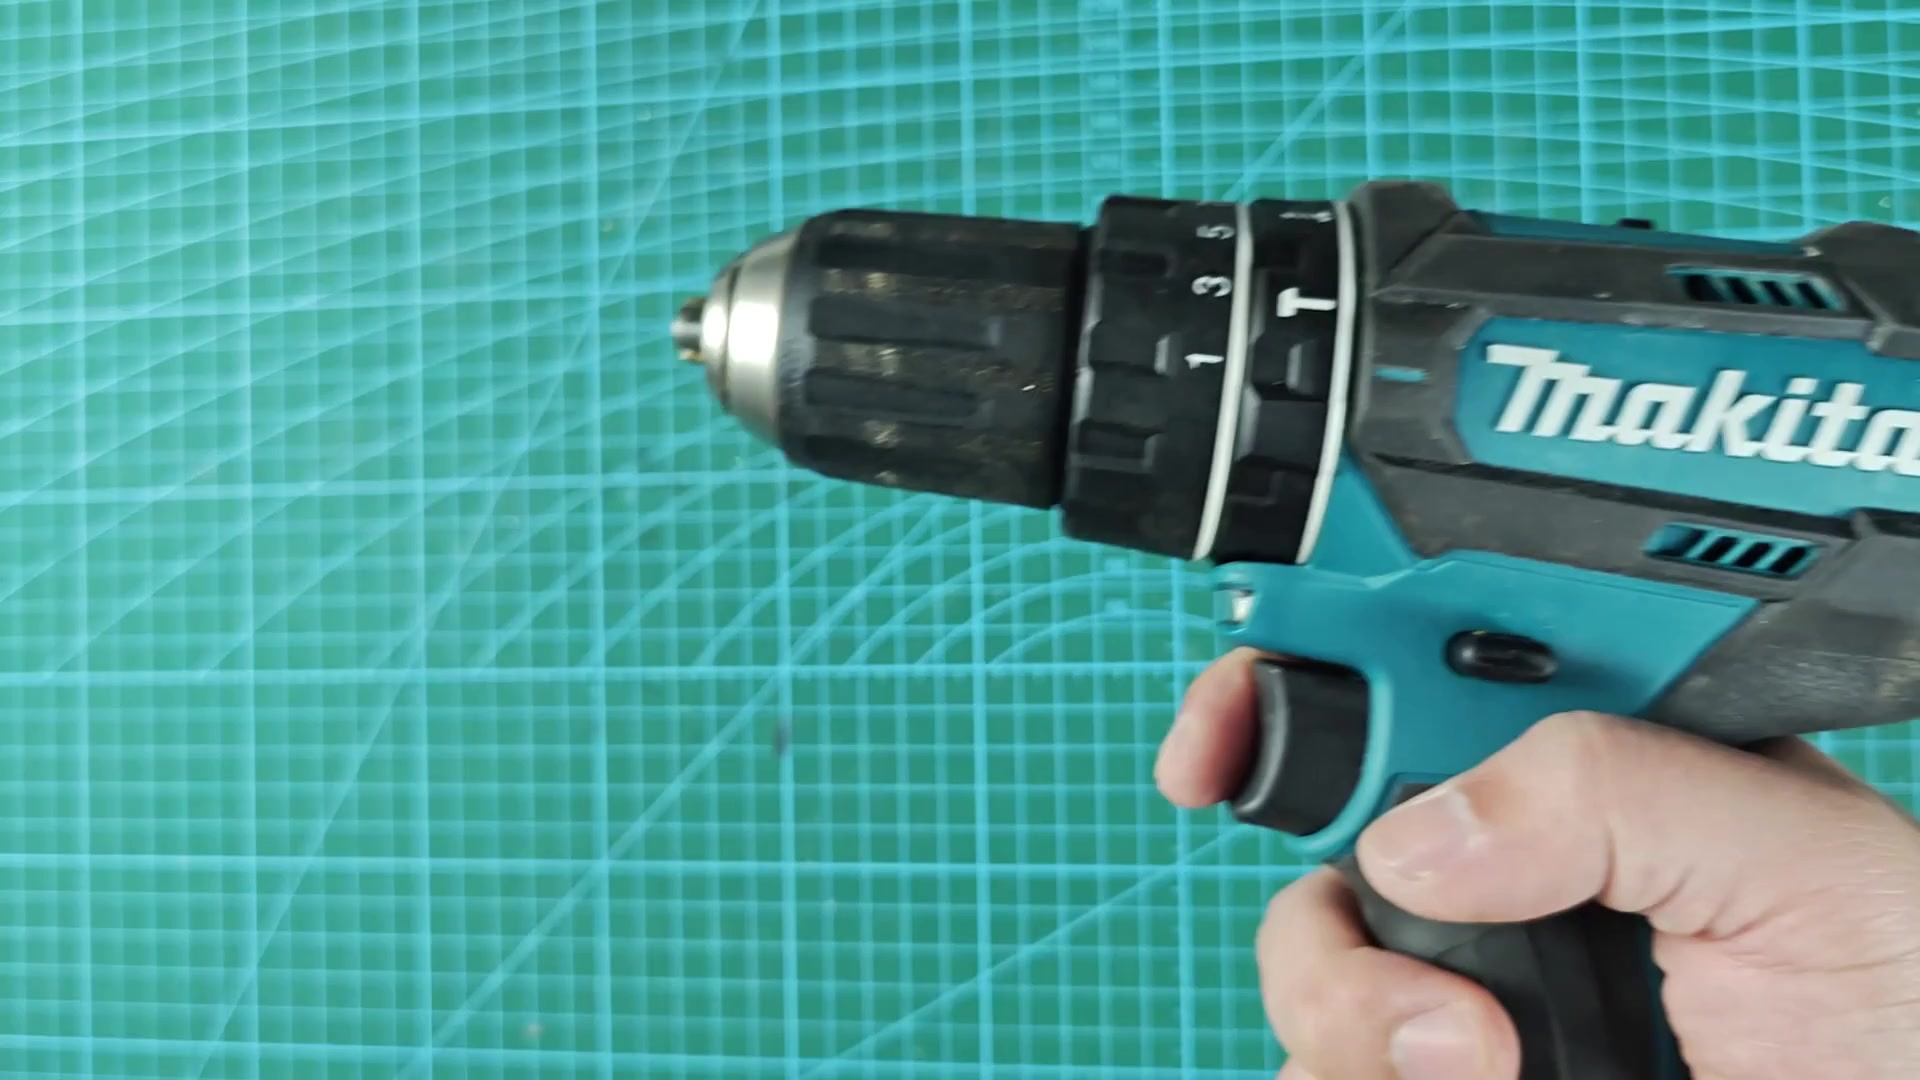
Before beginning, you’ll make sure that the torque clutch ring, located beneath the chuck, are adjusted correctly: It determines the amount of twist the drill exerts. The lower the number, the less torque, so it’s less likely to damage whatever you’re working on or strip head off a screw. Begin your test on low (maximum control). Next, you insert a regular Phillips bit into the chuck and snug it down tight, so it won’t turn loose. Then you adjust the collar to a lower torque setting; this way the screwdriver’s clutch disengage when the screw is snug.
Drilling Through Concrete
Now you move the direction selector button (located just above the trigger) to forward rotation, and lightly engage the trigger to drive that screw into your test board. The drill turns freely right up to the point where the screw’s head meets the board. Then the clutch kicks in. It audibly clicks and stops rotating completely, preventing the screw head from receiving excessive force. That’s nice for those one-off fastening projects. Then because it’s the same screw, you flip the forward/reverse switch to reverse rotation so you can get it out. Because you kept the torque setting low to have more control, the bit doesn’t grab and jerk, but comes right out with ease. A couple seconds later it’s completely removed.
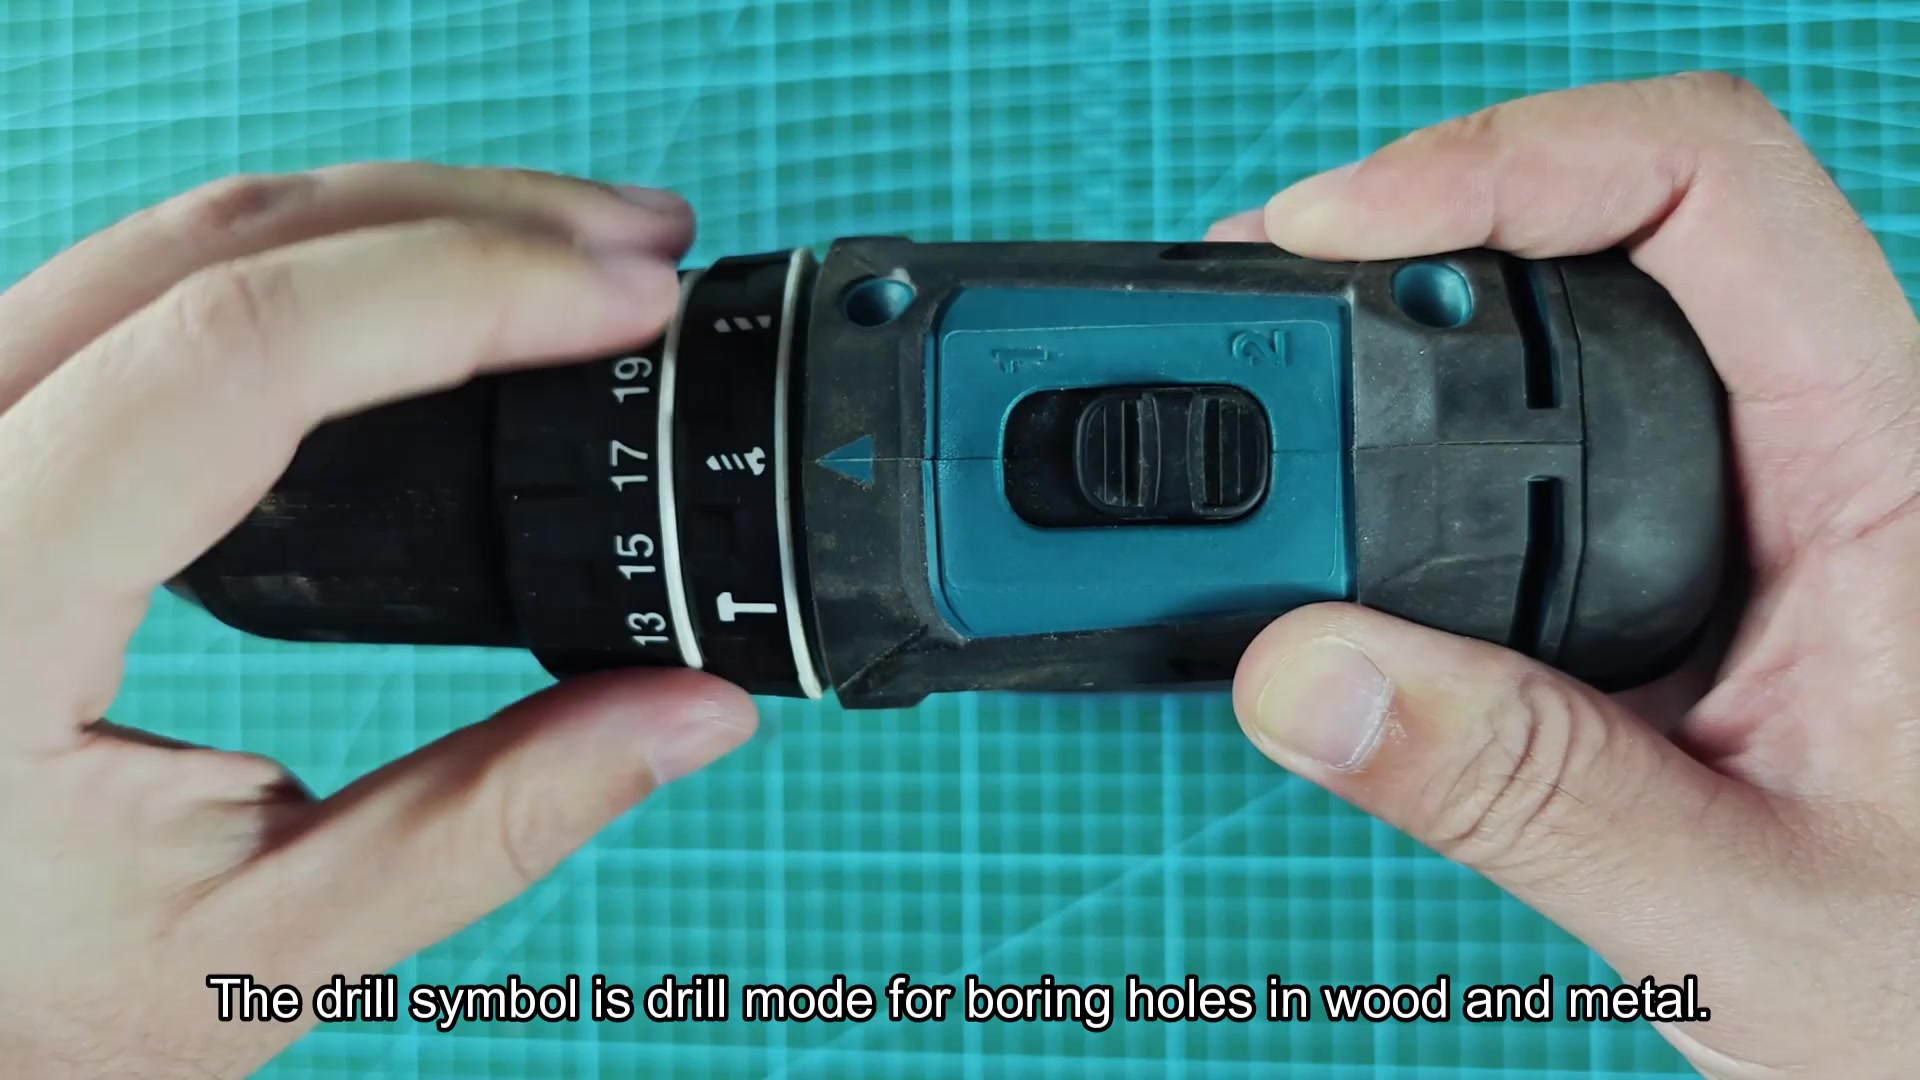
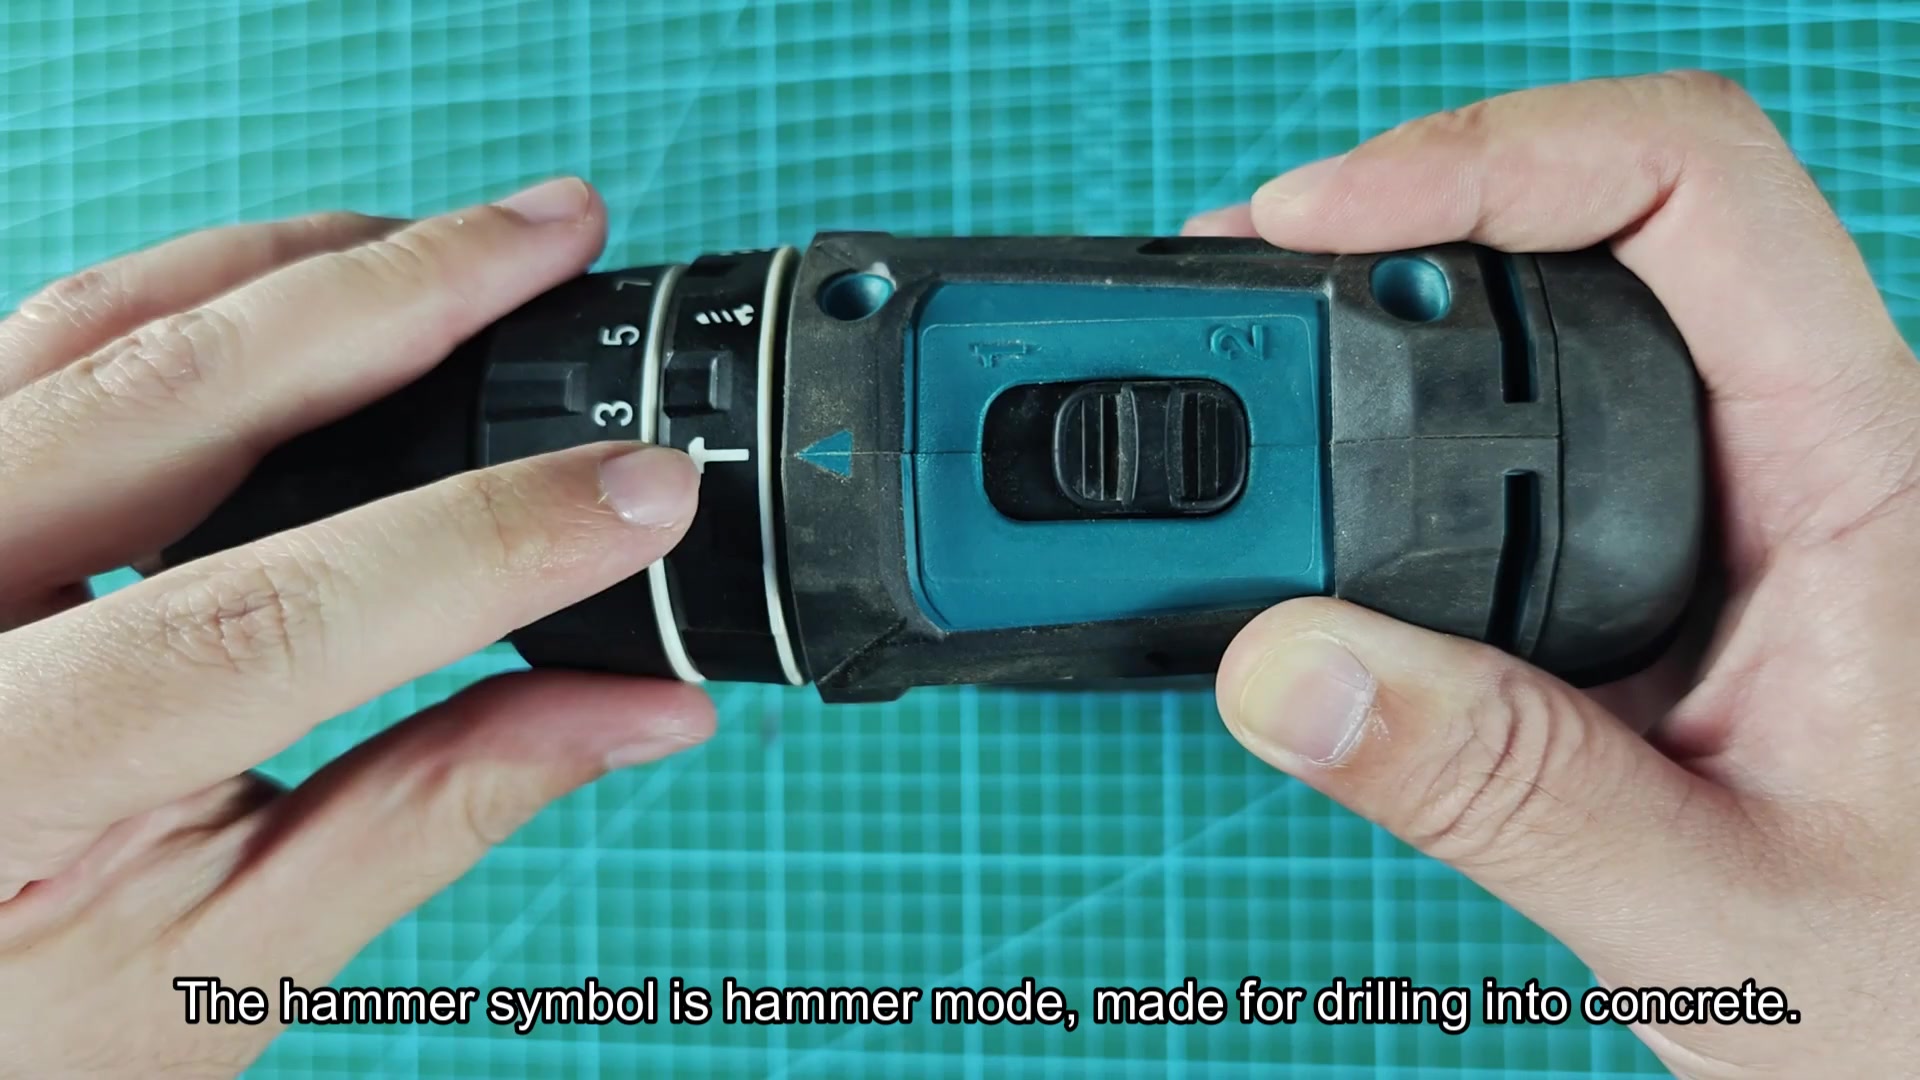
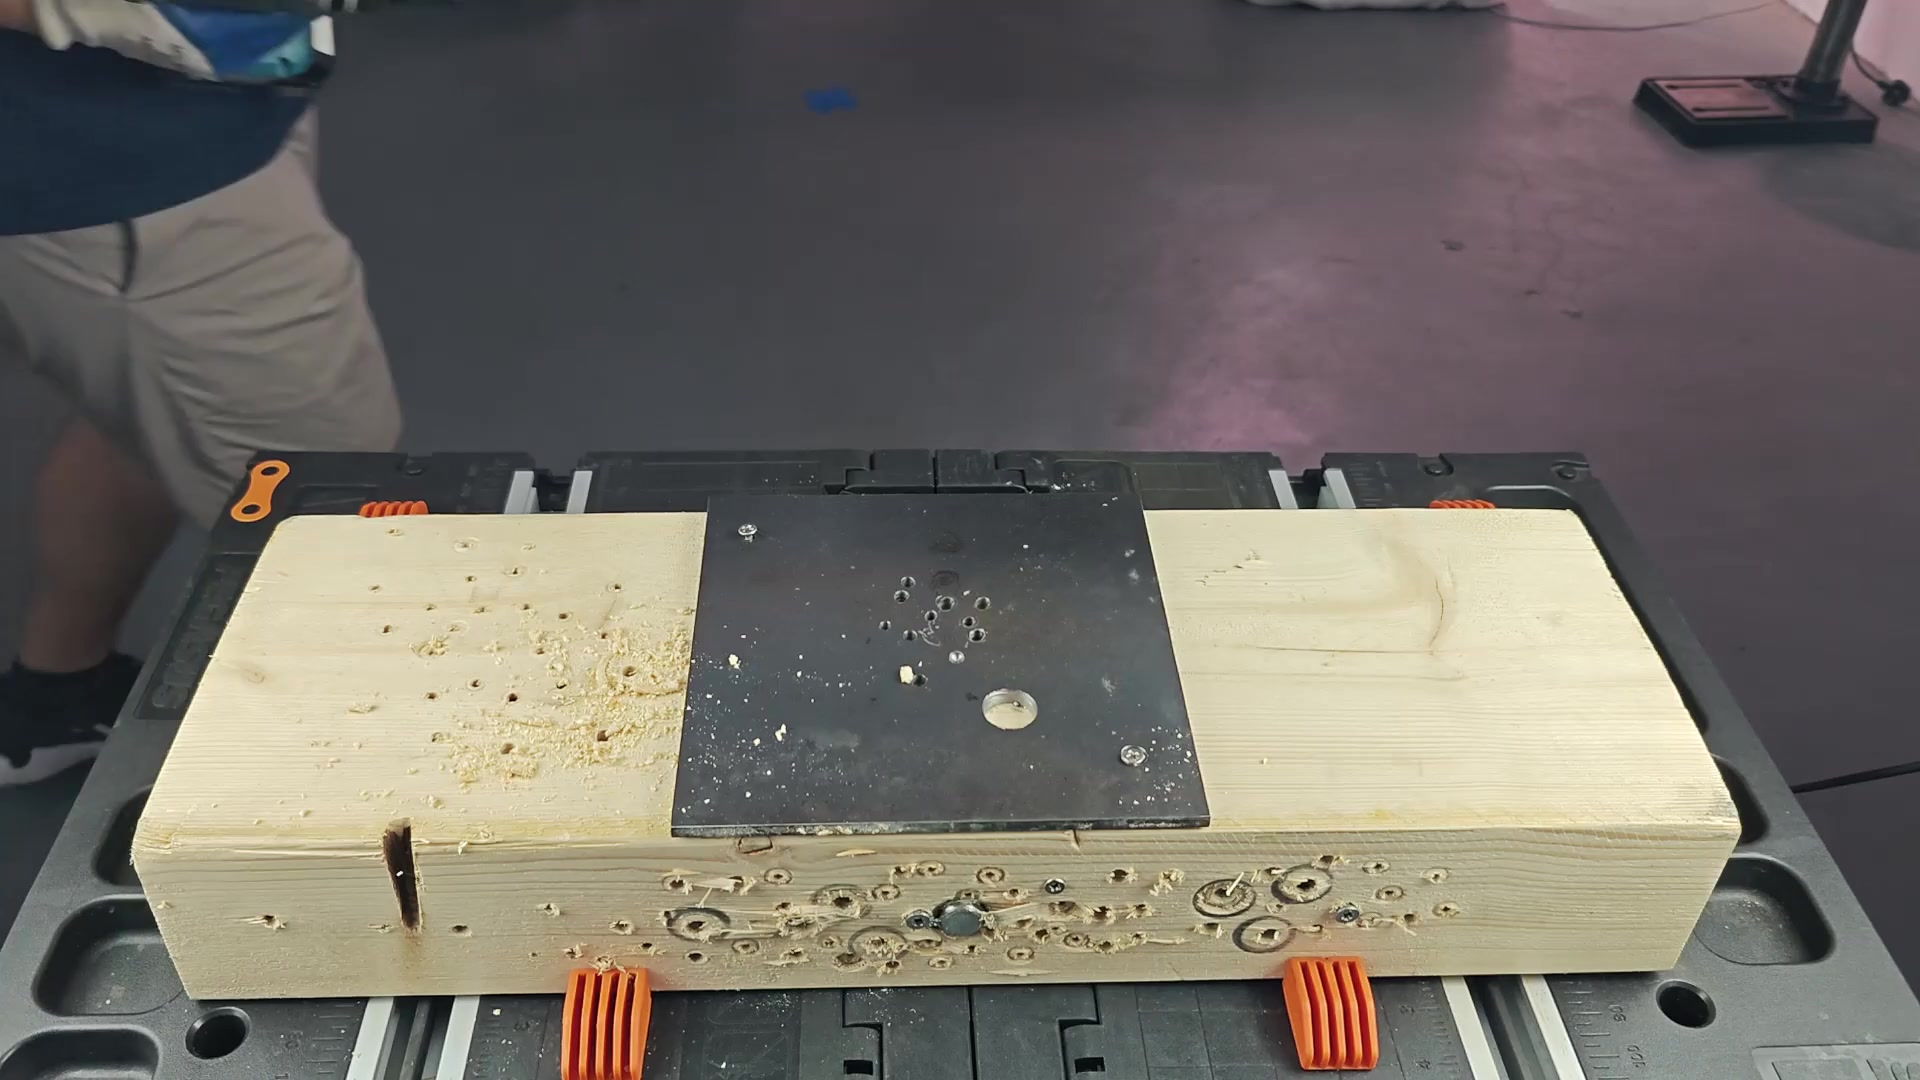
For your next test, you want to find out how well this tool performs drilling in wood different than driving screws. So you pop out the screwdriver bit and insert a regular twist drill bit into the chuck. Then turn it clockwise to tighten it against the chuck. Next you slide the mode ring around the torque numbers since this is a different function. This is pure drill mode now, no hammer action; so the ring clicks into the drill symbol position. Perfect for clean holes in something soft such as plastic or wood.
Now look at the speed selector switch behind the chuck and adjust to speed 2 for higher RPMs. Higher speed cuts wood faster and cleaner. Keep the drill straight against the wooden board and squeeze the trigger with steady, even pressure. Immediately the bit bites into the wood and powers its way through cleanly without binding or wandering off course. You get a nice, smooth hole in seconds.
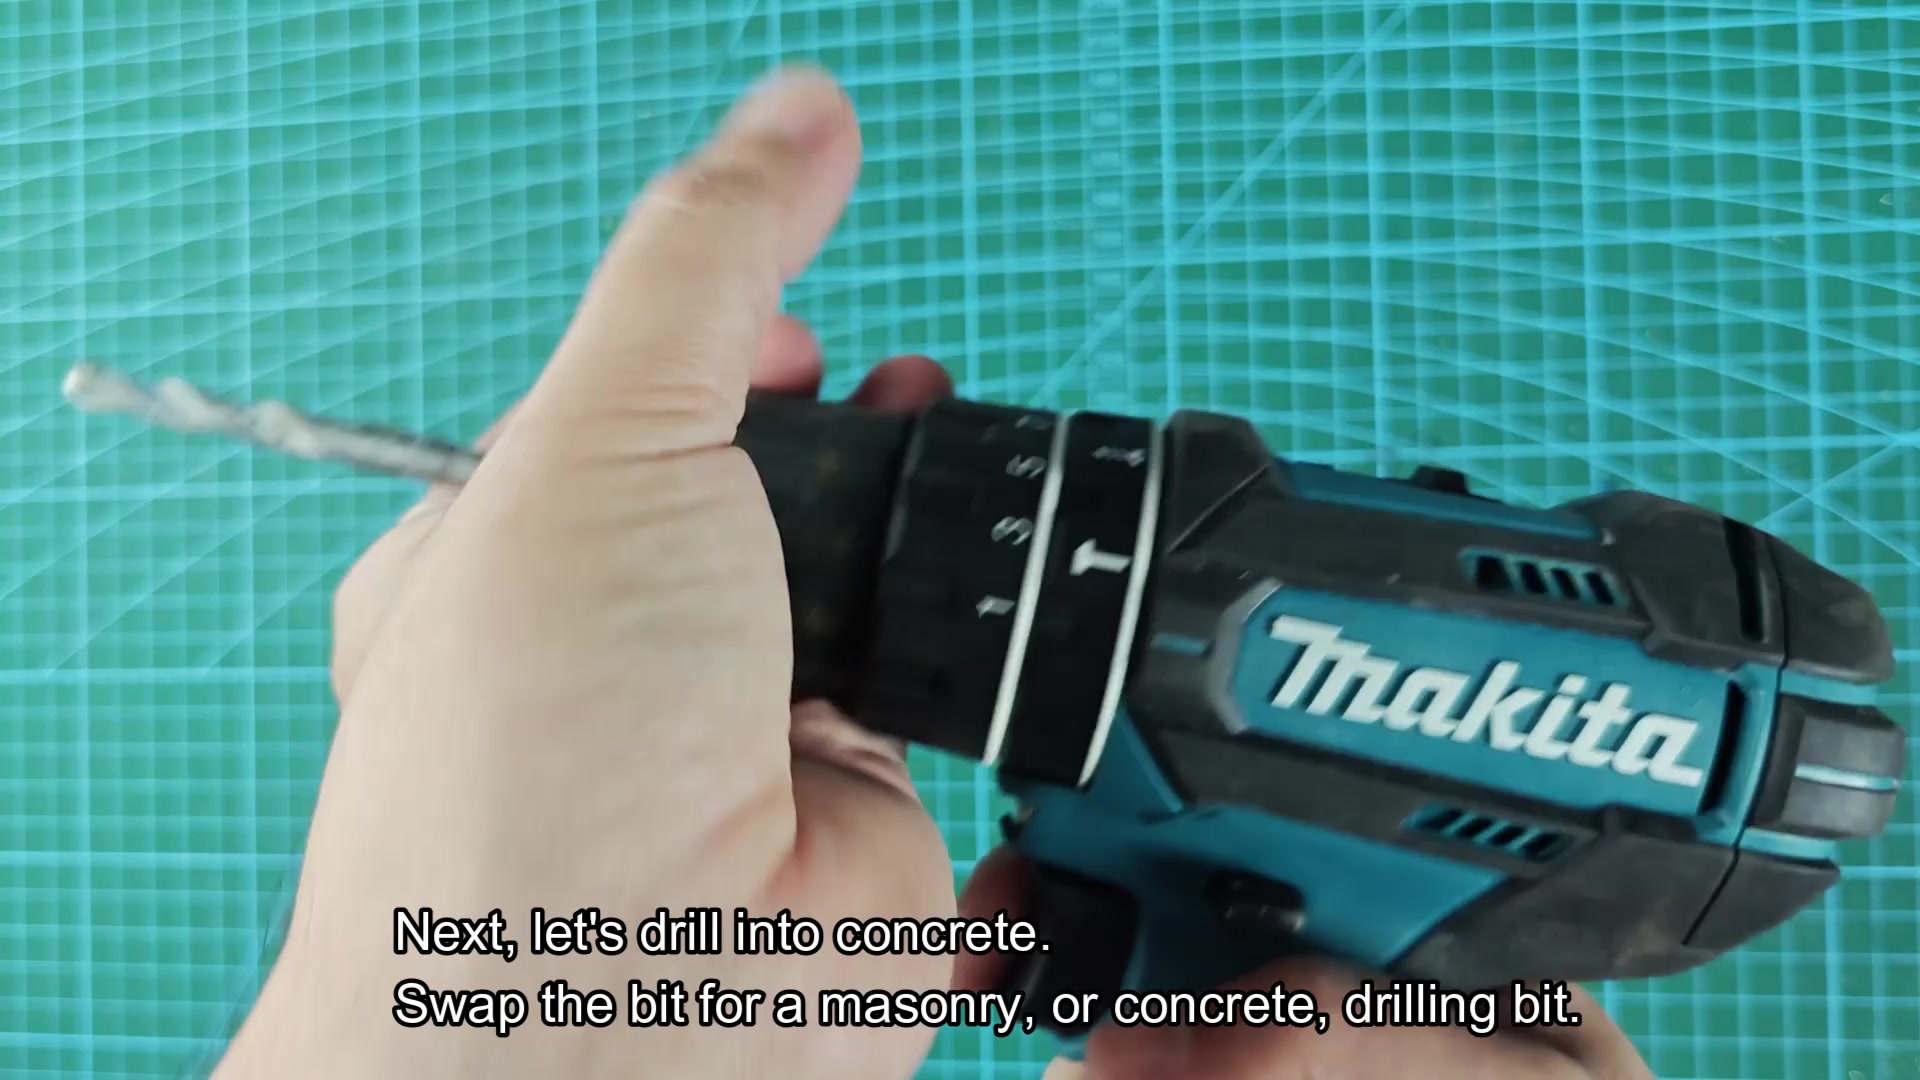
Concrete is tougher than wood, so you push the tool harder on this last test. Out comes the twist drill bit and in goes one specifically made for use in stone and concrete called a masonry bit. They are tipped with carbide to withstand abrasive hardnesses found in stone and concrete.
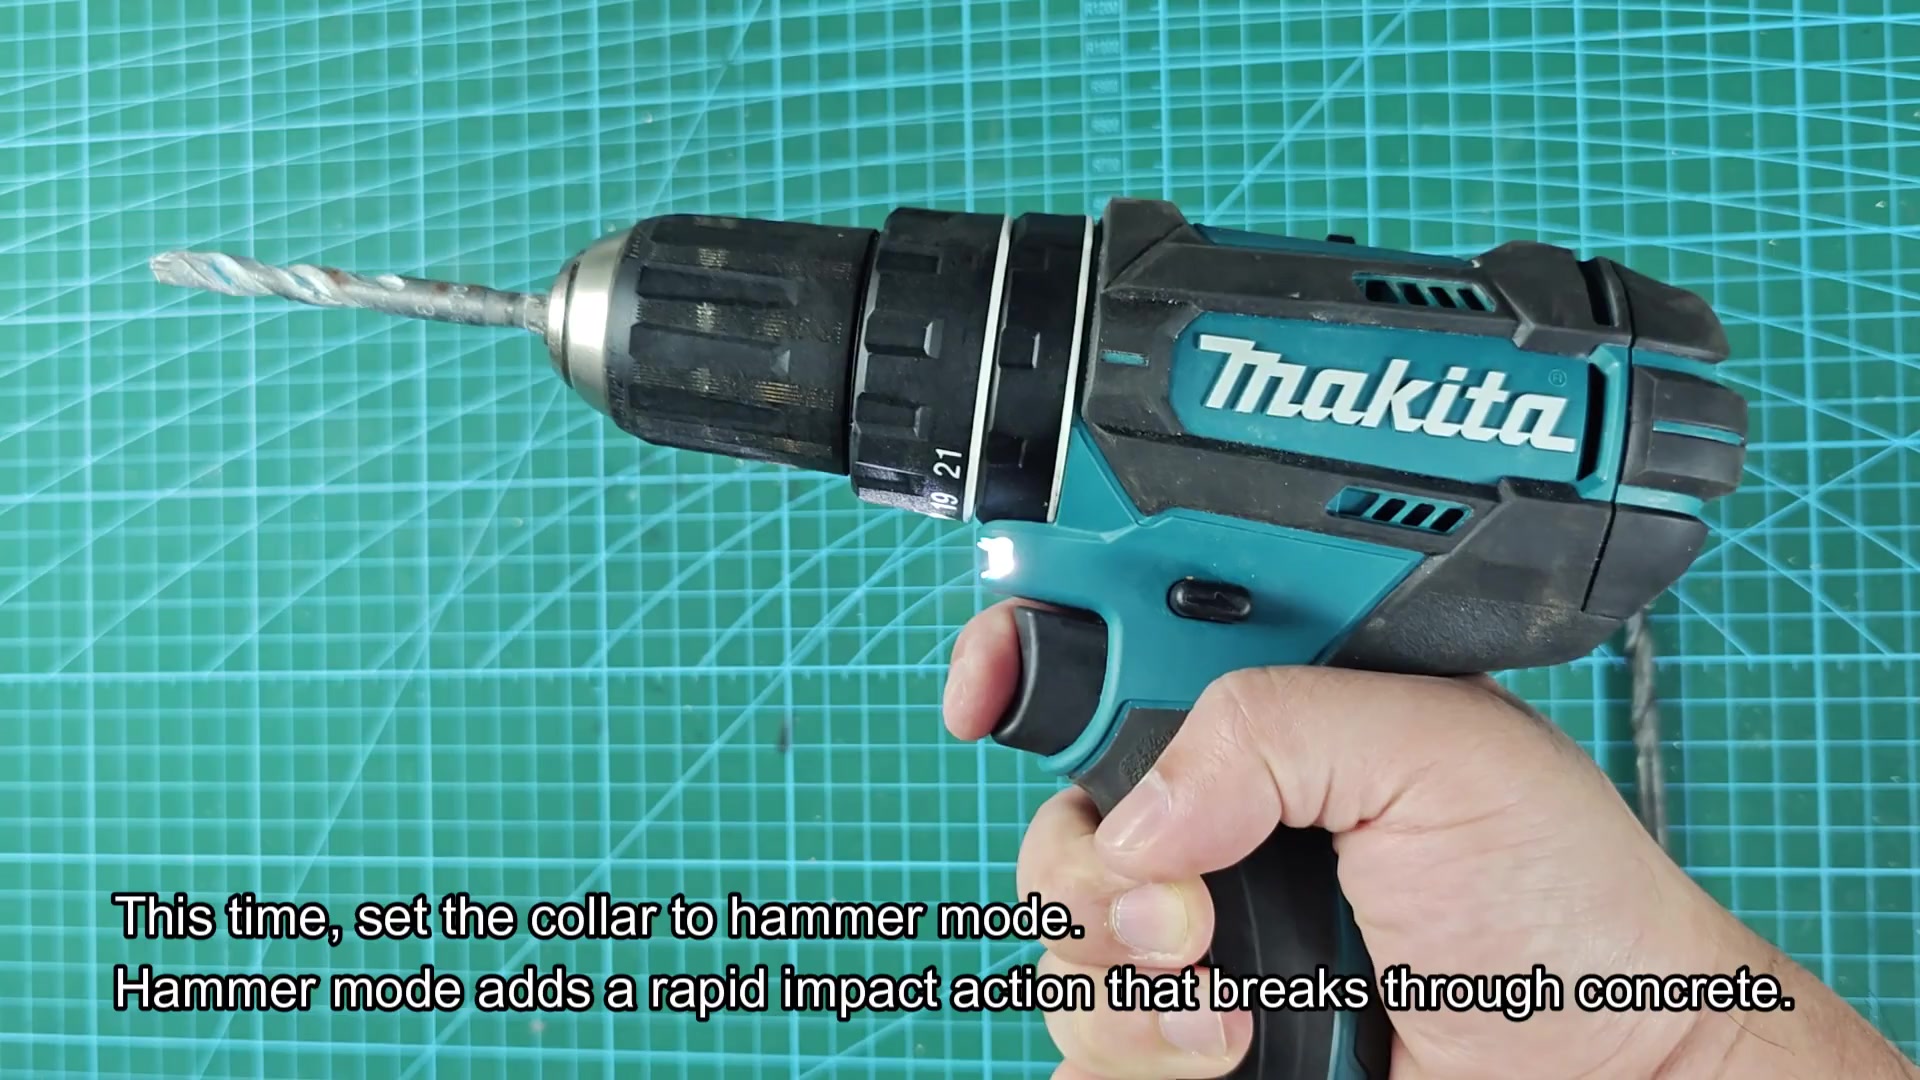
You snug the bit down in the chuck then turn the mode ring until the hammer icon lines up with the indicator mark. Because concrete is hard you want impact power. In hammer mode the drill will pound the bit forward as it spins helping to chisel away at hard materials. With your drill in hand and held firmly against the concrete wall, you engage the trigger and immediately notice the slight vibration as the masonry bit hits the surface. Unlike traditional drilling methods, the impact action breaks through the concrete structure rapidly and makes the difference instant. The bit doesn’t merely spin on top of the surface; it rips deep into the concrete.
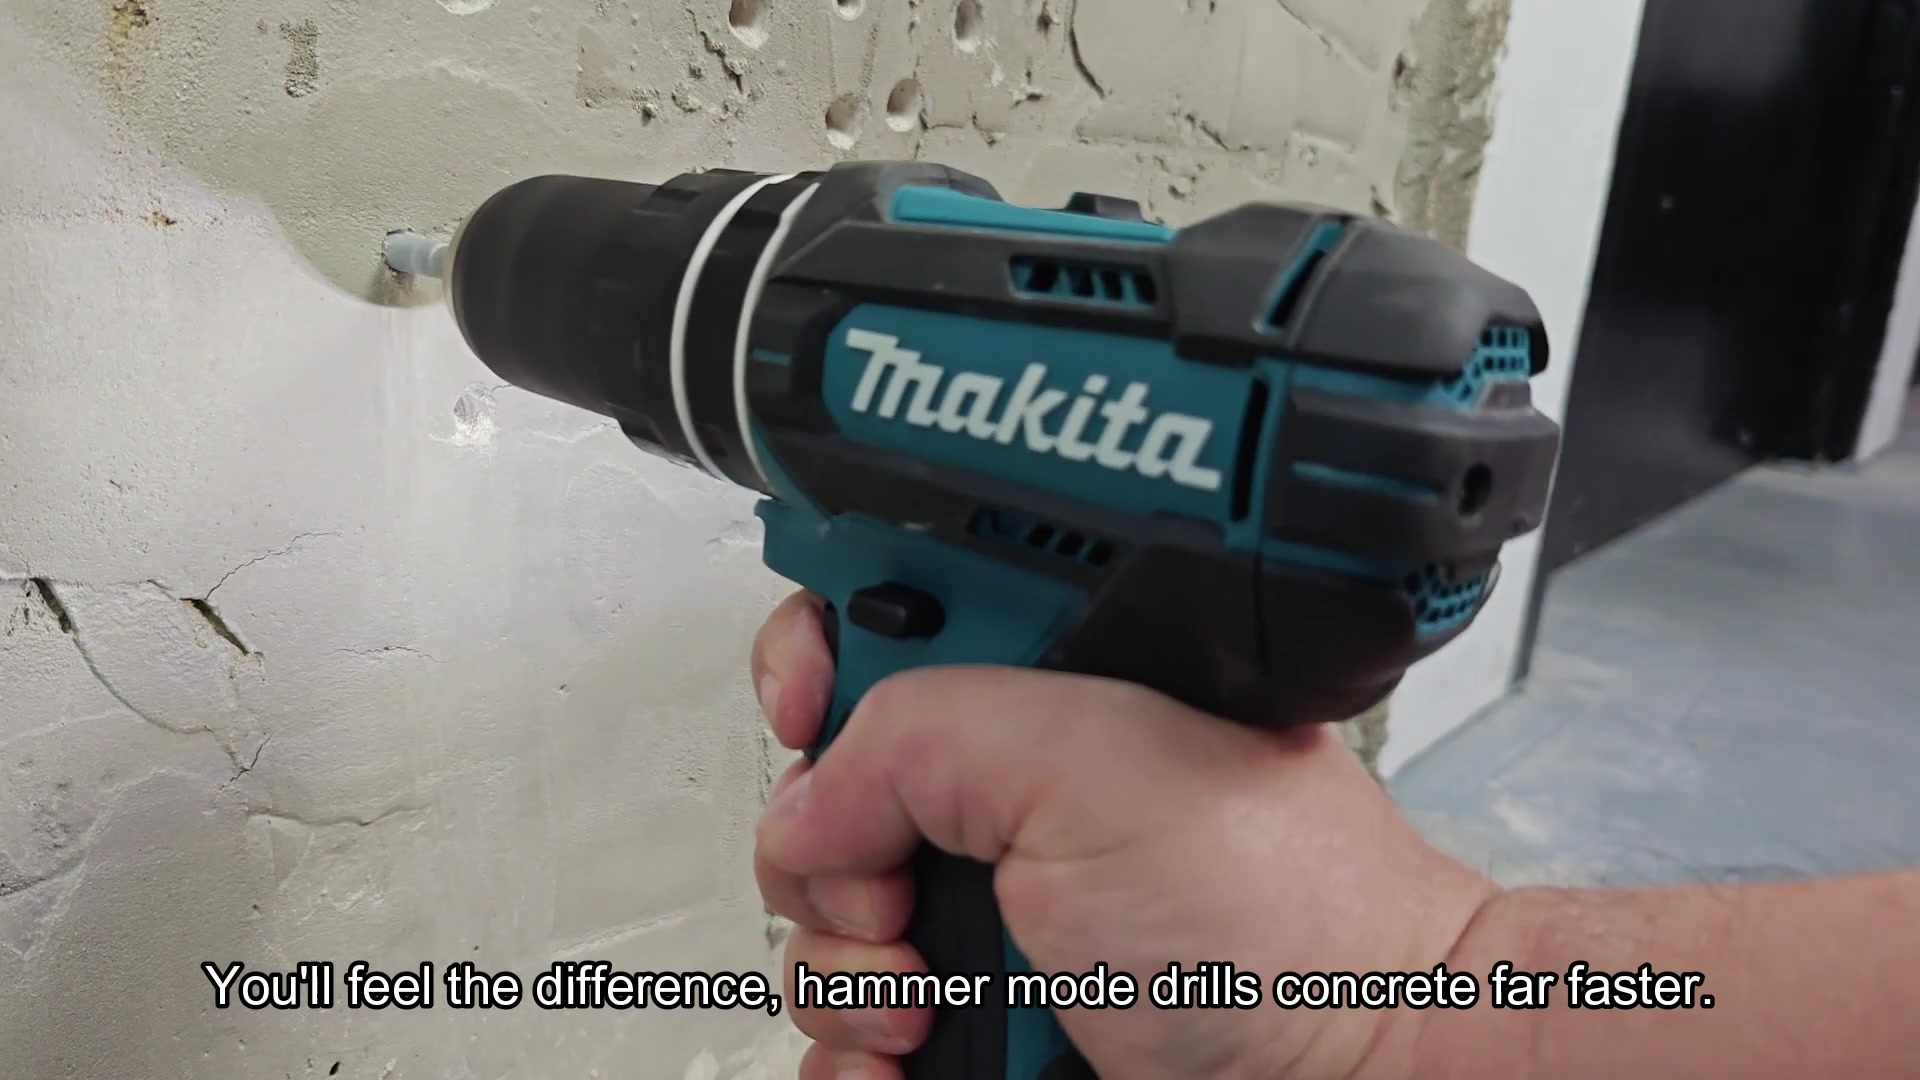
While the sound becomes much louder, the efficiency increases too. Because the hammer function quickly breaks up the difficult material, you’ll find yourself with a full-depth hole in roughly half the time it would of taken using a regular drill. This lets you know when to stop digging; especially useful in dimly lit environments, as the hole gets deeper, the LED work light at the base shines through the hole and lights it up bright.
With the DHP482 you’ll be able to do anything with this unit without worrying about running out of juice or getting too hot. It handles all three applications well while maintaining a good charge on the battery during each task.
The dual speed selector lets you choose between speed and precision. You can easily change settings depending on your project without making complex changes. Just flip the switches and rotate the rings. It’s a simple interface that works. After running through every test with flying colors, you remove the bit from its hole in the concrete. You examine the dust and shavings left behind after the fact and notice the cut is clean on concrete as well as on wood.
Even when you’re pounding away with maximum impact, the tool doesn’t fight back but rather remains balanced in your grip. From inserting the batteries to selecting modes, everything just clicks right into place. And it works well in every way, always ready to work again at any time.