When charging, the first thing to do is take the battery pack off of the tool and plug it in. It doesn’t take long but it will save some grief down the road.
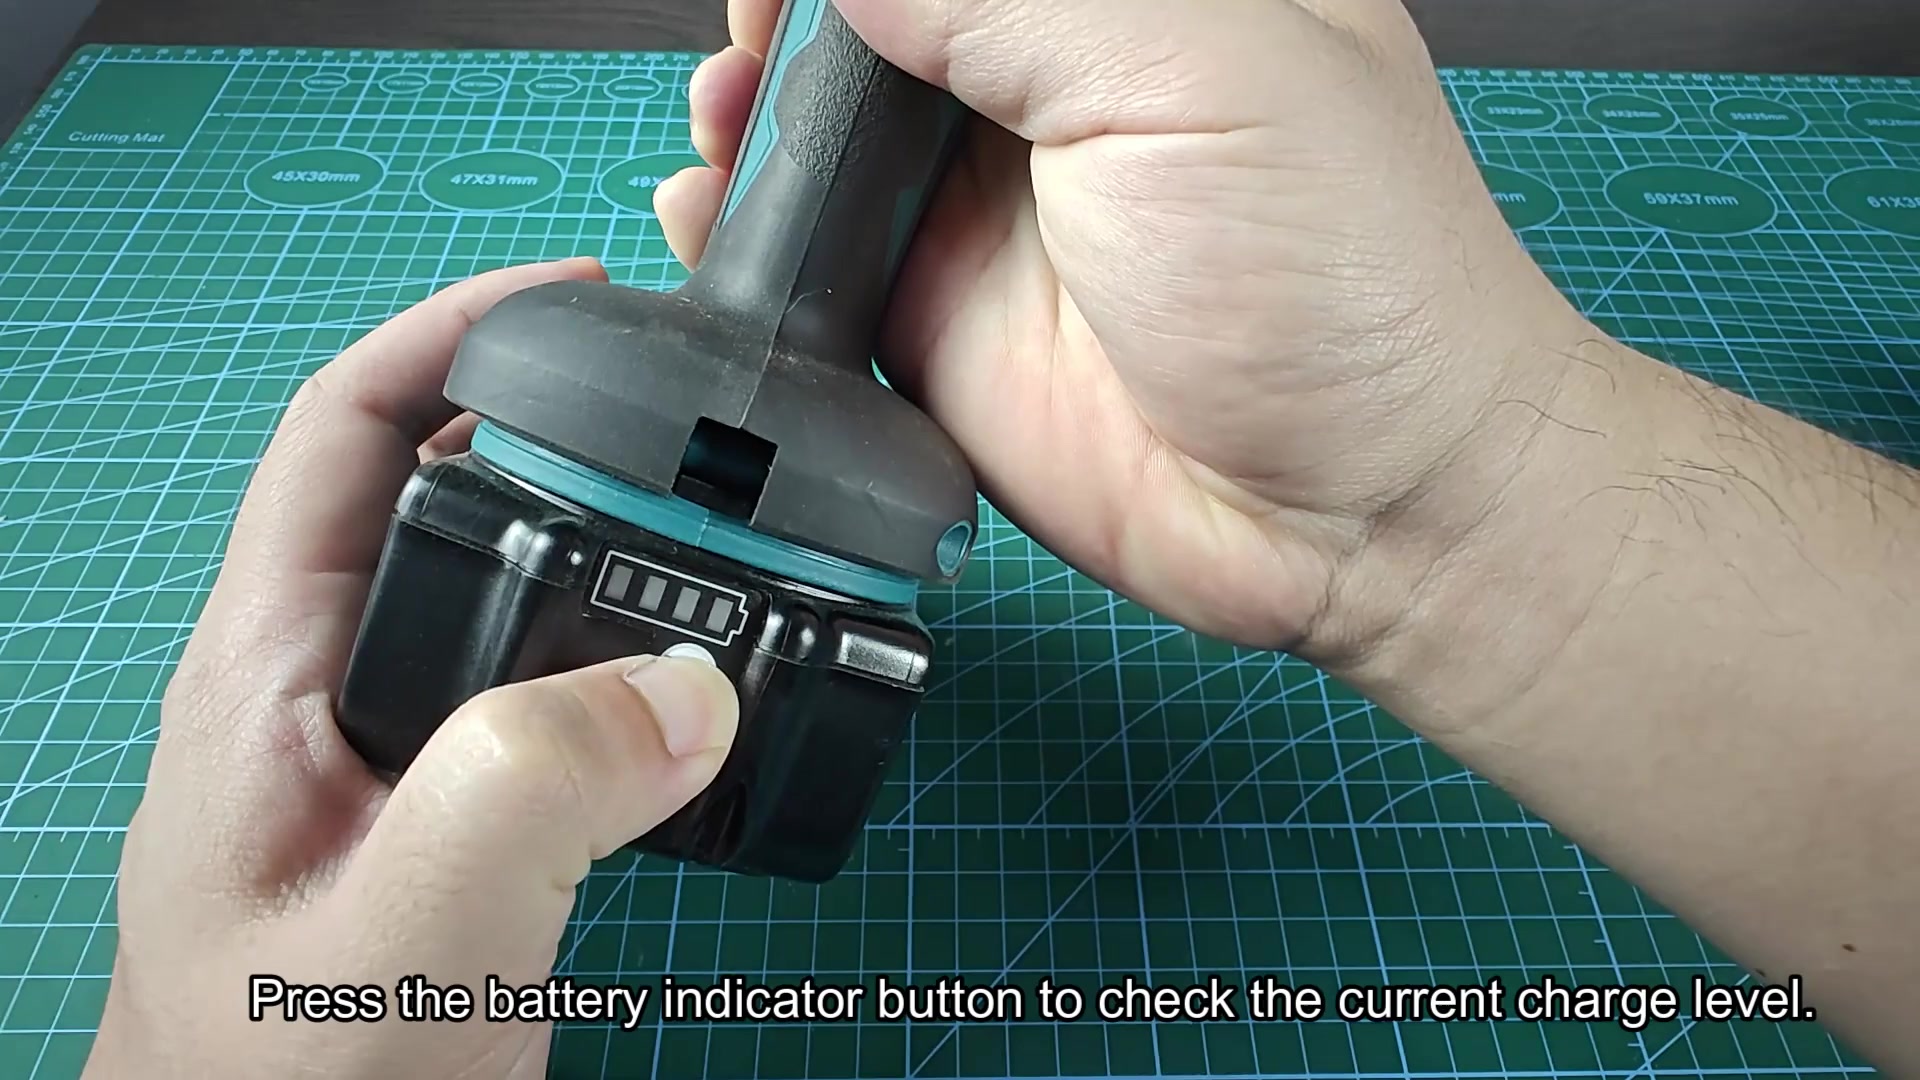
When I pull the battery out, I push the indicator button on the side and it tell me the charge. The indicator LEDs lets you know what percentage of battery life remains. If it’s all or mostly depleted, you’ll know whether to just give it a quick top-up or run a full charge. No guesswork required; you knows how far down it has gone.
Understanding Charger Indicator Lights
Finally, remove your battery from the tool, plug the Makita 18V charger into an ordinary household electrical socket and power up. Make sure the power is already turned on before you plug pack into the charger. The charger have slots for the connector pins on the pack’s rear. Push firmly until it engages.
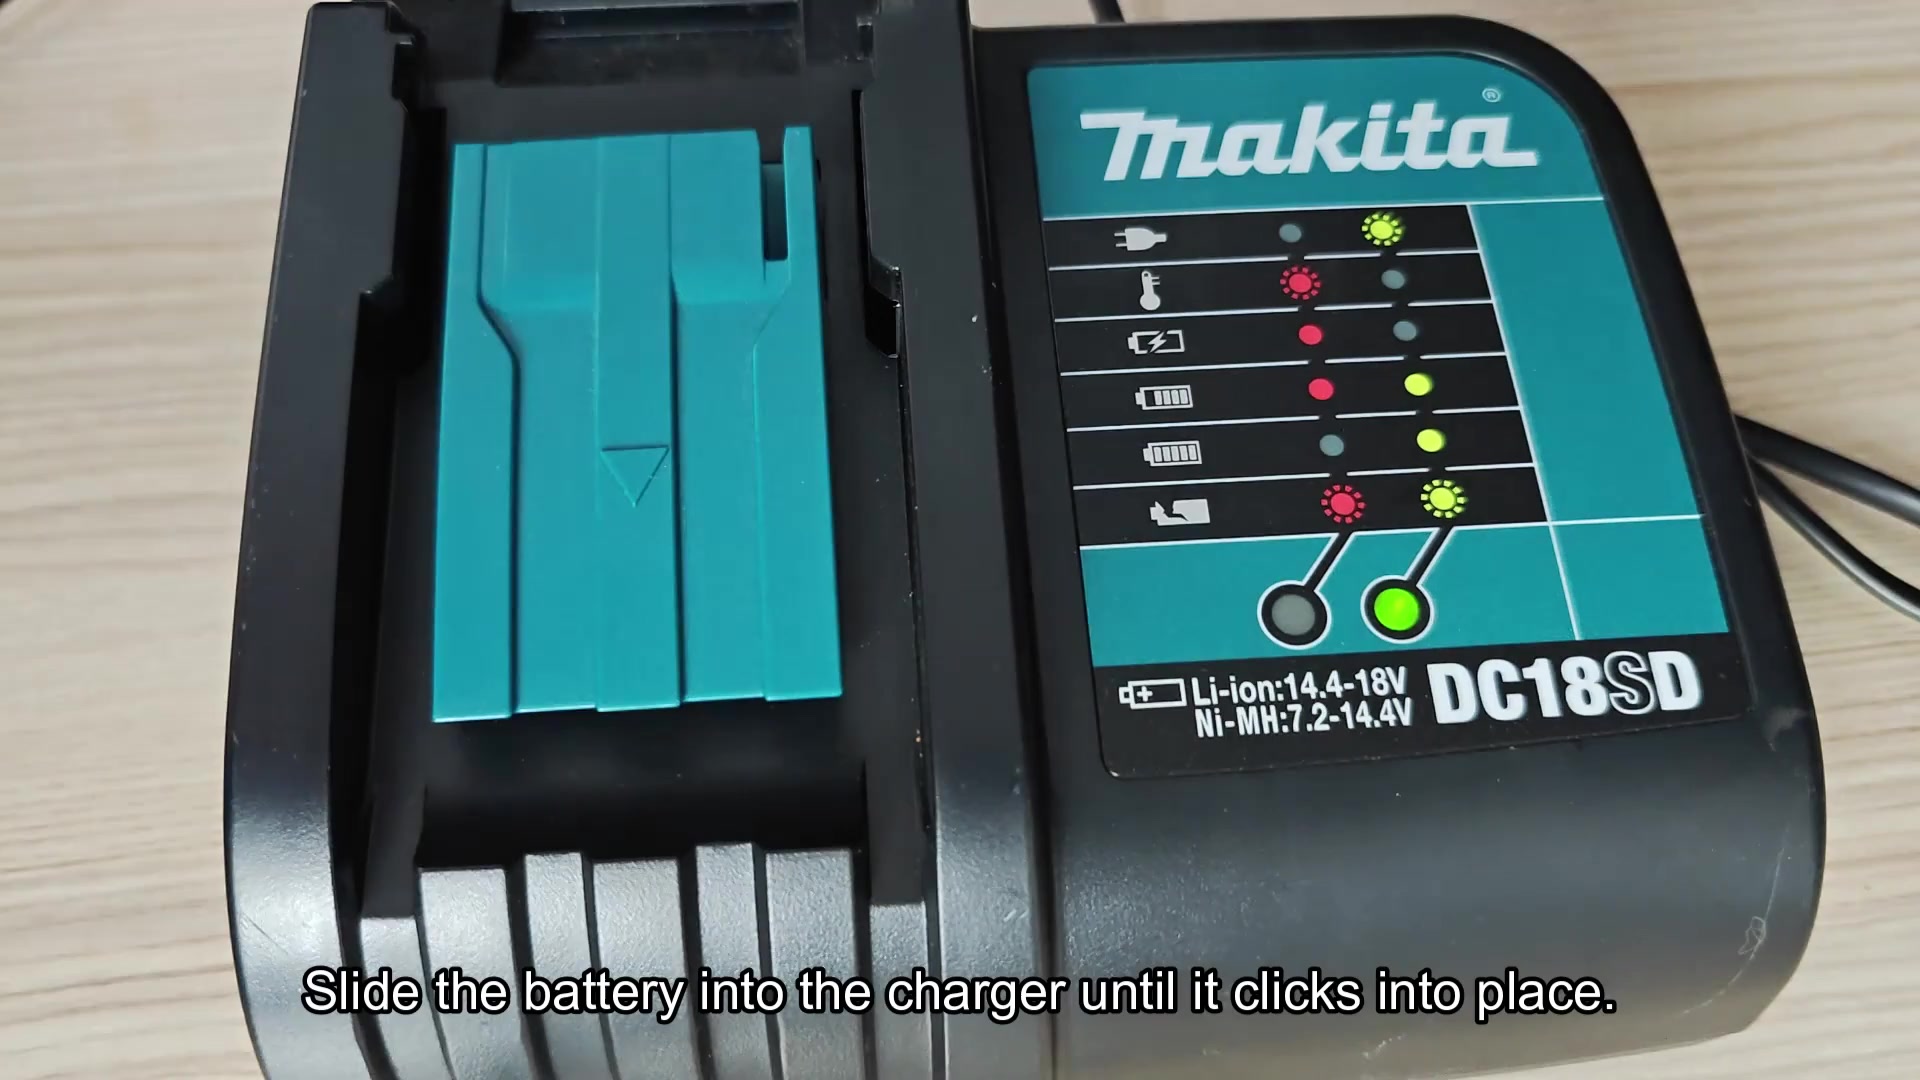
When it clicks into position, that’s a positive indication that it’s seated properly. That clicking sound indicates it’s securely locked into place. The charge circuit will then close. If it’s loose and sloppy, don’t force it. Unplug the pack and reseat pins. You need a tight fit for charger to establish proper seal.
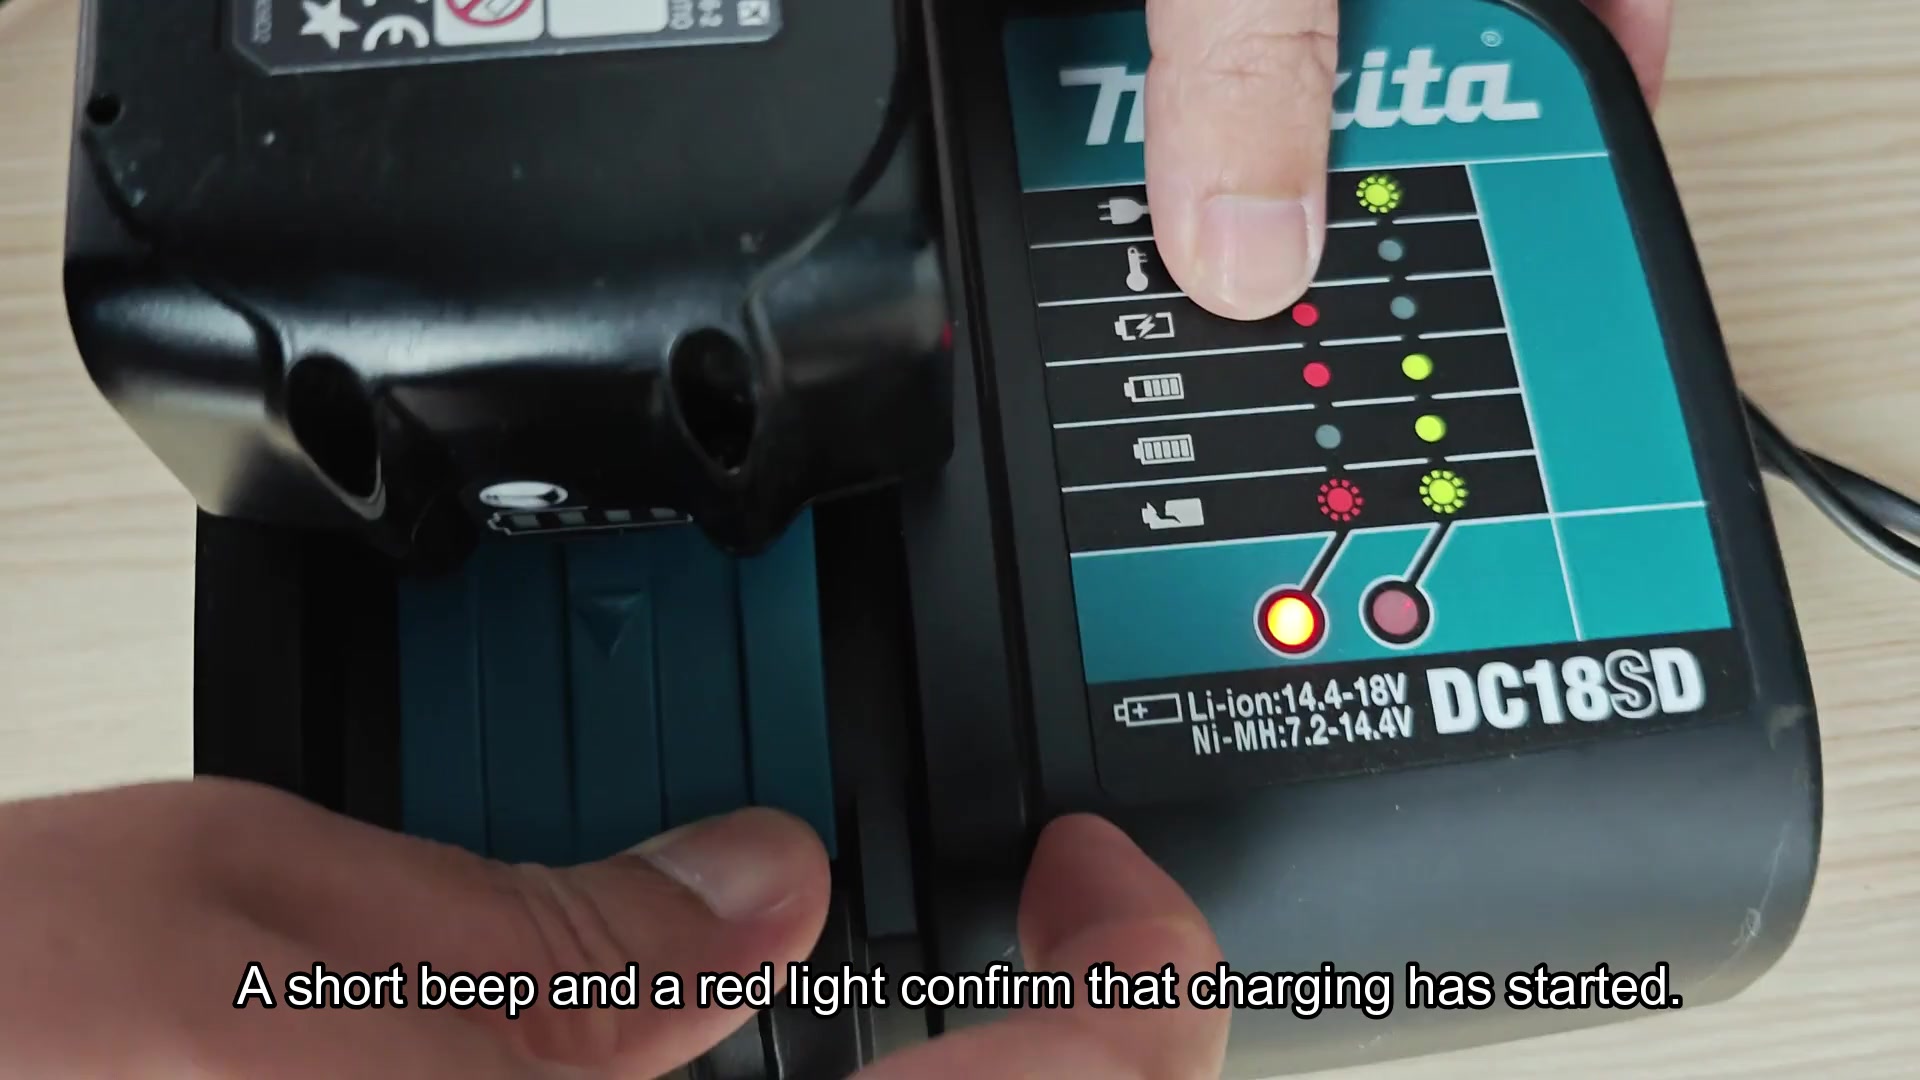
After inserting the battery into place it will latch shut and you’ll hear a brief tone as well. That’s letting you know that system has acknowledged your battery and begun to pull power from it. At the same time, front panel red LED will light up. If the red light appears, you knows it’s actualy charging. Again, normal stuff, nothing fancy here…yet.
How long does it take? The battery pack size determines this. Different sizes is handled well by a quick charger but they do take a little longer. It generaly completes within half an hour for a 3.0 Ah cell. This means you can be up and running again soon.
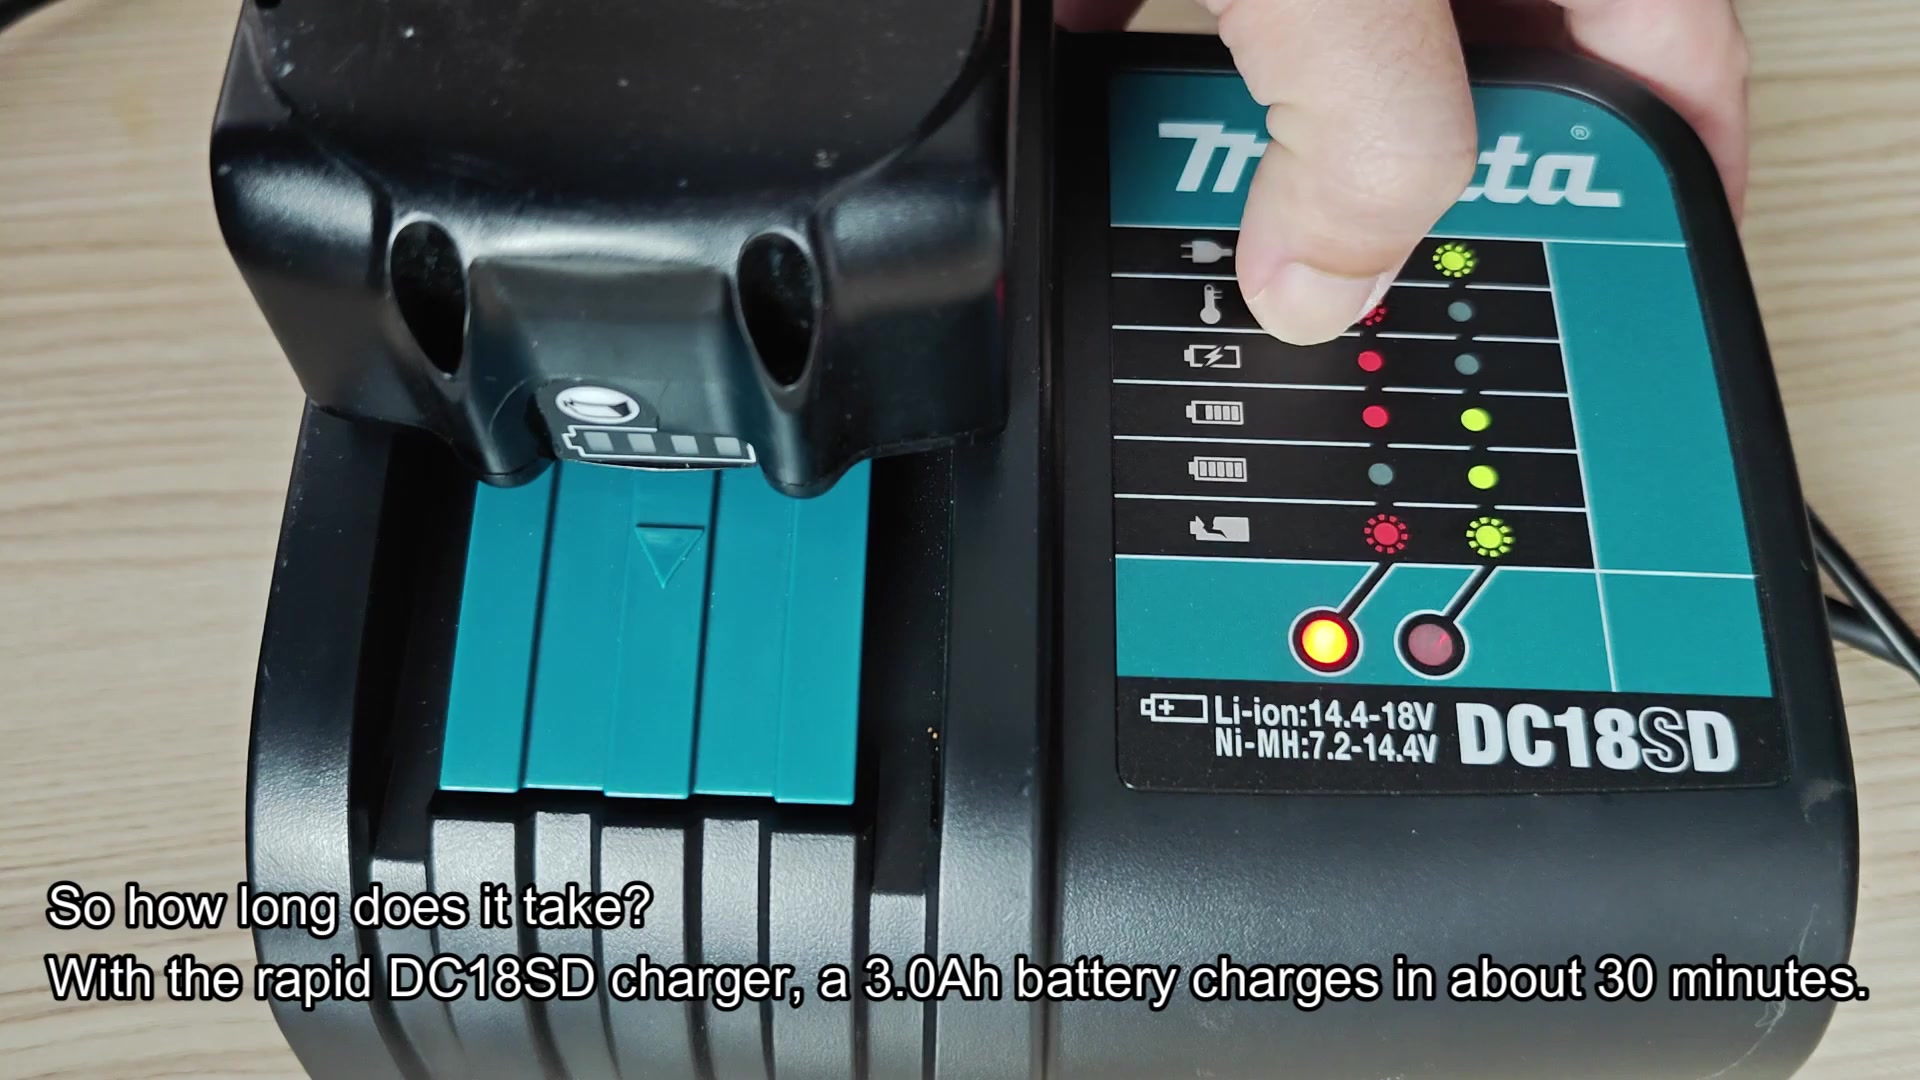
If you’re using bigger packs, you’ll have to wait a little longer. A 5.0 Ah will generaly take around forty-five minutes to fully charge. And the big boy (the 6.0 Ah) requires near fifty-five minutes. But this is consistent over several charging cycles.
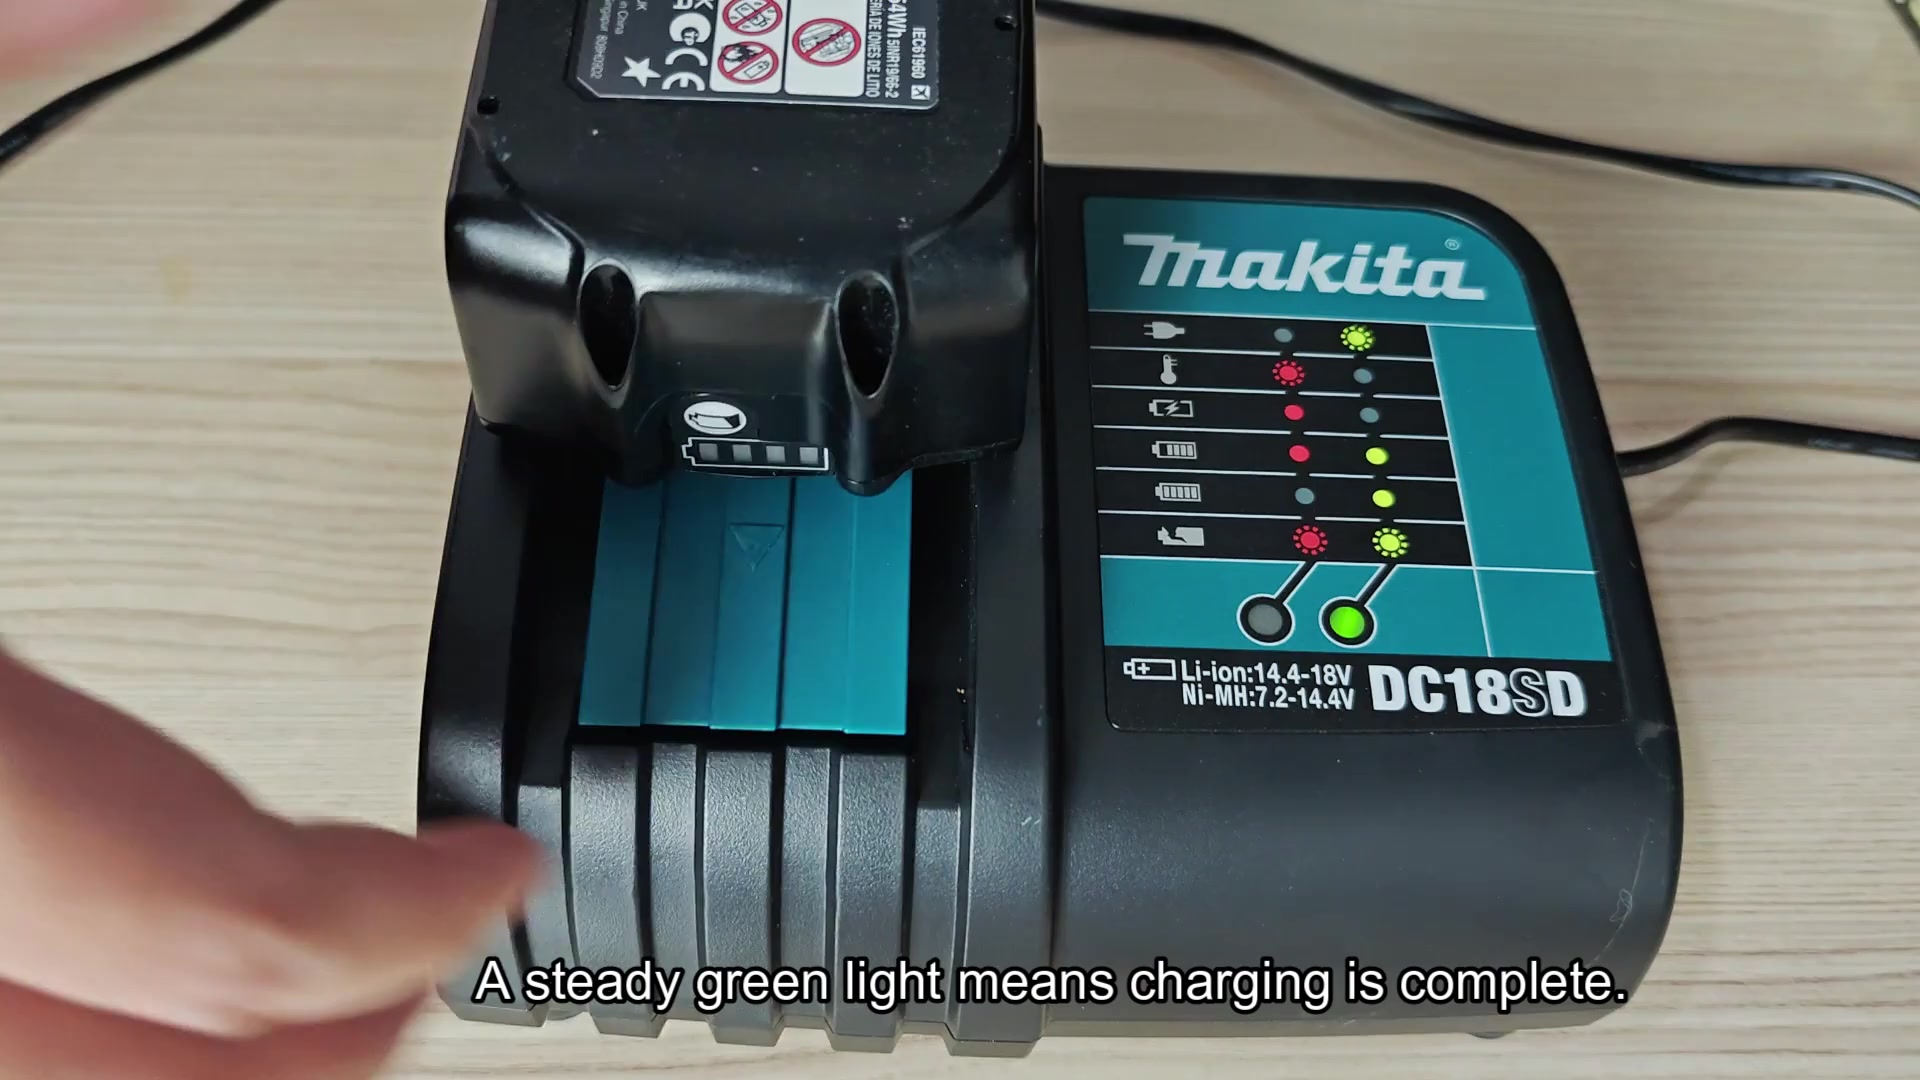
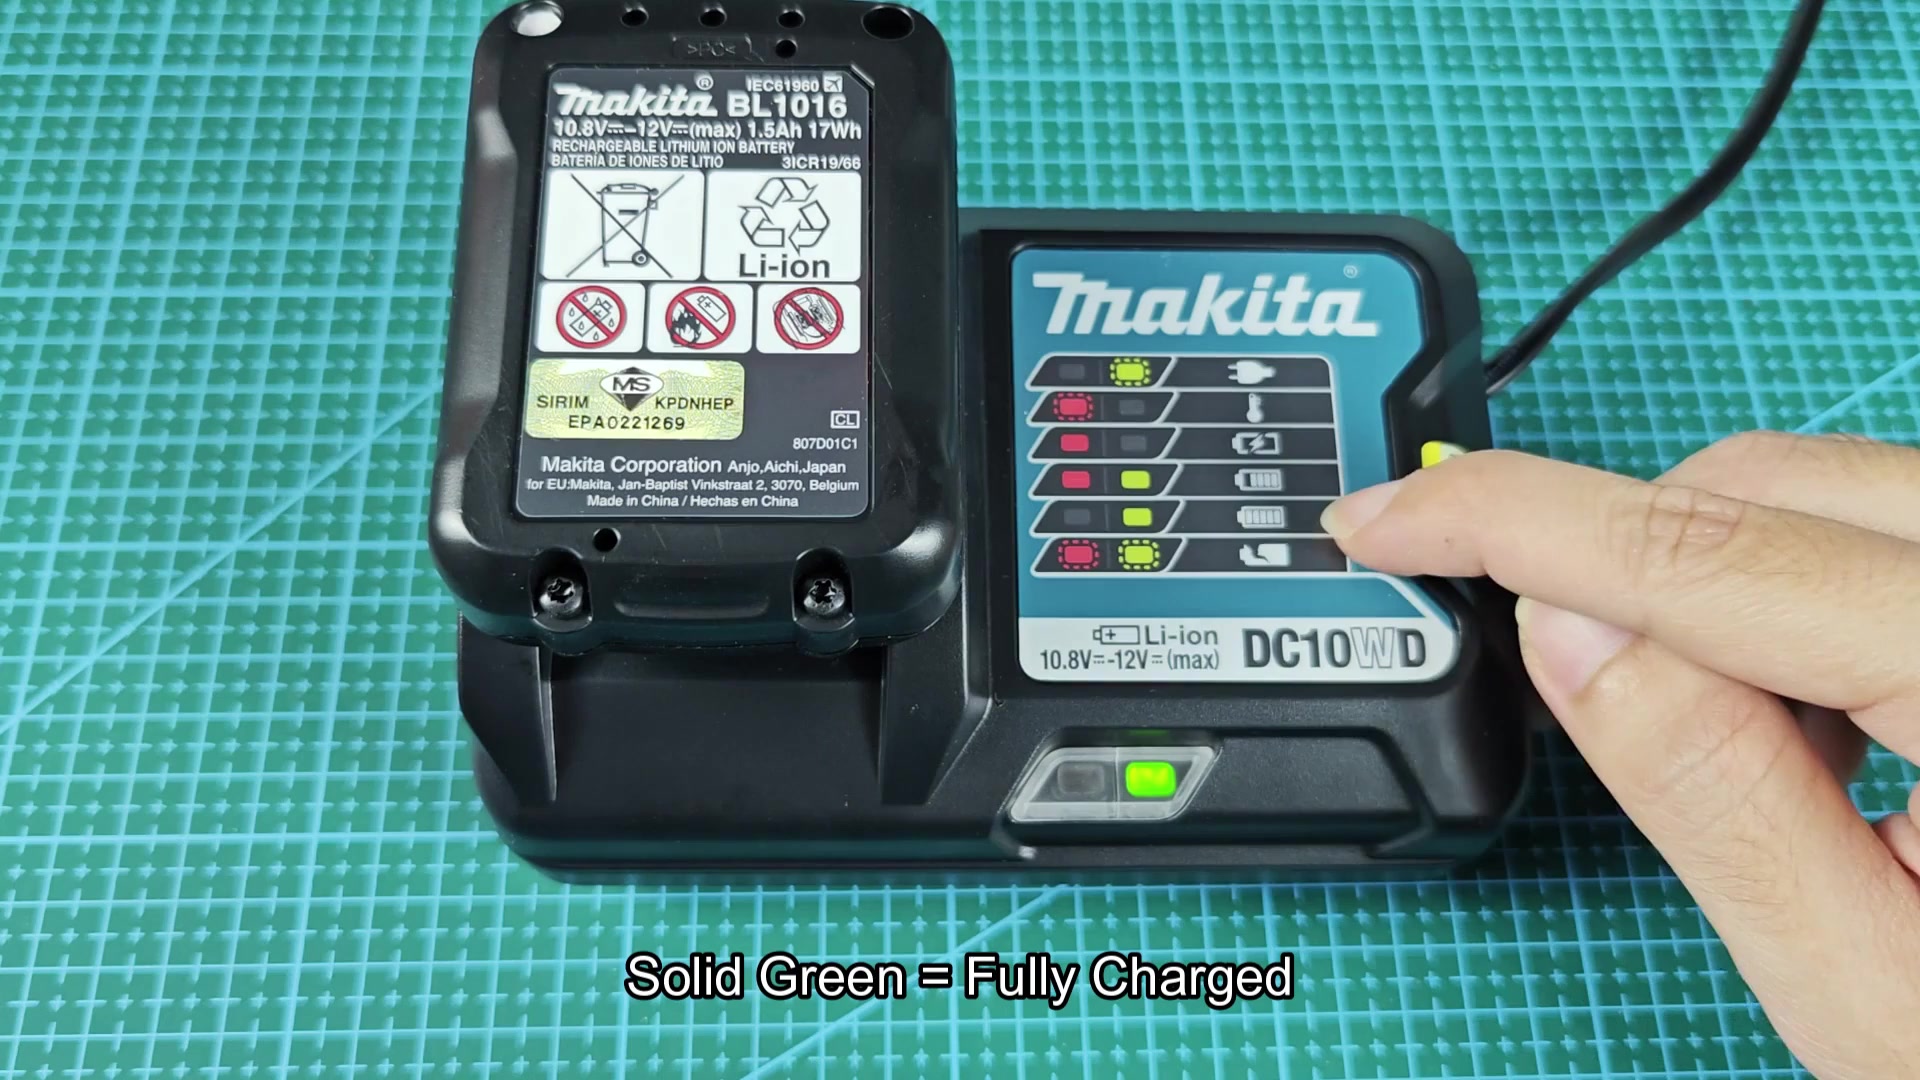
The visual indicators on the charger are straight forward if you know where to look. Initially, the red light is on throughout most of the charge cycle. When the battery reach full voltage, that indicator will show a solid green light. This solid green light shows the charge is finished.
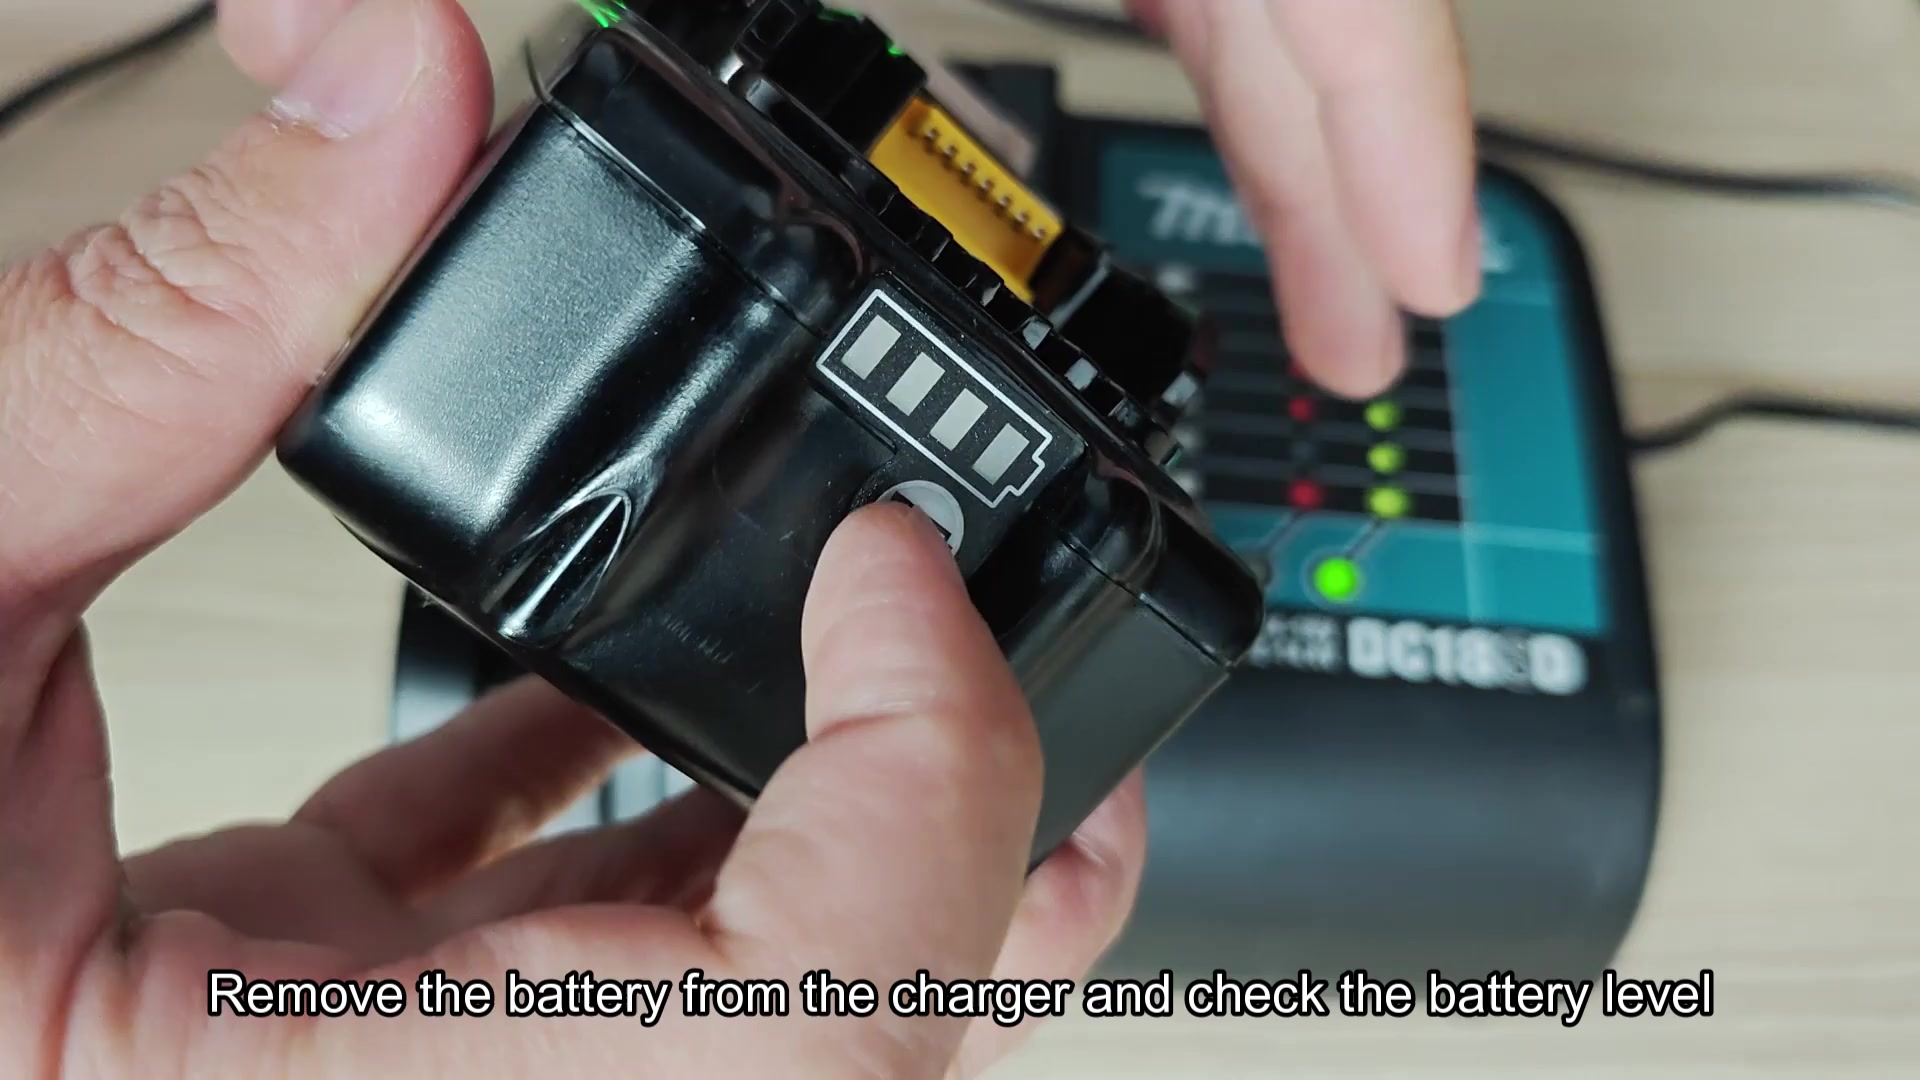
But what happens when you see a solid red and solid green simultaneously? Then the battery is nearly full but just needs that last little bit to reach 100%. It’s that trickle of percentages getting filled in. If you’re in a hurry, pull it. Otherwise, let it run itself out.
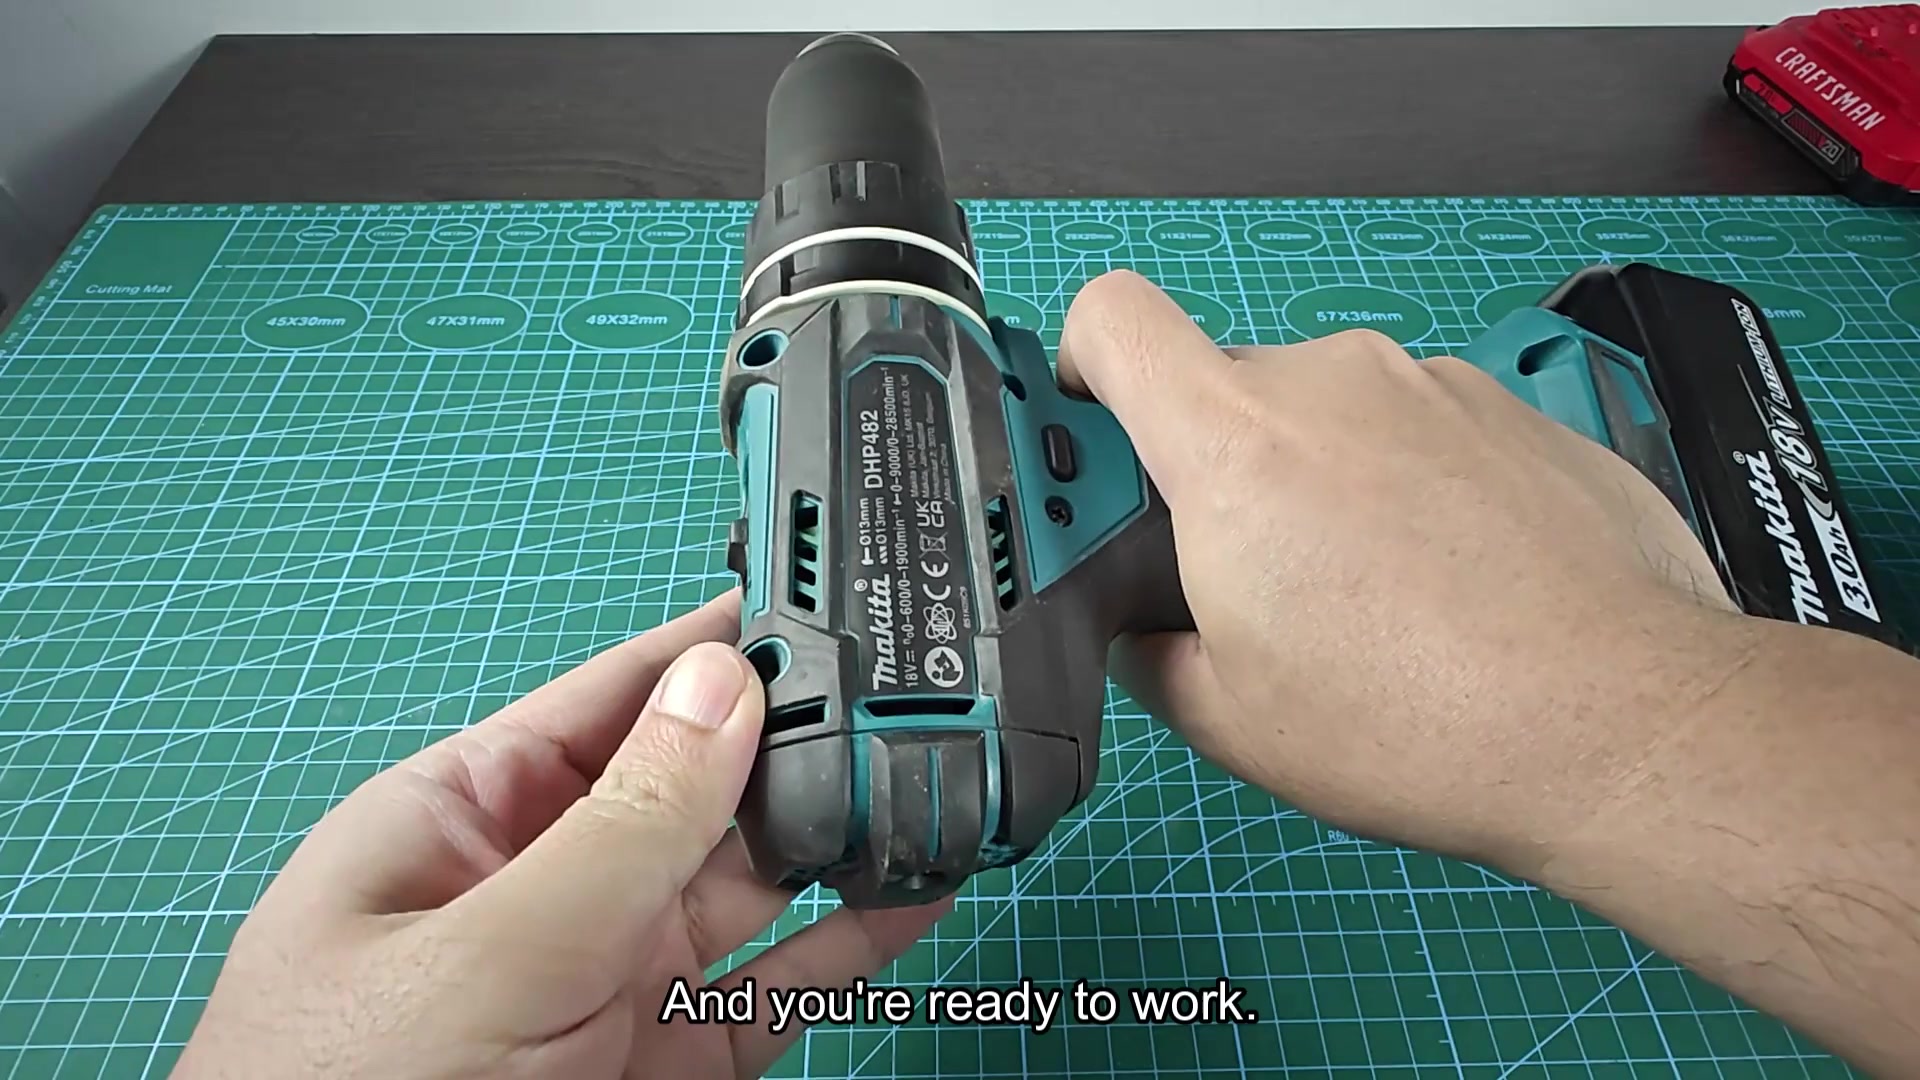
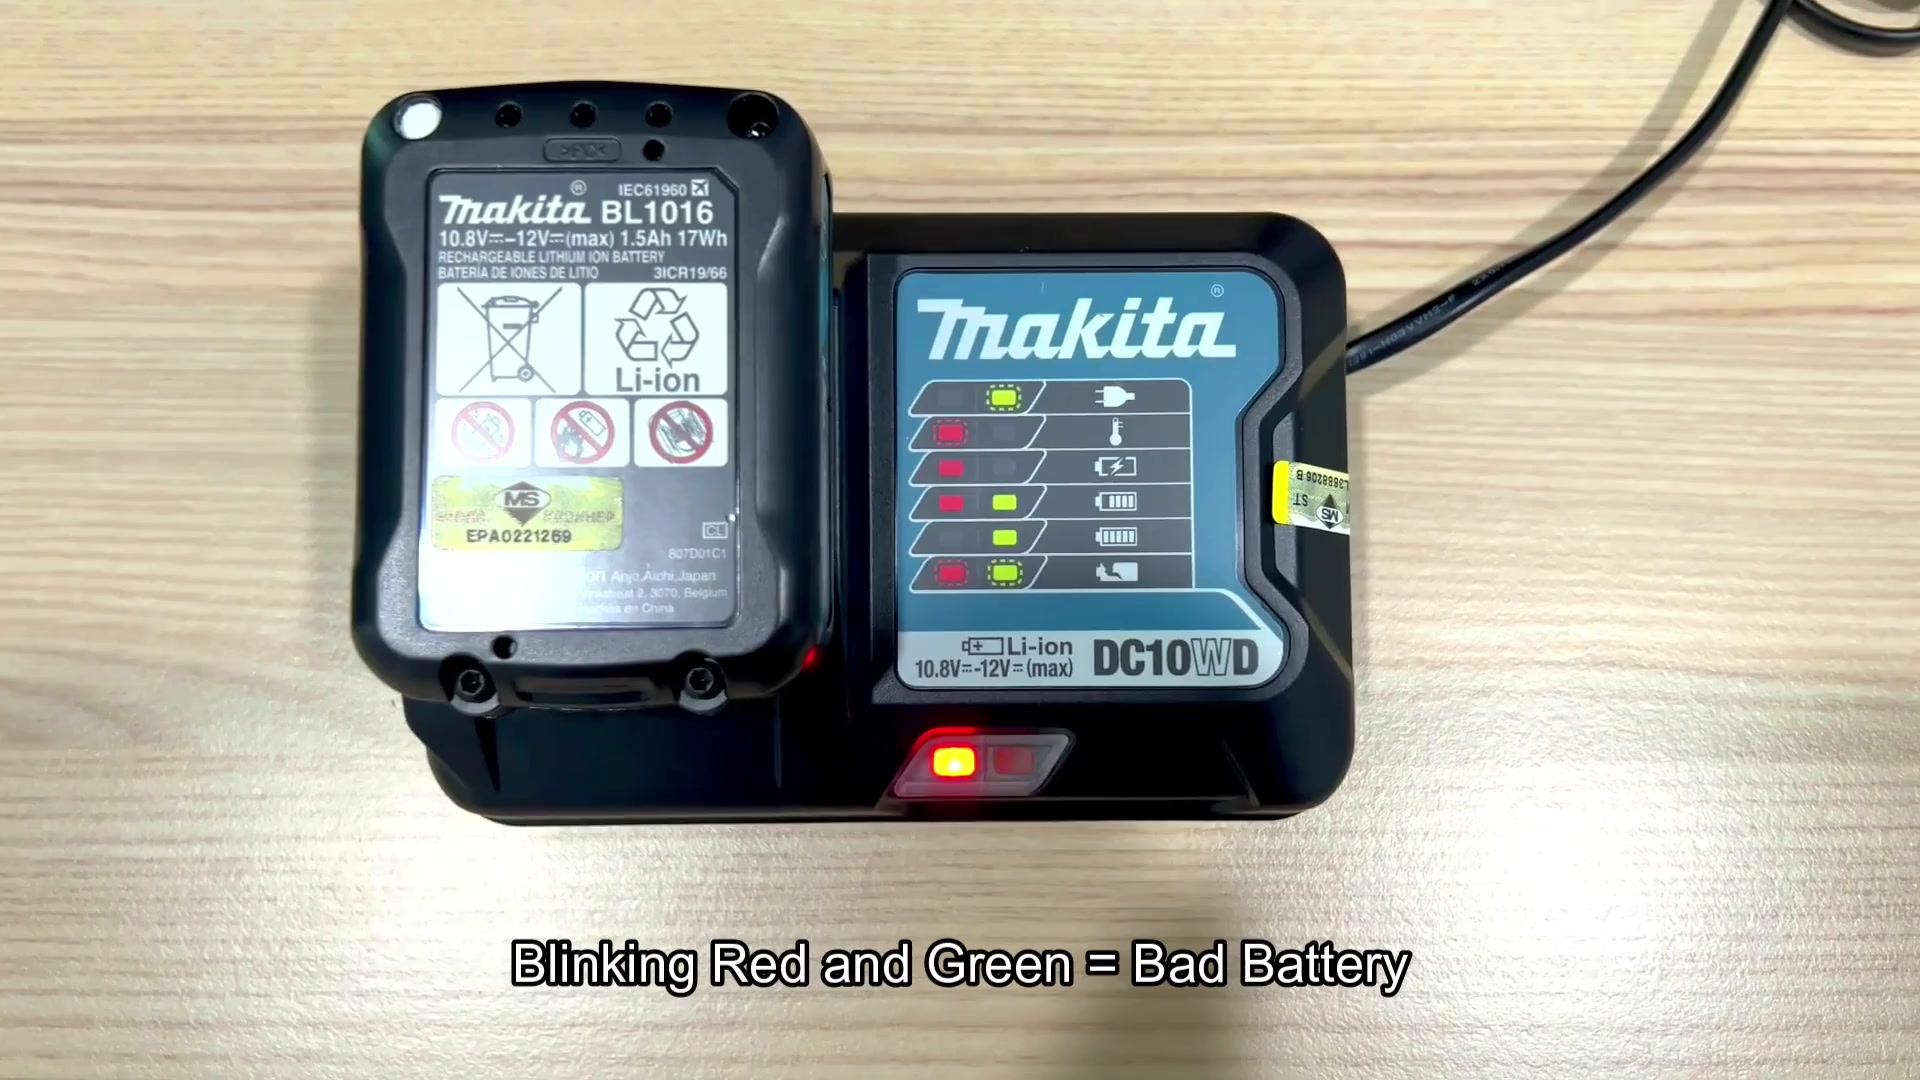
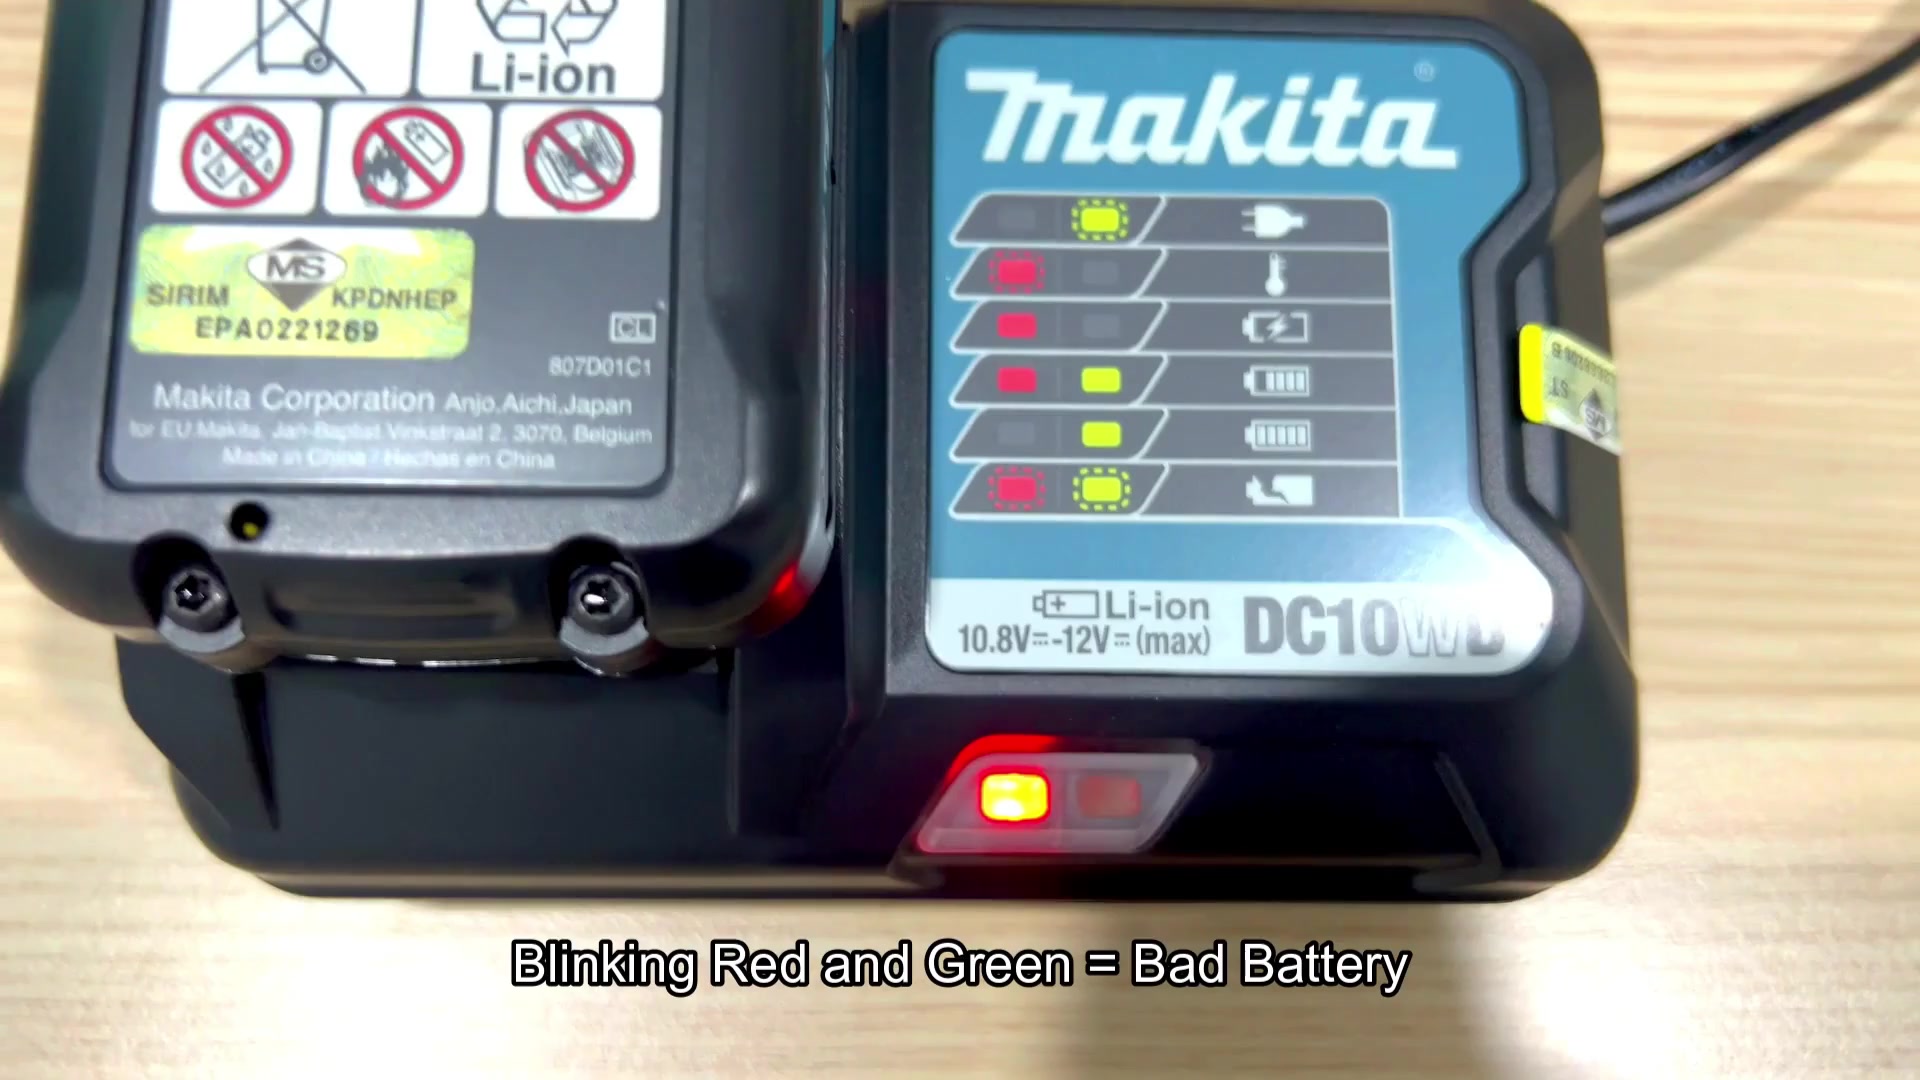
Red and green lights are blinking together, which means there is an issue with the battery itself. It’s either internally faulted (bad cell) or has reached its end of life. These are older pack that have been abused beyond their limits. It usually means the pack needs replacement rather than just recharging.

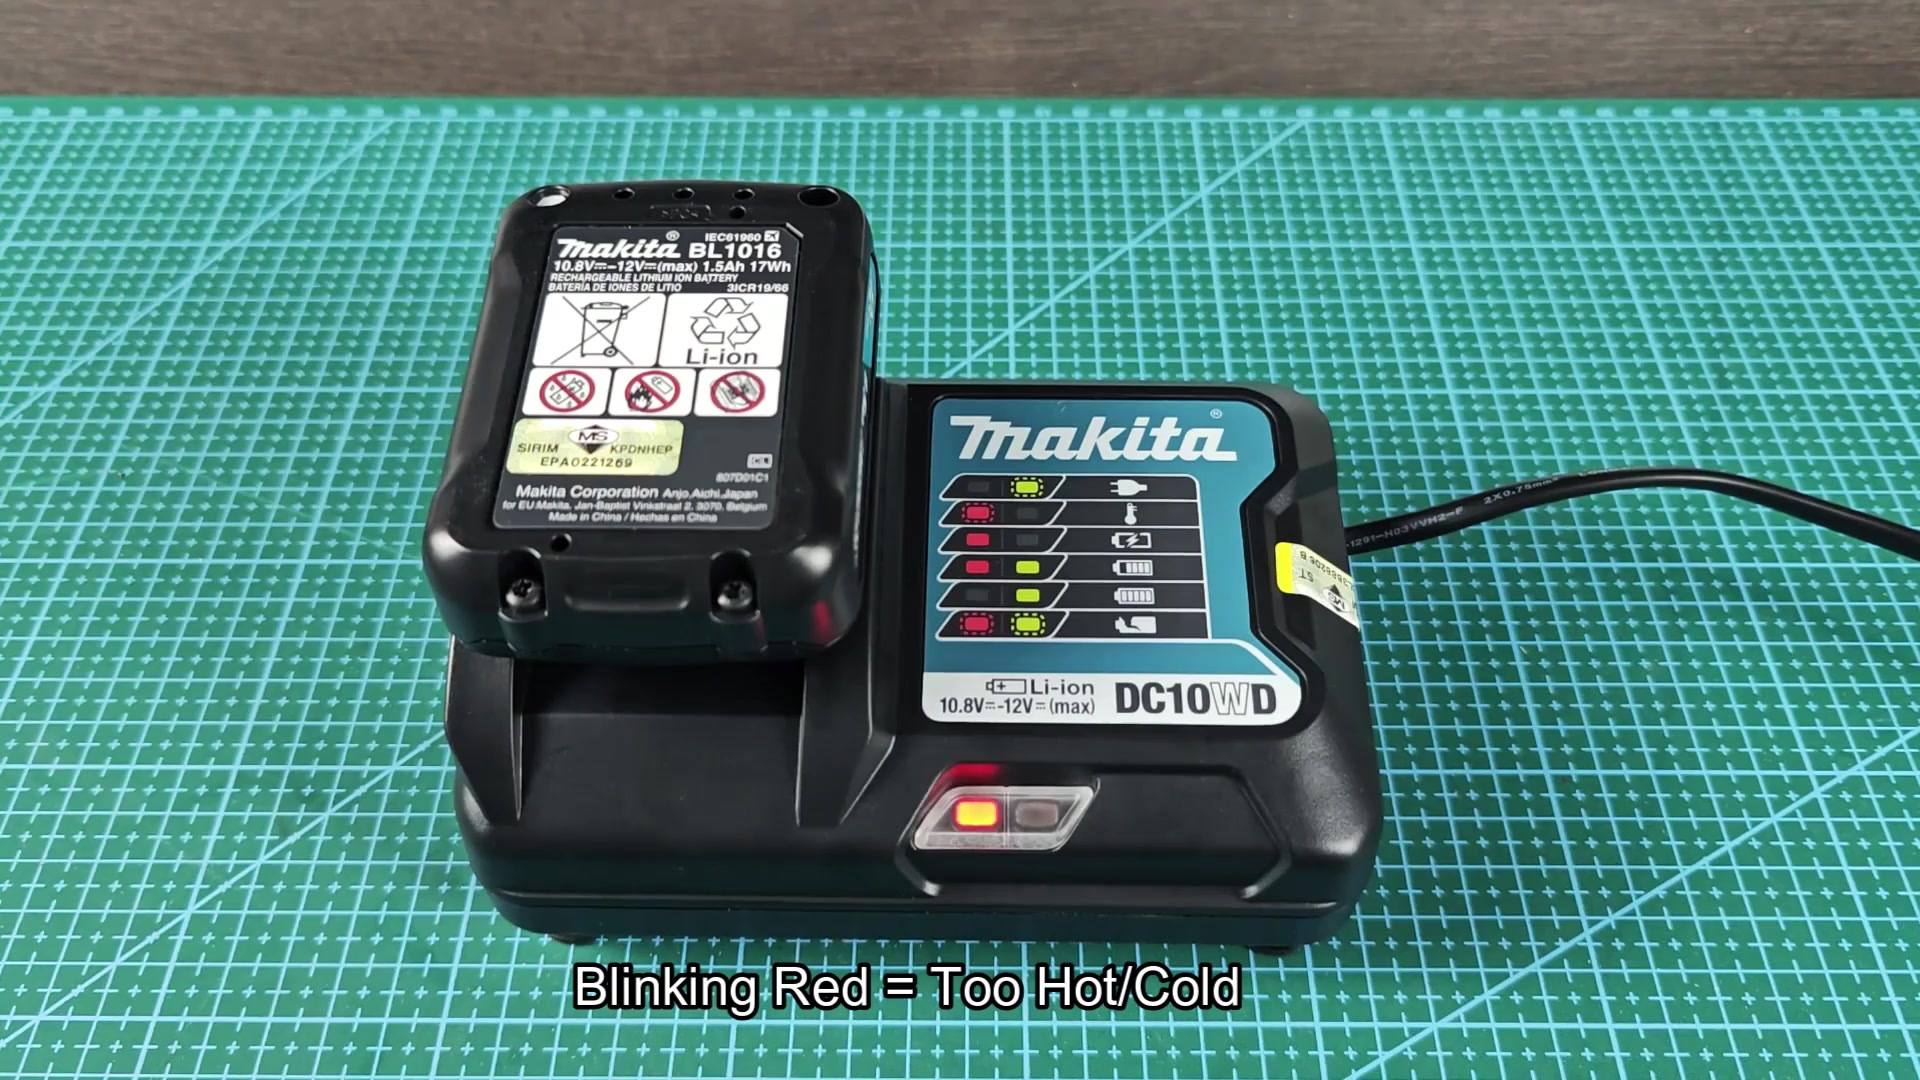
Other warning lights will come on if the temperature of the battery is an issue. Rapid blinking of the red light mean a thermal issue. It can be that you’re using the battery too hard and it’s getting too hot, or it’s too cold because you’ve left it out in the wintertime. The charger shuts down automatically to protect the battery. All you can do is wait for the pack to return to normal operating range again.
So what’s up with the blinking red state? It’s all about protection. Nothing’s wrong; you didn’t do something wrong. It just keeps an eye on what’s happening with the lithium-ion cells.
If the conditions are extreme, patience prevails. Wait until that little green light becomes solid, then the job is complete. Feel free to pull out the pack and slide it right back in your saw or drill.
Understanding what the lights say makes the entire process feel predictable and reliabel. No more looking at a dead tool and wondering why it doesn’t work. It should of been good enough for daily work.