Linear Feet of a Circle Calculator
Estimate circular hoop, edging, pipe, trim, and banding length from ring diameter, arc angle, ring count, overlap, seam allowance, stock width, and waste.
Choose a starting point, then adjust the diameter, arc angle, seam, overlap, and material width for your actual centerline layout.
Calculation breakdown
This grid updates after calculation and separates geometry length from seam, overlap, waste, material width, and stock rounding.
| Line item | Formula basis | Linear feet | Workshop use |
|---|---|---|---|
| Arc per ring | pi x diameter x angle / 360 | 0.00 | Length of one circular path |
| Net ring total | arc per ring x ring count | 0.00 | Geometry before joint allowances |
| Allowance total | overlap plus seam per ring | 0.00 | Extra material for joins |
| Waste total | subtotal x waste percent | 0.00 | Handling, trimming, and fitting |
| Prepared length | subtotal plus waste | 0.00 | Linear length to cut or pull |
| Arc angle | Circle fraction | Length factor | Common workshop use |
|---|---|---|---|
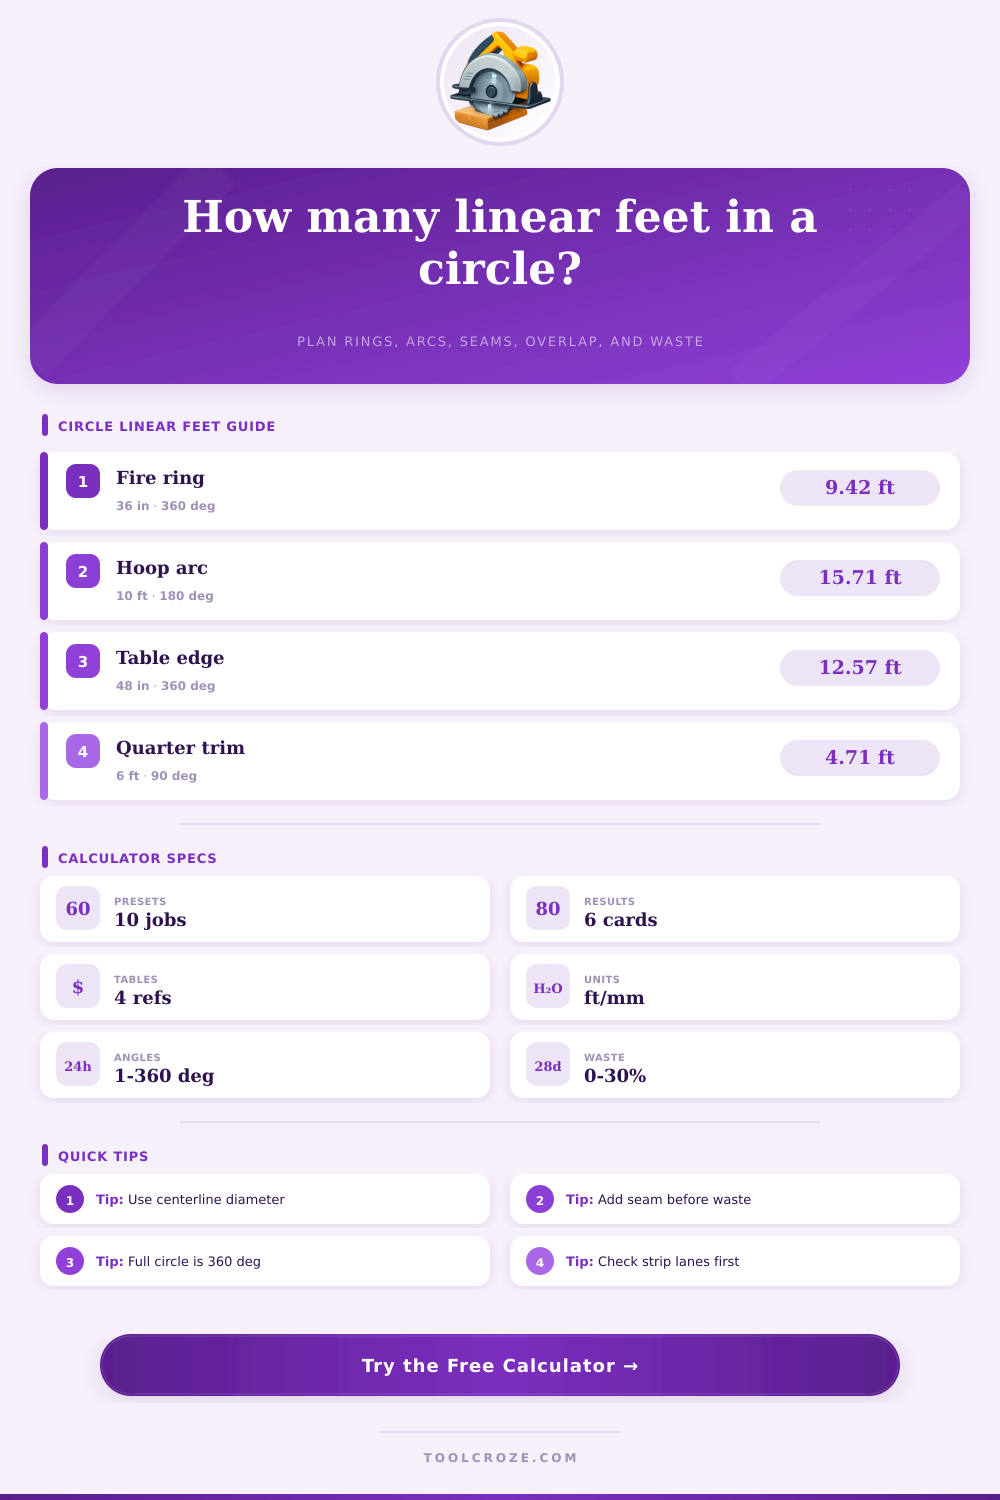
| 45 degrees | 1/8 circle | 0.125 x circumference | Small corner trim, accent band, conduit offset |
| 90 degrees | 1/4 circle | 0.250 x circumference | Quarter-round edging, bent handrail section |
| 120 degrees | 1/3 circle | 0.333 x circumference | Segmented planter, curved bench apron |
| 180 degrees | 1/2 circle | 0.500 x circumference | Hoop house rib, pipe bow, half arch |
| 270 degrees | 3/4 circle | 0.750 x circumference | Open ring edging, guard wrap, partial rail |
| 360 degrees | Full circle | 1.000 x circumference | Complete hoop, table edge, barrel band |
| Preset | Diameter and angle | Allowance pattern | Best use |
|---|---|---|---|
| Garden edging full circle | 8 ft at 360 degrees | 3 in overlap, 1 seam | Flexible edging, rope border, low metal strip |
| Fire pit steel band | 36 in at 360 degrees | 2 in overlap, 2 seams | Flat bar ring, steel liner, heat shield band |
| Hoop house half ribs | 10 ft at 180 degrees | No overlap, 2 trimmed ends | PVC, conduit, or bowed greenhouse ribs |
| Round table edge banding | 48 in at 360 degrees | 1.5 in overlap, 1 seam | Veneer, plastic laminate, flexible trim |
| Paver circle restraint | 12 ft at 360 degrees | 4 in overlap, 3 seams | Hardscape restraint with multiple joined arcs |
| Material width | Typical strip width | Likely lanes | Planning note |
|---|---|---|---|
| 24 in coil or roll | 2 in strip | 11 lanes with kerf | Good for small bands, gasket, flashing strips |
| 48 in sheet | 2 in strip | 22 lanes with kerf | Common sheet layout for trim or edging strips |
| 96 mm plank | 18 mm strip | 5 lanes with kerf | Useful for narrow wood or composite arcs |
| 600 mm panel | 50 mm strip | 11 lanes with kerf | Metric sheet layout for shop-made banding |
| Single pipe or cable | 1 lane | 1 lane | Set strip width equal to reserved handling width |
| Material or joint | Overlap range | Seam allowance | Waste range |
|---|---|---|---|
| Flexible plastic edging | 2 to 6 in | 0 to 1 in | 5 to 12 percent |
| Metal flat bar band | 1 to 3 in | 1 to 2 in | 8 to 15 percent |
| Wood veneer banding | 1 to 2 in | 0.5 to 1 in | 10 to 20 percent |
| PVC or conduit arc | 0 to 1 in | 1 to 3 in | 5 to 10 percent |
| Rope, gasket, or cable | 3 to 8 in | 0 to 1 in | 3 to 8 percent |
When measuring a length of material to wrap around a circular object, you must determine the length of the material that you will need. The length of the material that you will need to purchase for your project will depend on the diameter of the circle that you are wrapping the material around, the angle of the arc that you will create with the material, and the length of material necessary for seams. You can use a calculator to determine the length of material that you will need for your project because the calculator use the following variables to remove guesswork from the project.
Using the calculator will help you to not purchase too much or too little materials for your project. The diameter that you measure with your tape measure is one of the most critical variables in the equation. If you measure the wrong diameter for the object that you are wrapping your material around, you will get an incorrect measurement of the length of the material that you will need to purchase.
Find Material Length to Wrap Around a Round Object
If the object have a thickness to it, your material will have to travel along the centerline of the object. The calculator uses the diameter of the object along its centerline because the object’s centerline is the path that the center of the material will travel around the object. You must take the diameter of the objects centerline into account in order to ensure that your material is of the correct length for your project.
Another critical variable in the calculation of the length of material that is required for your project is the angle of the arc that you will make with the material. A full circle contains an angle of 360 degree, but the arc that you make may contain a different angle, such as 90 degrees or 180 degrees. The larger the angle that you measure, the more longer that your material will be required to make that arc.
The length of material that you will require will decrease as the angle of the arc that you will form with the material decreases. You can enter any angle between 1 and 360 degrees into the length of material calculator because it can calculate any arc. Another critical variable in the equation that you must take into consideration when calculating the length of material that is required to wrap an object is the length of the material that you will need to allow for seams in the material.
The seams will be necessary to join the two ends of the material. You will need to purchase an additional length of material to account for the length of the seams. This length will be added to the length of the material that is calculated before the calculator calculates the percentage of the material that will be wasted in the cutting process.
If you are creating a set of rings, you must also take into consideration that the small length of the seams will add up to a much larger amount of material when you create many rings with the same width. Another of the more practical variables to take into consideration before purchasing your material is the width of the material and how the material will be laid out in strips along the sheets of material from which the strips will be cut. The width of the material will impact how many strips of material of the same width you can cut from a sheet of material.
The kerf of the material can also impact the number of strips that you can cut from each sheet of material. The length of material calculator will report the number of lane in which the strips of material can be arranged on the sheet of material. This will allow you to calculate how many sheets of material you will need to purchase for your project.
The last variable in the length of material calculator is the percentage of the material that will be wasted during the cutting process. A portion of the material will inevitably be wasted during the cutting process. This percentage of the total length of the material will be added to the total length of the material that will be required for the project.
The percentage of material that will be wasted during the cutting process should not be set at a percentage that is higher than 30%. A percentage that is set to be higher than 30% indicates a potential problem with either the layout of the material or the material that you are purchasing. The waste percentage that is used for most projects is between 8% and 15%, which accounts for any mistake that can occur during the cutting of the material without wasting too much of the total material that is to be used in the project.
The length of material calculator provides value for the individual who is attempting to purchase the material for their project because it asks the individual to perform the variables in a specific order. The individual has to measure the diameter of the object first, then the angle of the arc, and finally the length of the material for the seams and overlaps. Once the individual enters the diameter of the object, the angle of the arc, and the length of the material for the seams, the calculator will provide a count of the amount of stock pieces of material that will be required for the project.
The stock piece count will allow the individual to determine if the available material is long enough for the project or if they must order additional material. The length of material calculator will ensure that the length of material that is purchased is based on a calculated decision rather than one that is guessed at for the project.